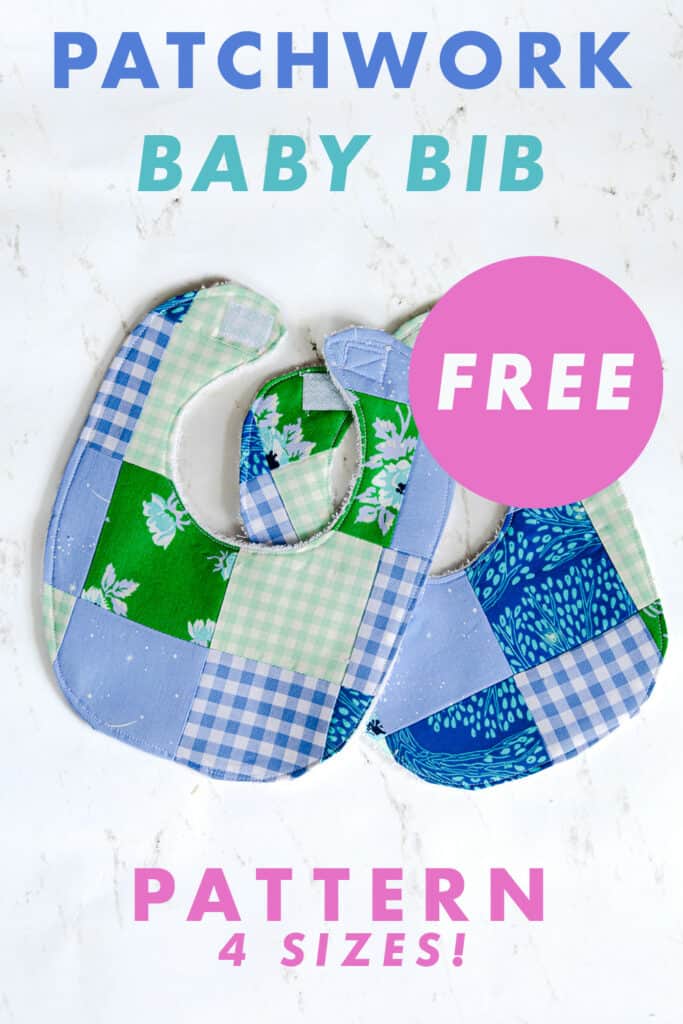
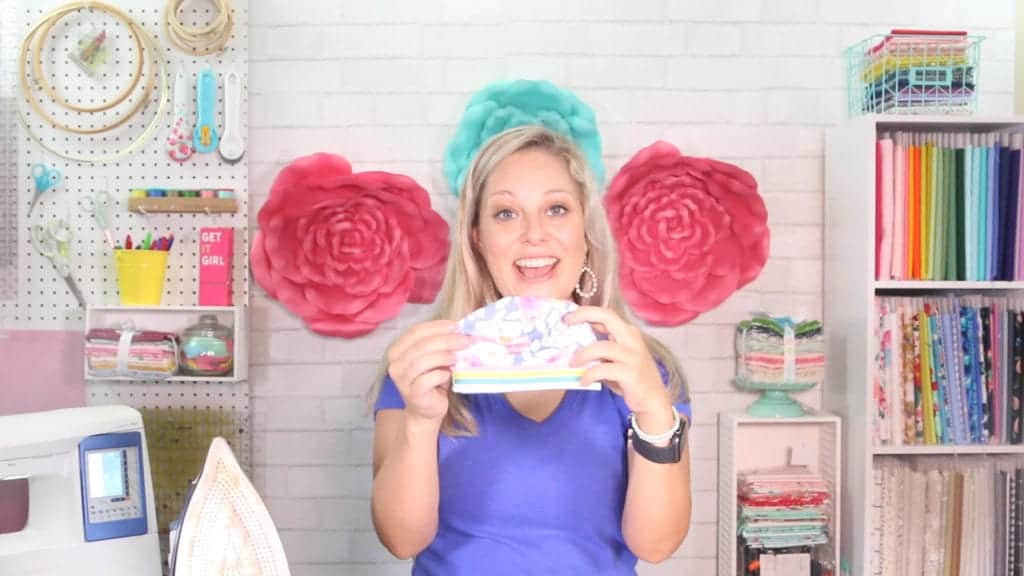
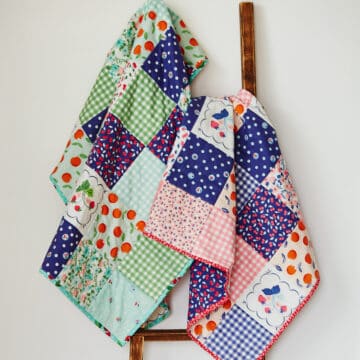
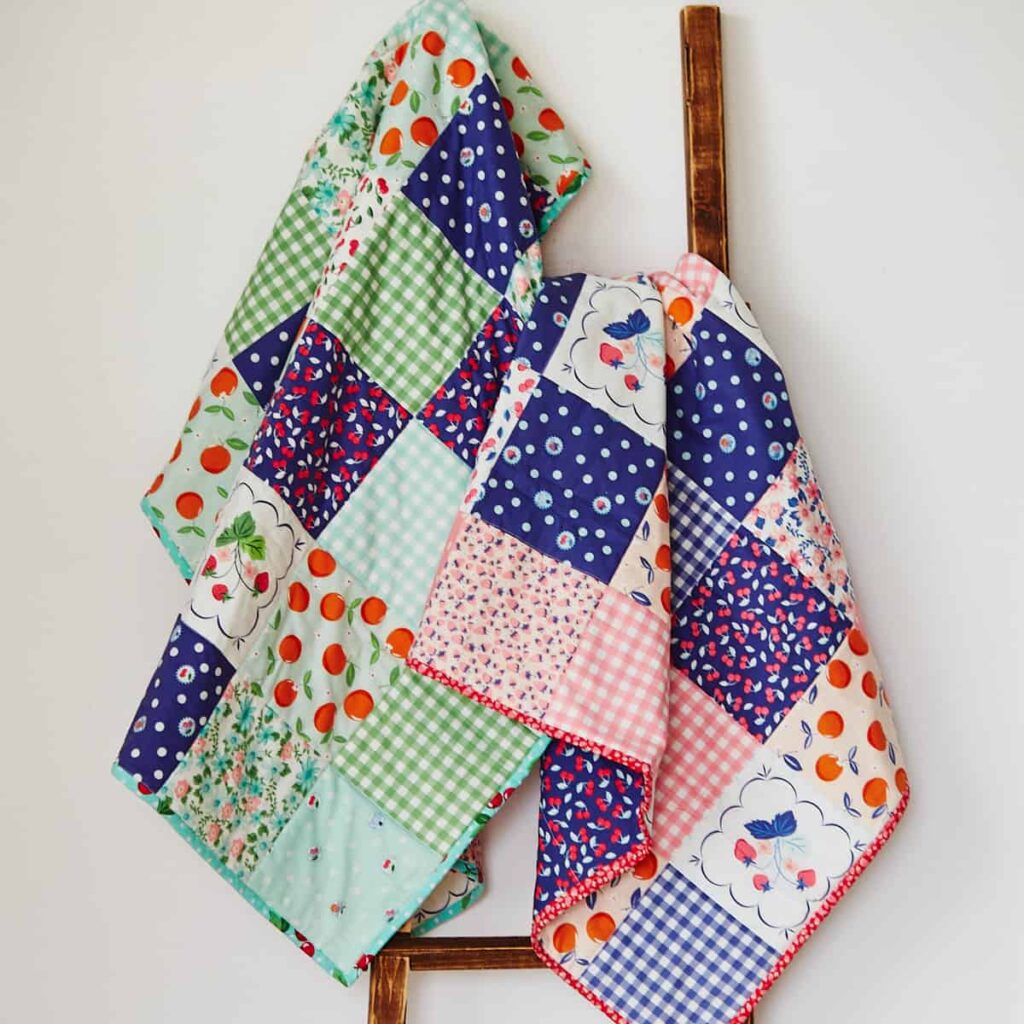
Let’s Sew Together: Making a Scrappy Patchwork Baby Bib with a Free Pattern
Hey there! So, you know how prepping for a new baby involves a whole lot of getting ready? Well, why not add a personal touch with some DIY magic? Today, I’m excited to show you how to whip up something adorable and practical: a scrappy patchwork baby bib!

Bibs are a must for any parent, right? But making them yourself? That’s where the fun is. In this little walkthrough, I’ll guide you through crafting a sweet patchwork bib using leftover fabric scraps. And guess what? There’s a free pattern available in four sizes, so you can adjust it as your little munchkin grows.
Oh, and here’s the best part: we’ll be using the secret chain piecing method to make this project super quick! Whether you’re a seasoned pro or just dipping your toes into the sewing world, this project is super satisfying. So, grab those fabric scraps lying around, thread your needle, and let’s get creative! Together, we’ll make a one-of-a-kind bib that’ll not only catch those drools but also steal hearts. Ready? Let’s dive in!
Table of Contents
Click Below to Get the Patchwork Bib Pattern
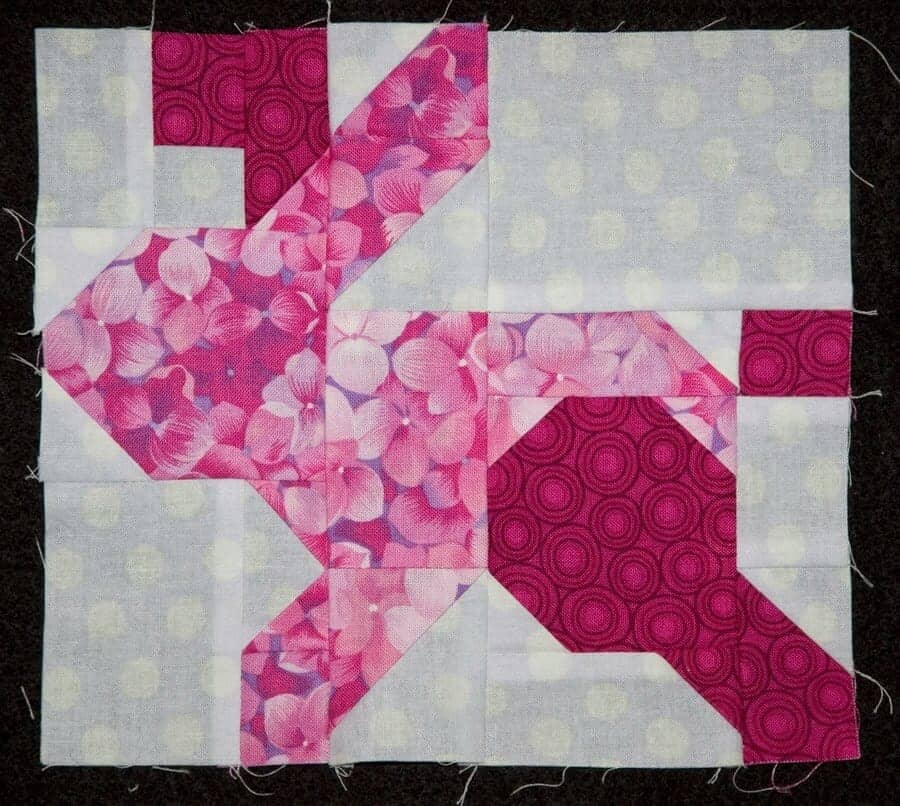
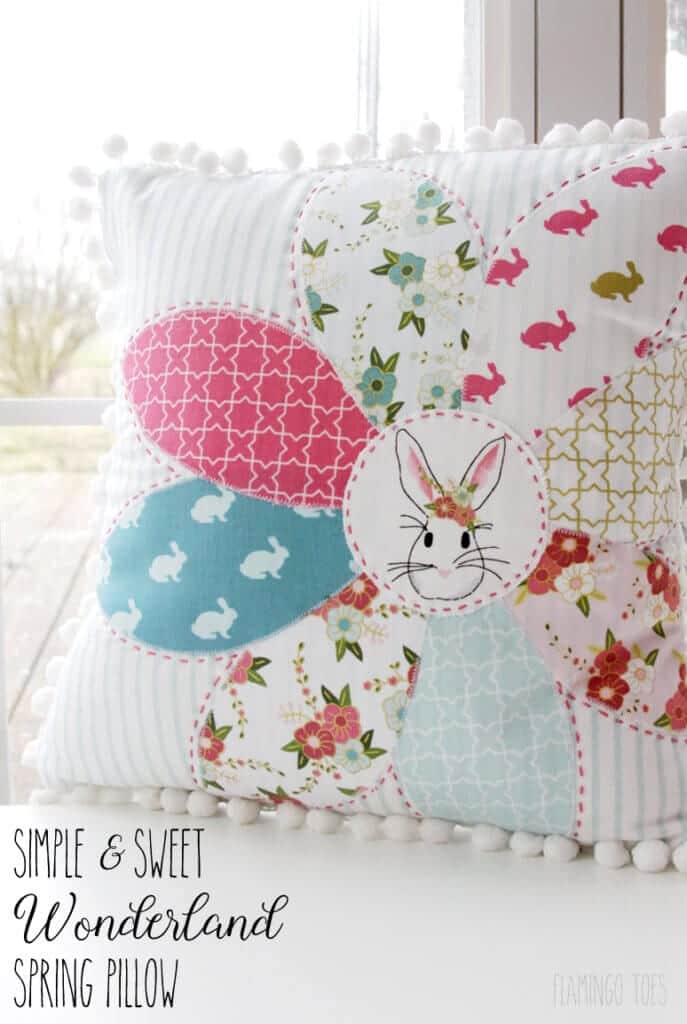
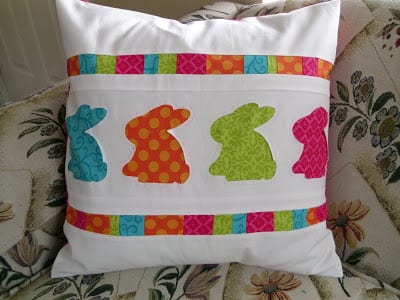
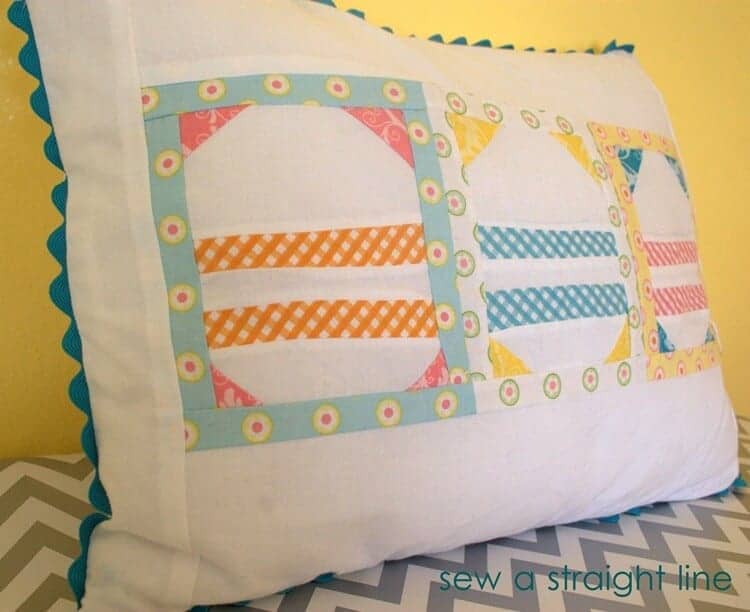
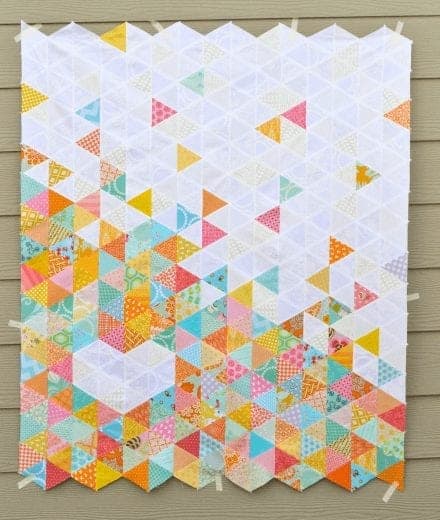
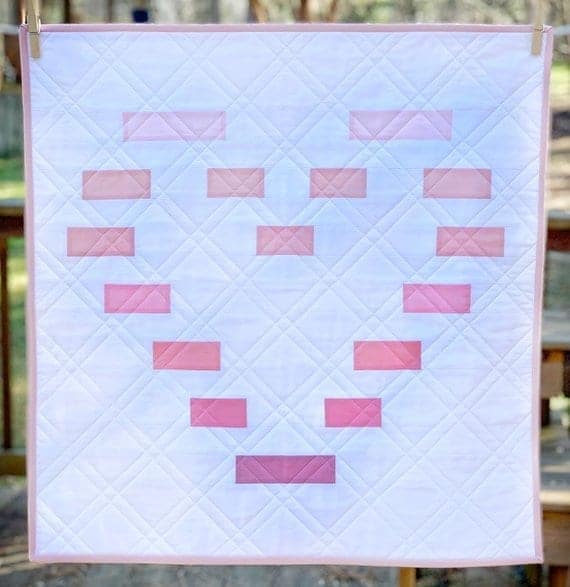
More Baby Sewing Projects For You:
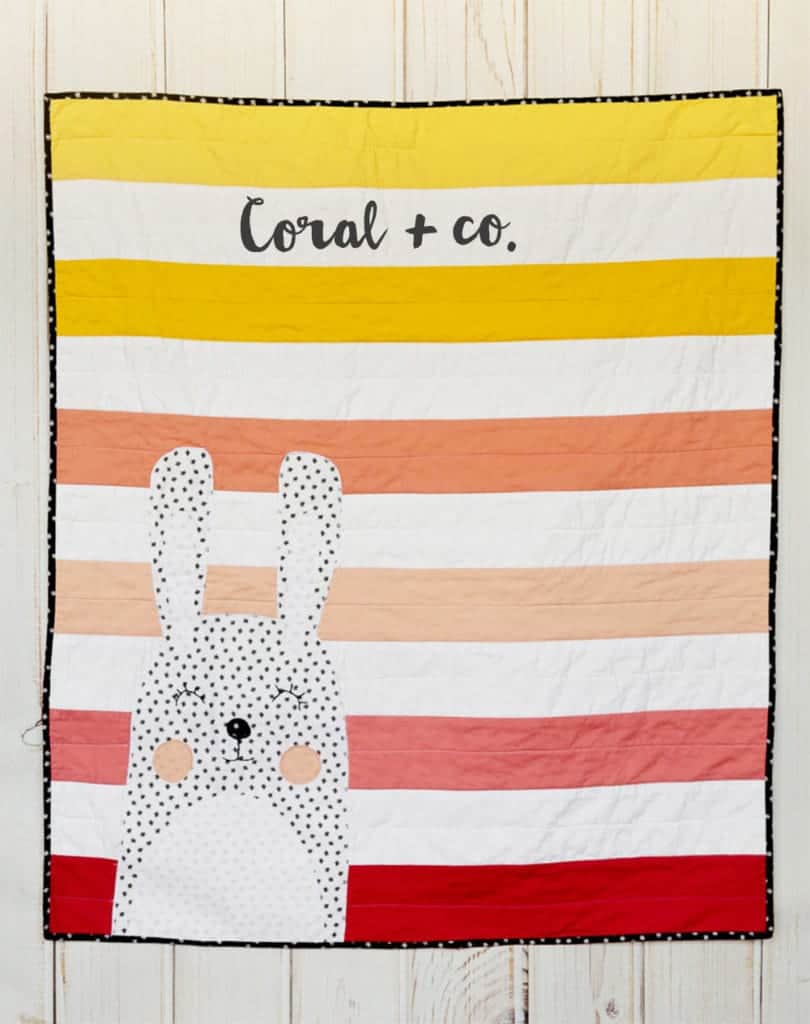
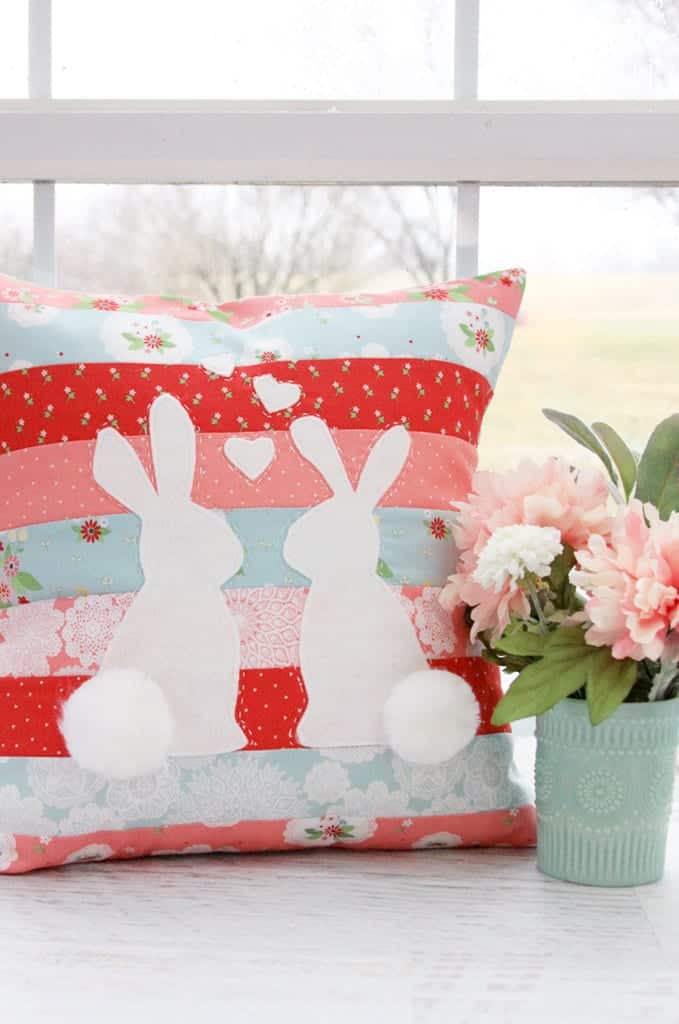
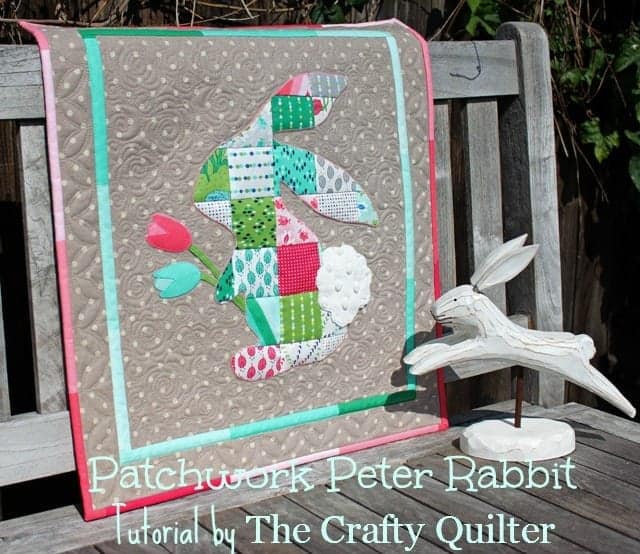
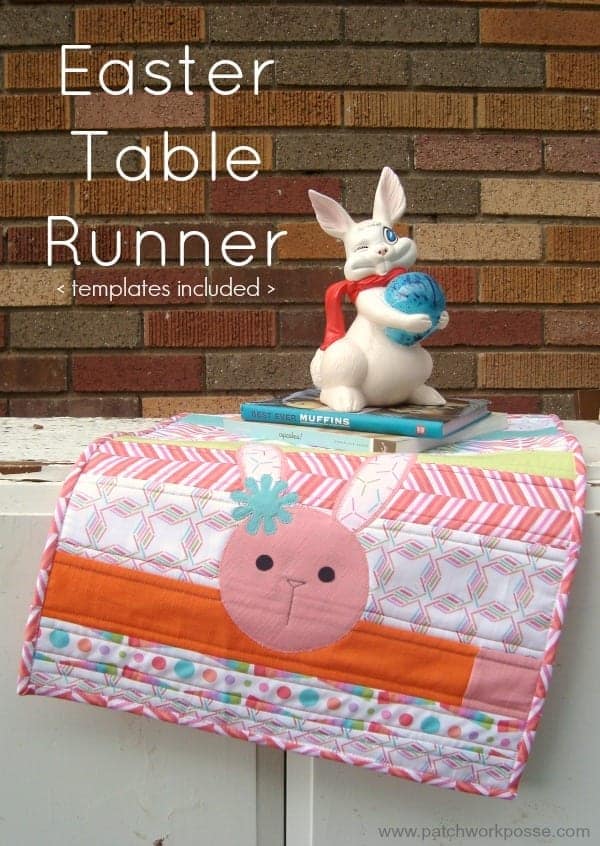
- 50+ Cutest Baby Sewing Projects
- Burp Cloth Pattern – 3 Styles
- Side Snap Baby Bib Pattern
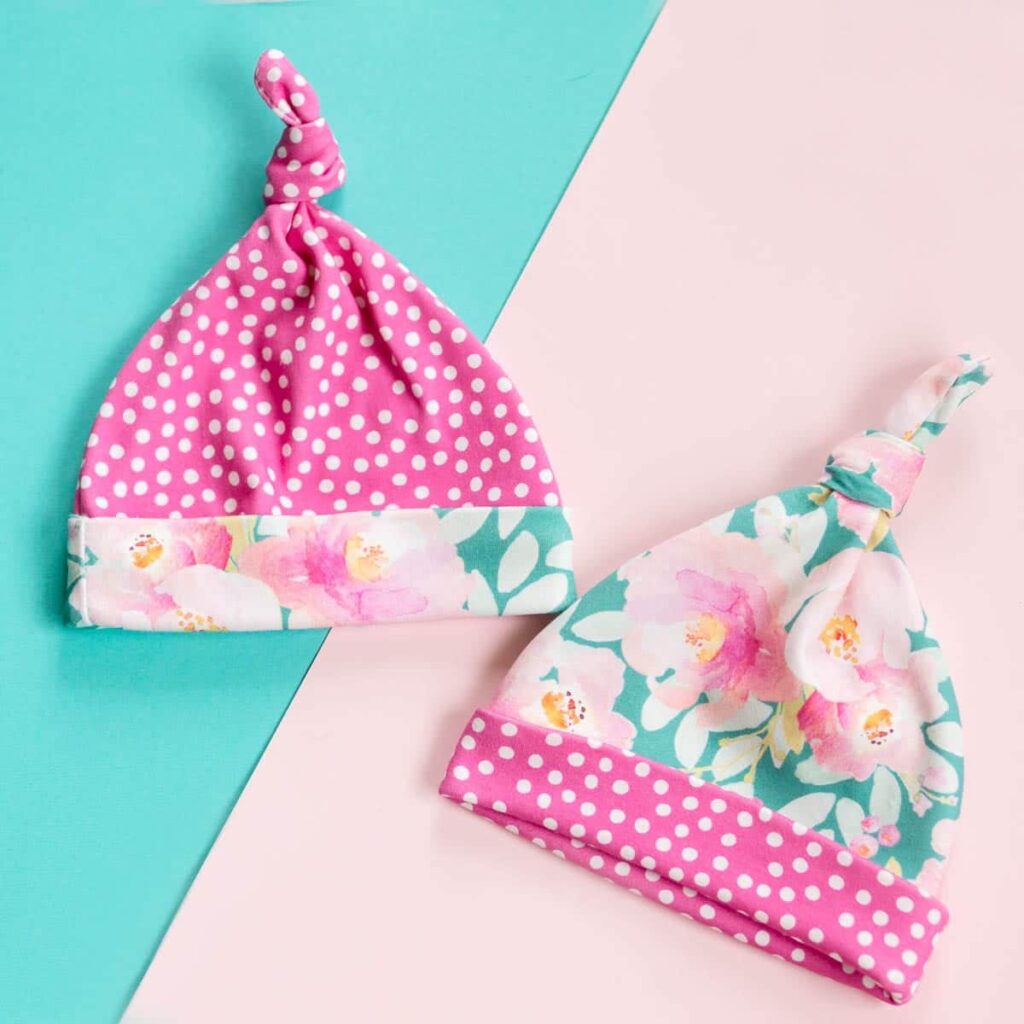
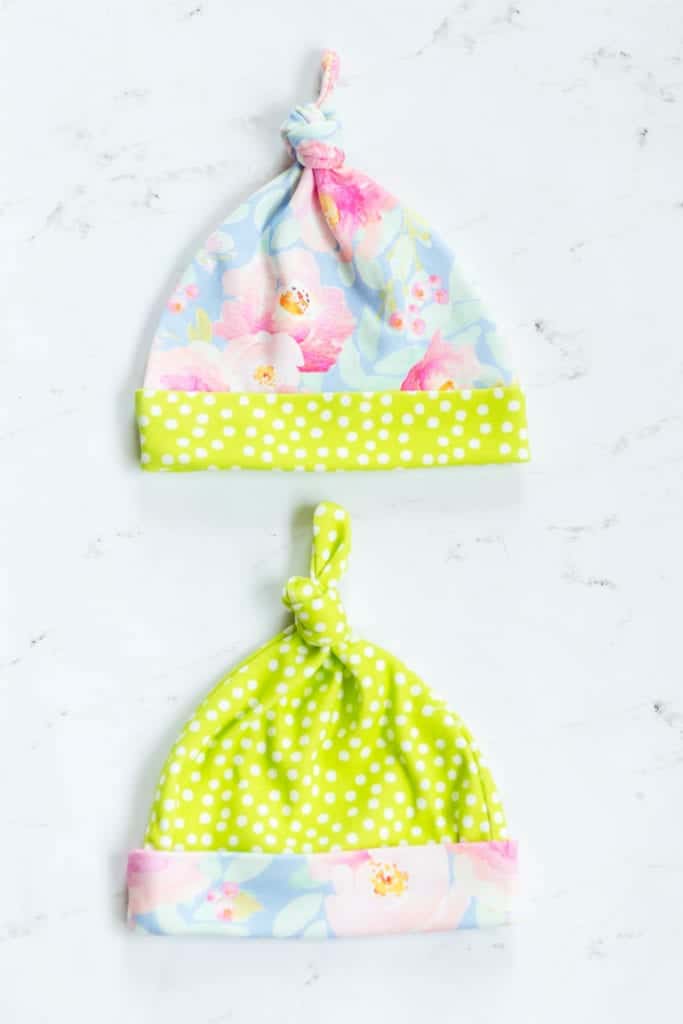
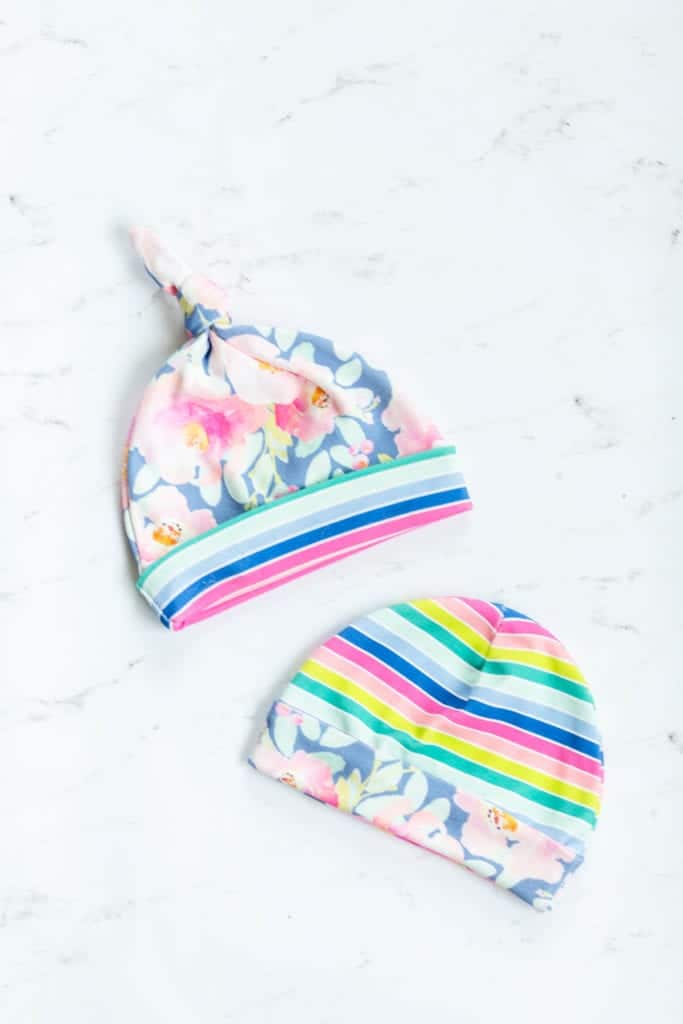
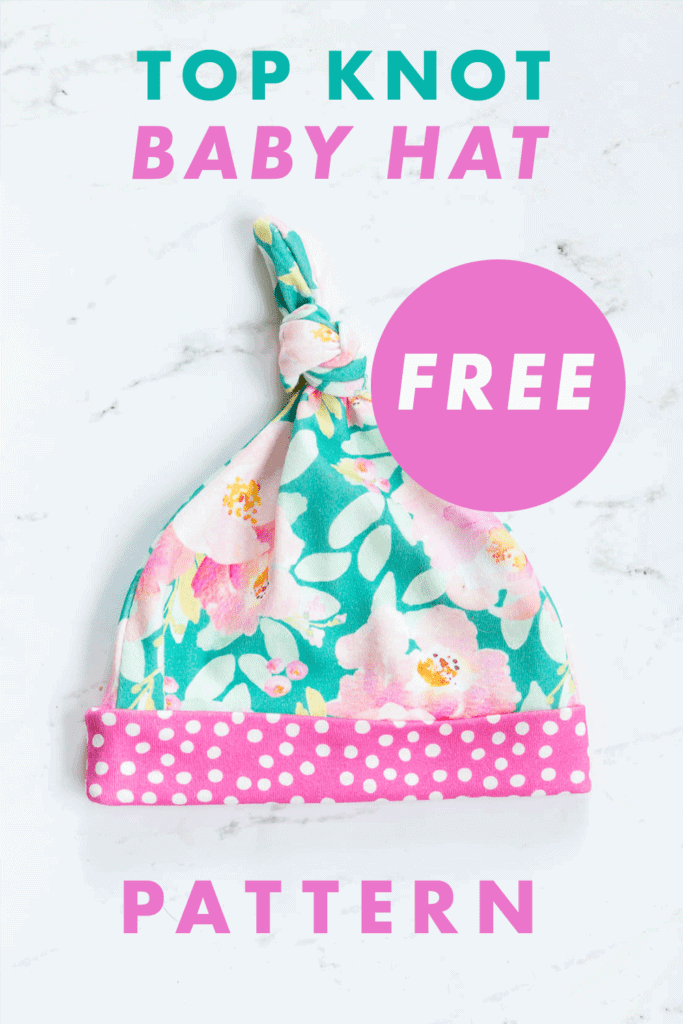
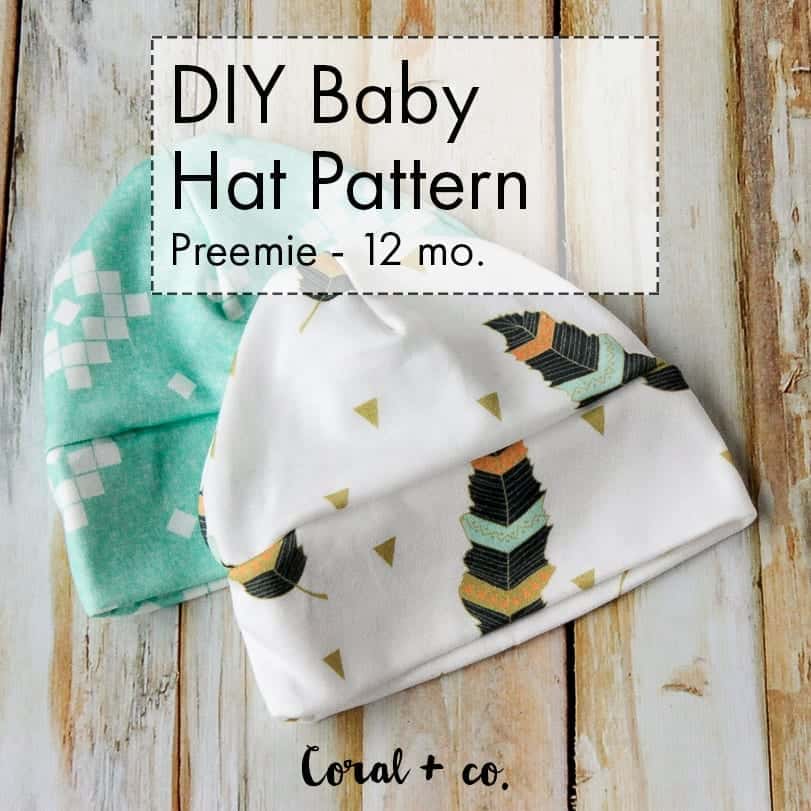
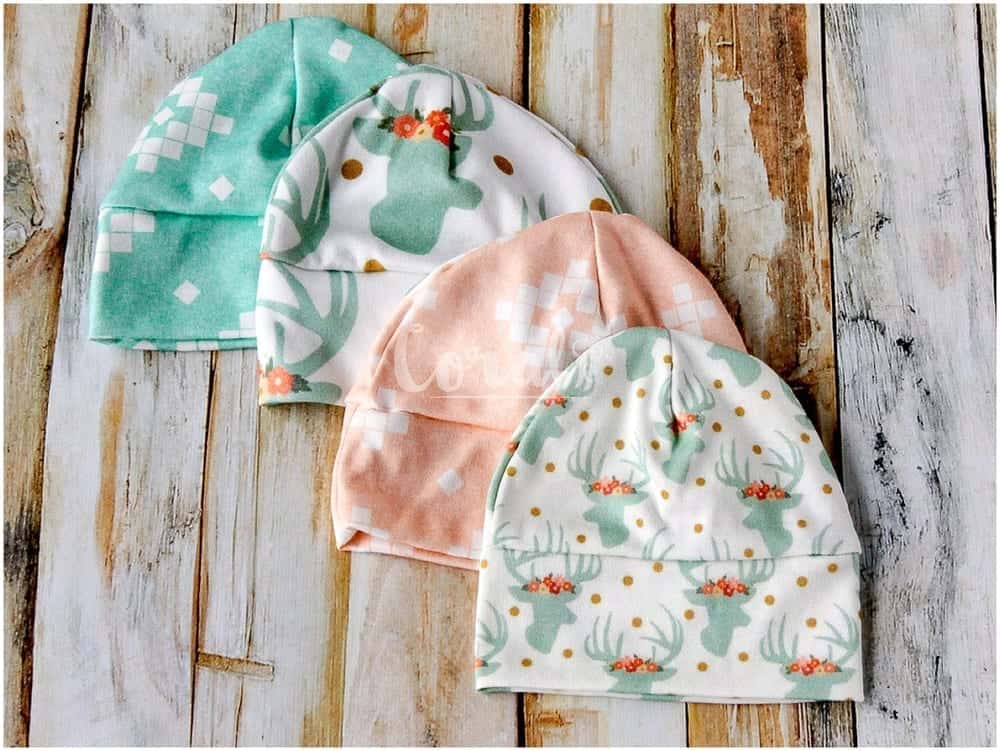
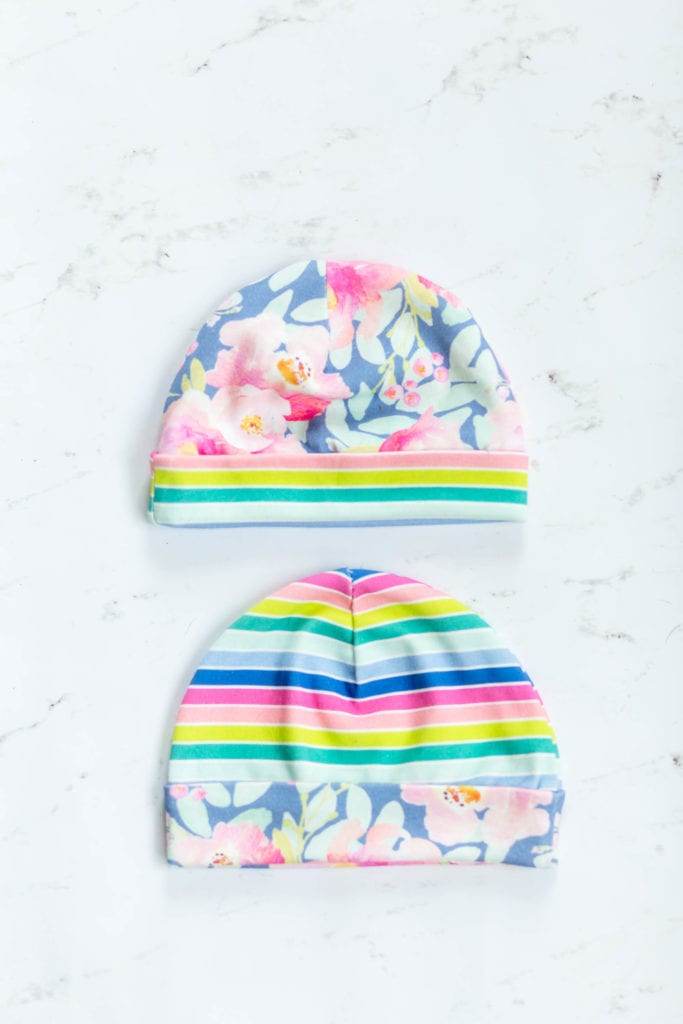
- FREE Top Knot Baby Hat Sewing Pattern
- FREE Basic Baby Hat Sewing Pattern
- How to Make a Sherpa Fleece Baby Blanket
- Minky Crib Sheet Tutorial
- Knot Bow Headband Pattern
- Easy Newborn Baby Swaddle Blanket
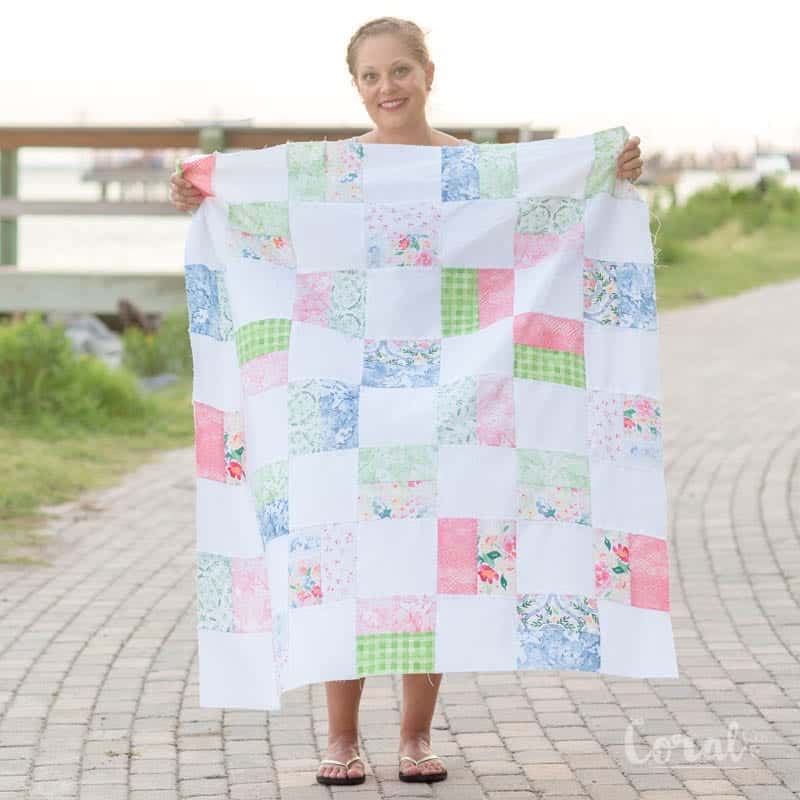
- Simple Squares Baby Quilt Pattern
The baby bib pattern comes in 4 available sizes:
- Newborn
- 3-6 Months
- 6-12 Months
- 1-4 Years
What are the Finished Baby Bib Sizes?
Width x Length
- Newborn: 7.5″ x 10″
- 0-3 Months: 9.25″ x 10.5″
- 6-12 Months: 10″ x 11″
- Toddler: 1 – 4 Years: 10″ x 12.5″
Be sure to sign up for the Blog Freebie Resource Library to access the baby bib pattern in 4 Sizes.
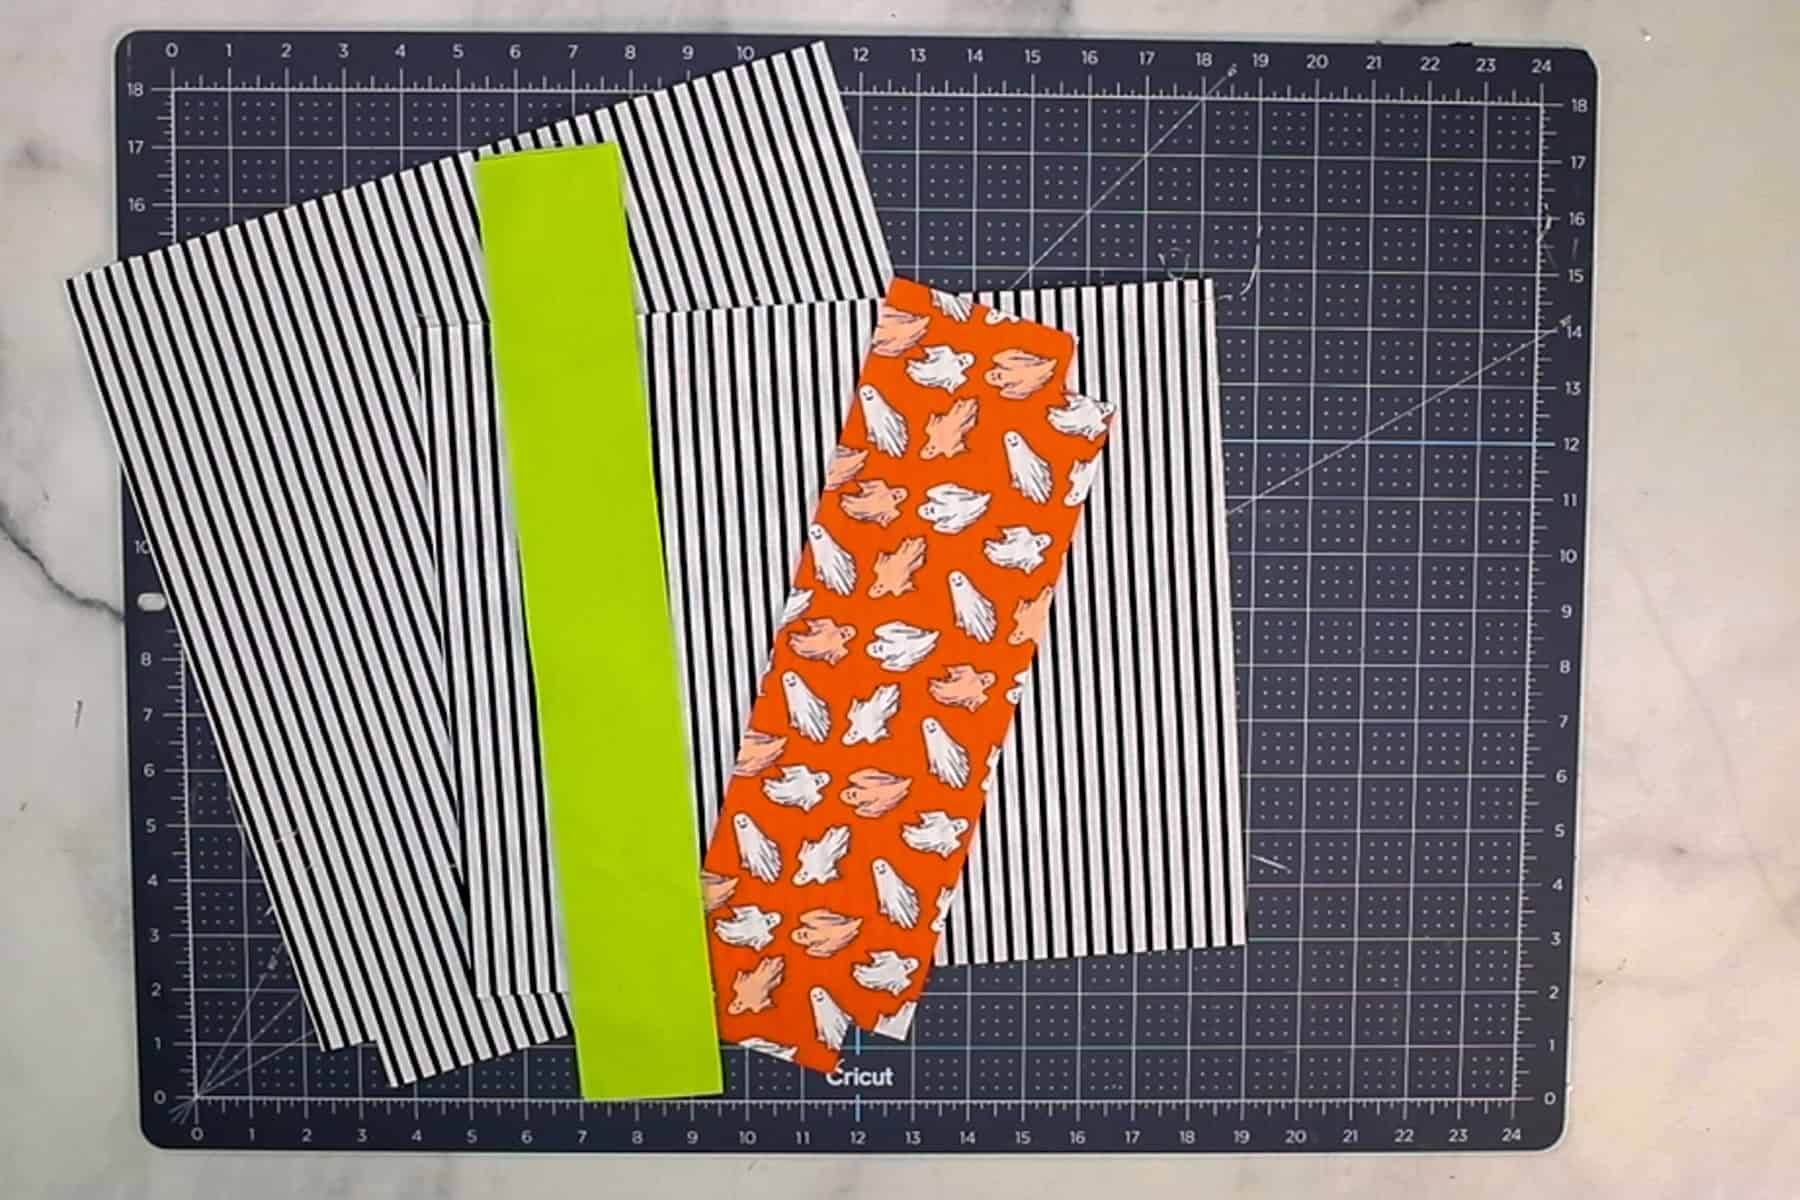
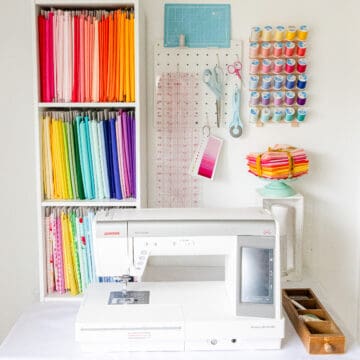
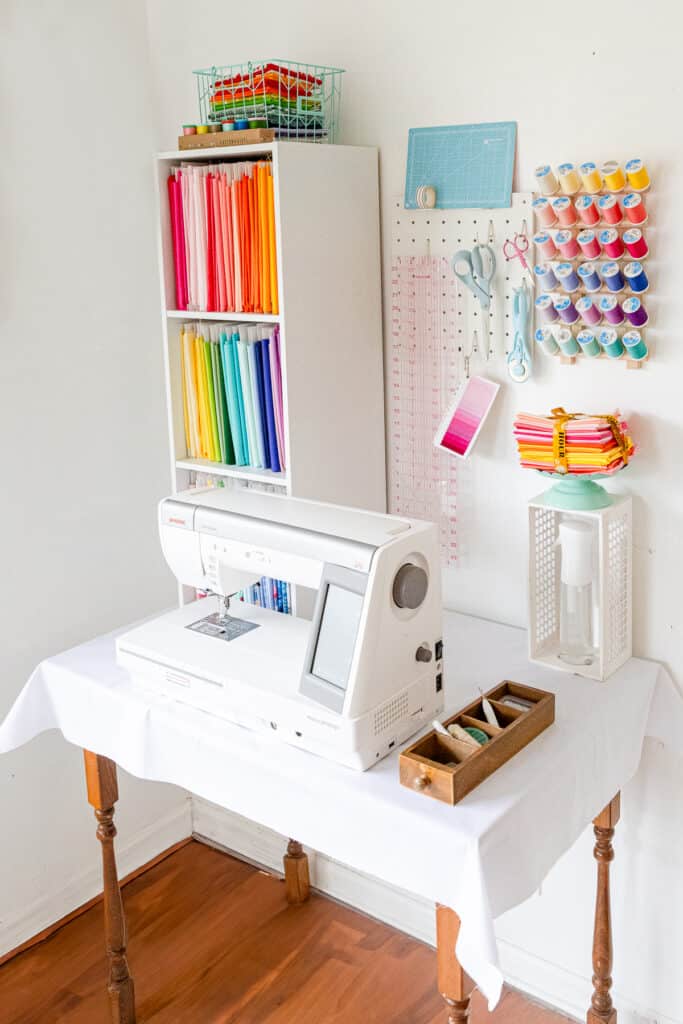
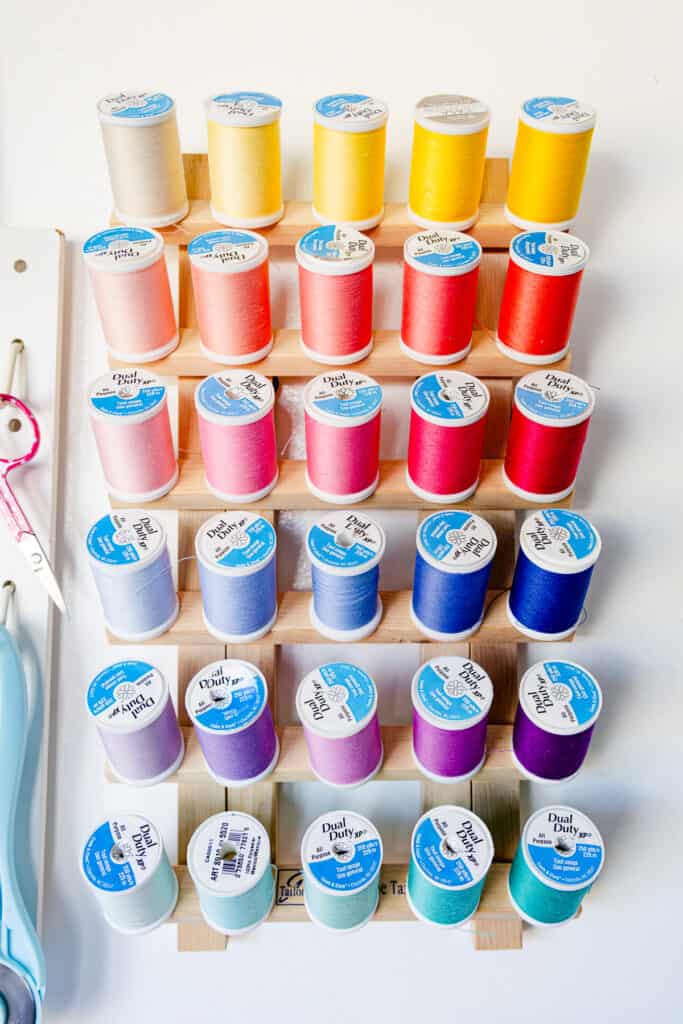
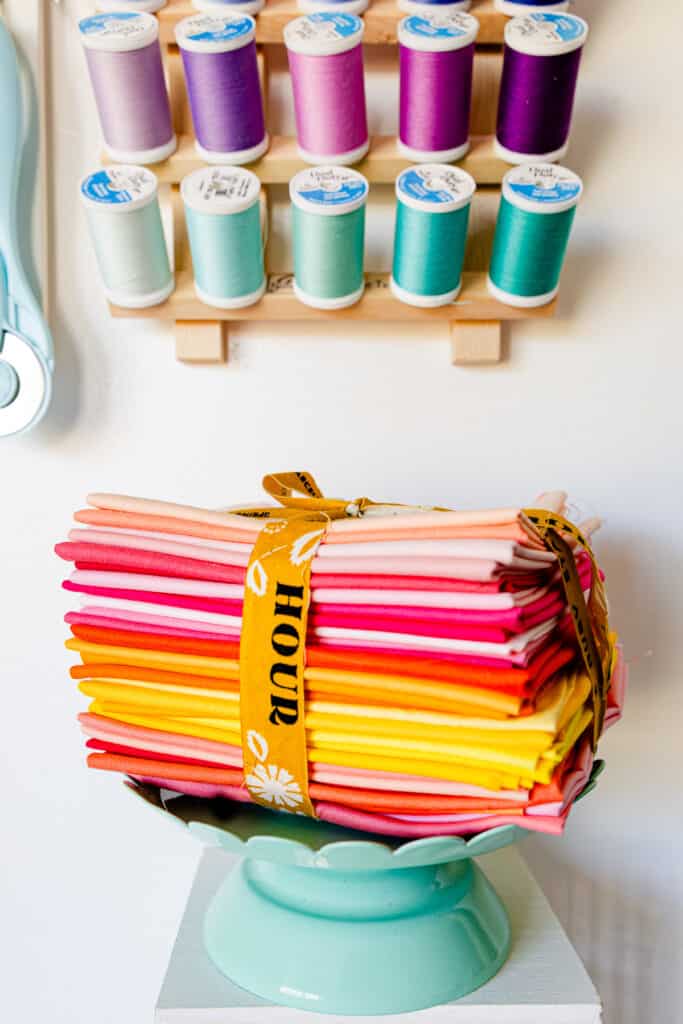
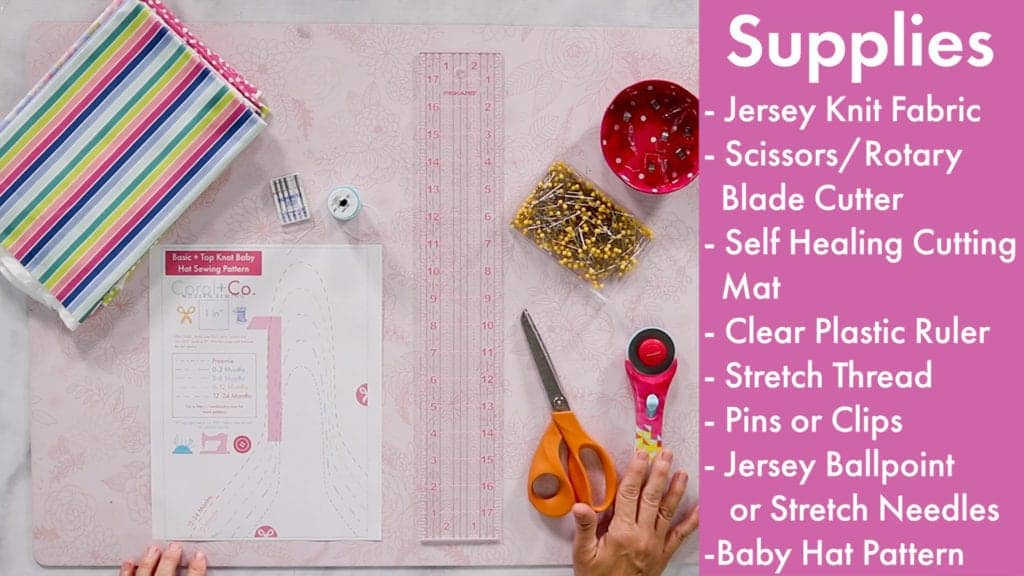
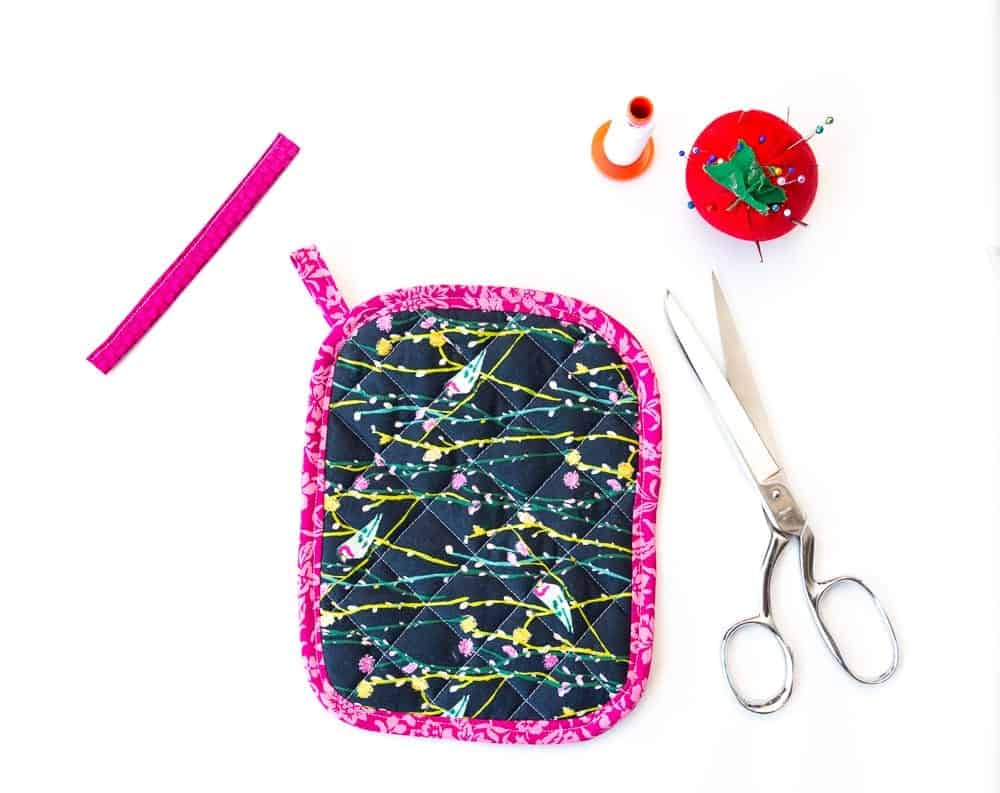
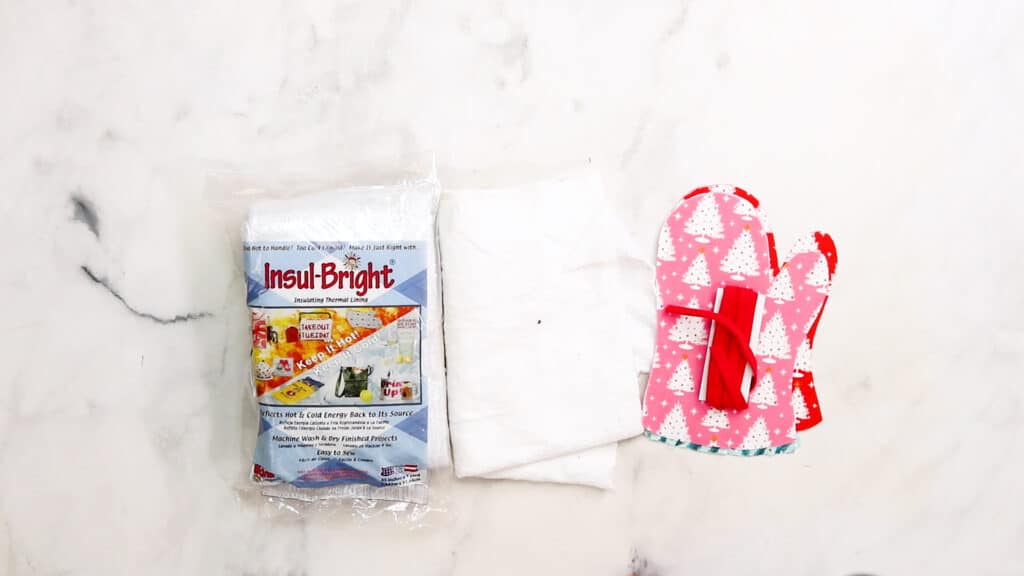
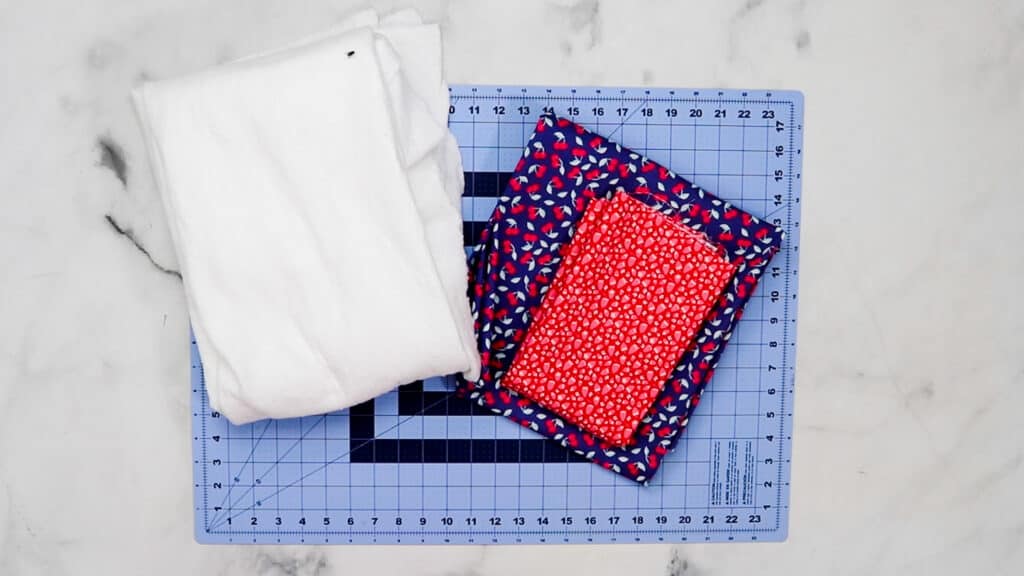
Baby Bib Supplies List:
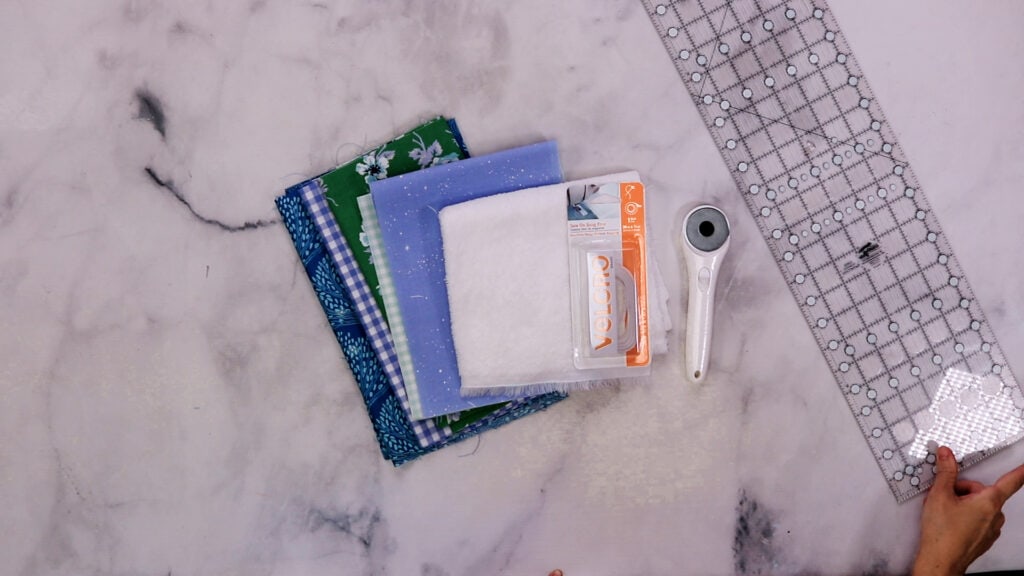
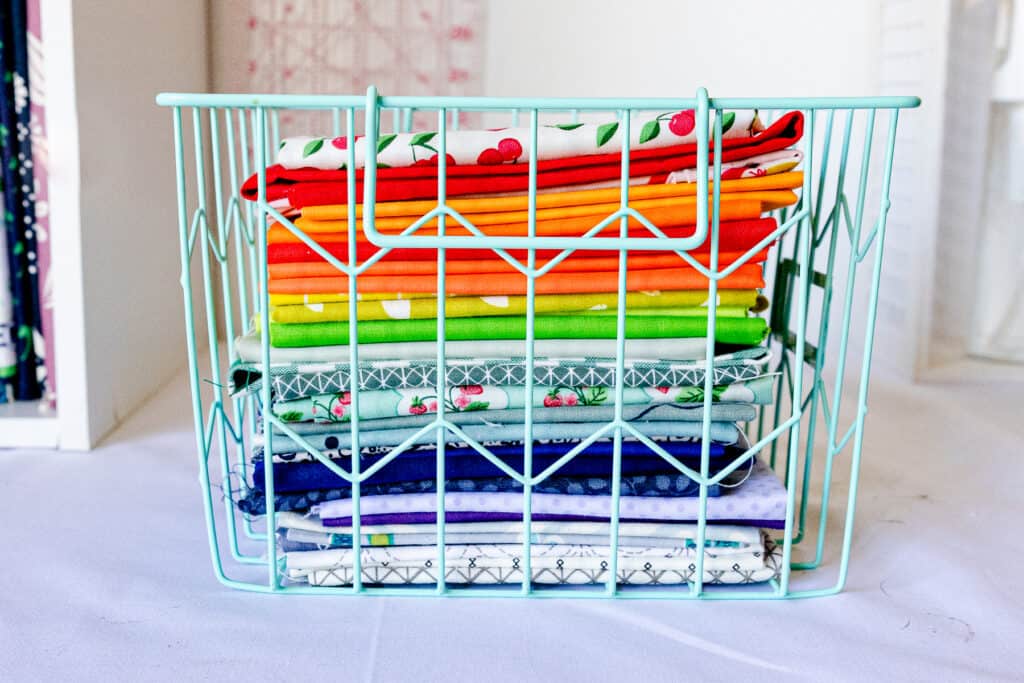
- 20 – 25 – 3 1/2″ squares of scrap fabric or 5 fat quarters or 1/8 or 1/4 yards of quilting cotton or flannel fabric.
- 1 Fat Quarter or 1/3 yard ofTerry Cloth, Chenille, or Minky Fabric
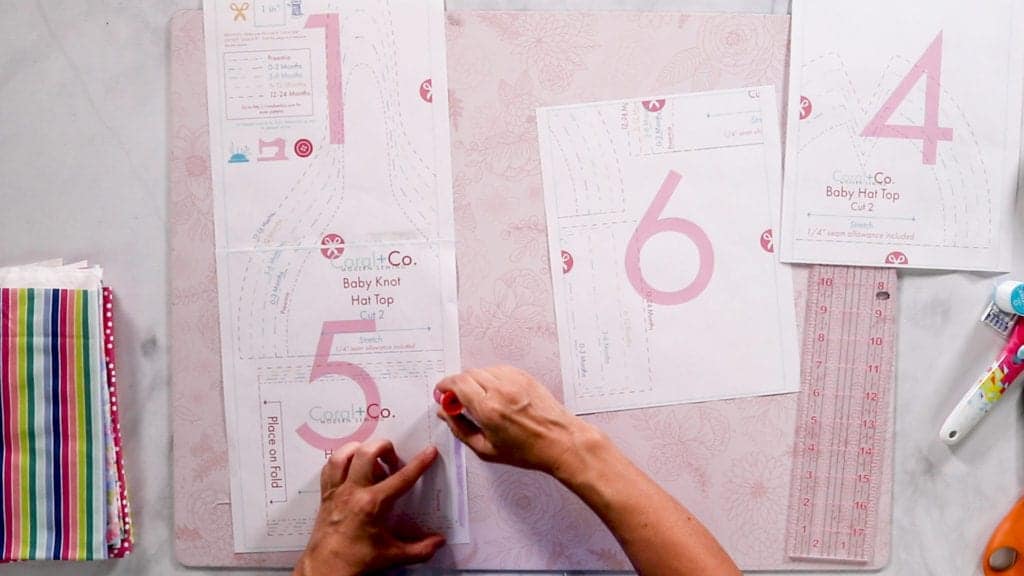
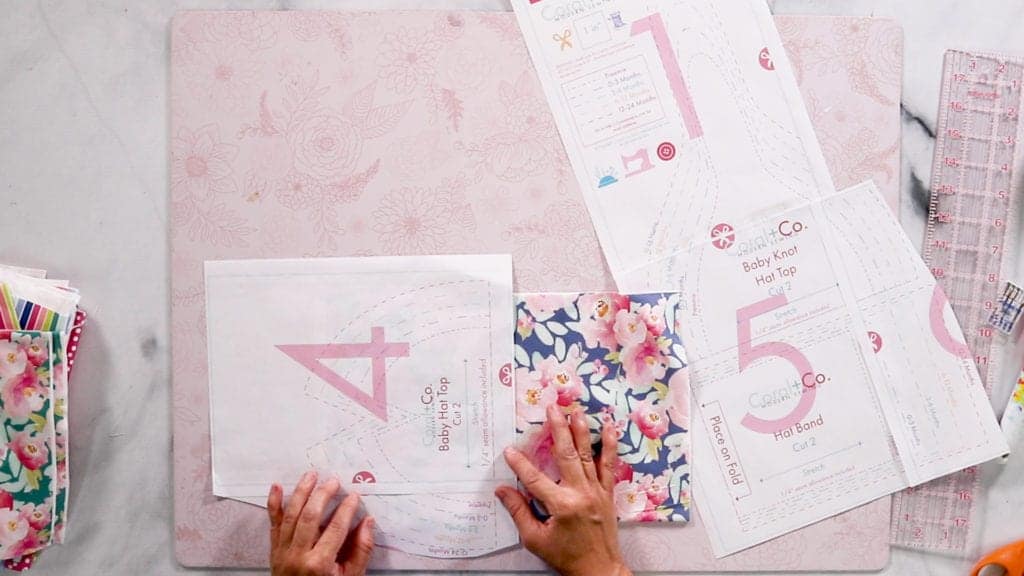
- Baby Bib Pattern Template (Available in the Resource Library – Sign up to Access)
- KAM Snaps, Metal Snaps or Velcro
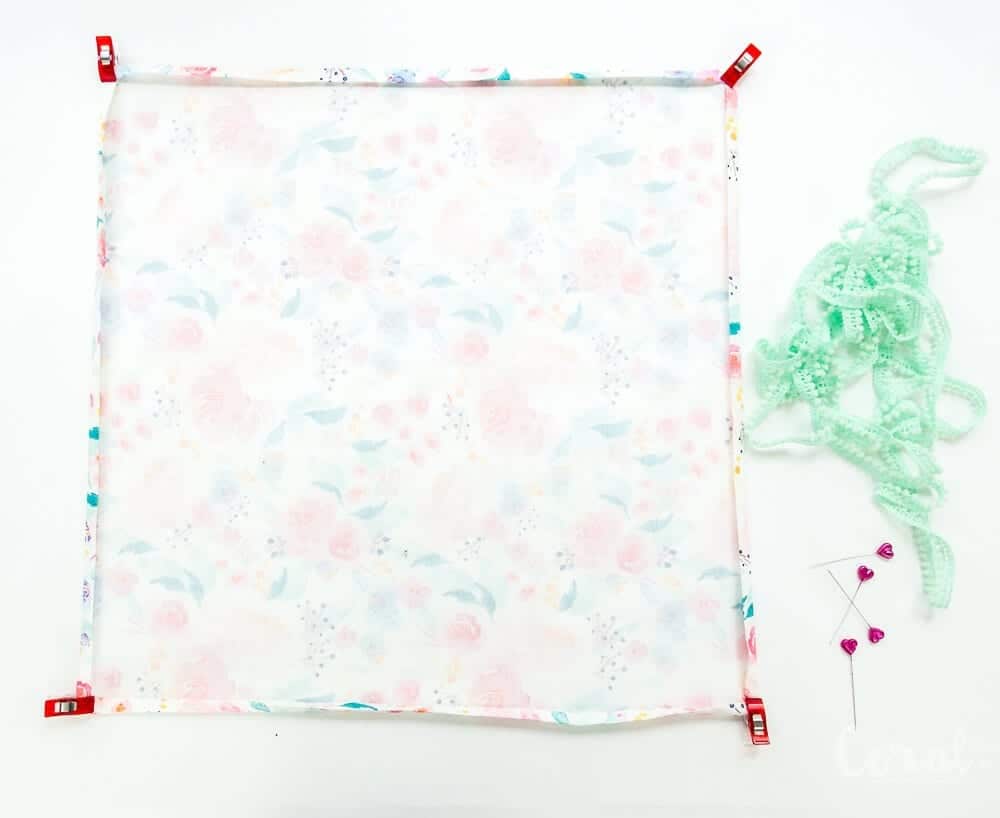
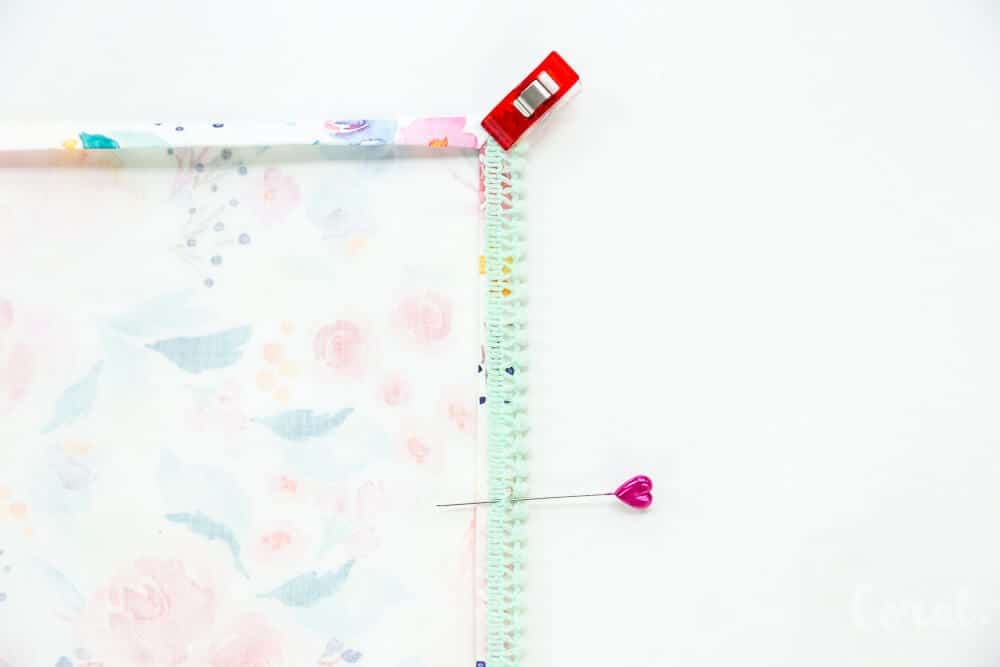
- Pins or Wonderclips
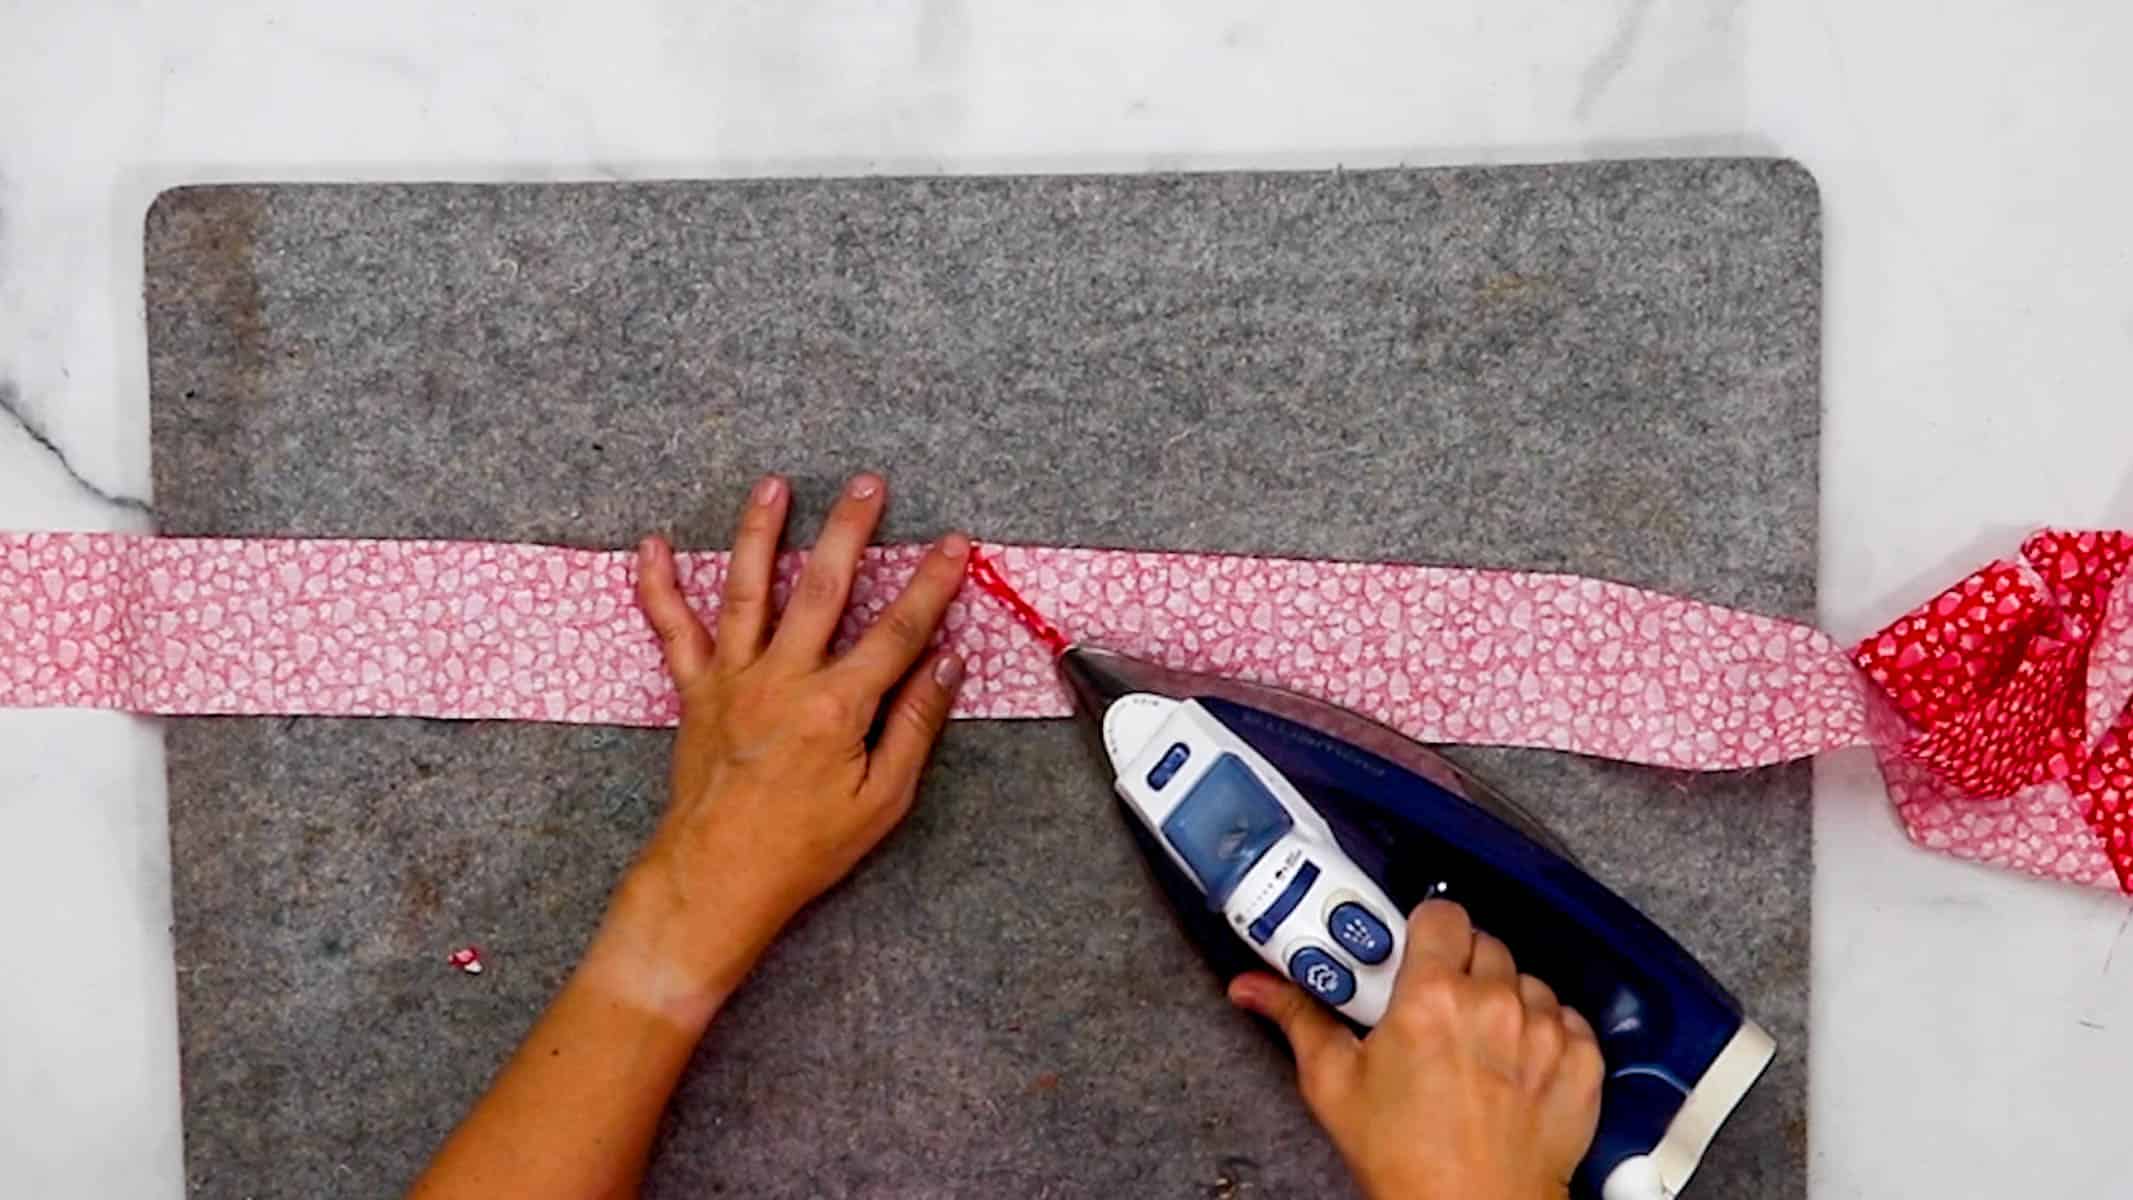
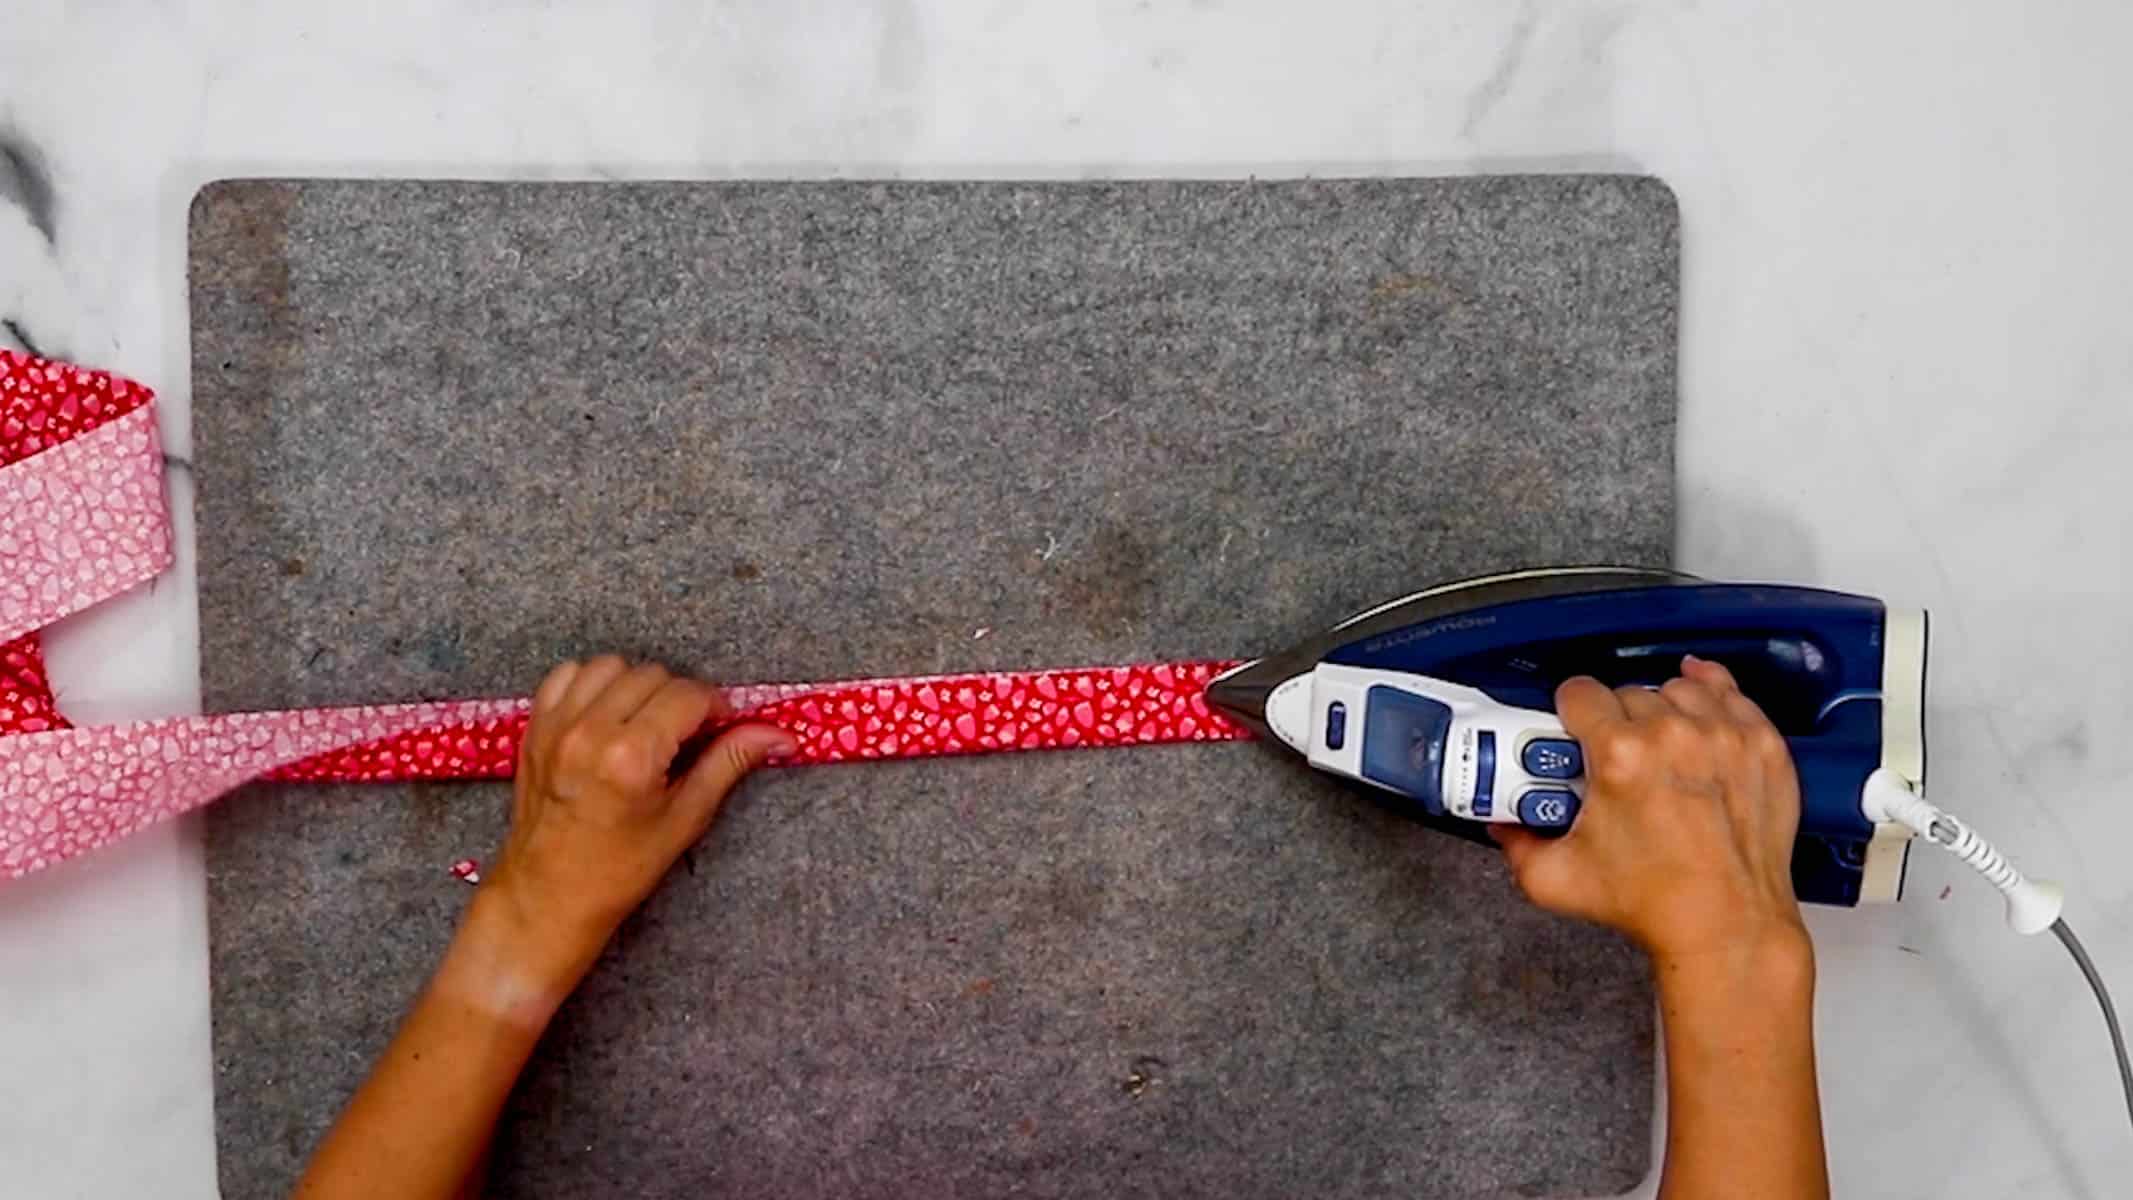
- Sewing Machine Needle
- Thread
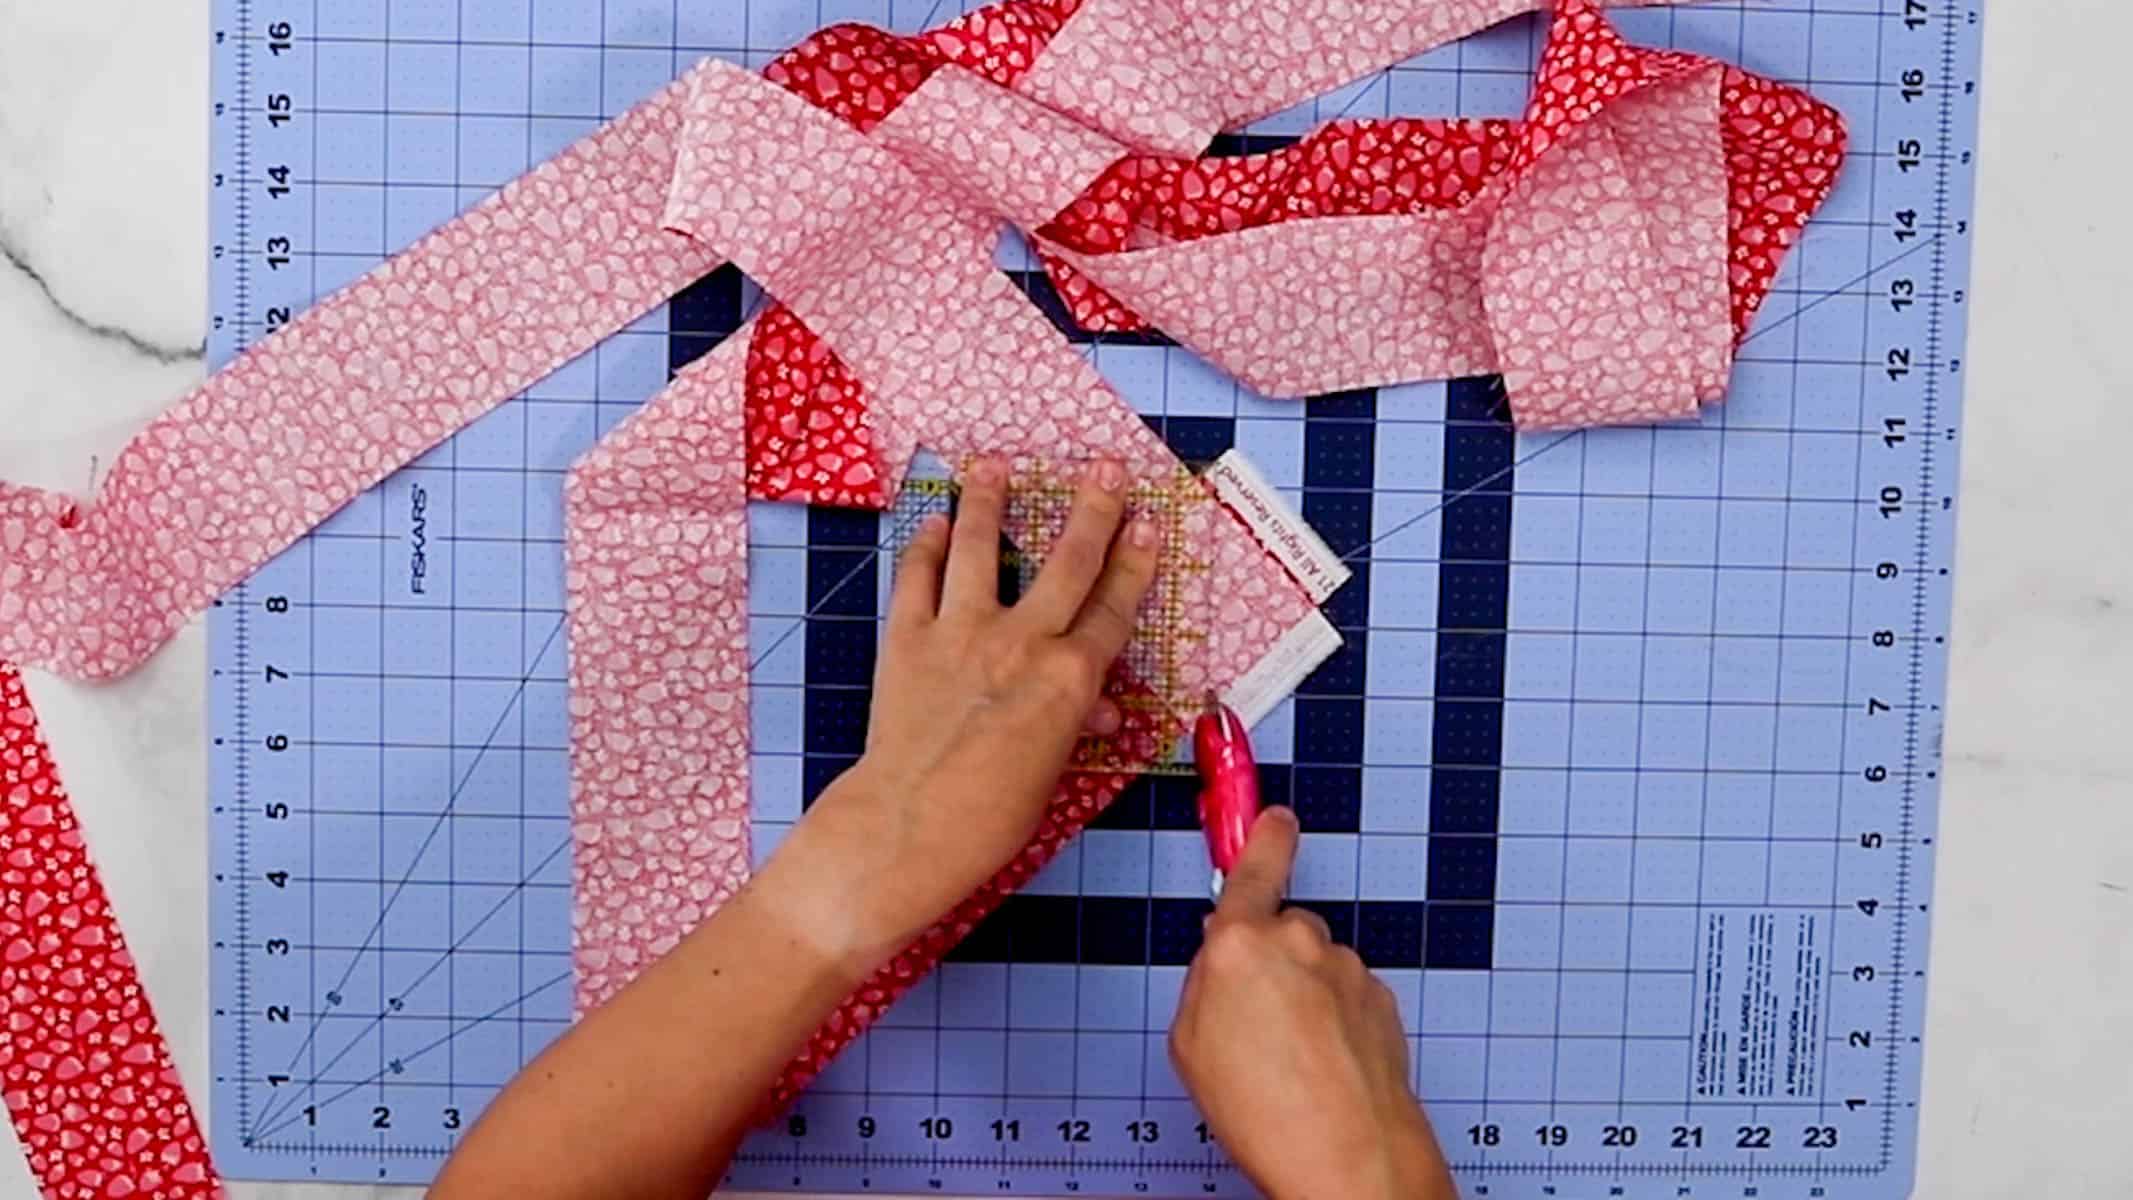
- Scissors or Rotary Blade and Cutting Mat
Watch the Youtube Video
Patchwork Baby Bib Pattern Tutorial
Follow the Instructions below or watch the Patchwork Baby Bib Video
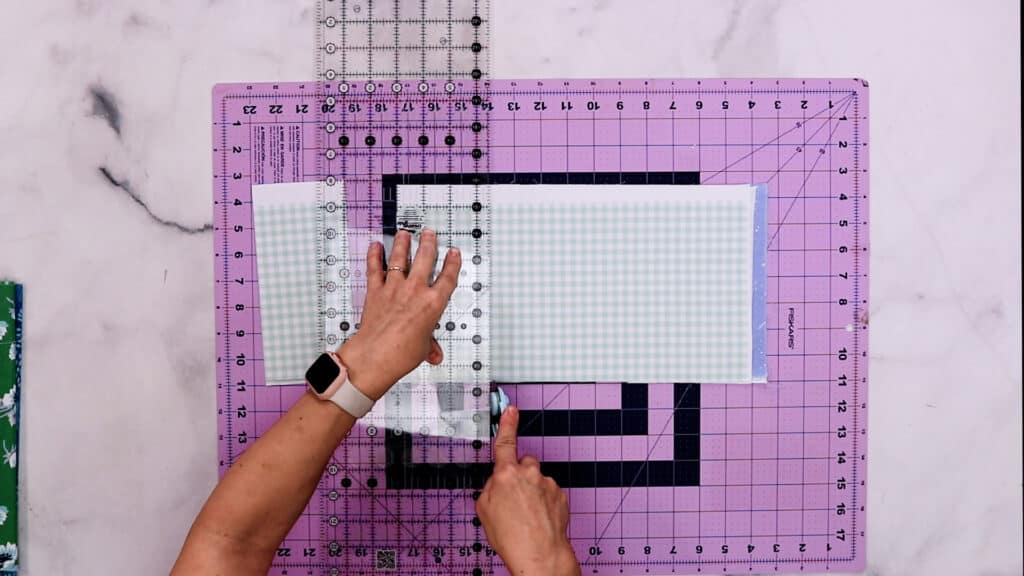
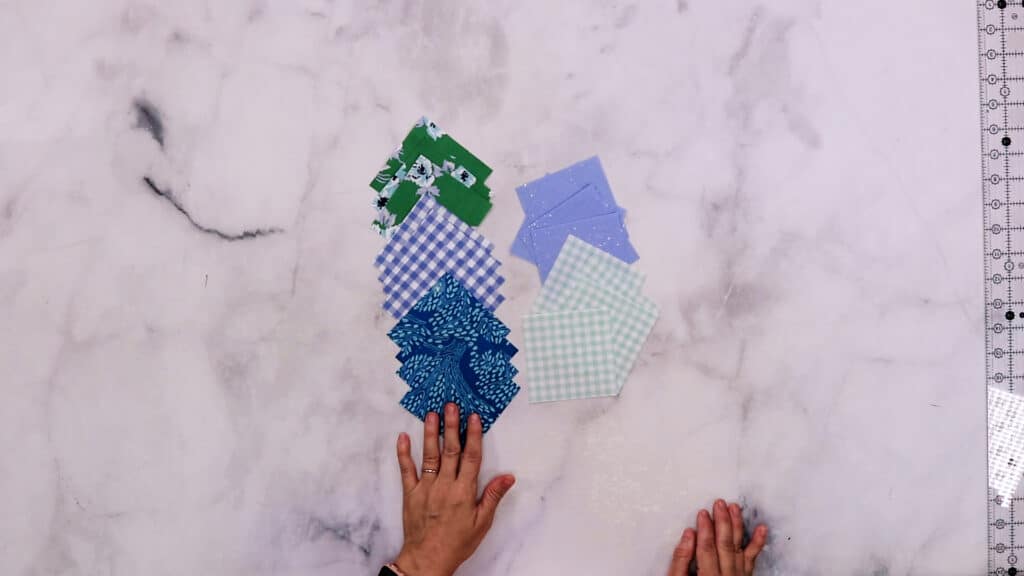
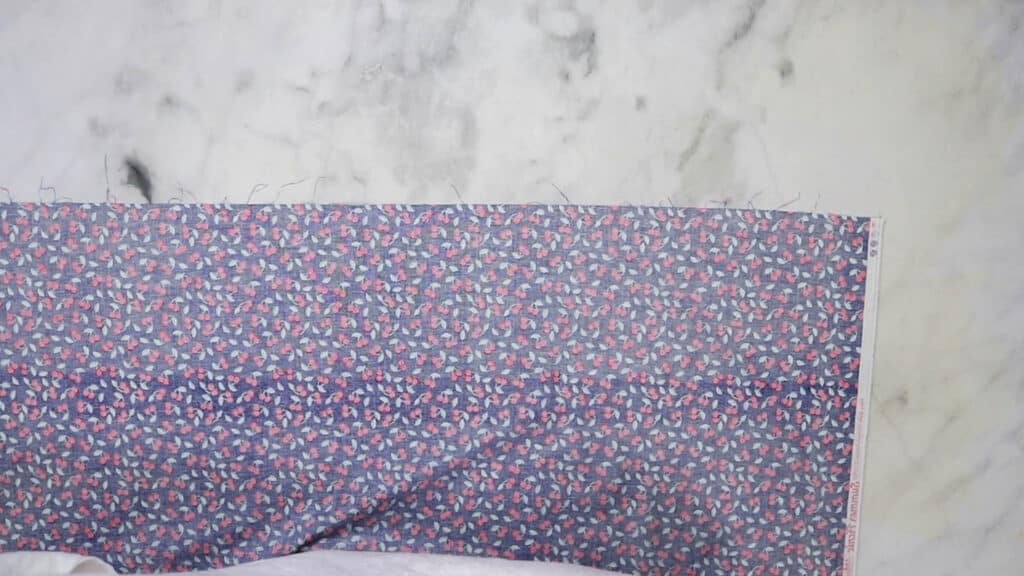
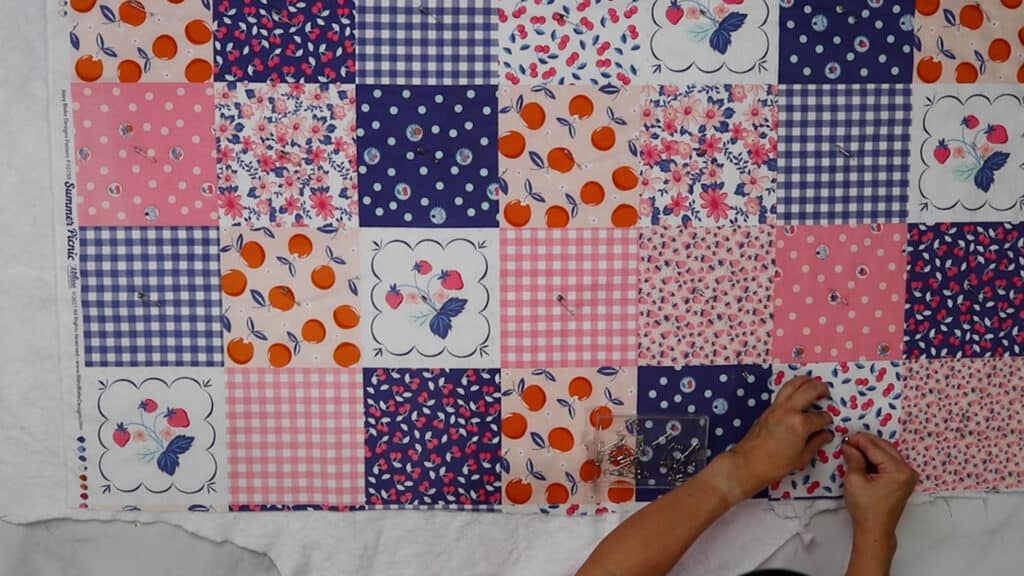
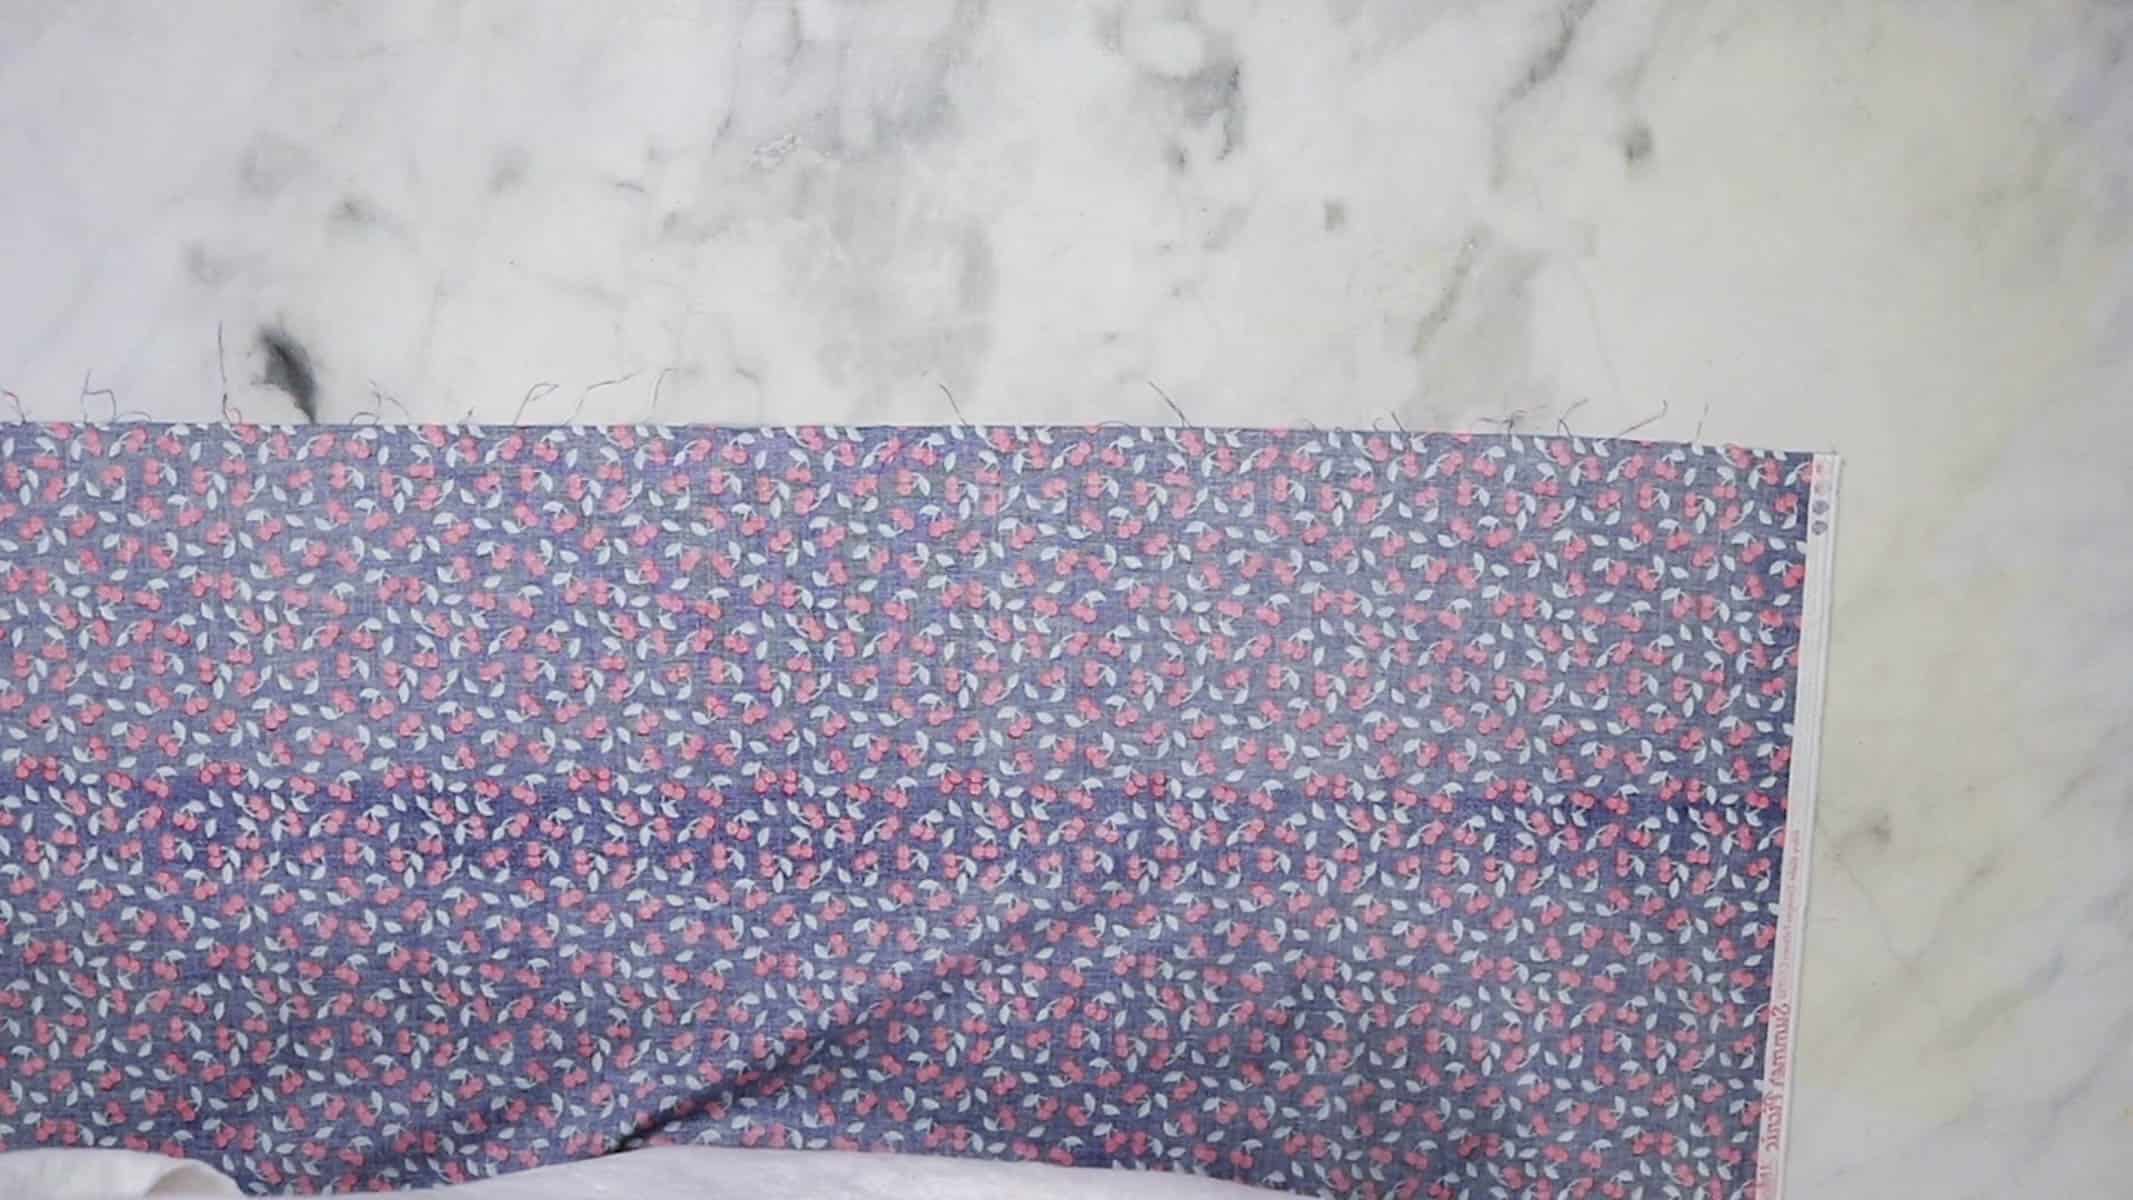
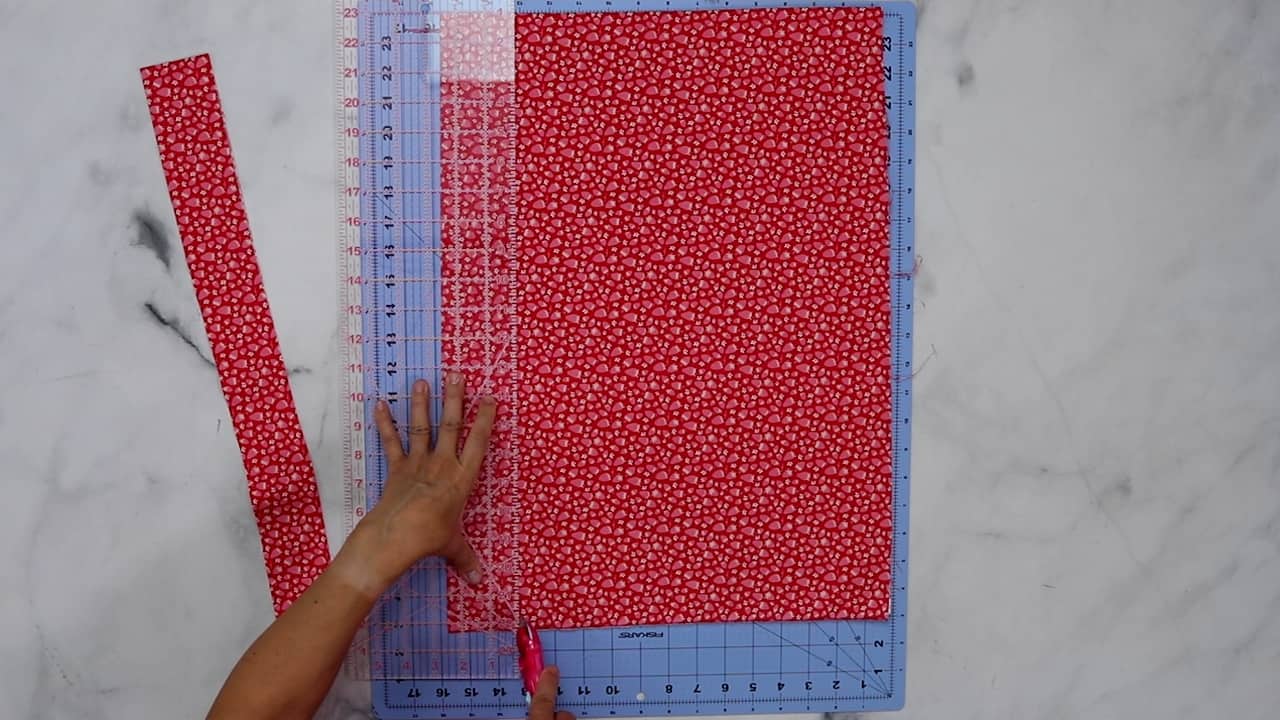
Step One: Cut four (4) 3.5″ squares from each of the five fabrics. If using scrap fabric, cut 16 – 20 squares according to the bib size you are making.
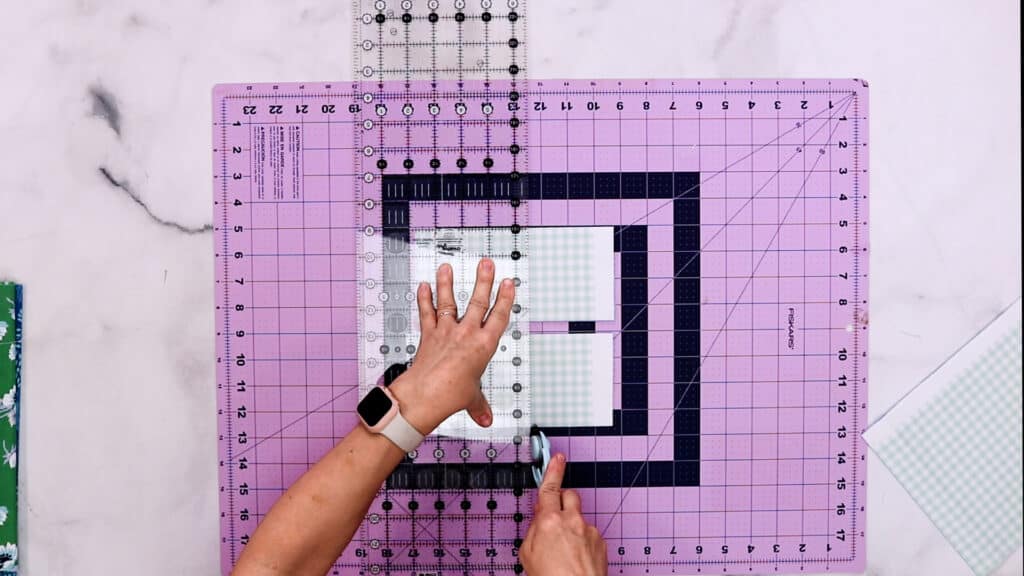
If using fat quarters or 1/4 yard cuts of fabric, cut two strips of 3.5″ x the width of the fabric (WOF). Then turn the strips horizontally and cut to 3.5″ squares.
For the Newborn and 0-3 month sizes you will need 16 squares. For sizes 6-12 months, and 1-4 years you will need 20 squares.
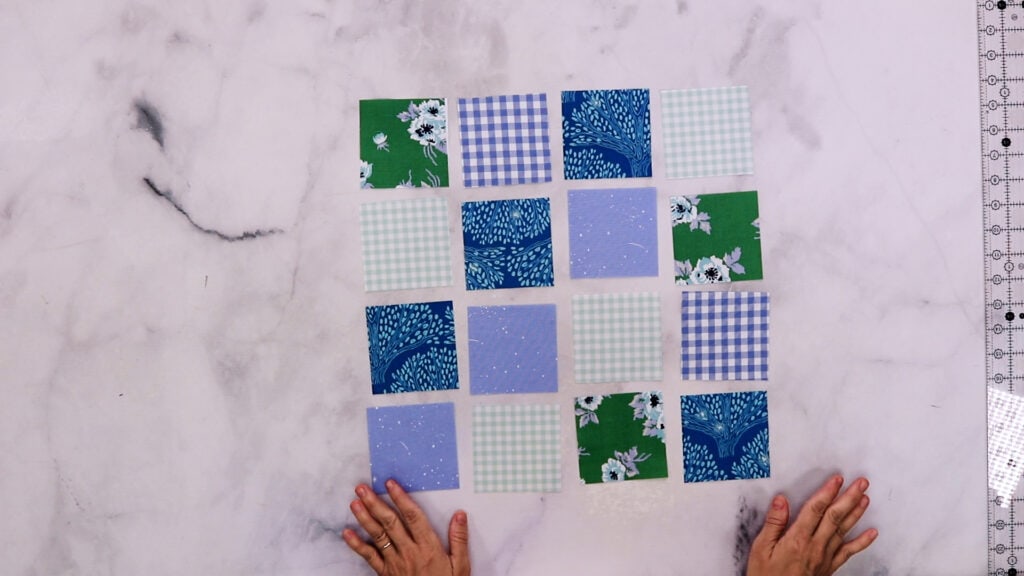
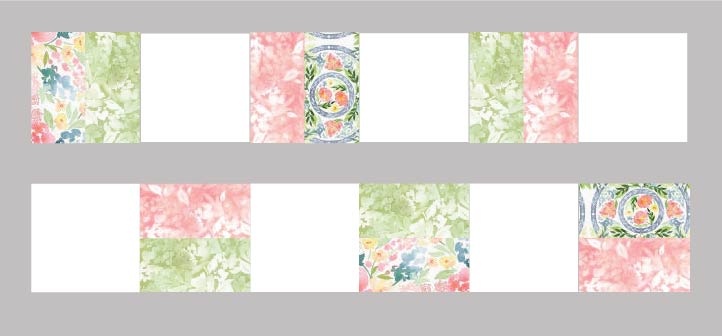
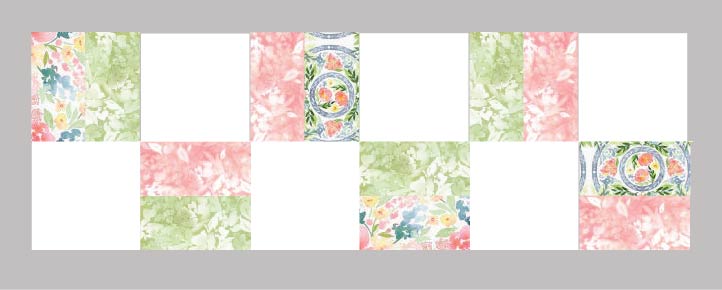
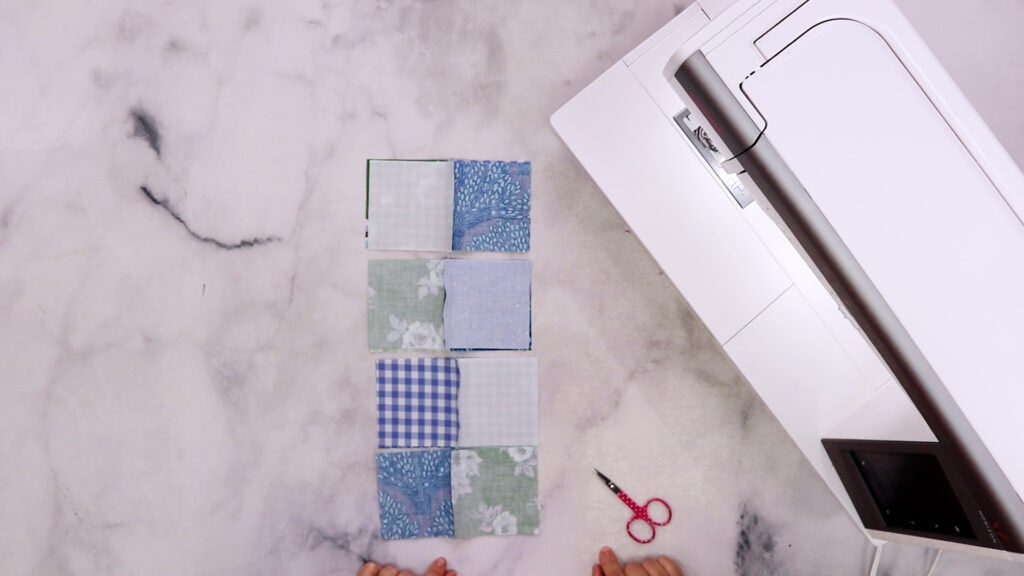
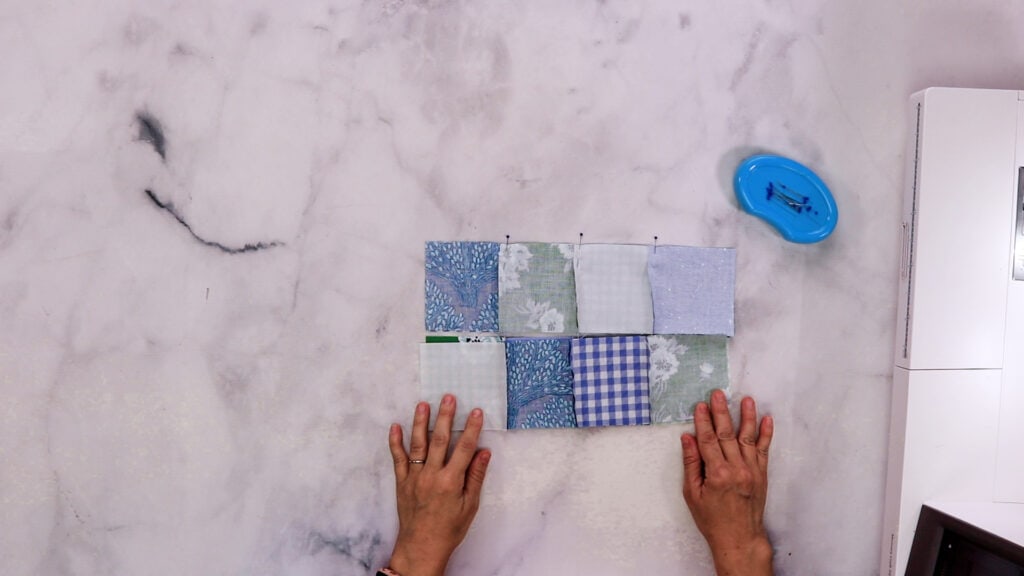
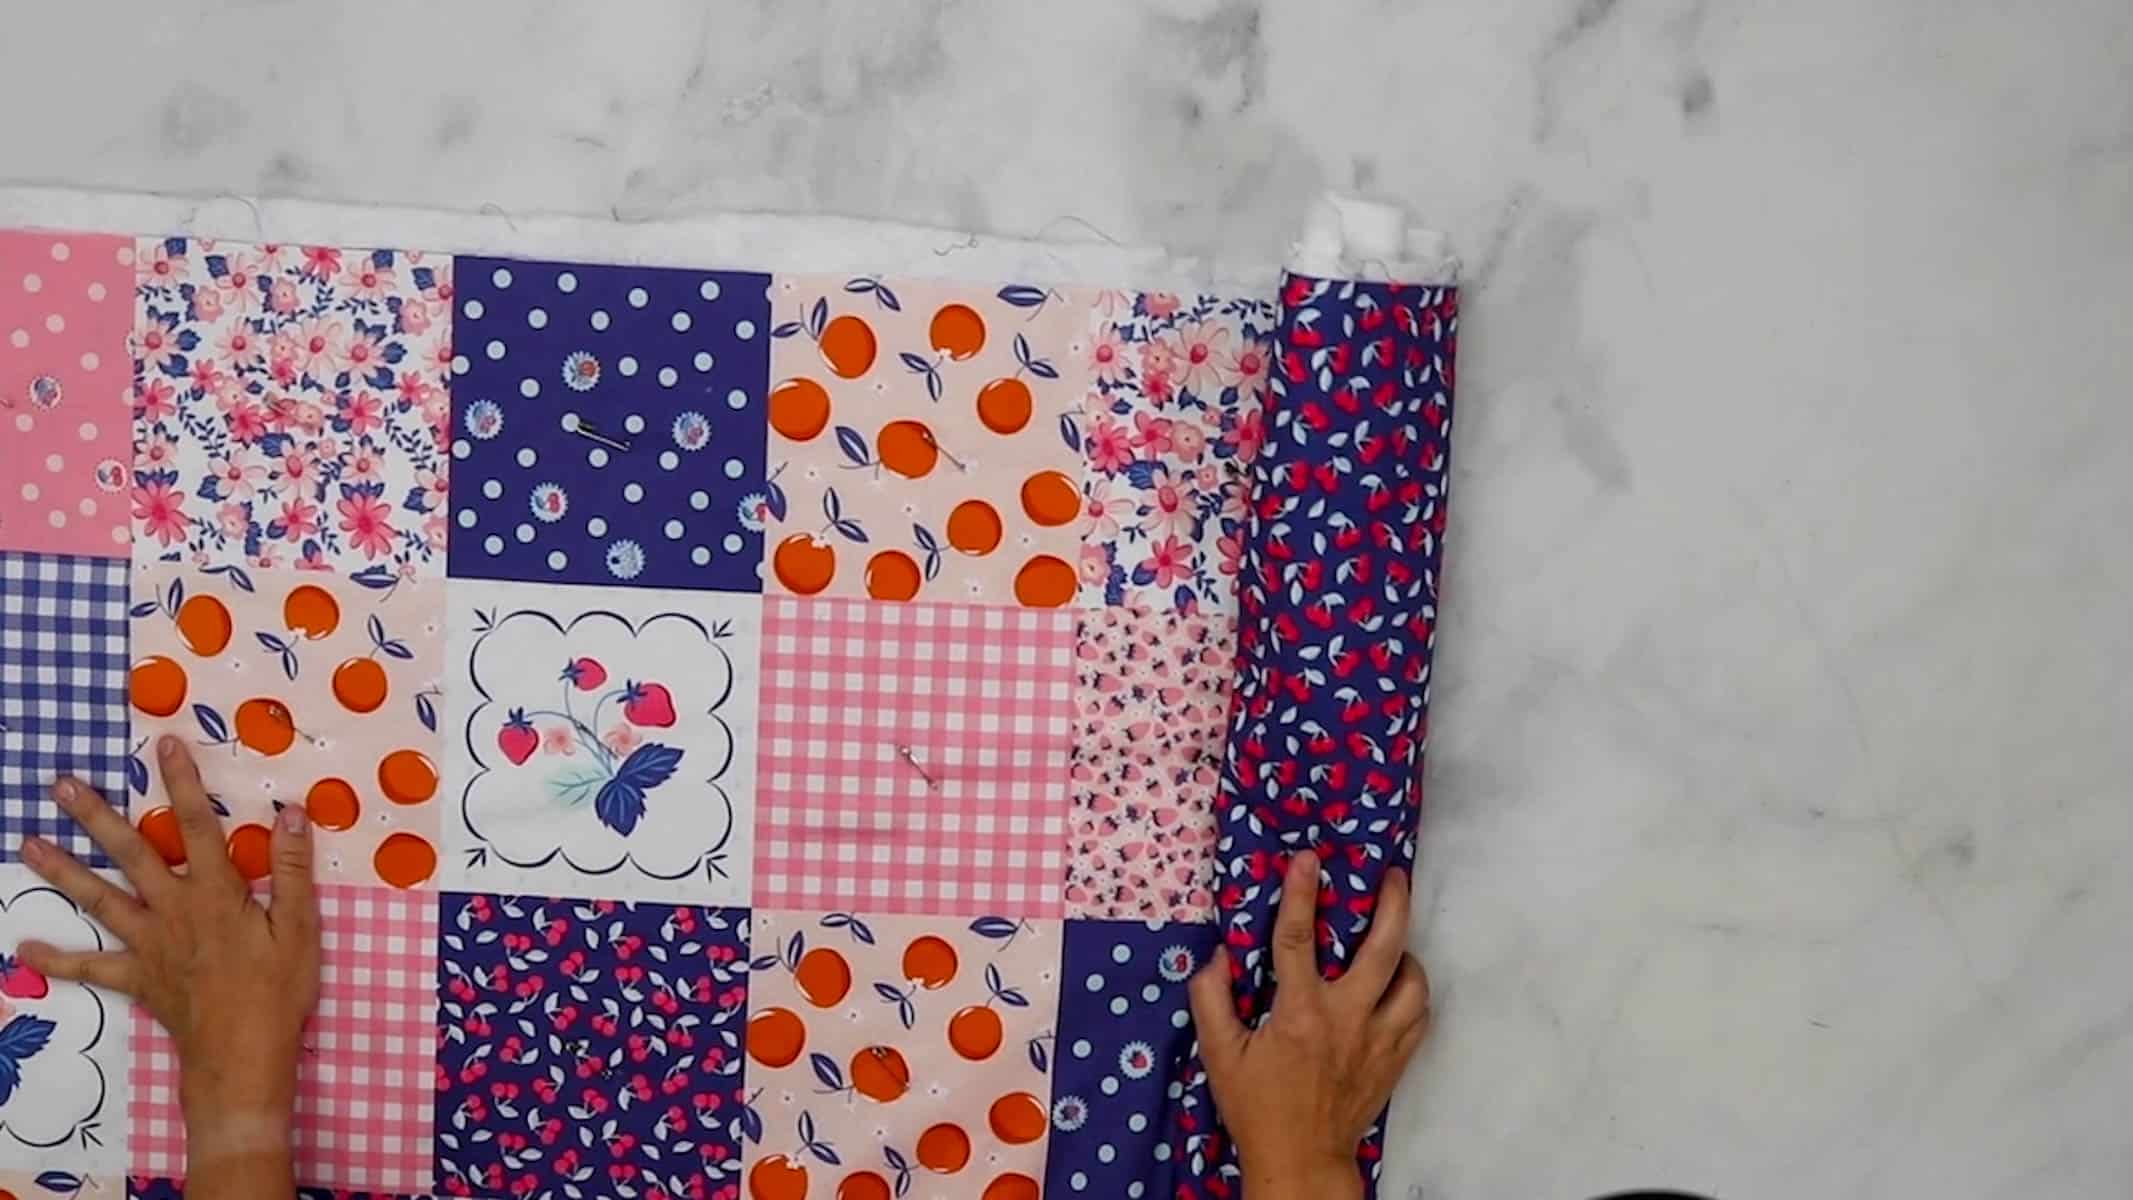
Step 2: Arrange the squares to your liking in a 4 x 4 square block for the newborn and 0-3 months sizes. Arrange the squares in a 4 x 5 square block placement for the 6-12 month and 1-4 year sizes.
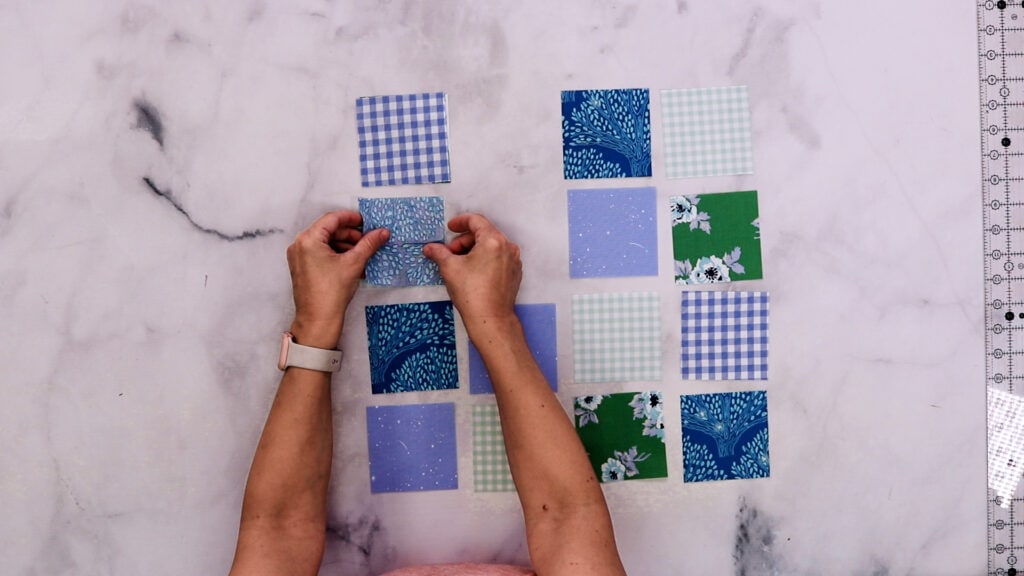
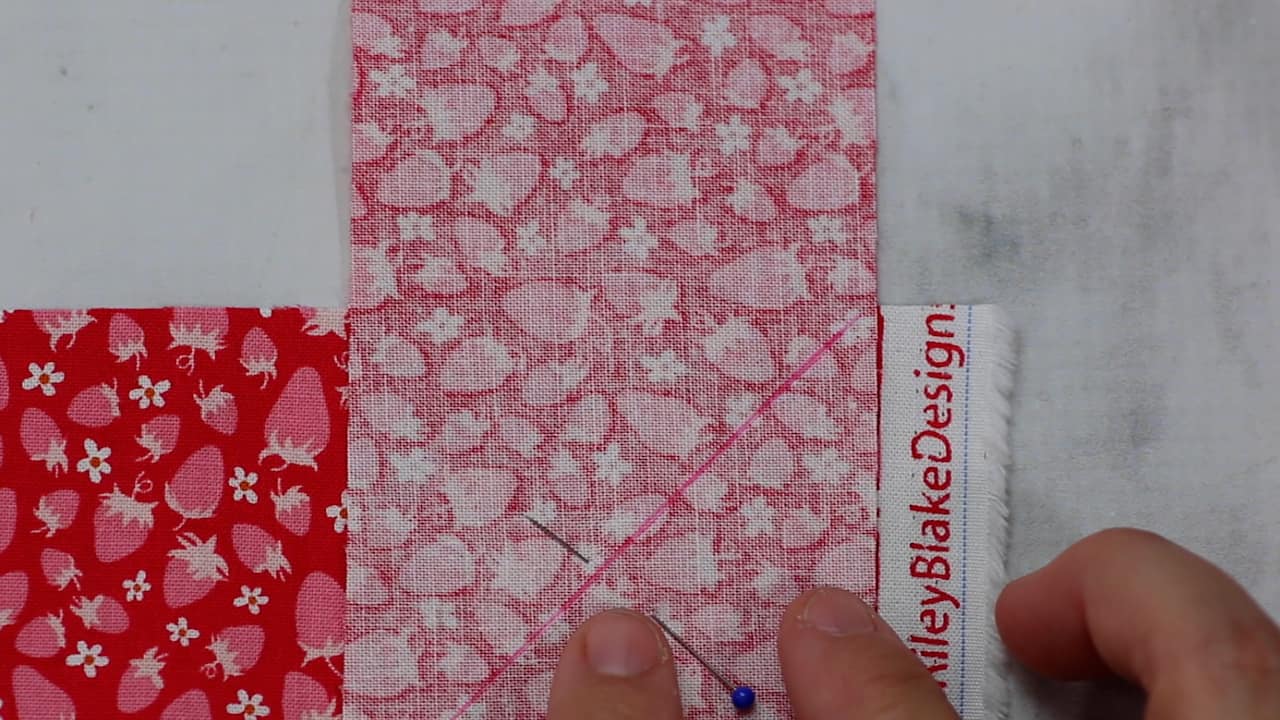
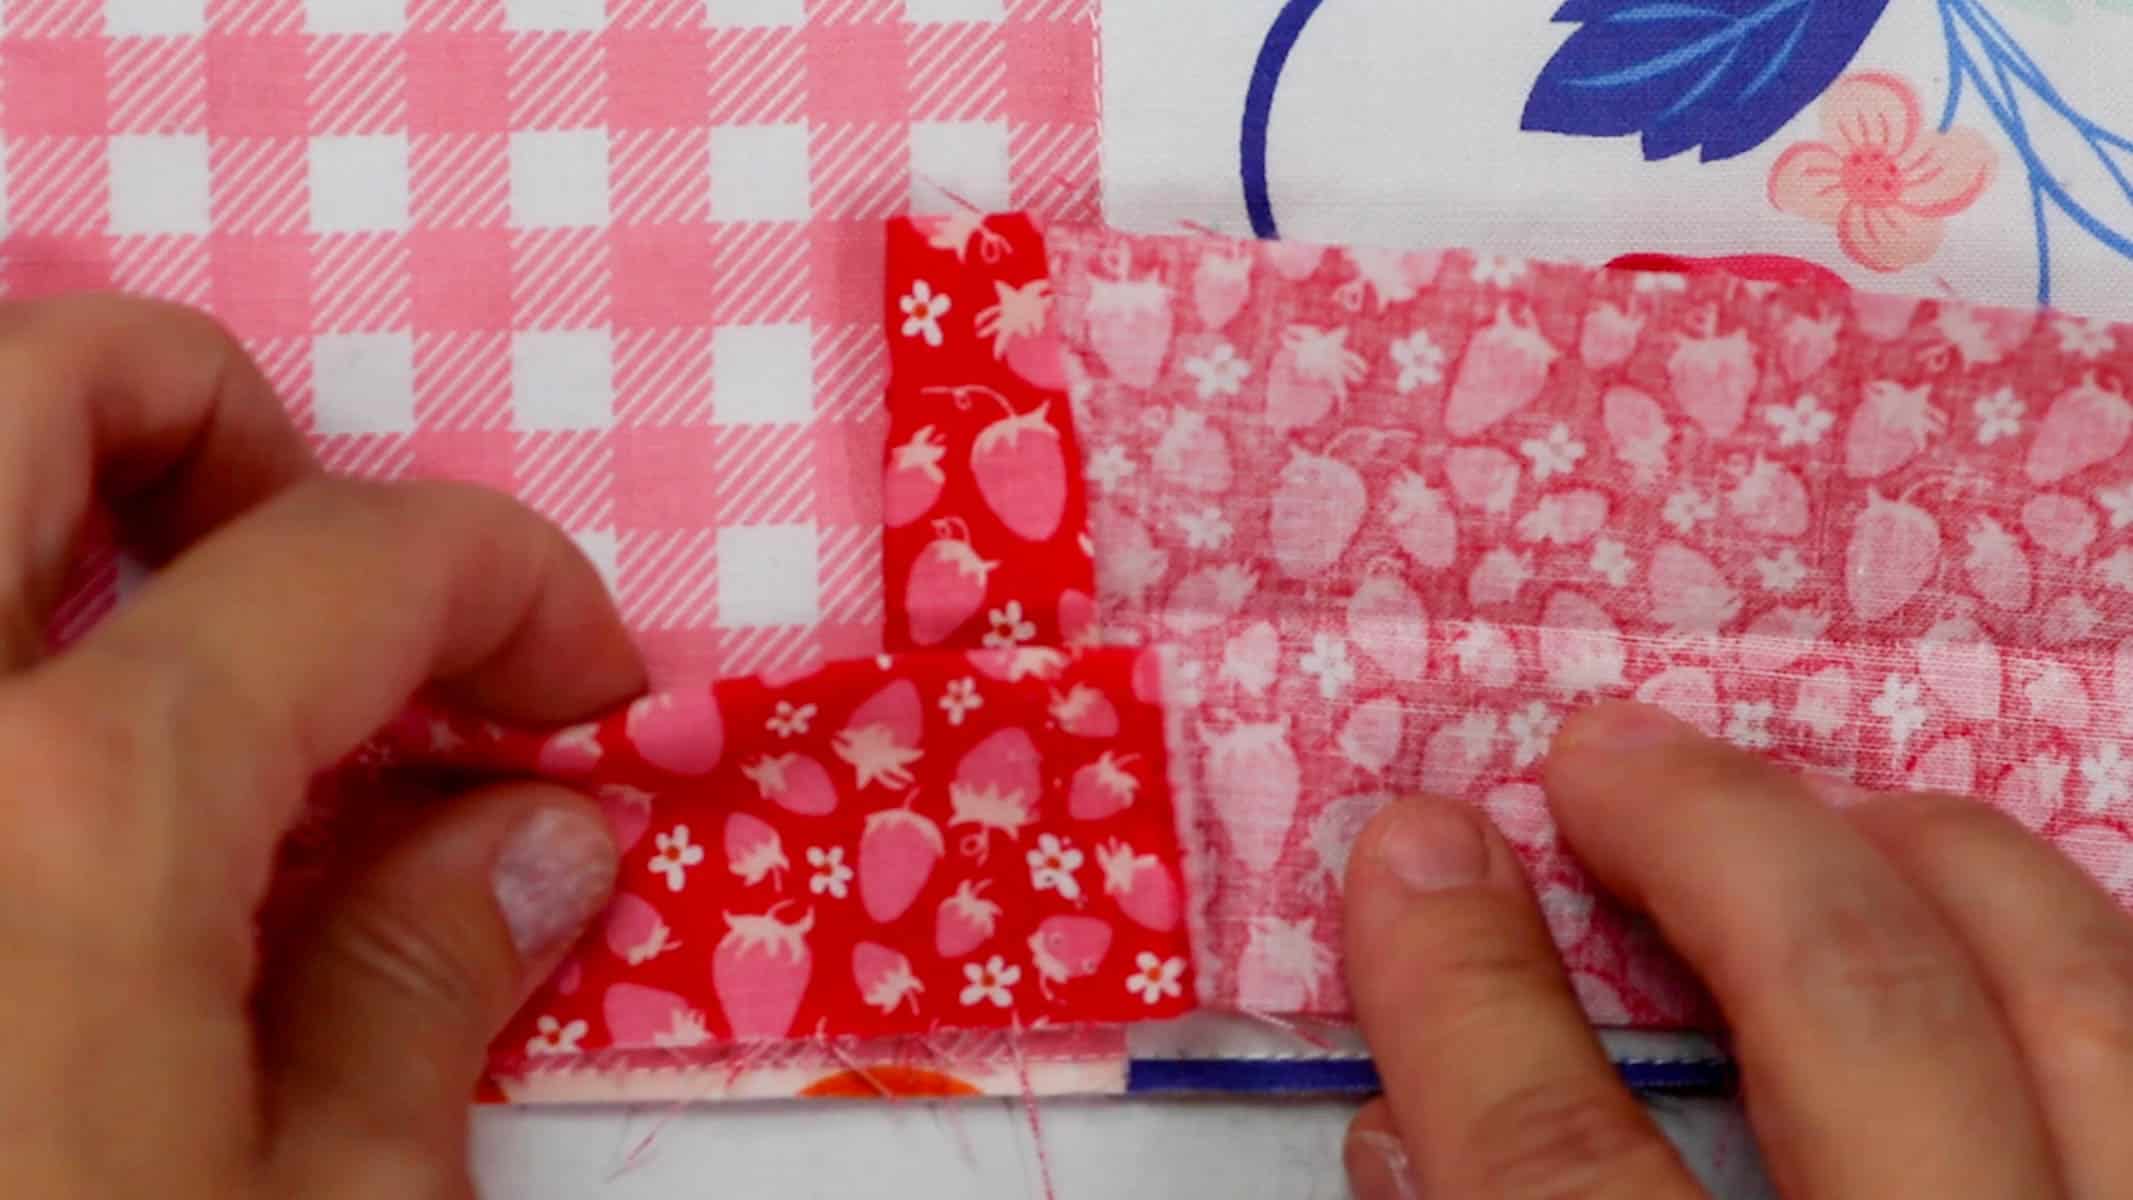
Step 3: place the squares in the second column right sides together with the adjacent square in the first column. Repeat so the fourth column squares are right sides together with the third column squares.
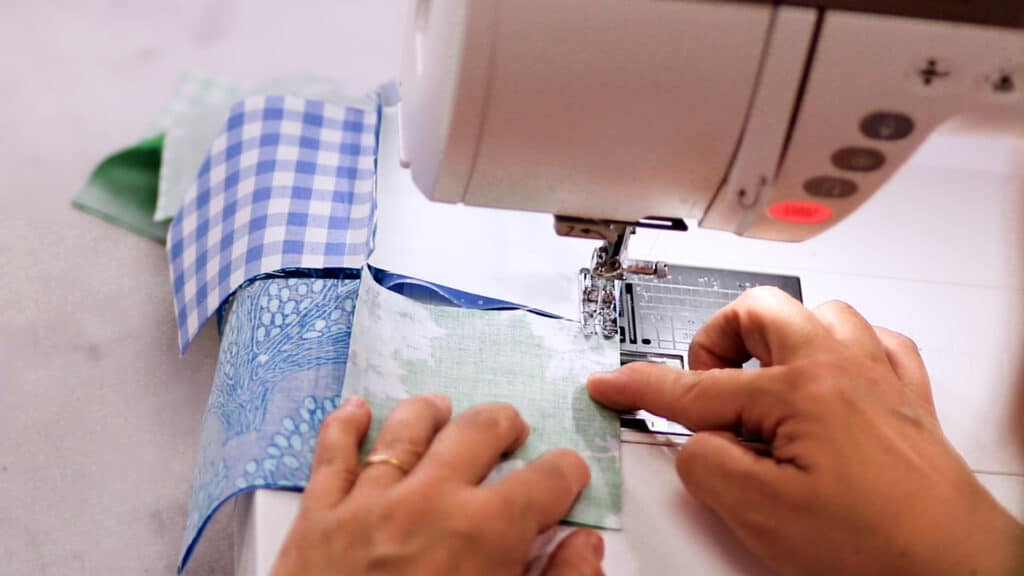
You will be using the chain piecing technique to sew the squares together.
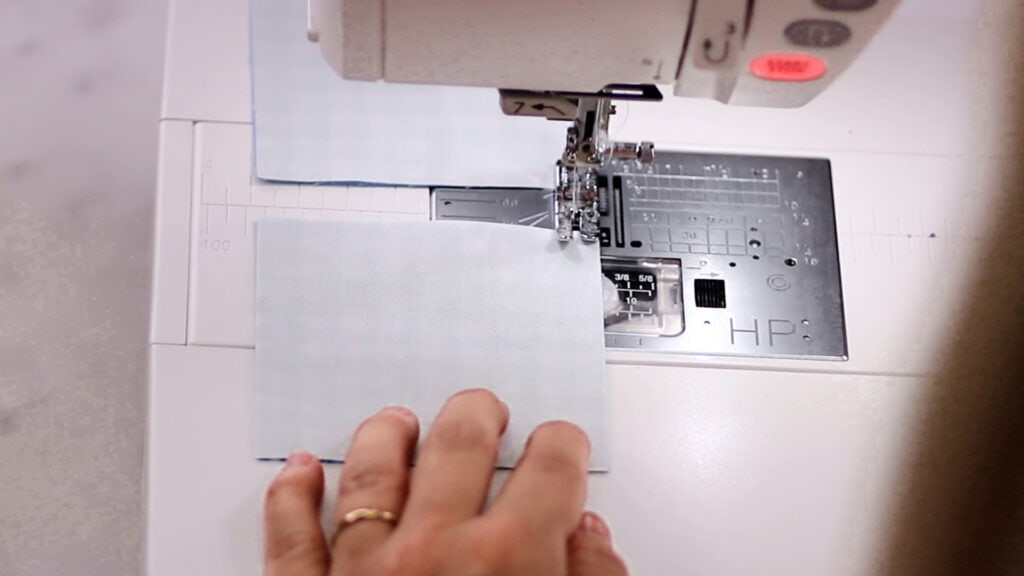
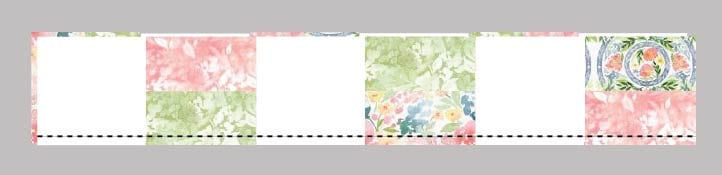
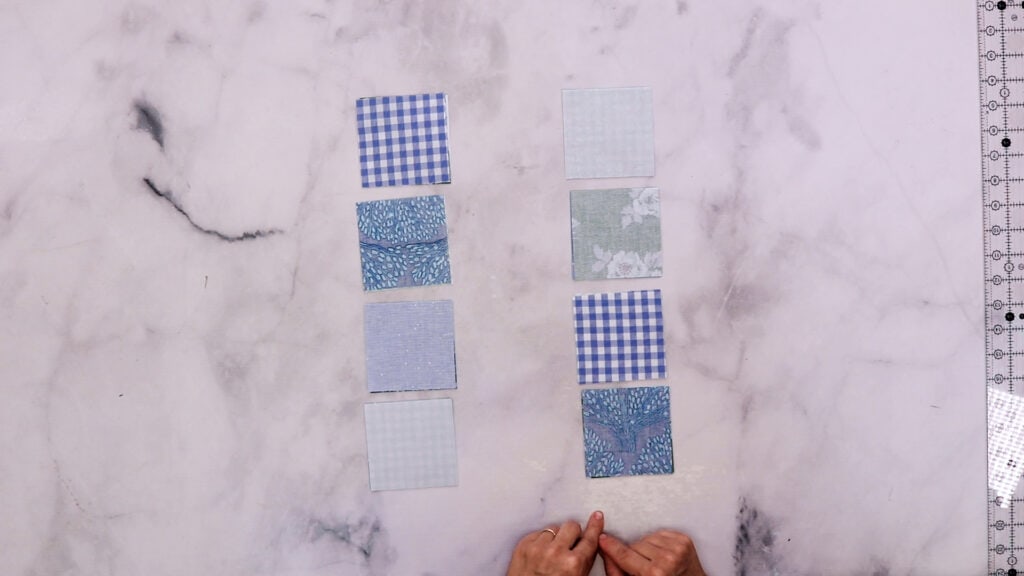
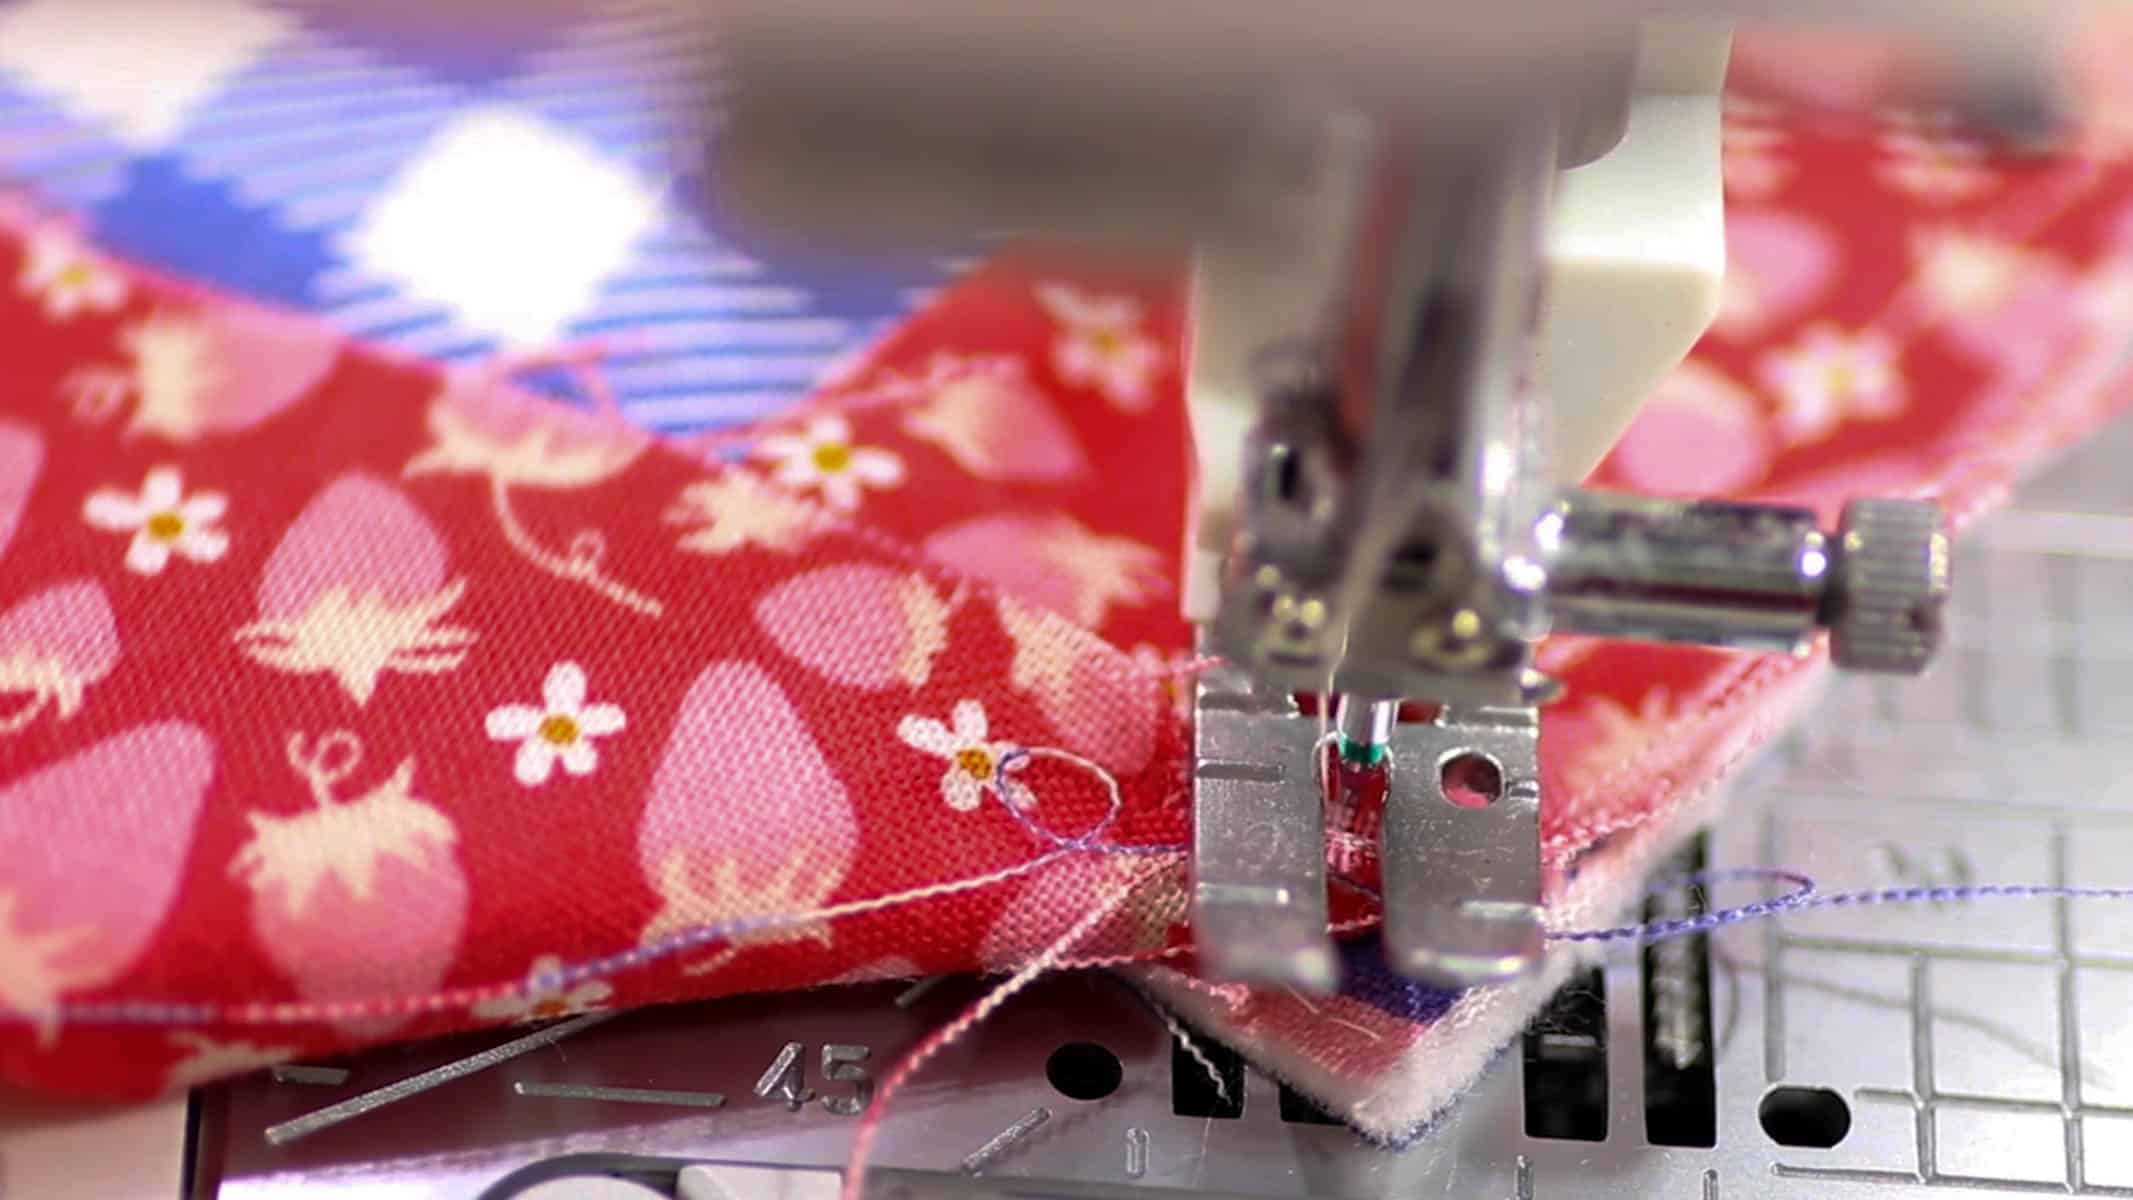
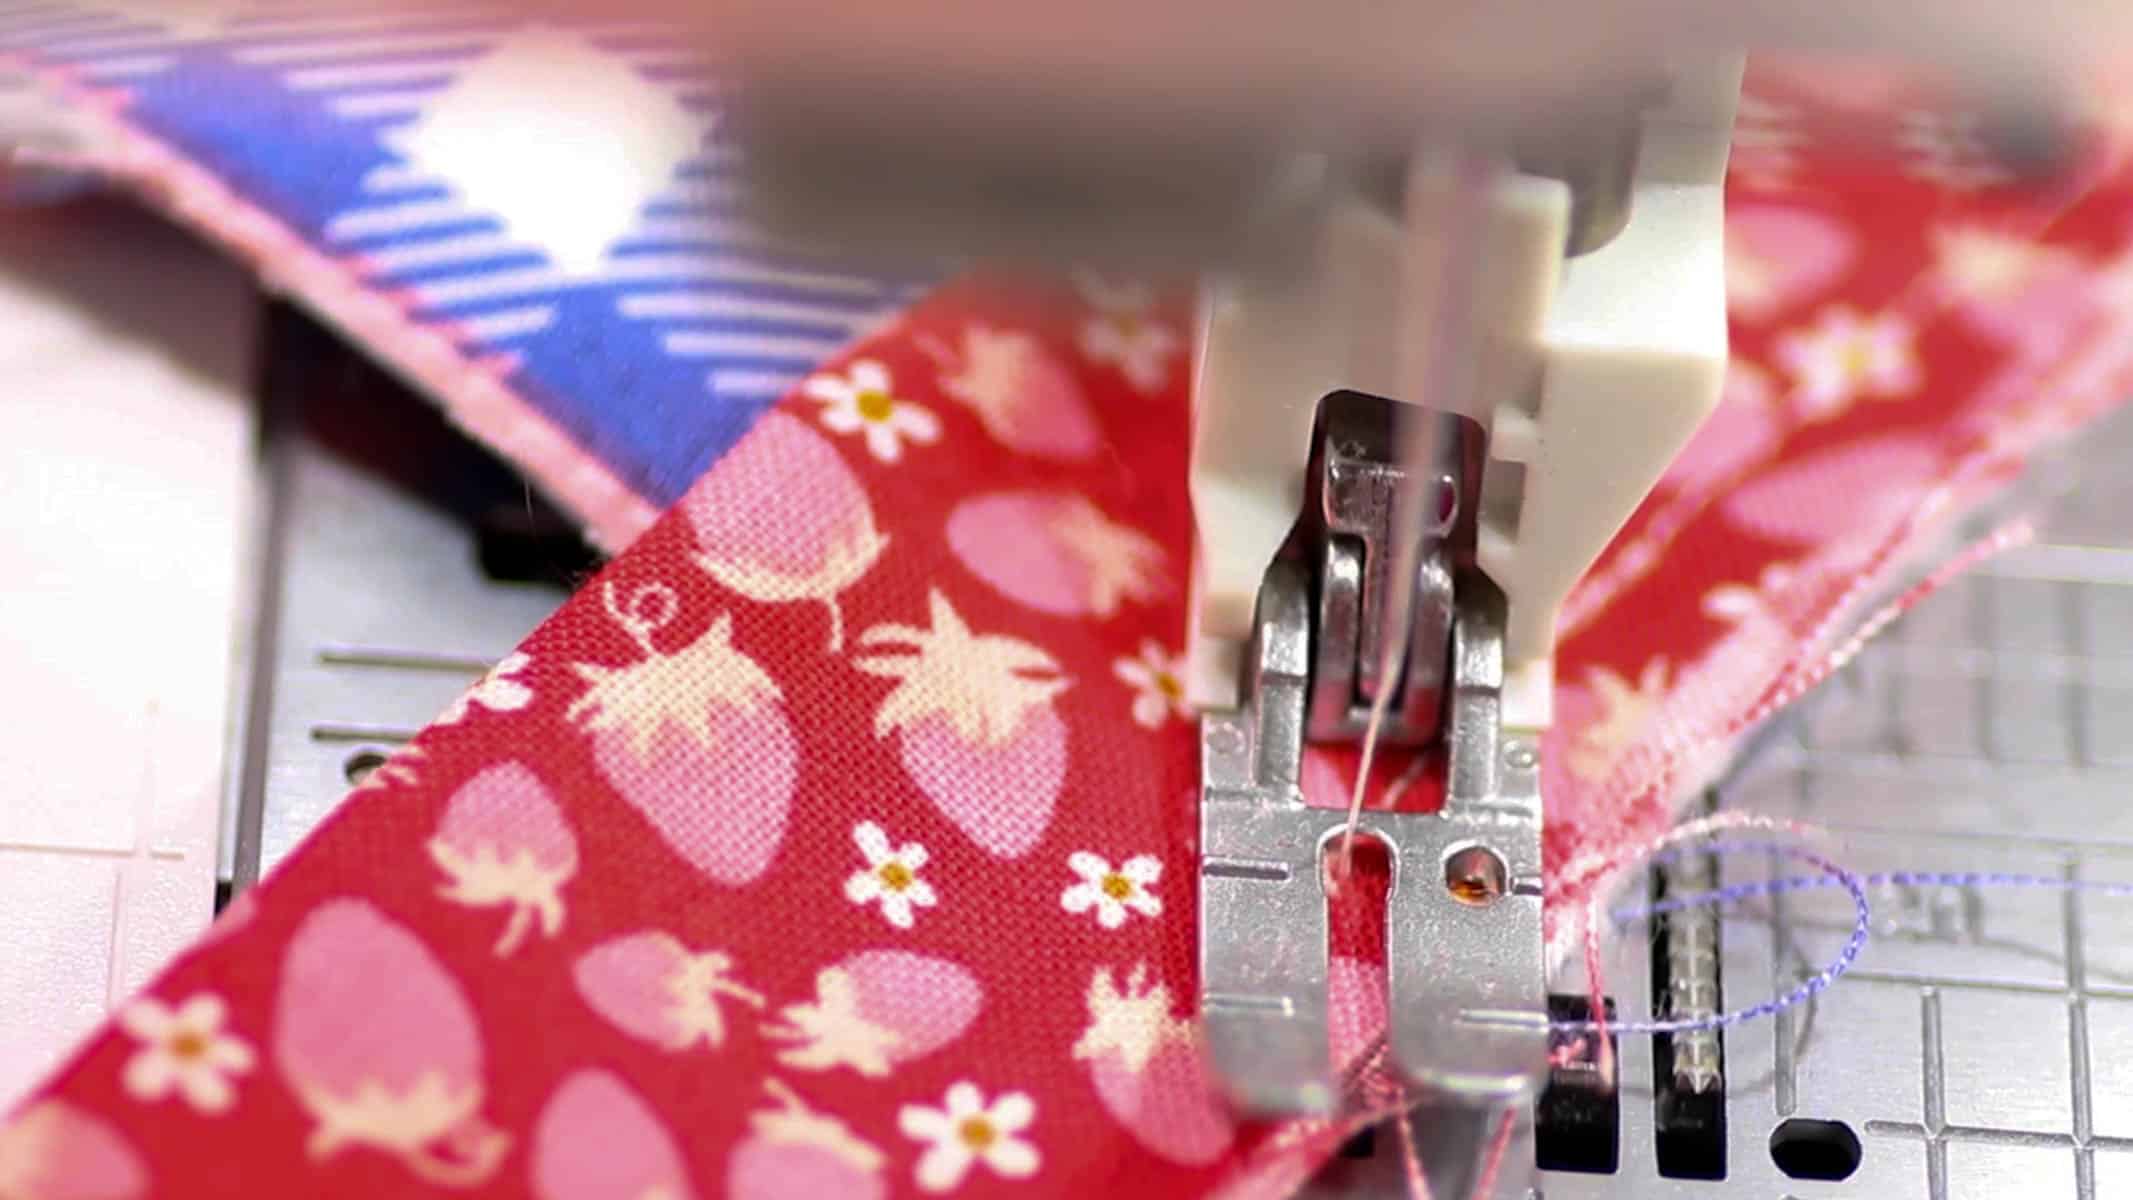
Step 4: Sew down the right side of the squares starting with the first square in the first column using a 1/4″ seam allowance . Continue sewing the second, third, and then fourth square in the column using a 1/4″ seam allowance. Repeat for the second column.

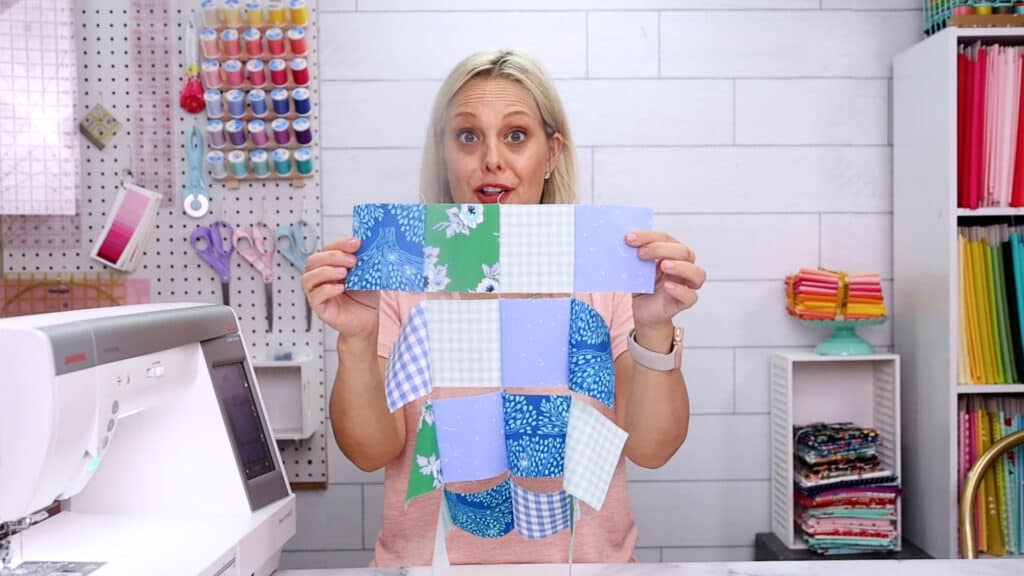
You will leave the threads between each set of squares attached. Lay flat. It will look like this when completed.
Step 5: fold in half vertically so the third and fourth columns are right sides together over the first and second columns.
Step 6: Sew 1/4″ seam allowance down the right side of all the squares in the unit formed in the previous step.
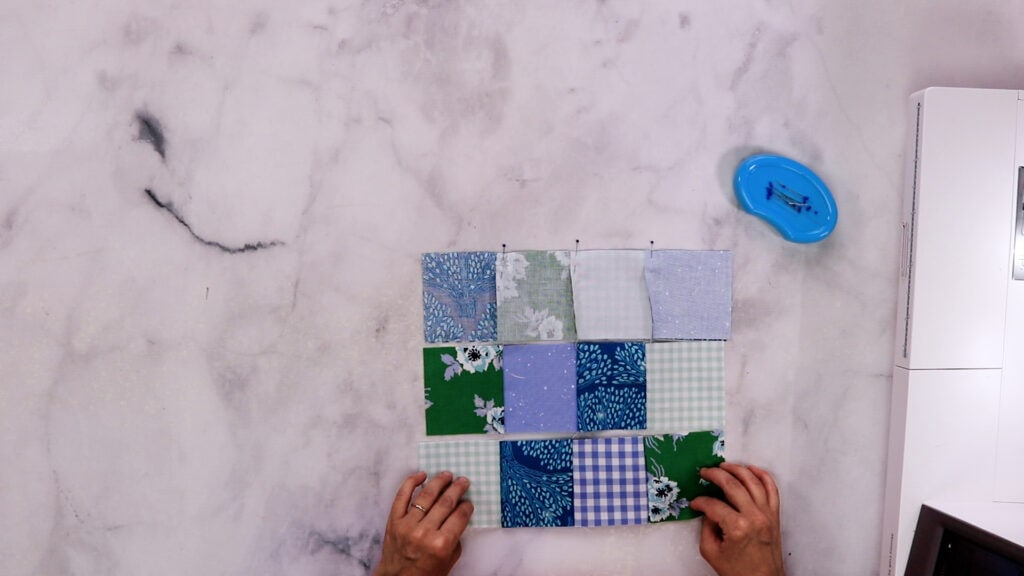
All the squares are now sewn into rows as shown.
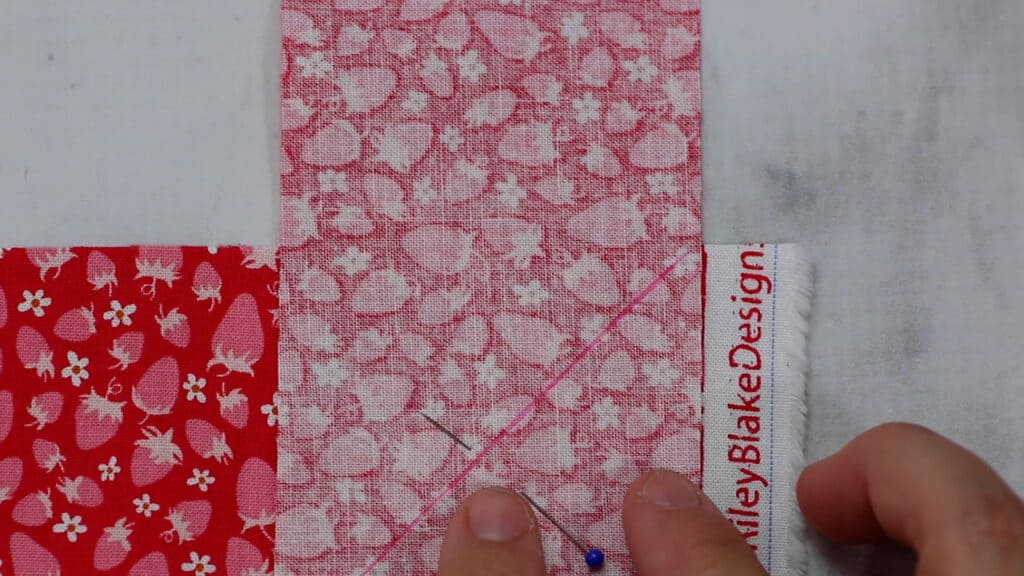
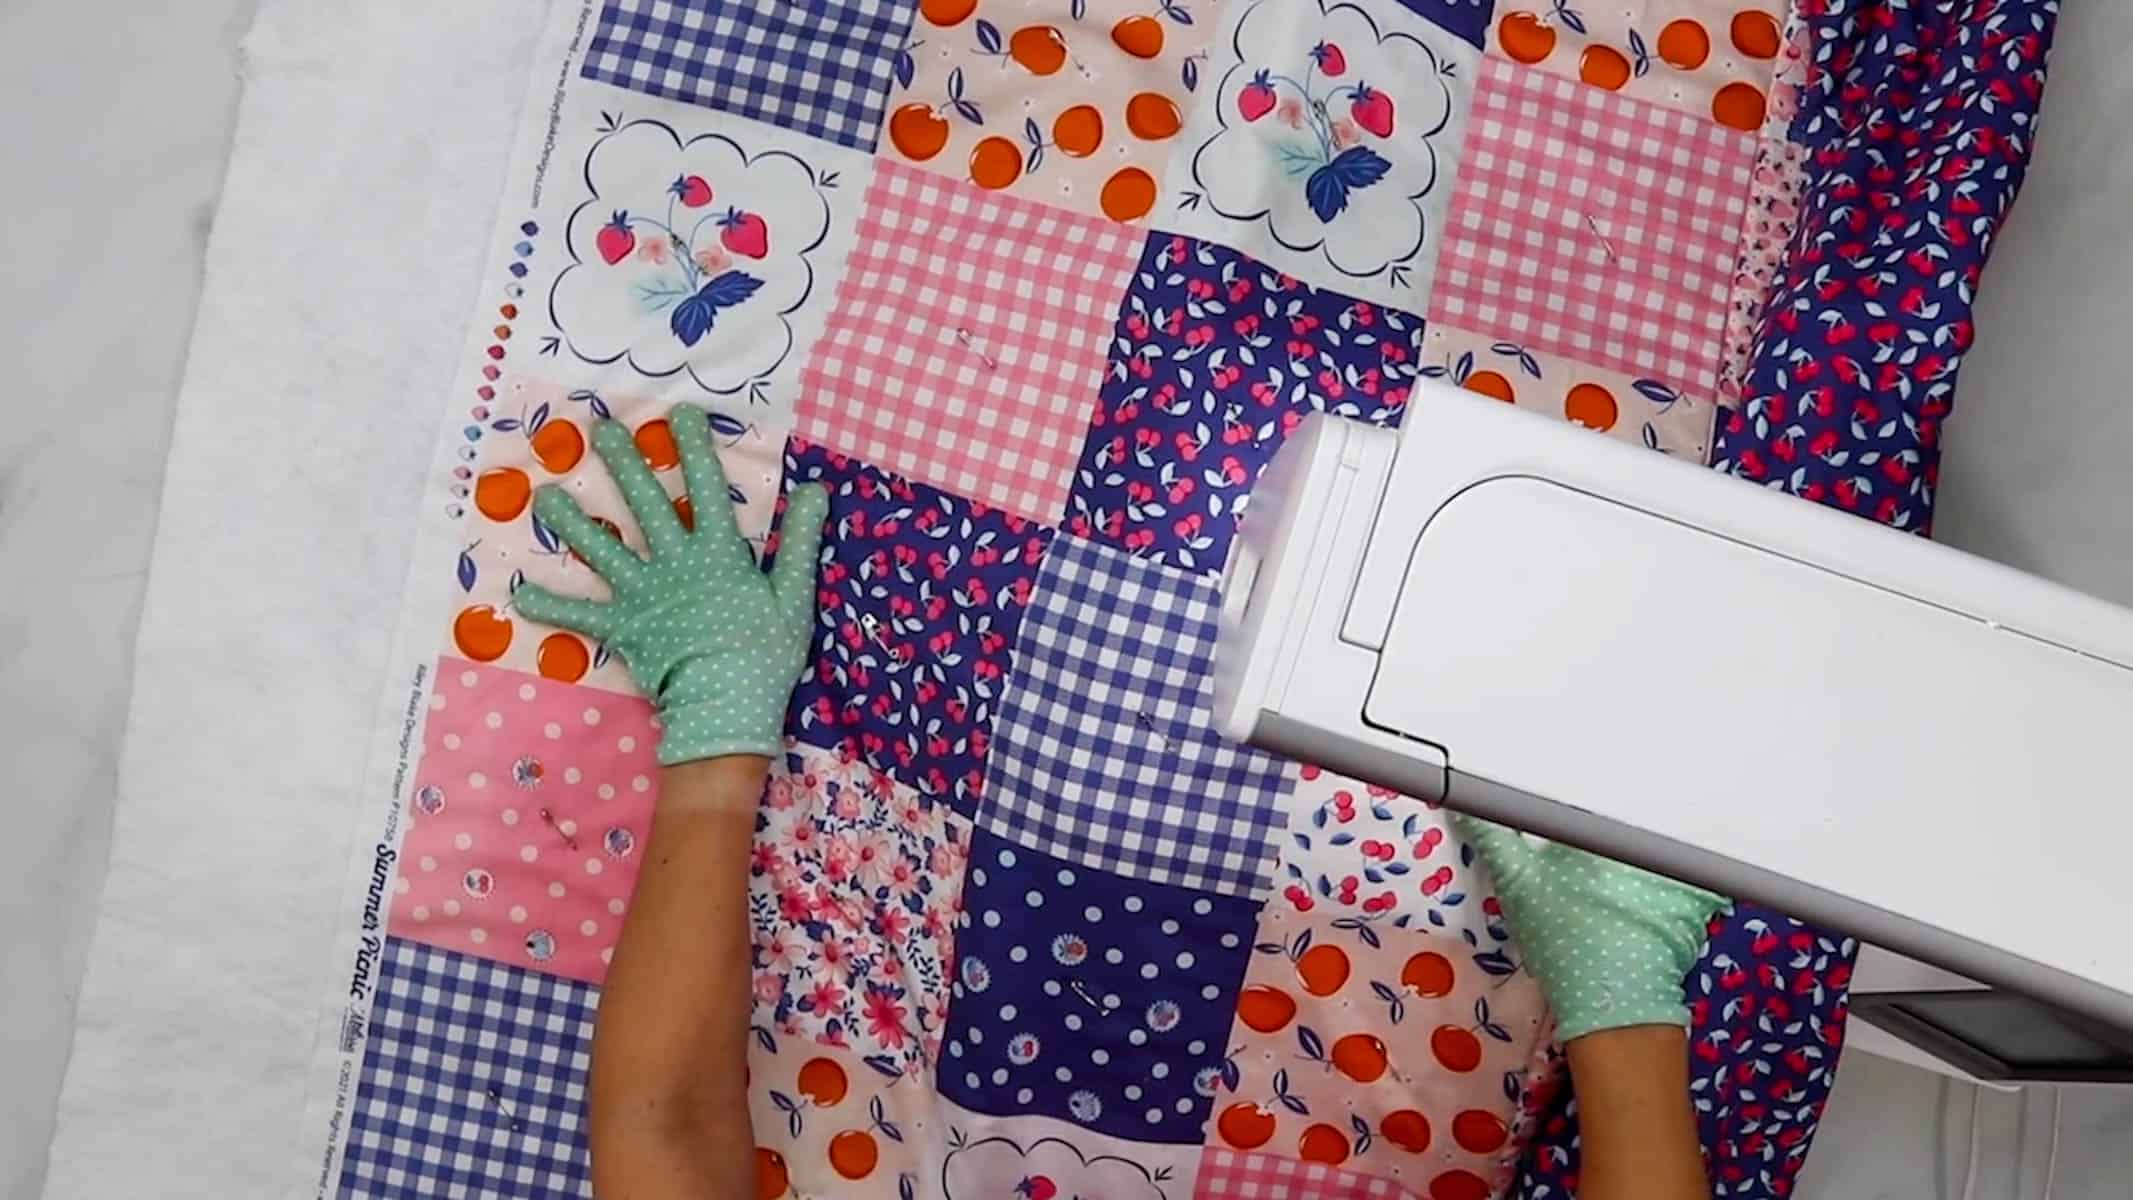
Step 7: Fold the top row right sides together over the second row and pin in place. Be sure to nest the seams as shown in the pictures below.
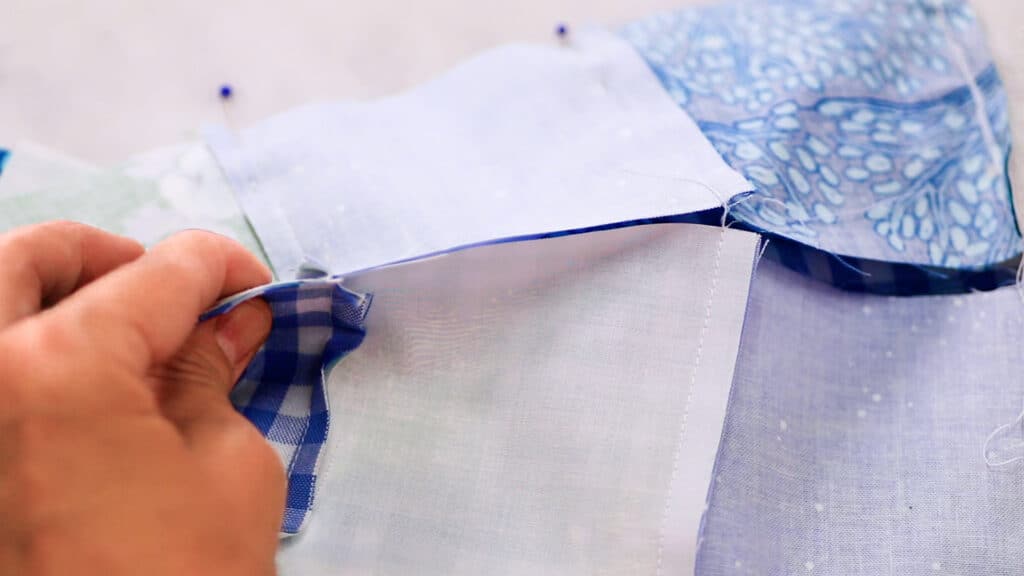
Step 8: Fold the seam allowances for the first row to the right side and press. Fold the seam allowances for the second row to the left side and press.
Step 9: Line the seam allowances up so they are facing the opposite direction to reduce bulk and pin along the seam.
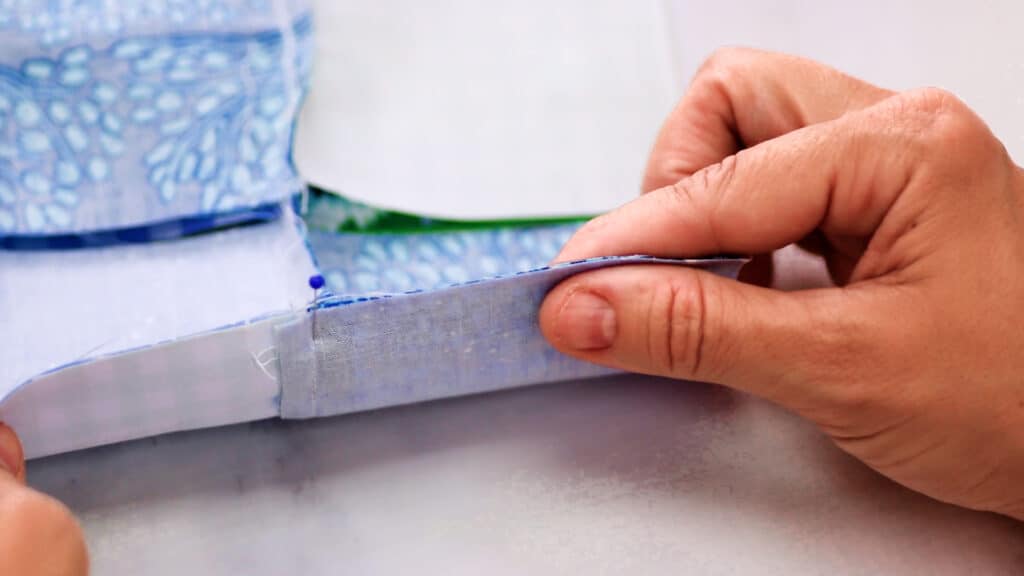
Step 10: Fold the fourth row right sides together over the third row and pin in place. Be sure to nest the seams as in the previous step to reduce the bulk in the seam allowance. Sew 1/4″ seam along the top and bottom rows. Then fold in half, nesting the seams, and pin in place. Sew 1/4″ seam to finish joining the patchwork square.
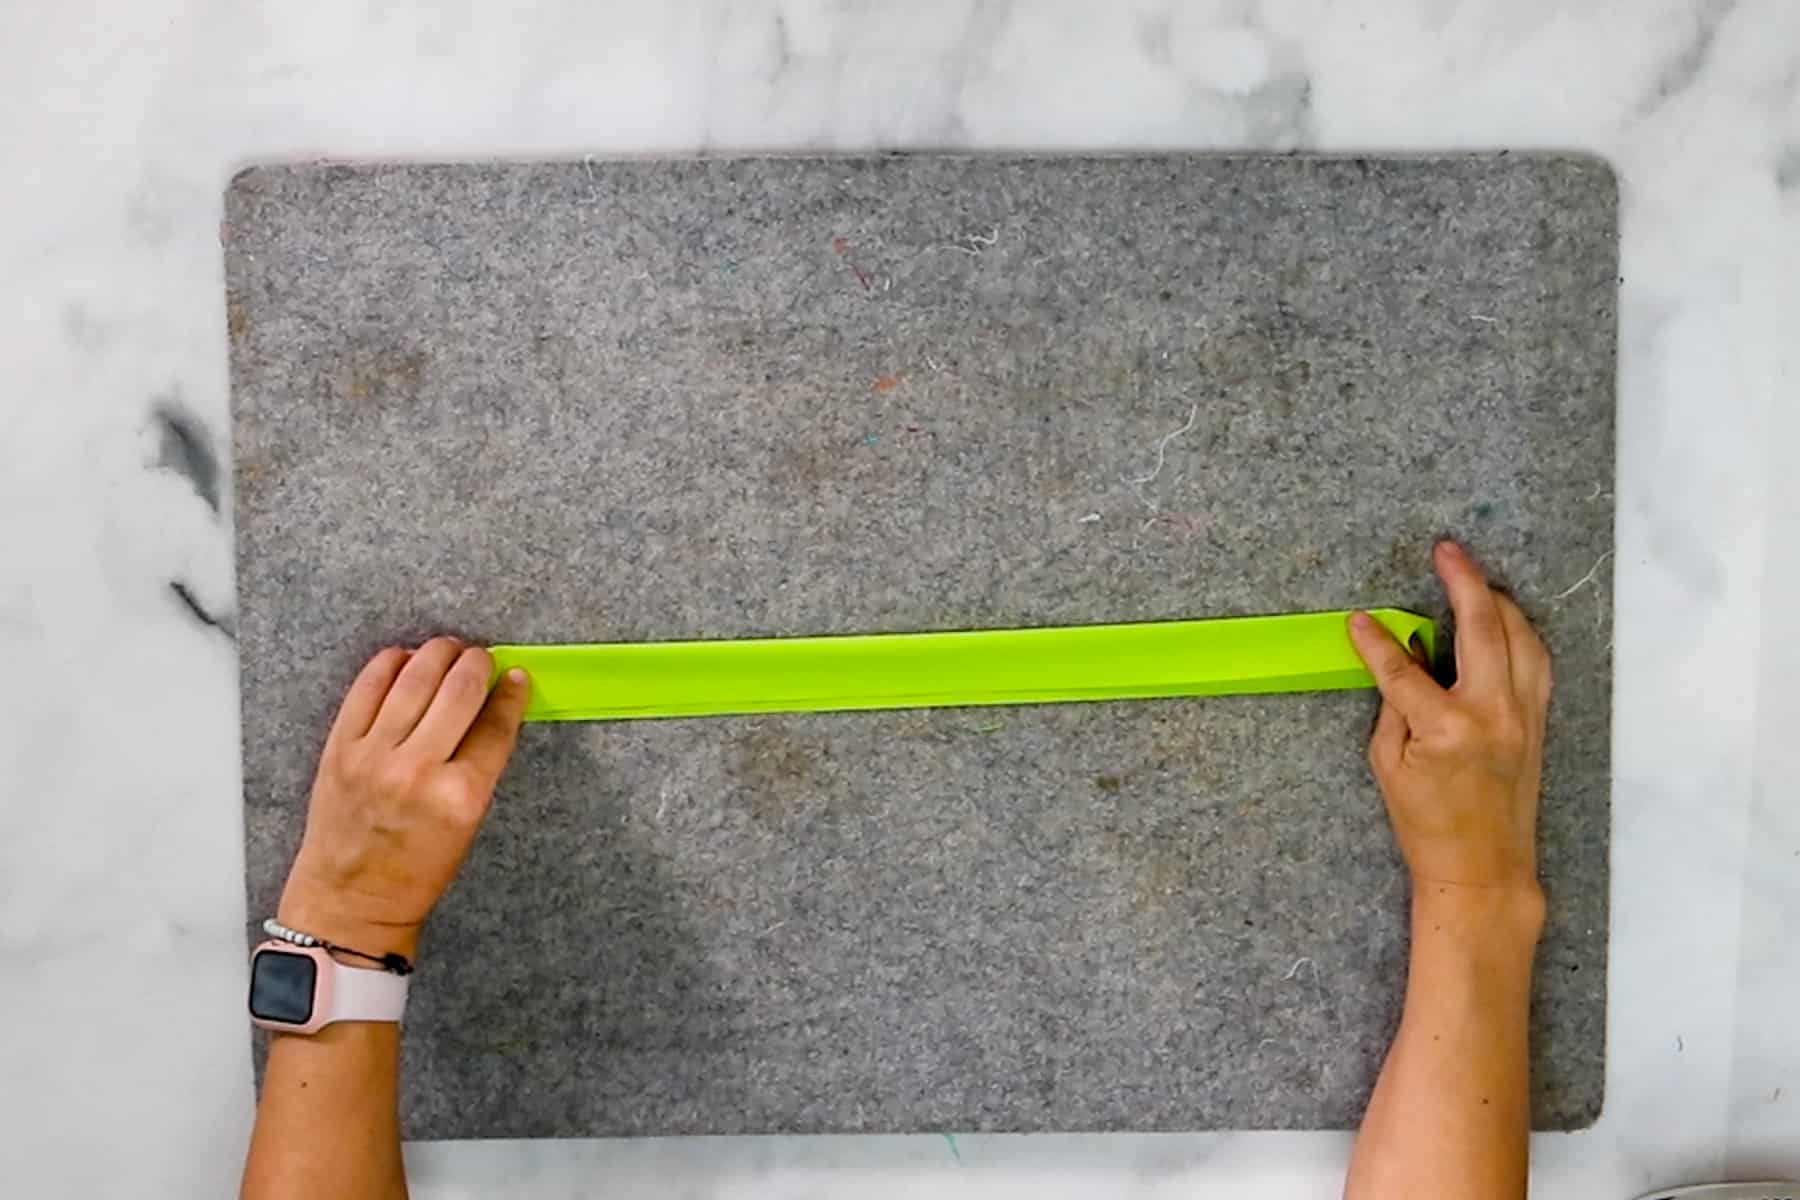
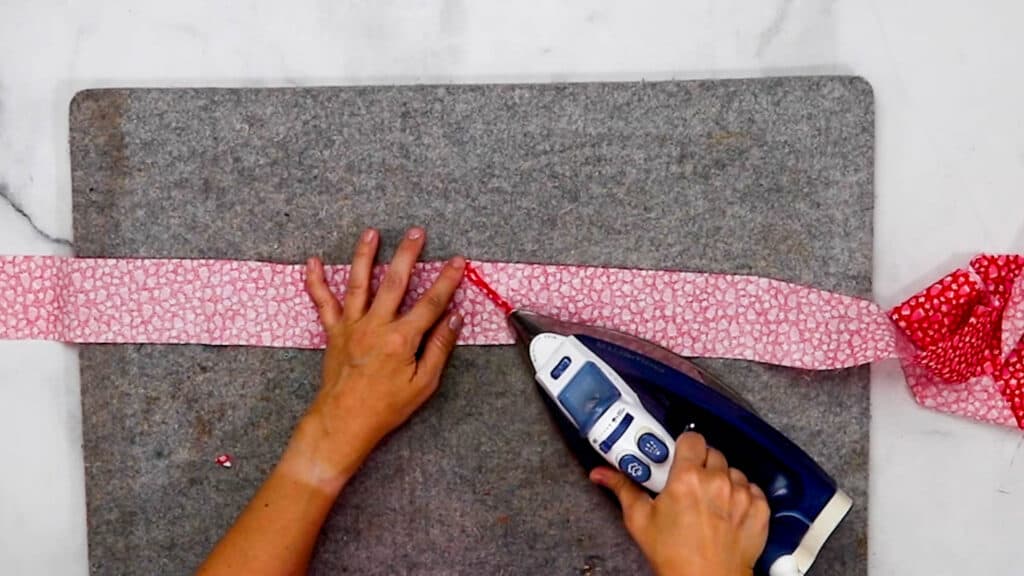
Step 11: Press the seams to one side.
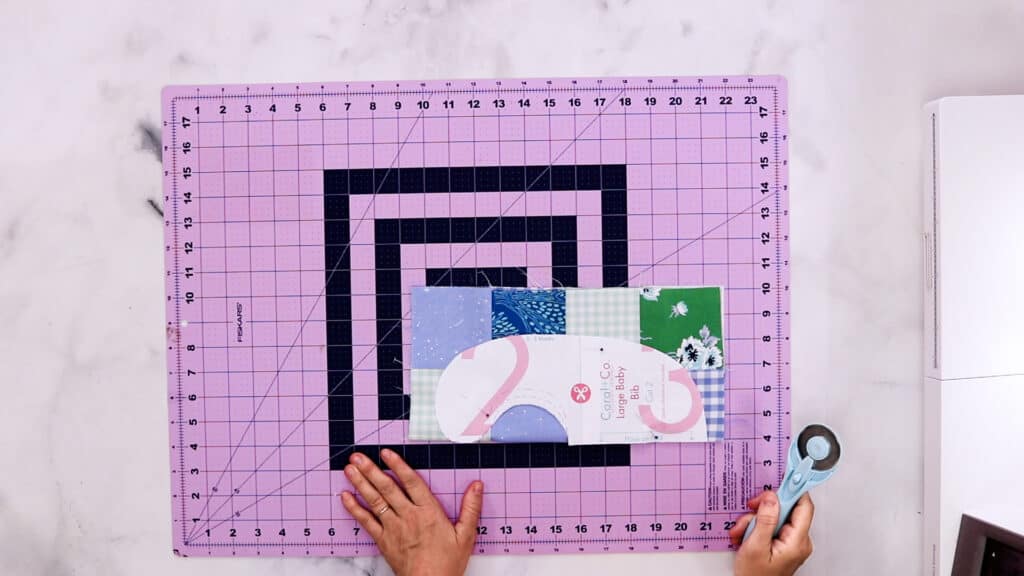
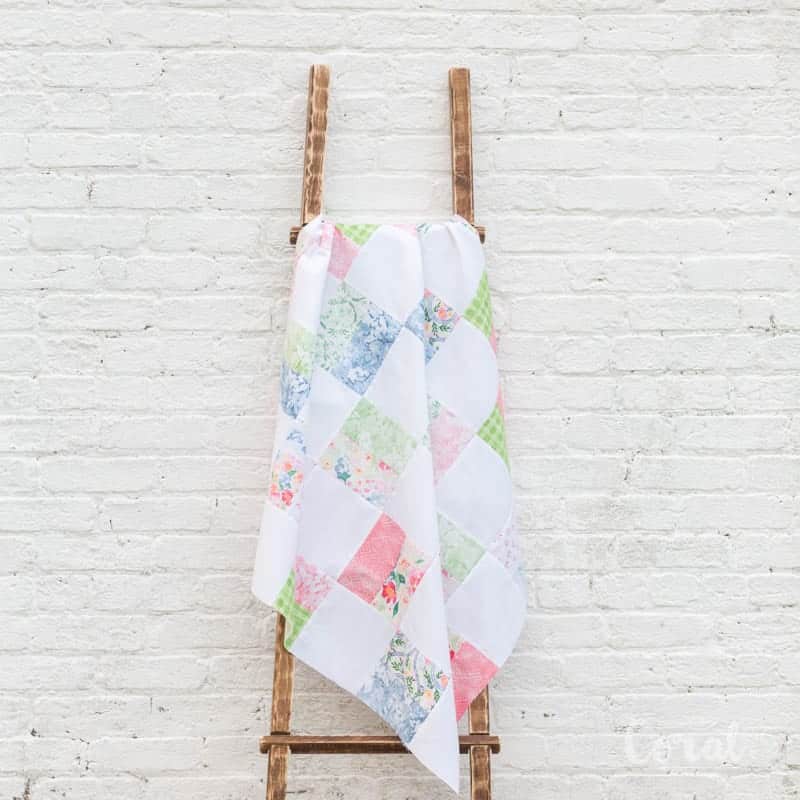
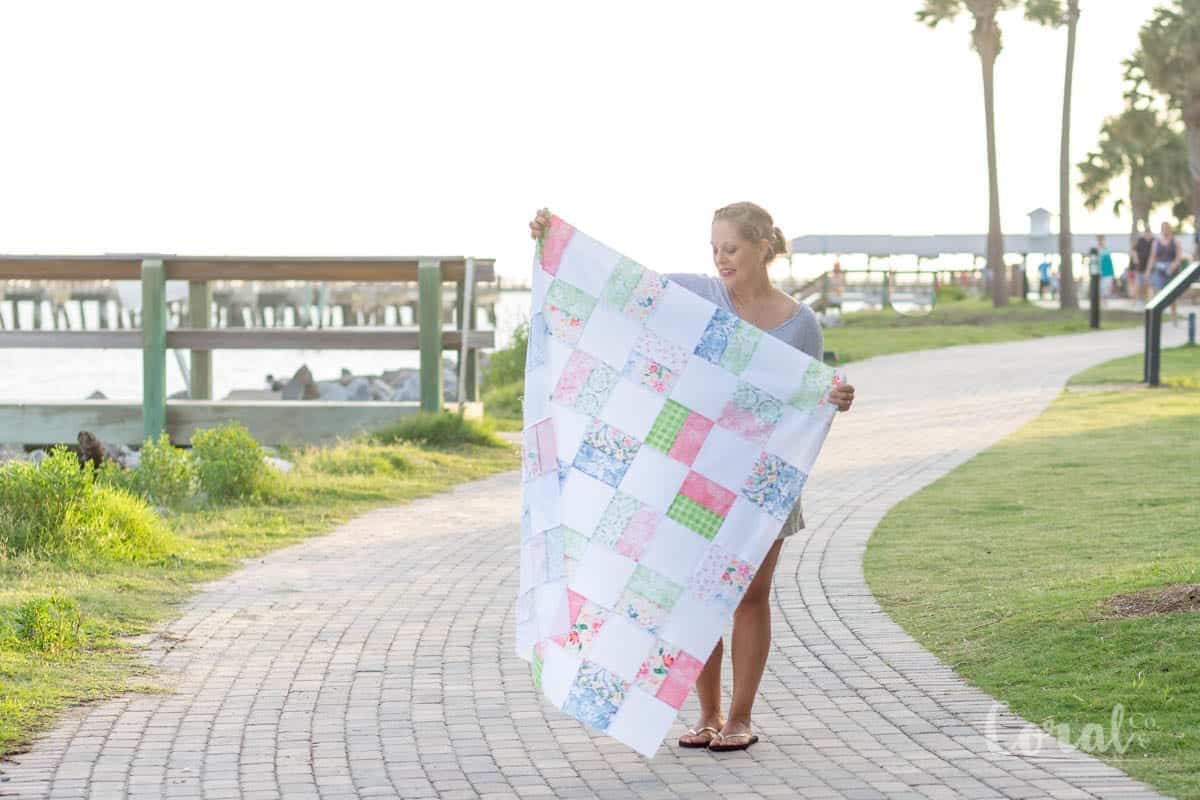
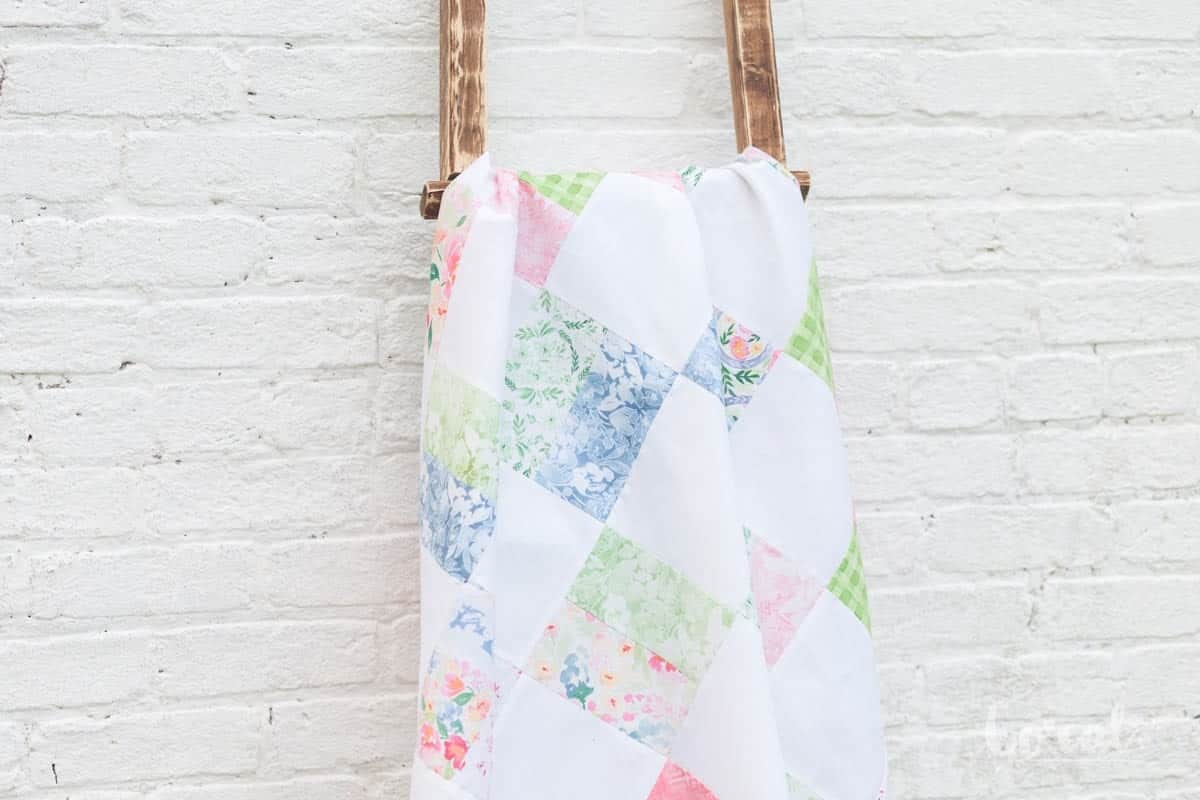
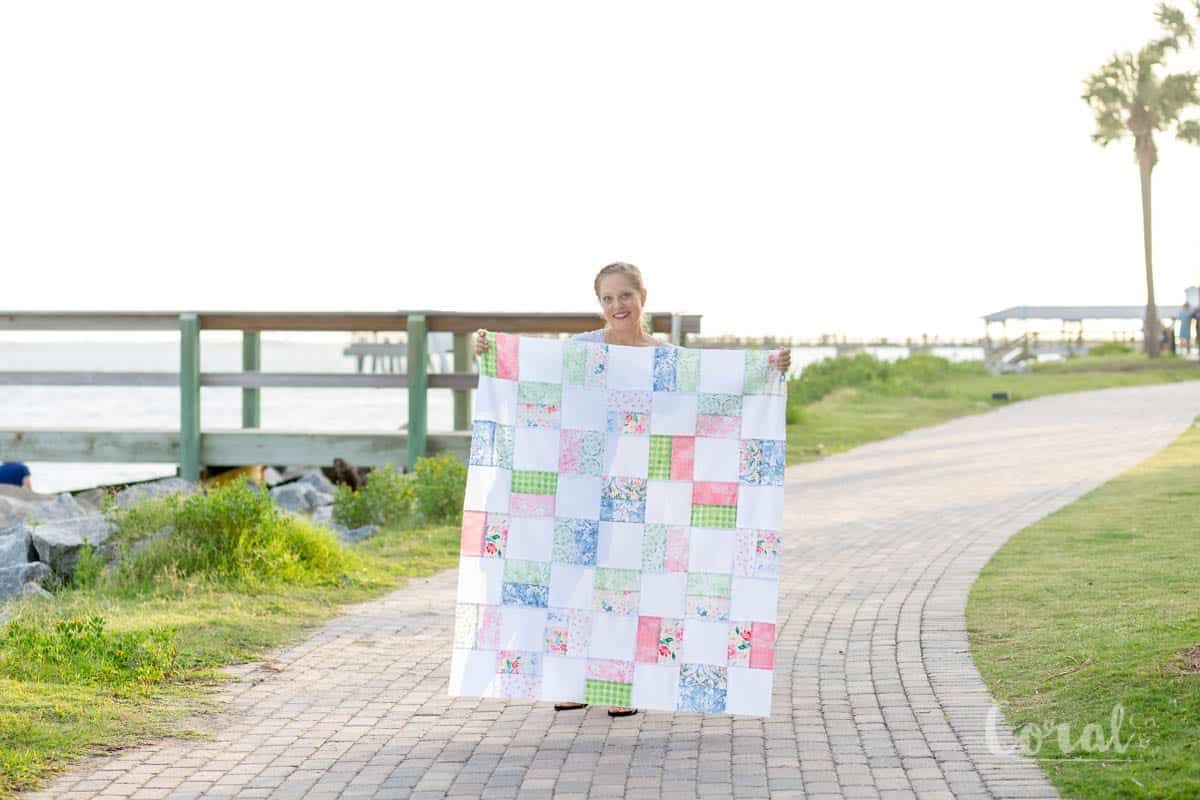
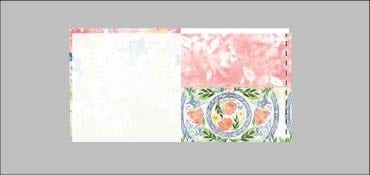
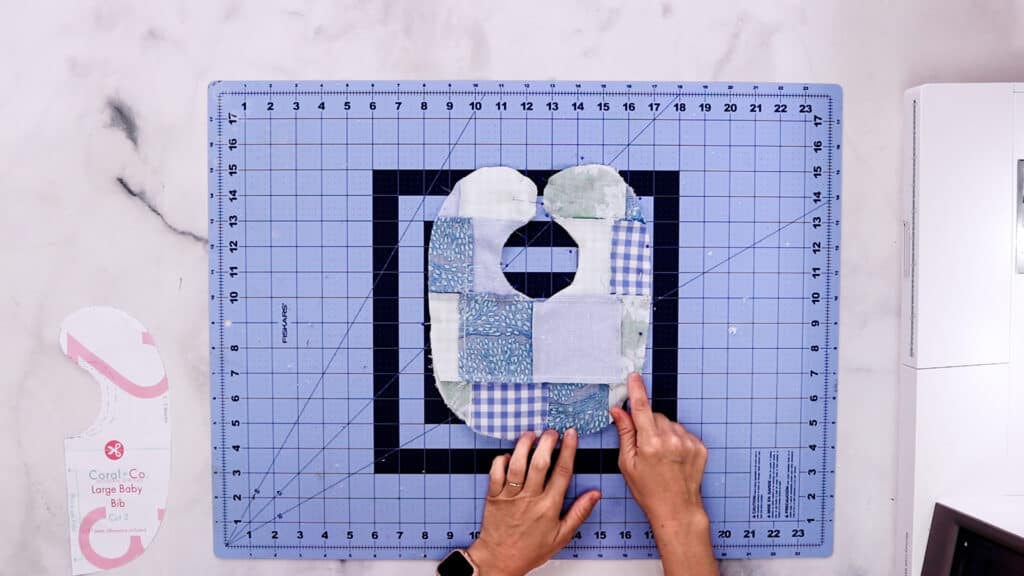
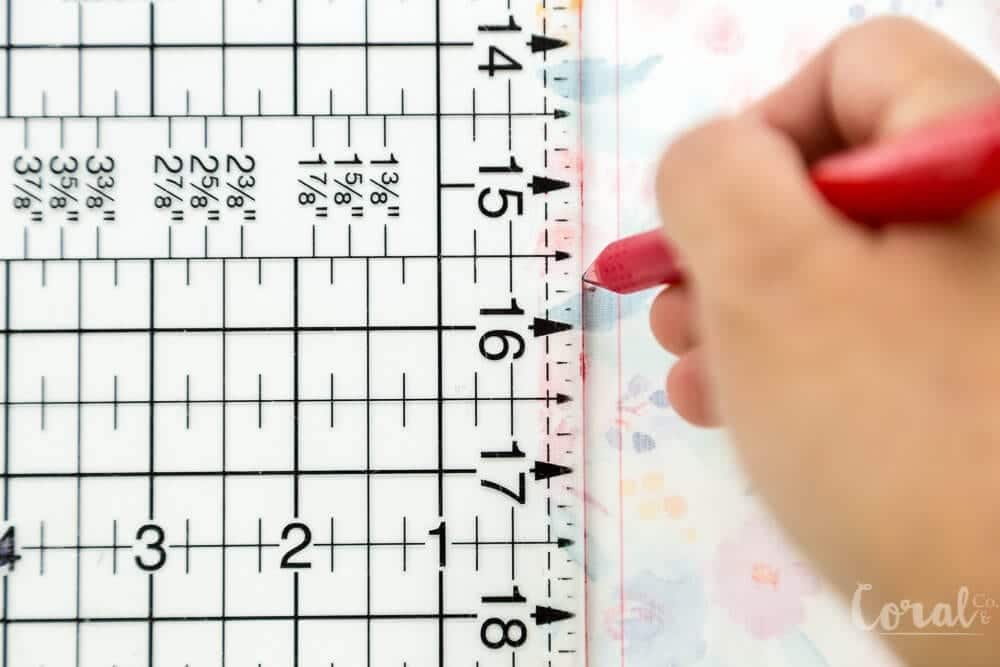
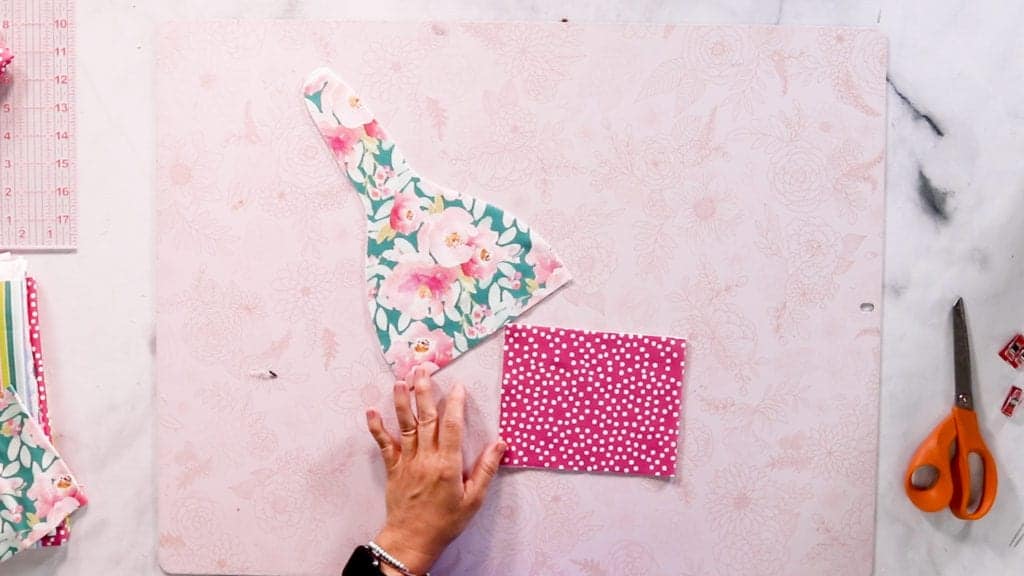
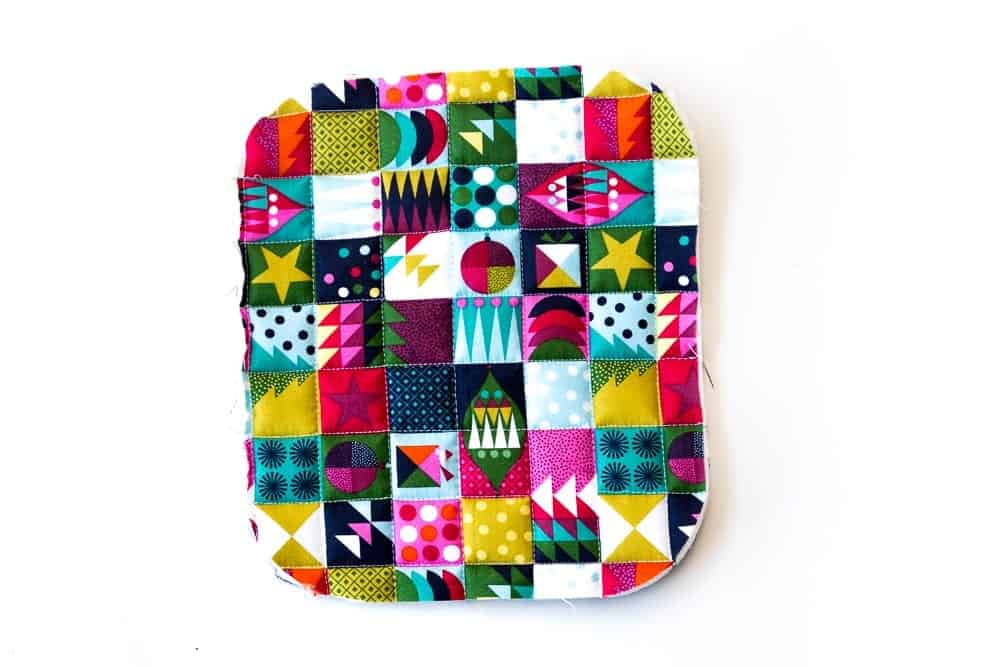
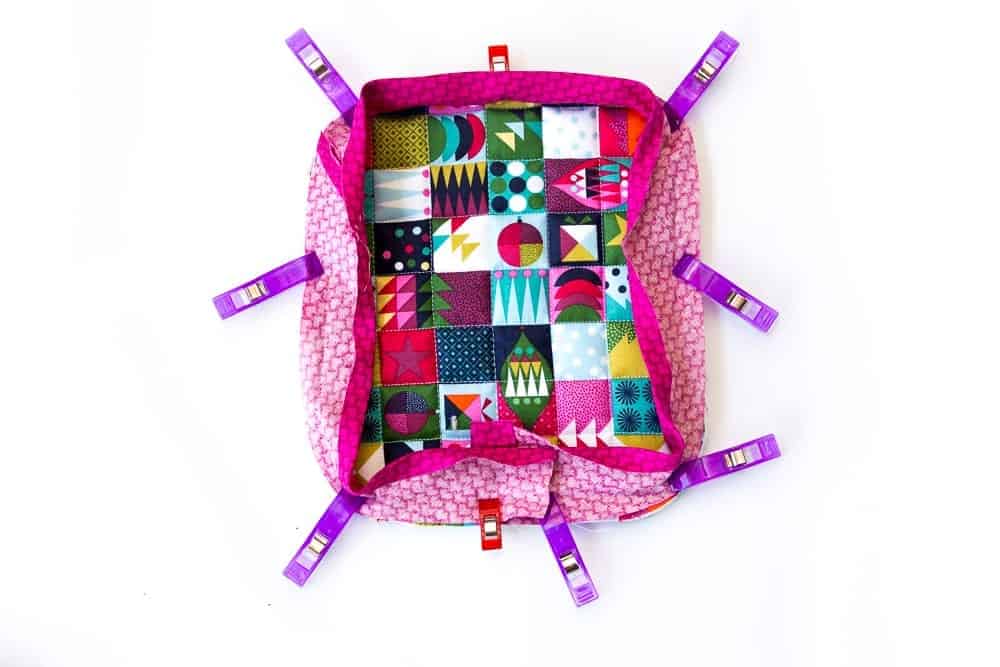
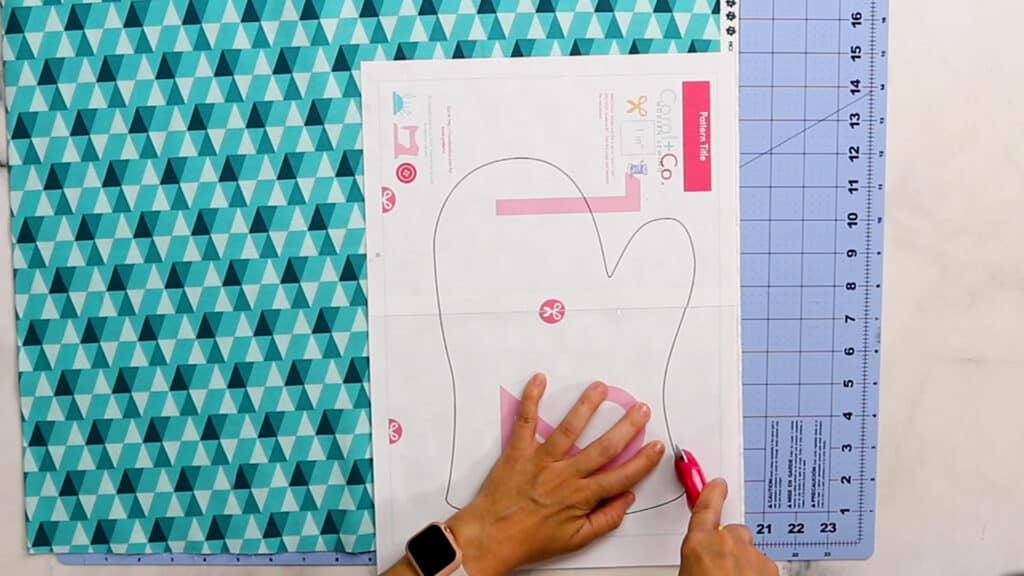
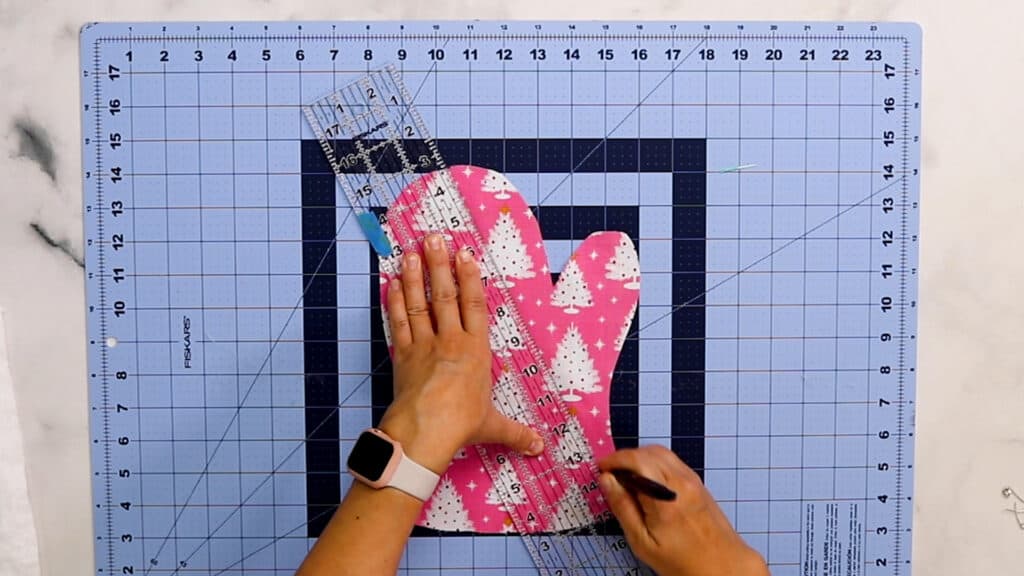
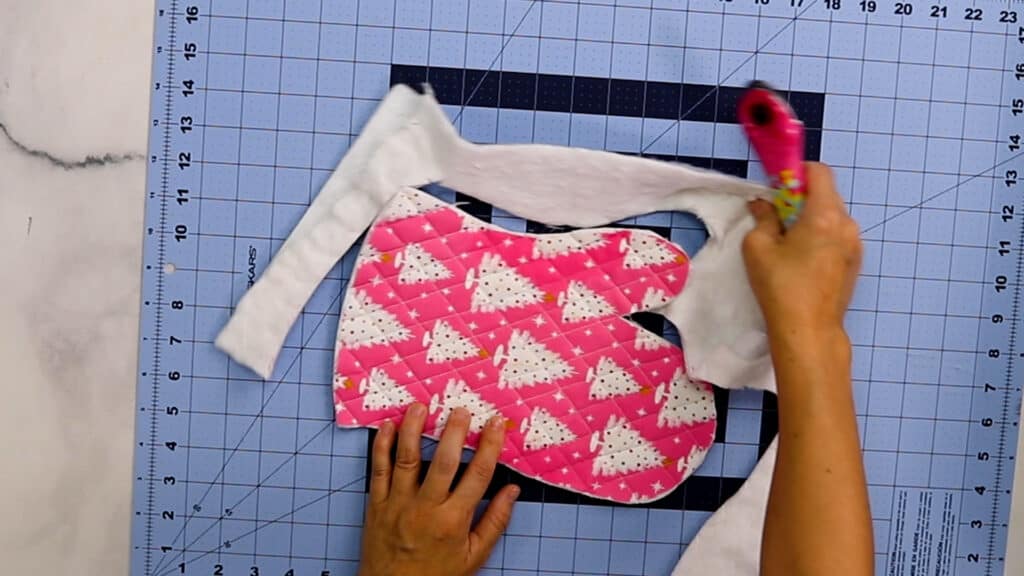
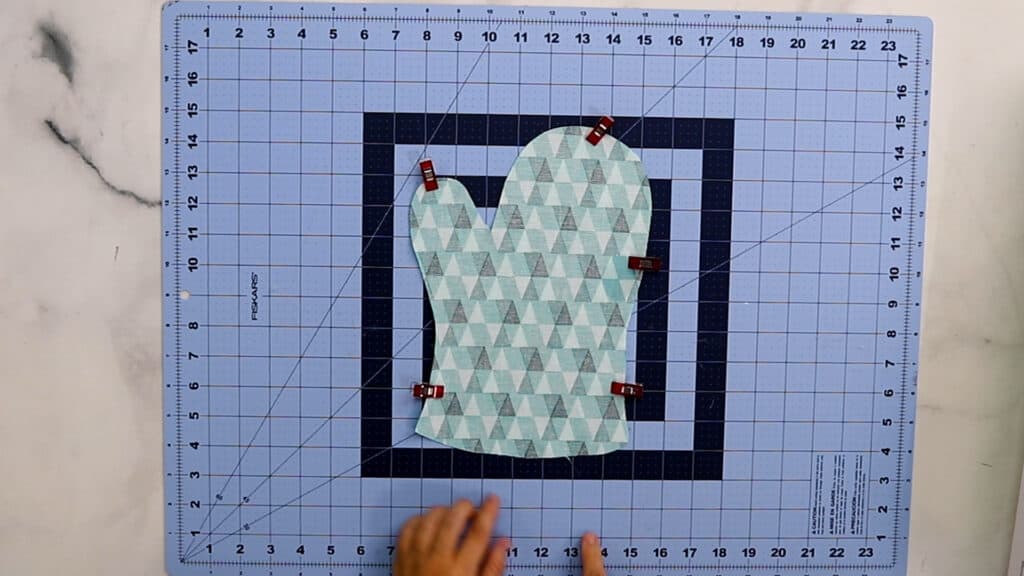
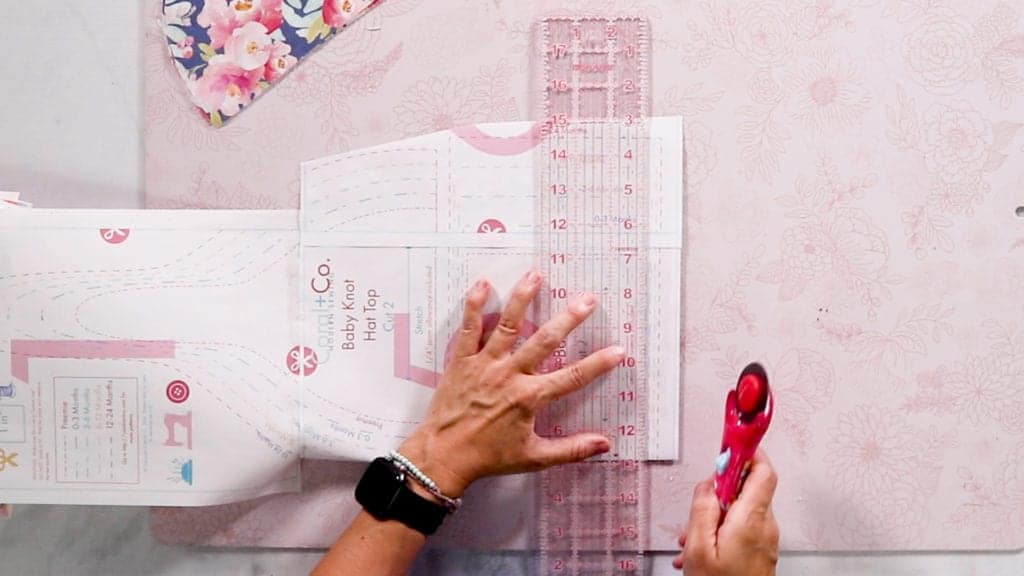
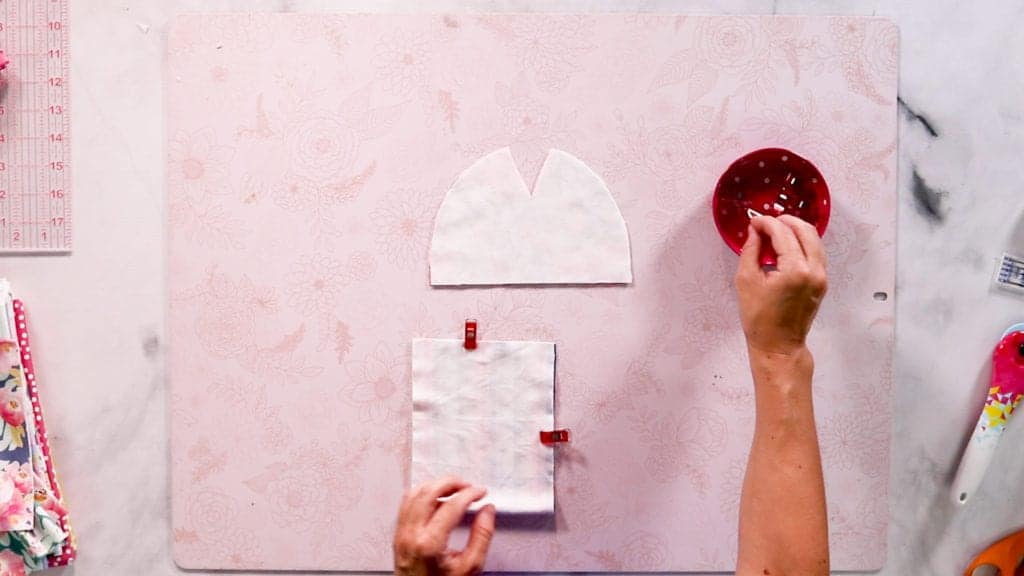
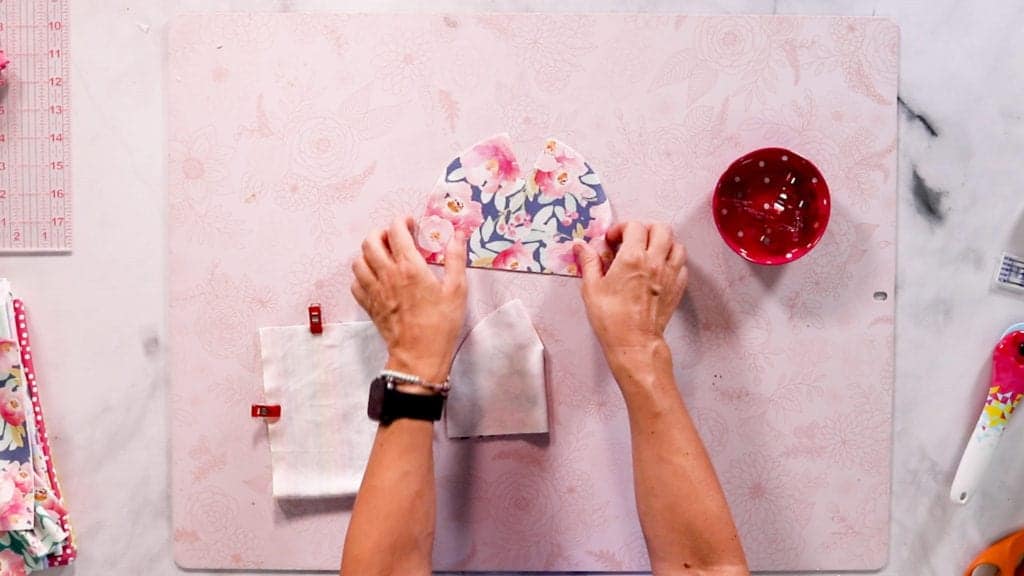
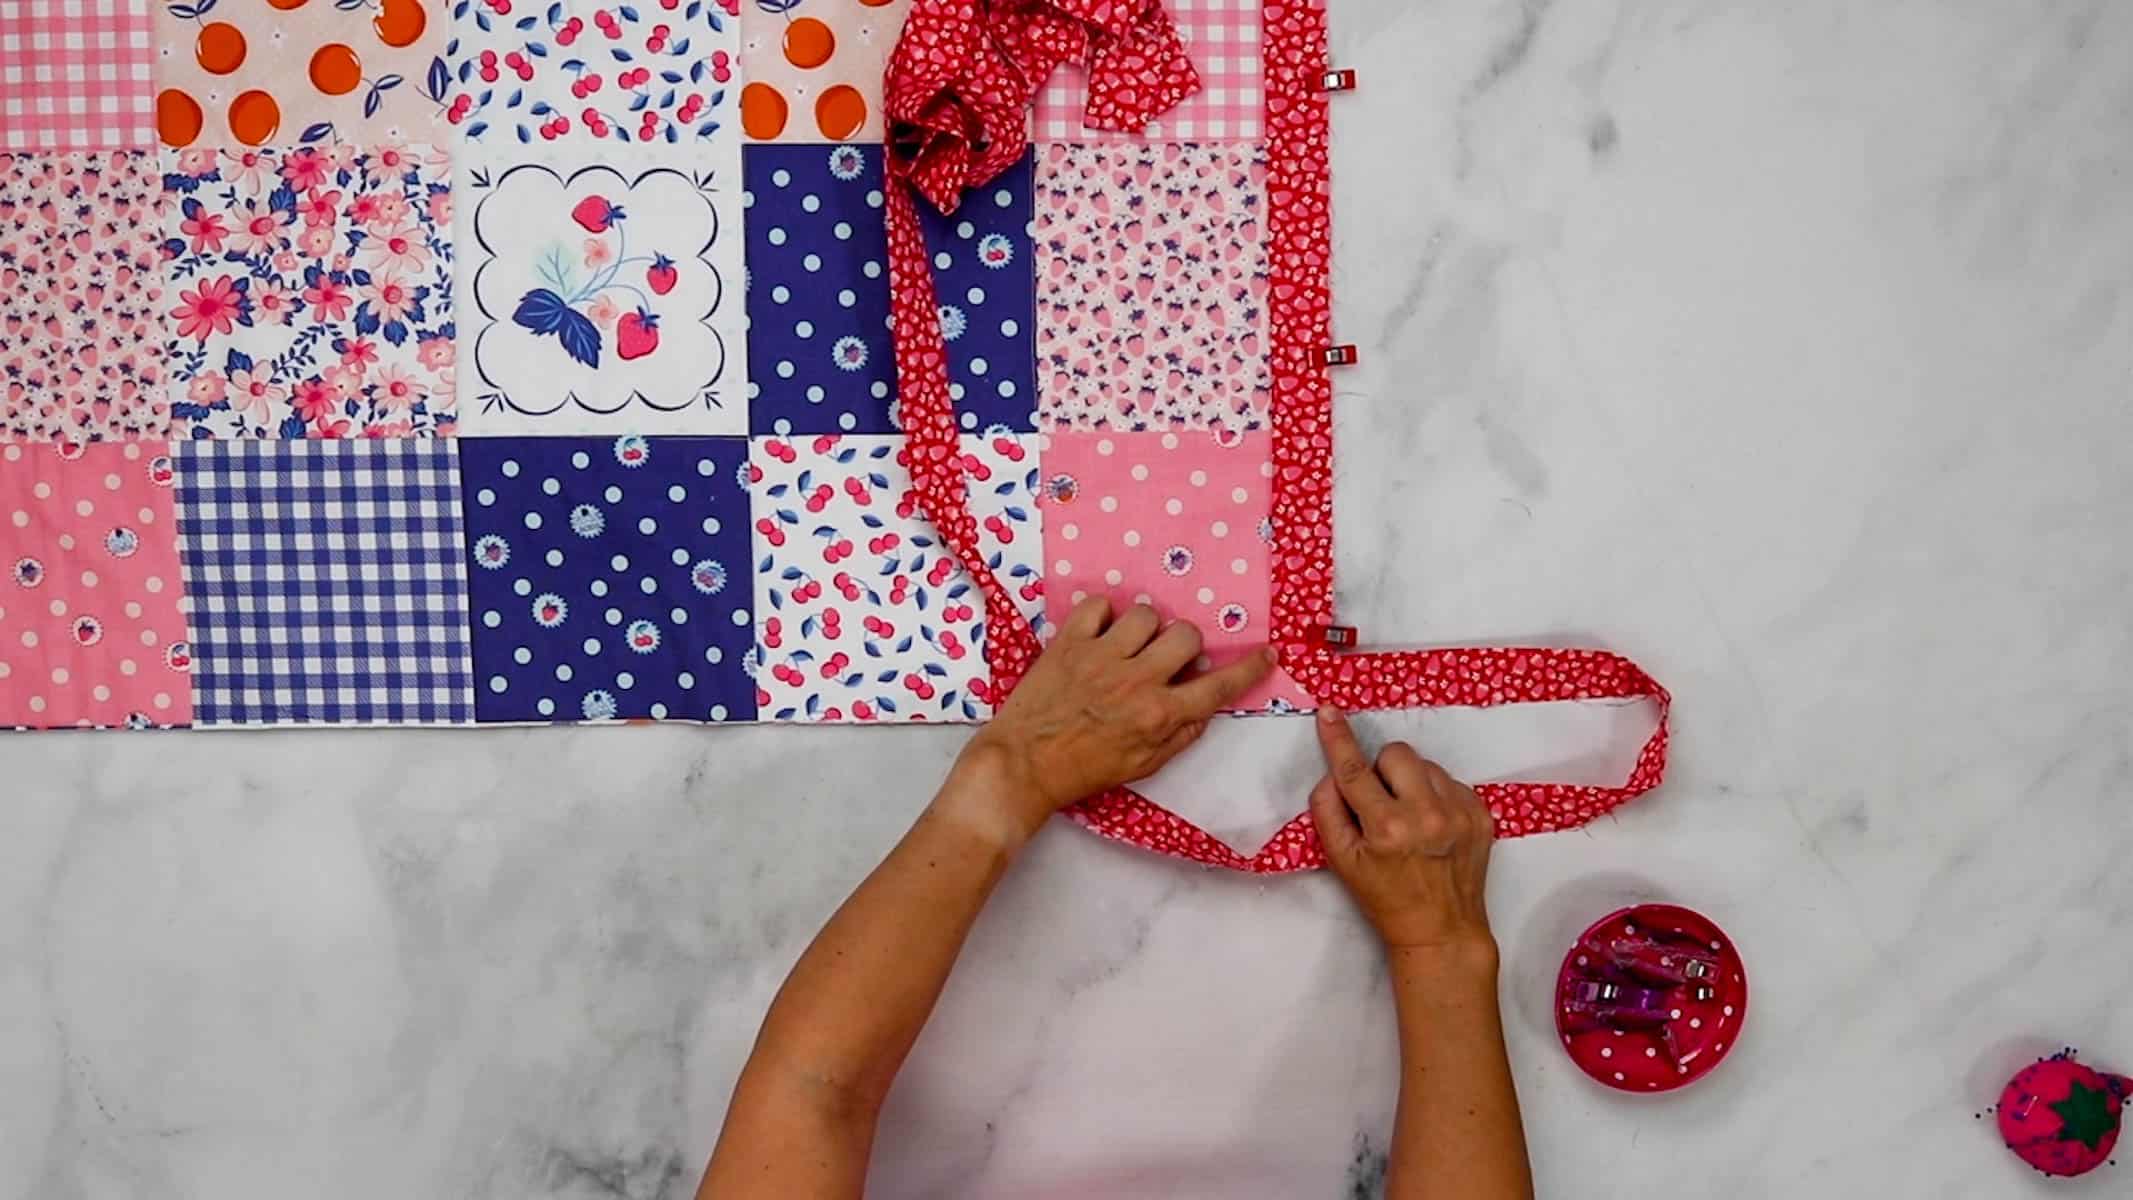
Step 12: Fold the patchwork square in half wrong sides together. Place the bib pattern template on top and pin in place. Cut the bib shape out of the patchwork fabric.

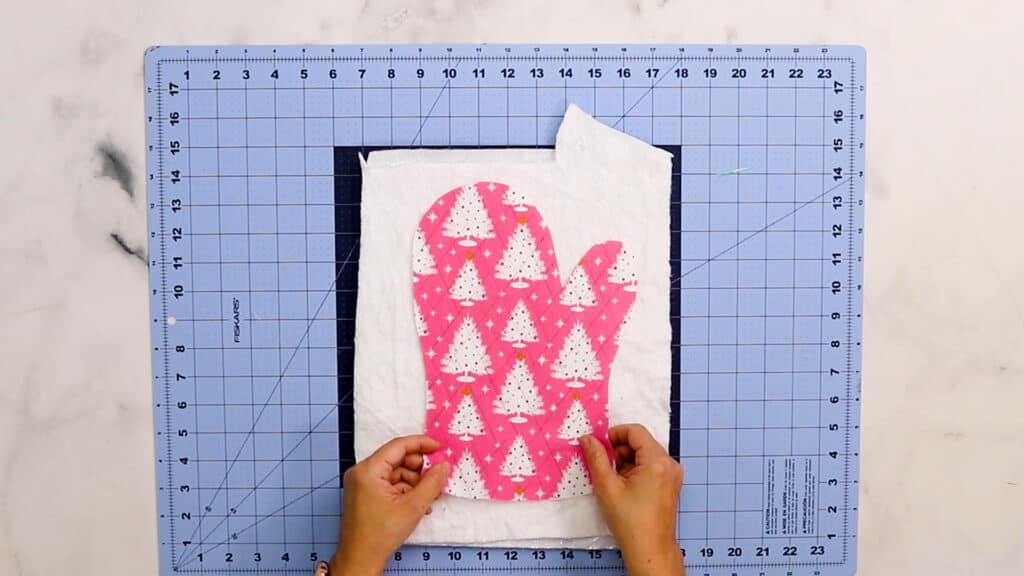
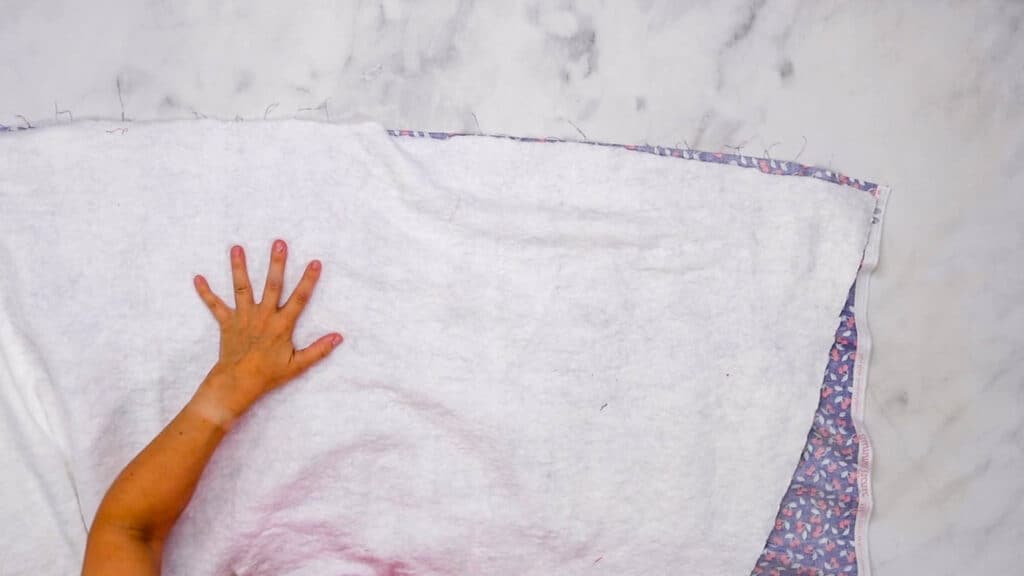
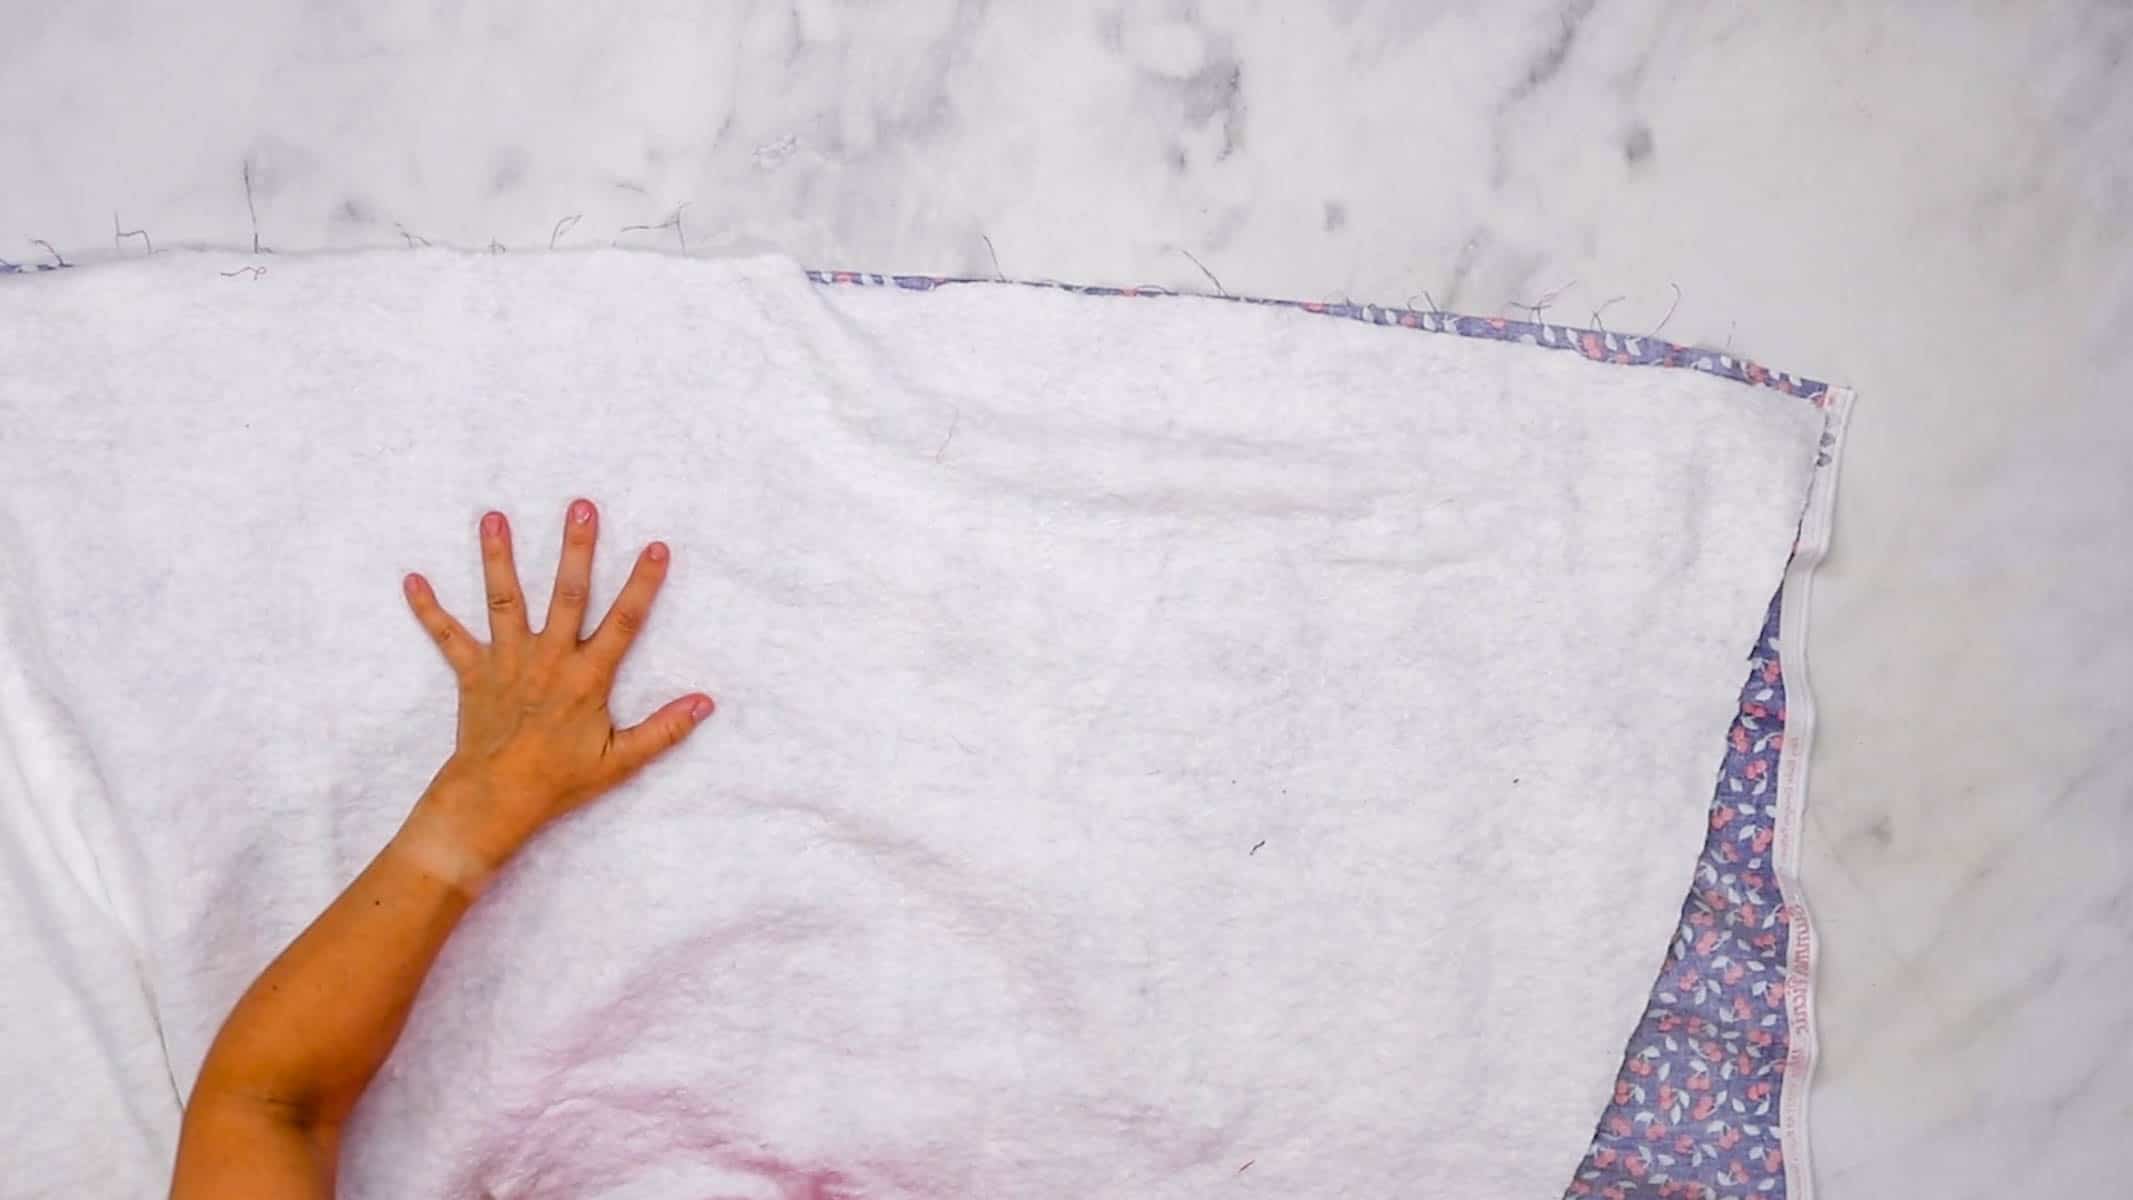
Step 13: Fold the terry cloth in half wrong sides together. Place the bib pattern template on top and pin in place. Cut the bib shape out of the terry cloth fabric.
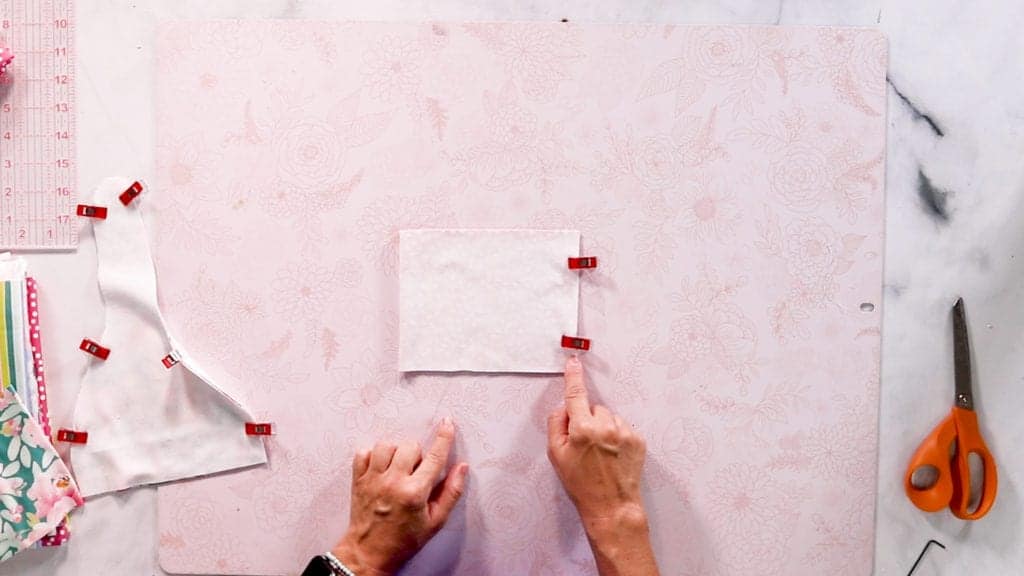
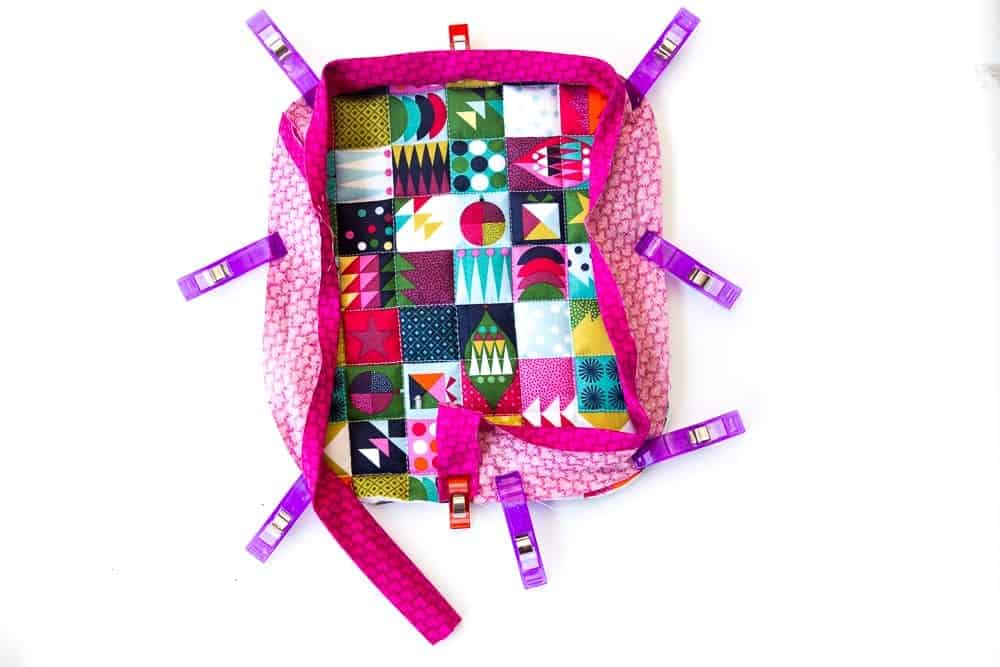
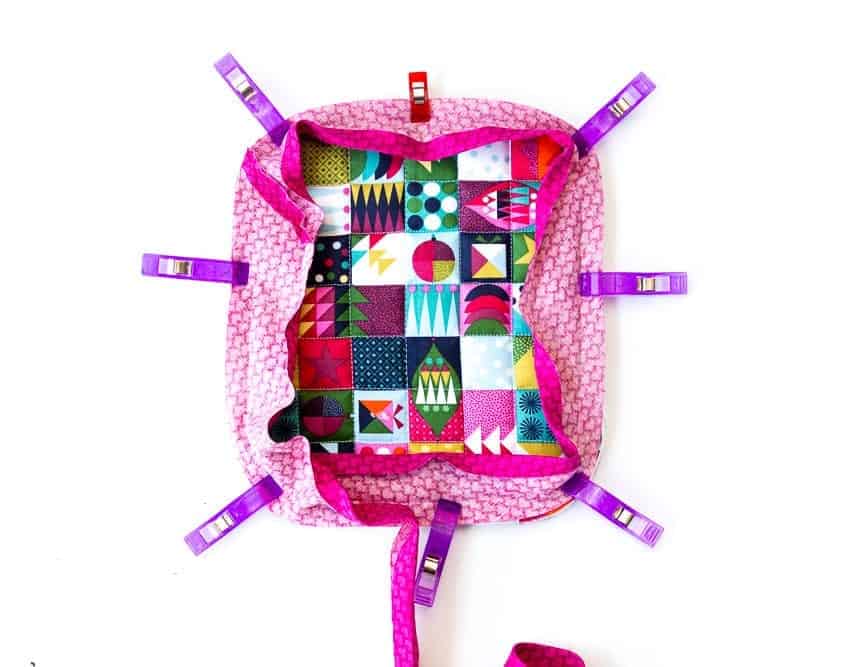
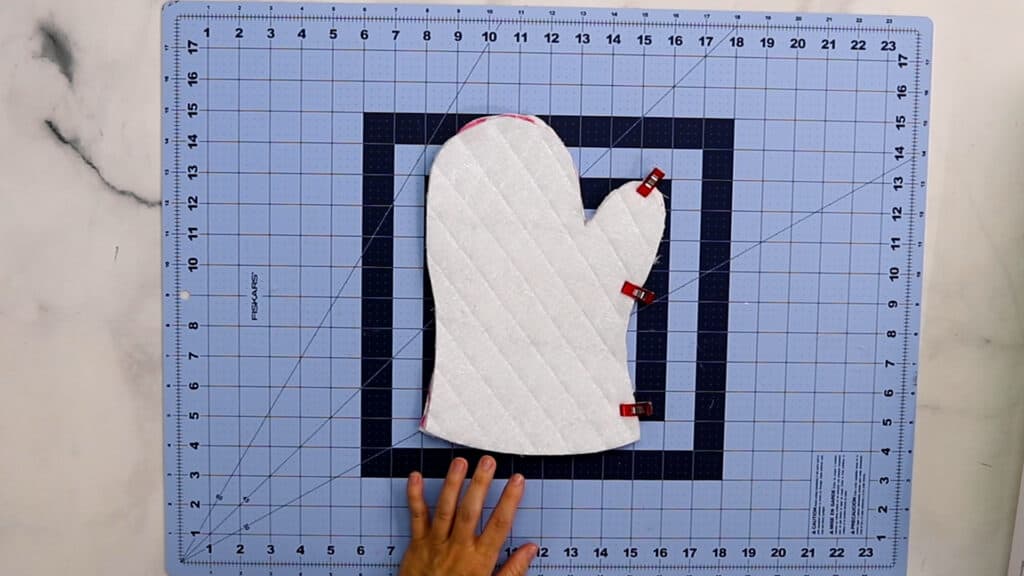
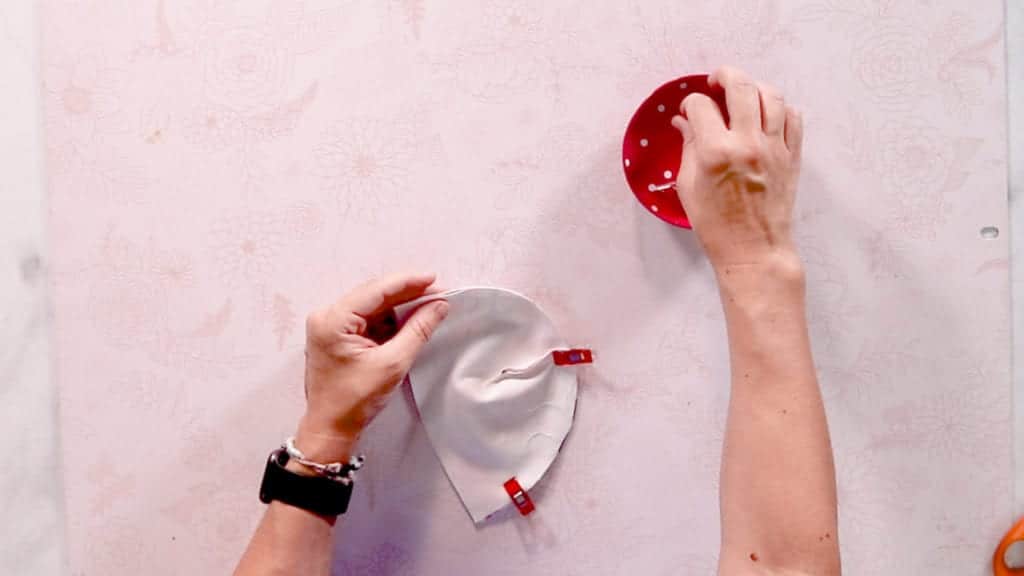
Step 14: Place the bib front and back right sides together and pin in place leaving a 2 – 3″ opening along the side or bottom.
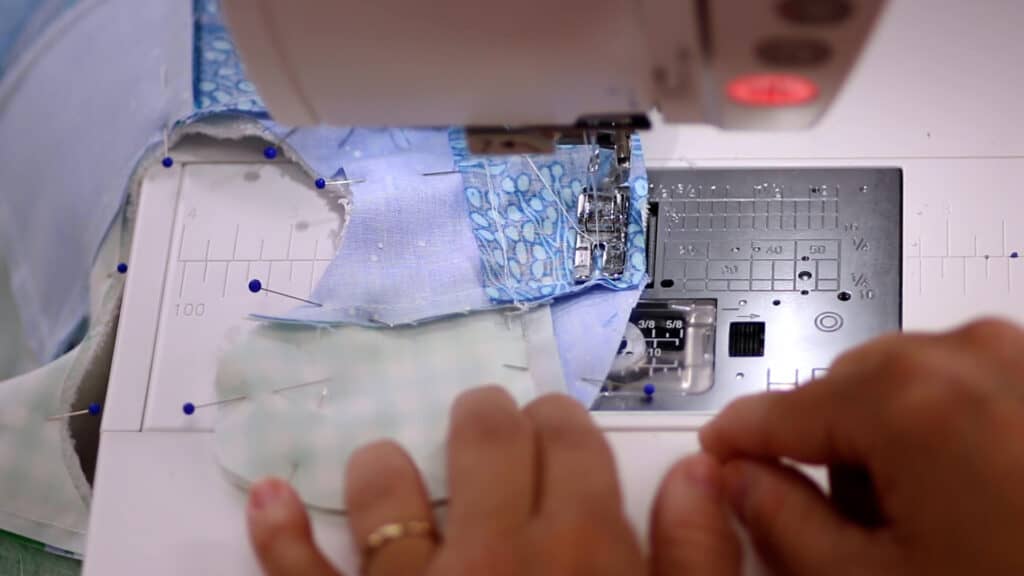
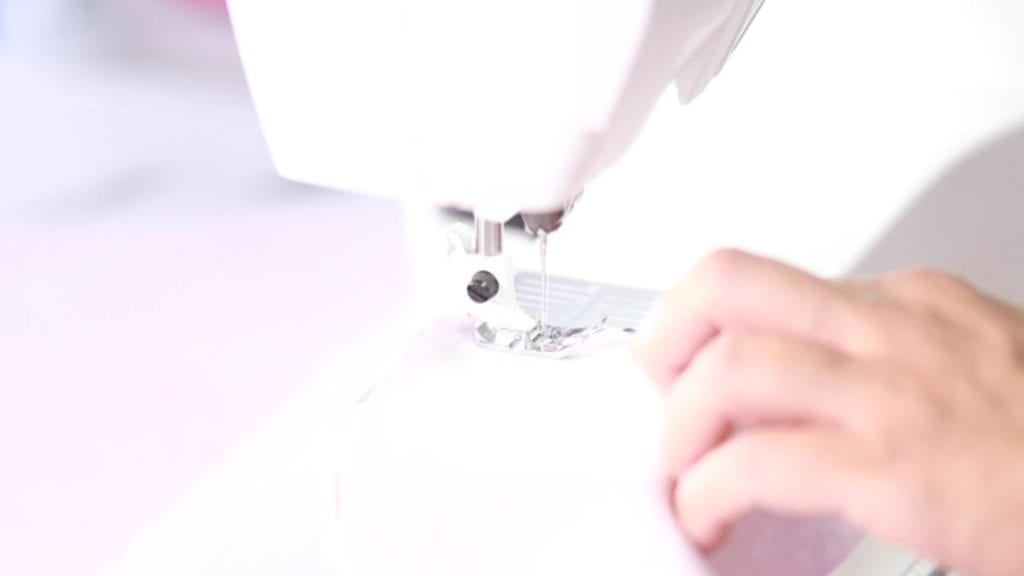
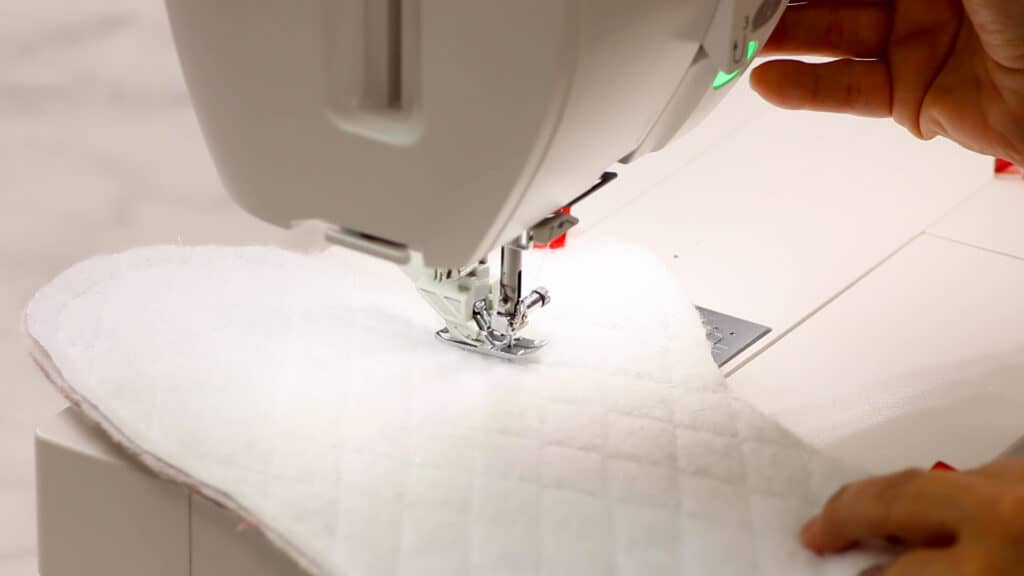
Step 15: Starting at the bottom of the opening sew 1/2″ seam allowance around the edge of the bib. Backstitch in place at the beginning and end. Stop at the beginning of the opening.
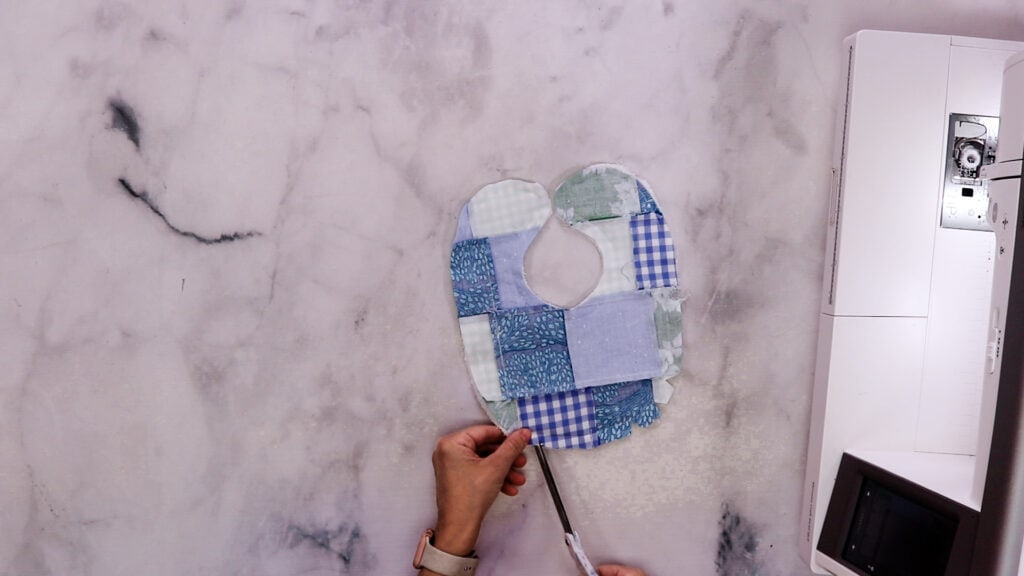
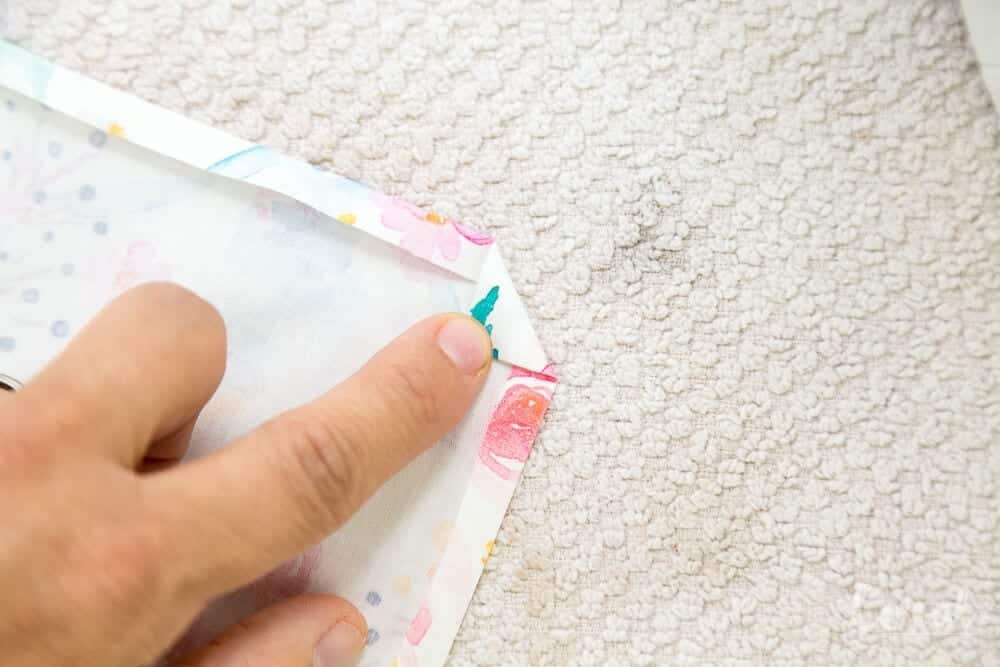
Step 16: Clip 3 -4 V notches around the outward bottom and closure curves. Clip straight lines along the neckline to reduce bulk when turning the bib right side out. Make sure not to clip through the seam.
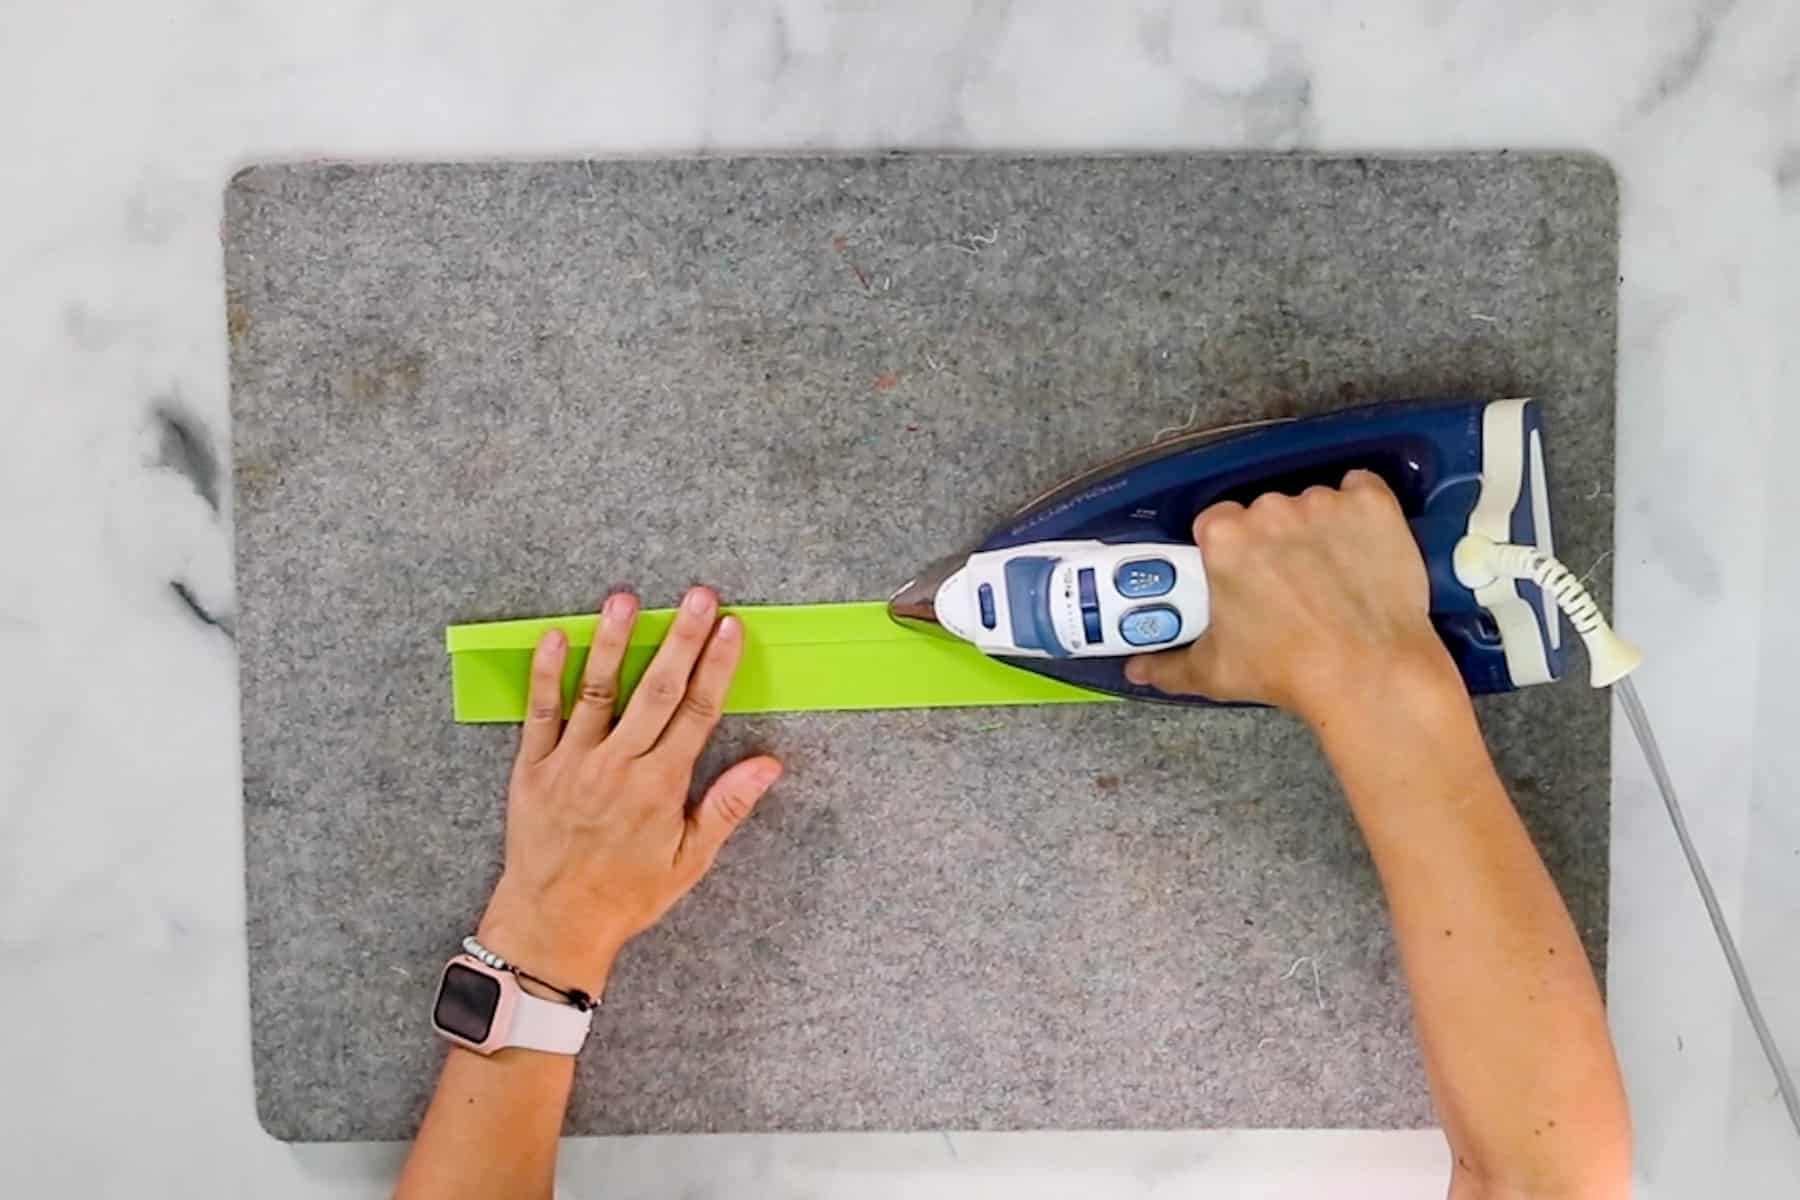
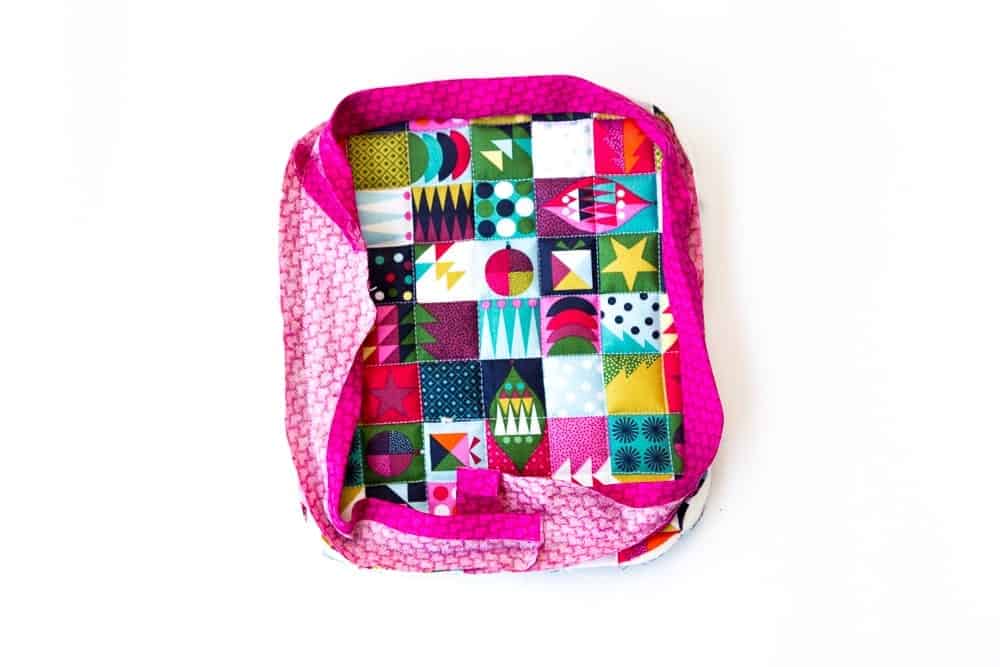
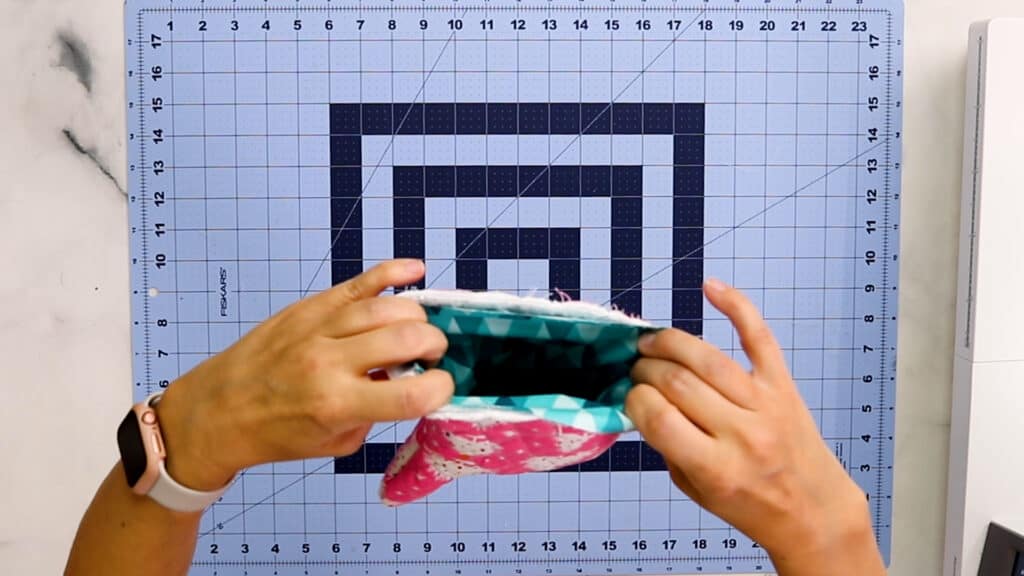
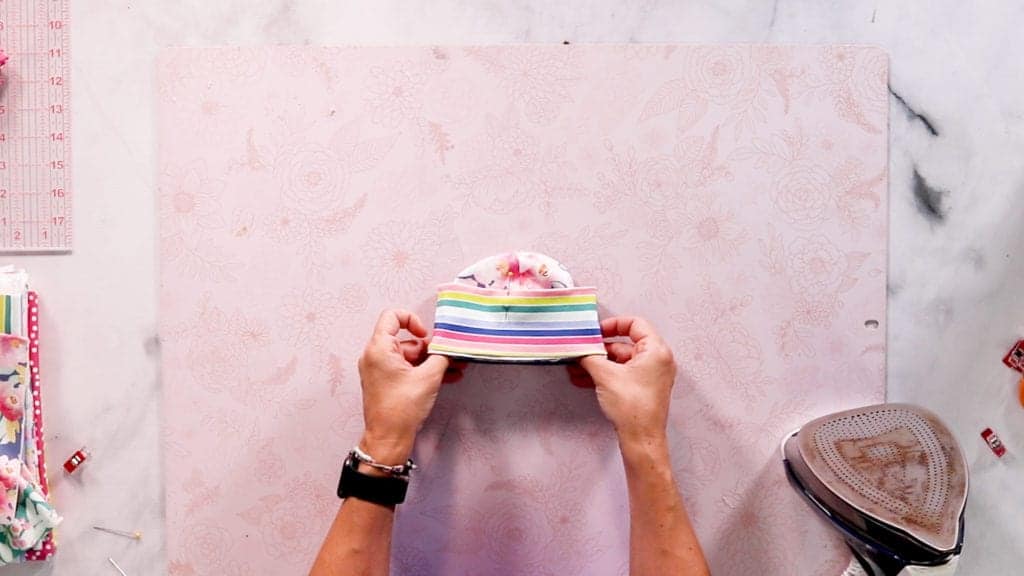
Step 17: Turn the bib right side out. Use a pencil or turning point tool to push the seams all the way out. Roll the seam edges with your fingers to push the seams of the bib flat.
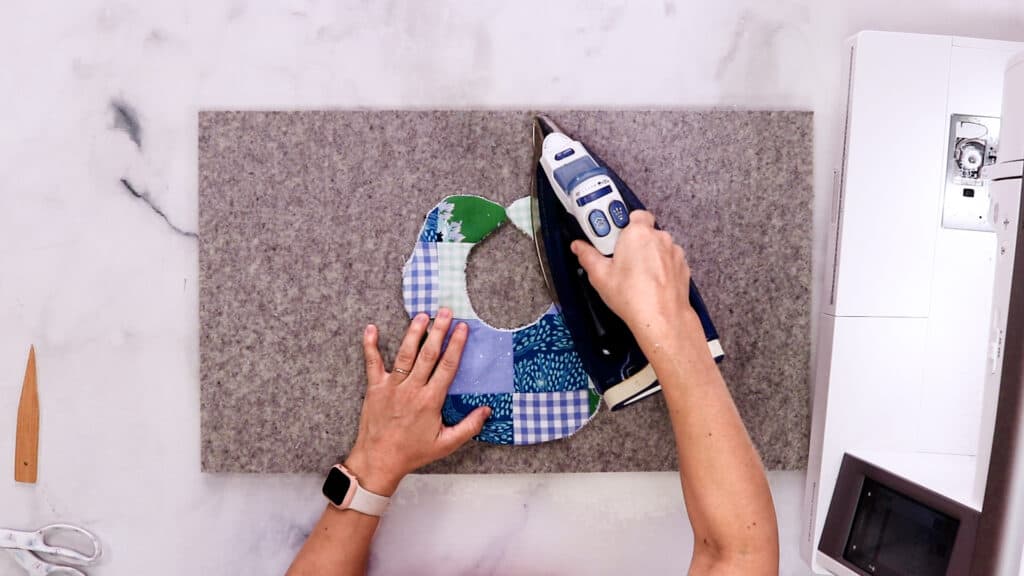
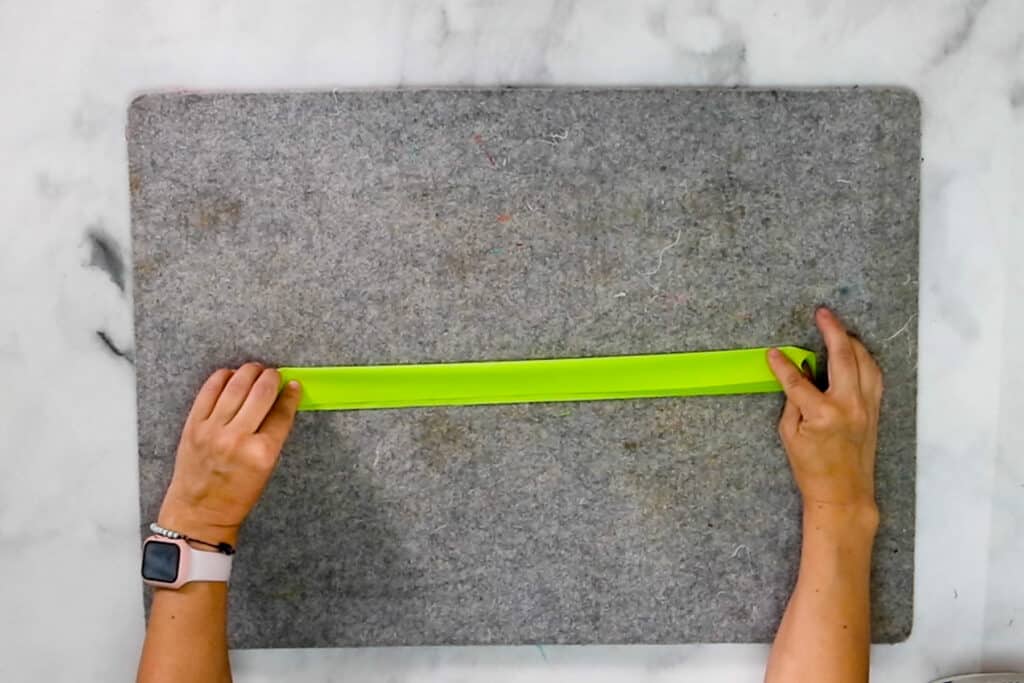
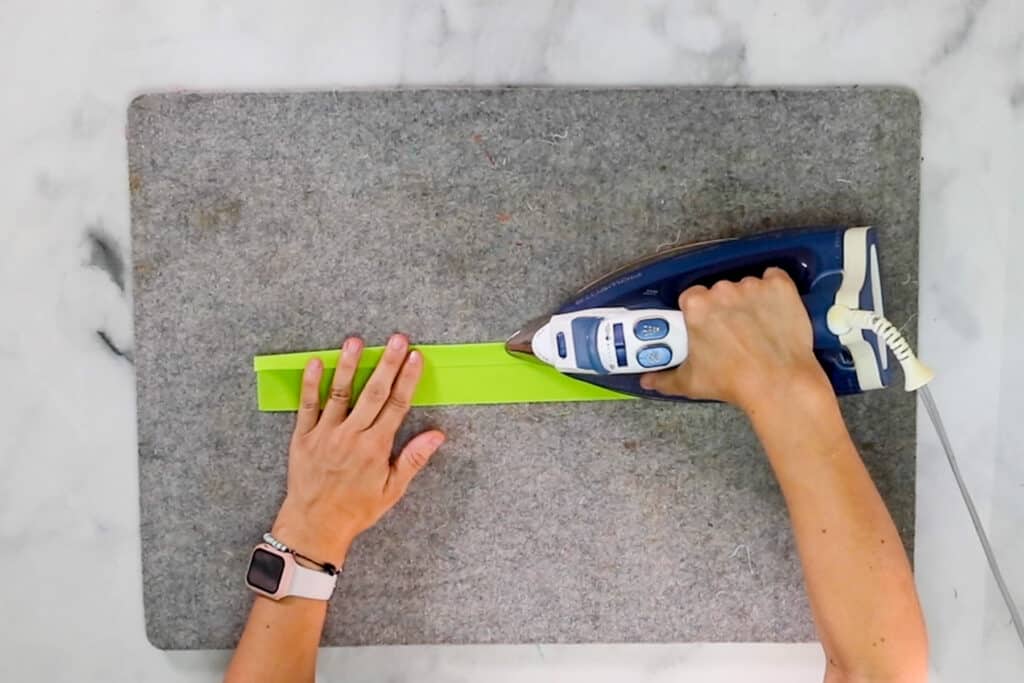
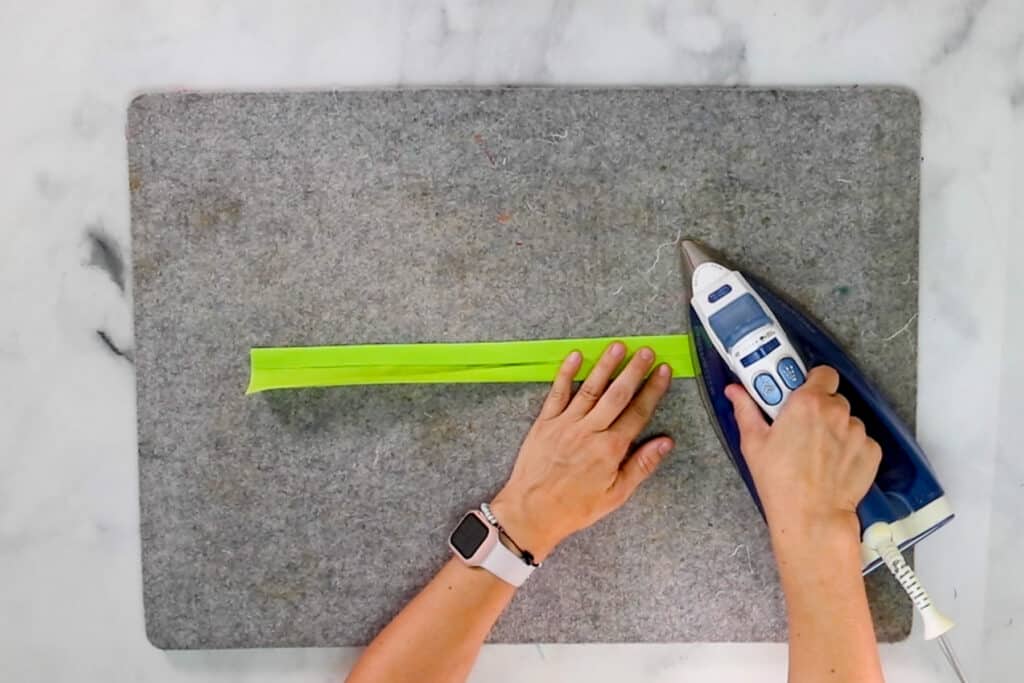
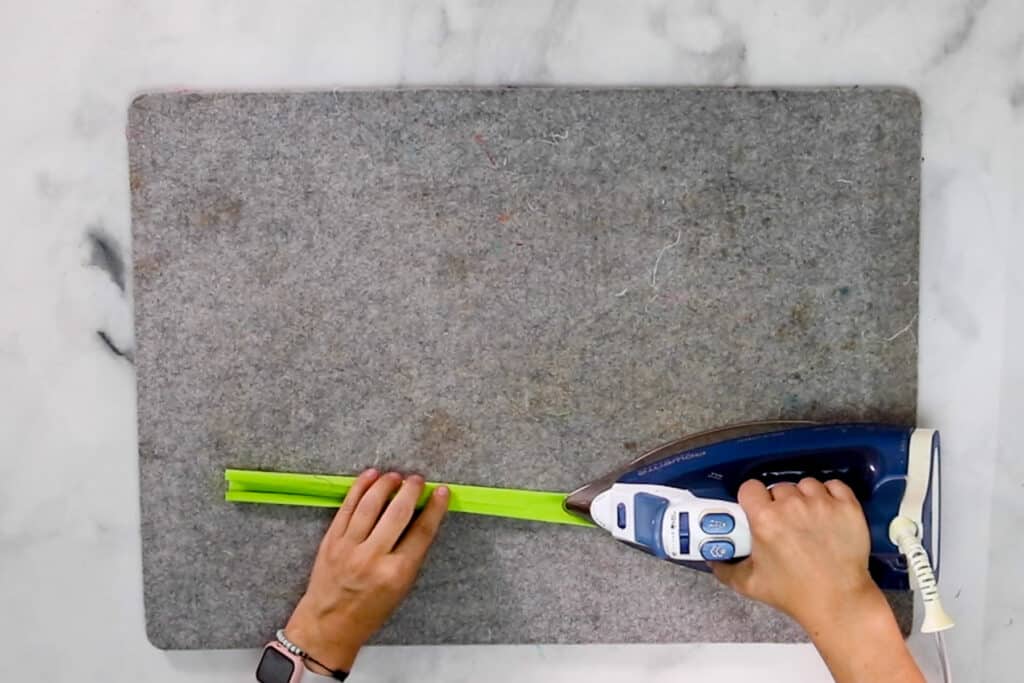
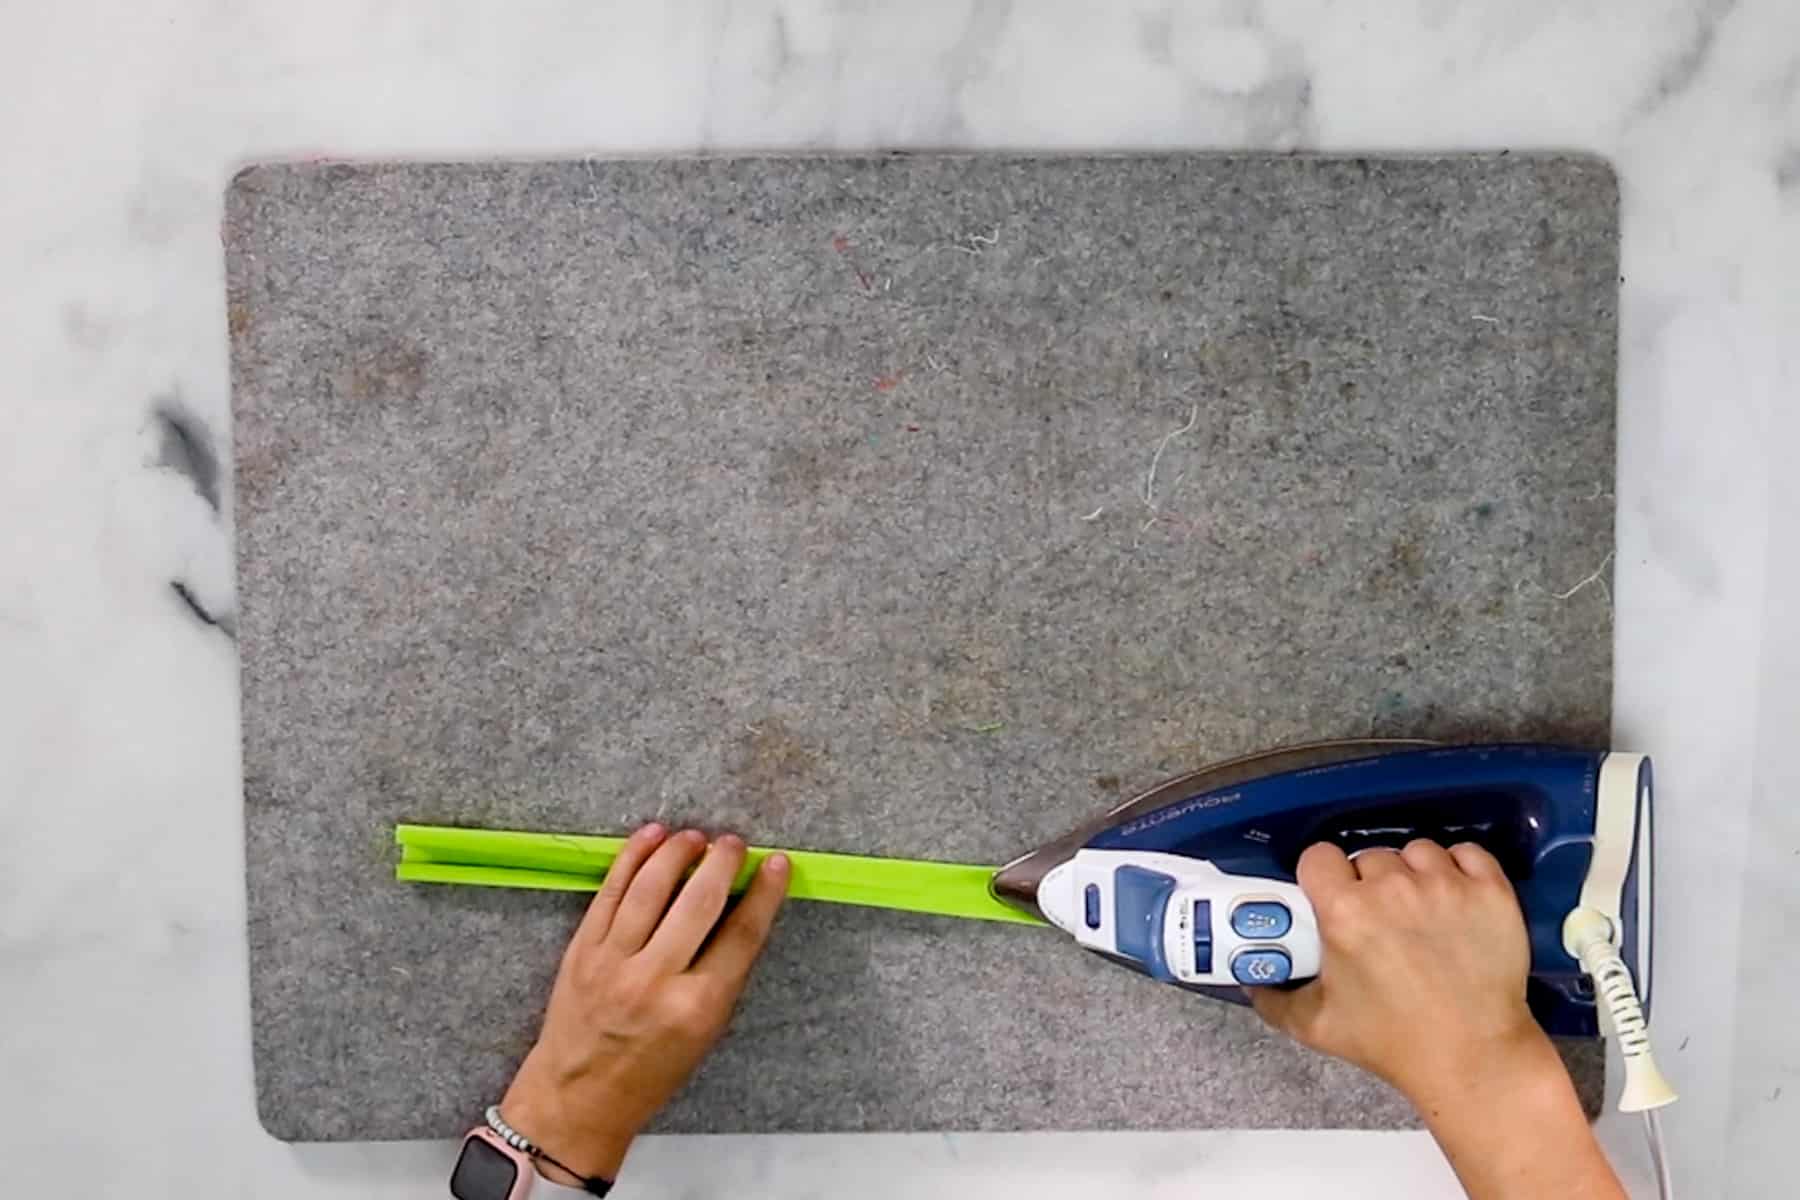
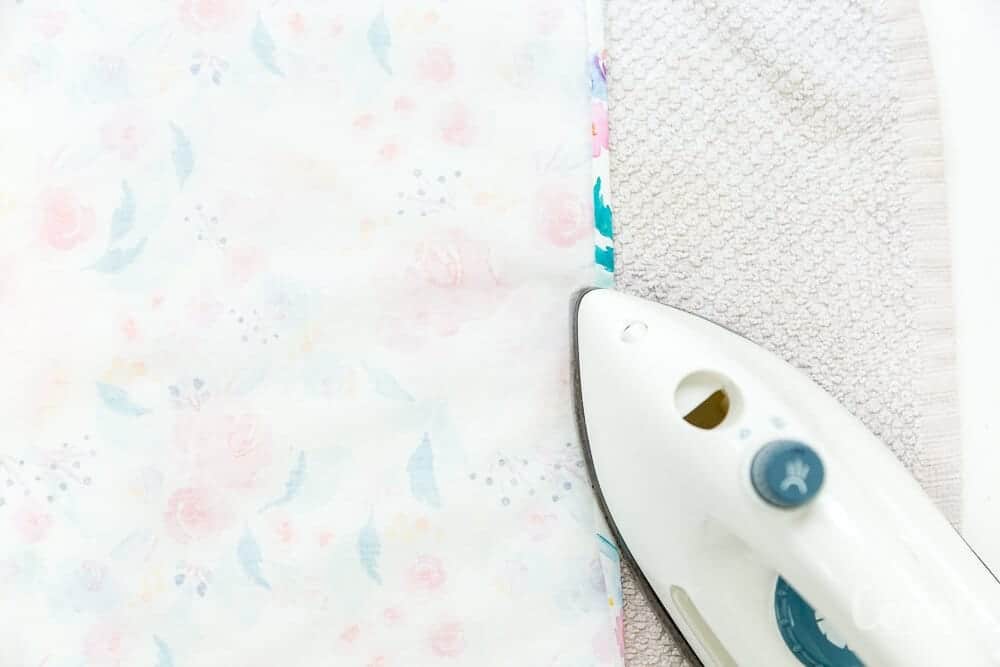
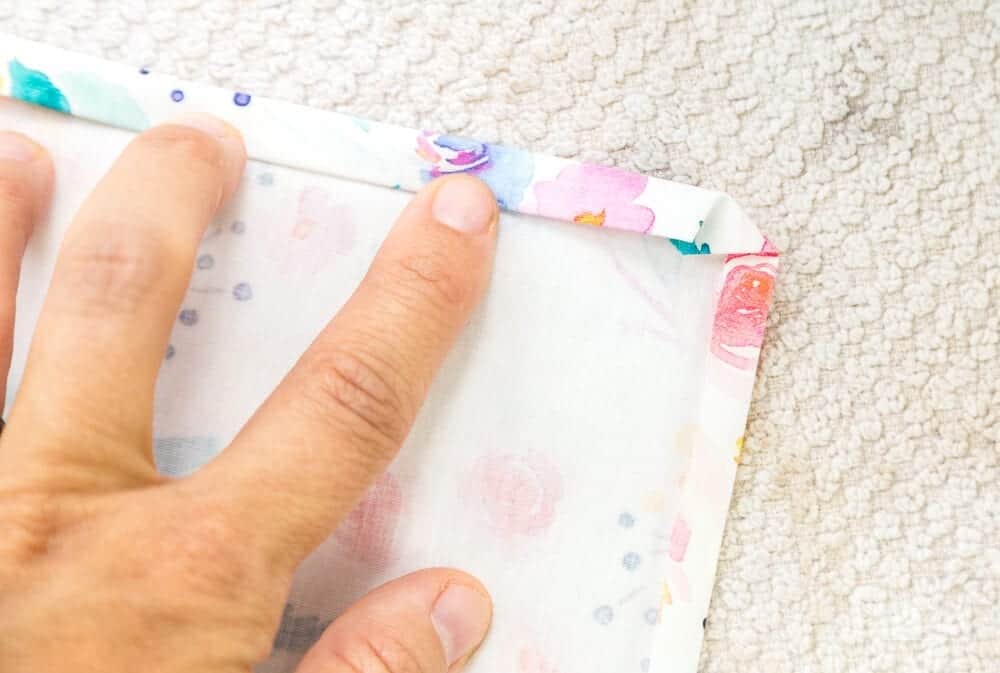
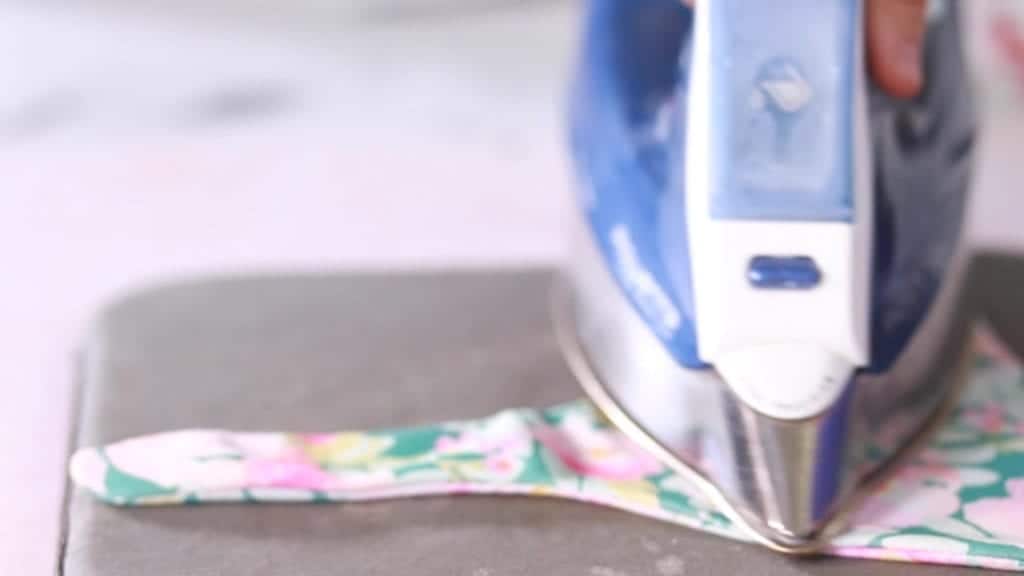
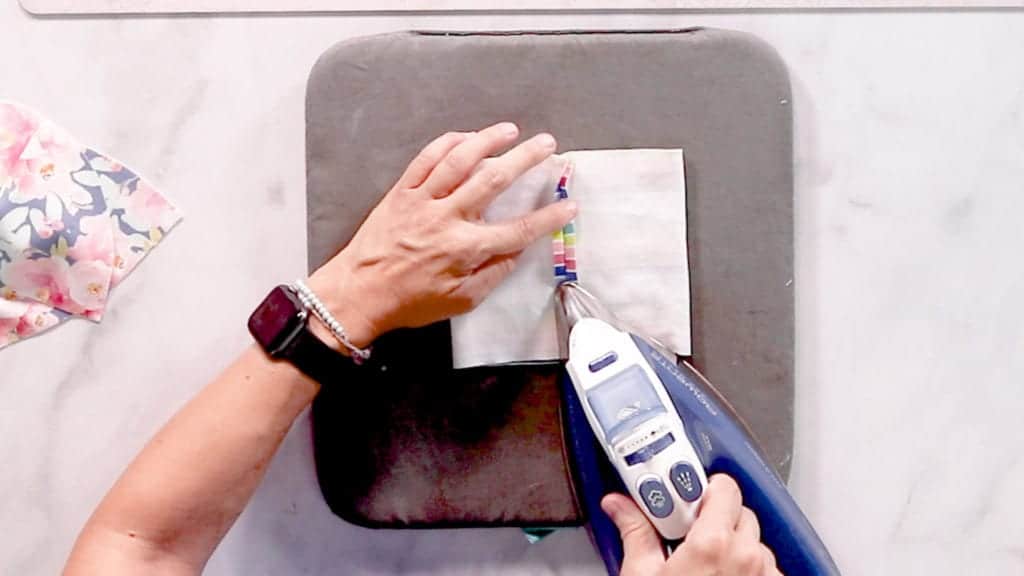
Step 18: Press the bib flat with the iron.

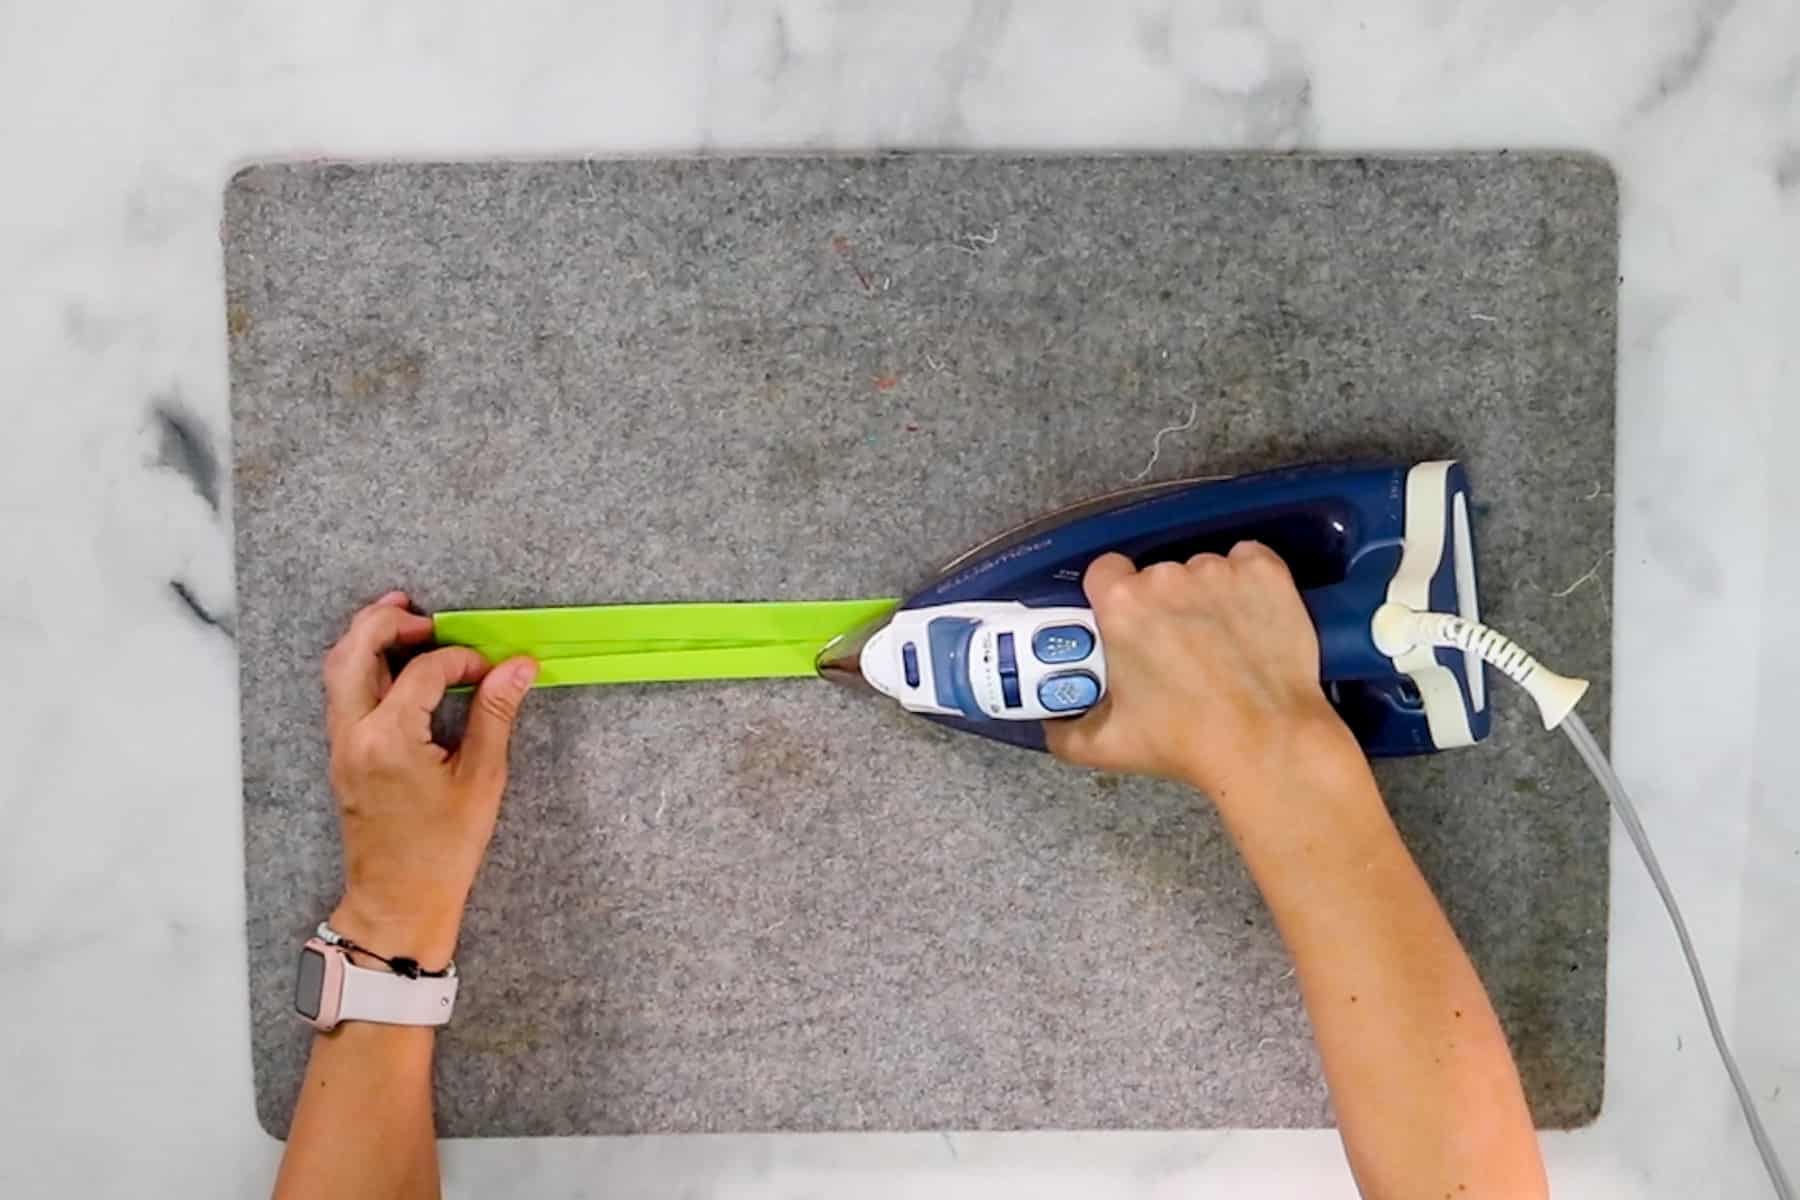
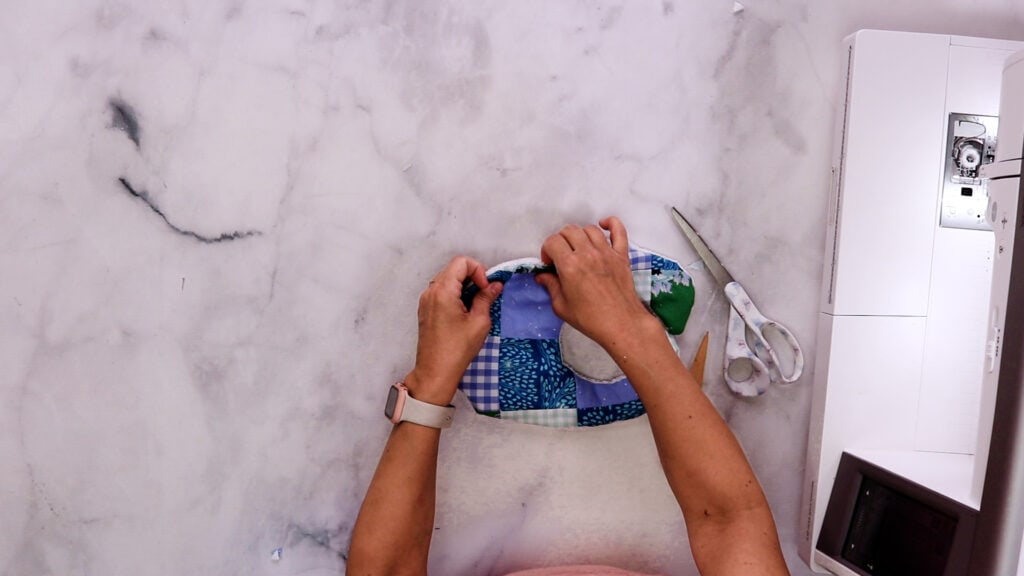
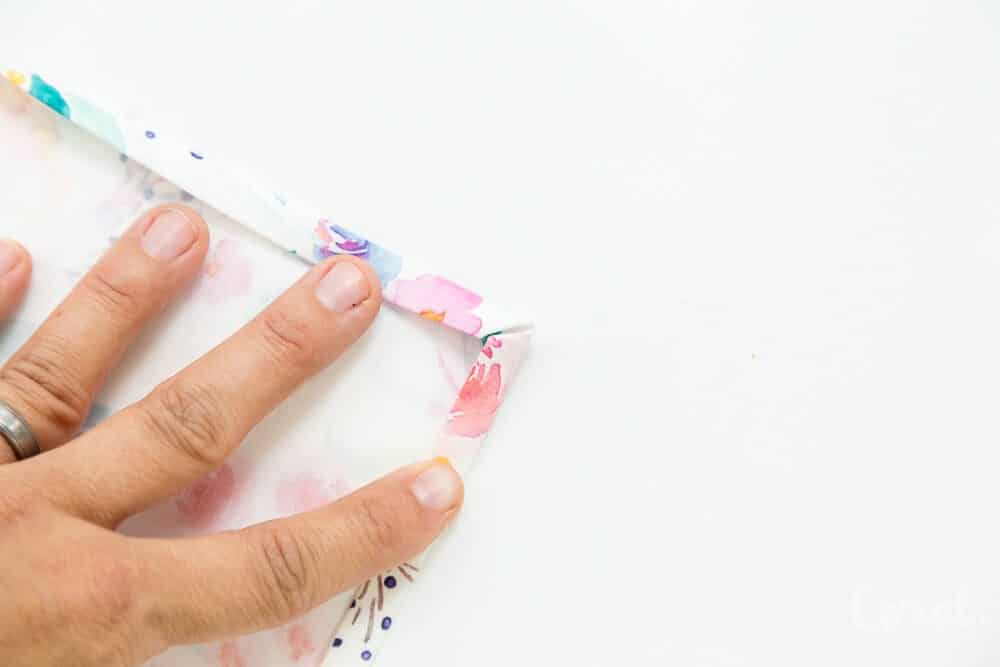
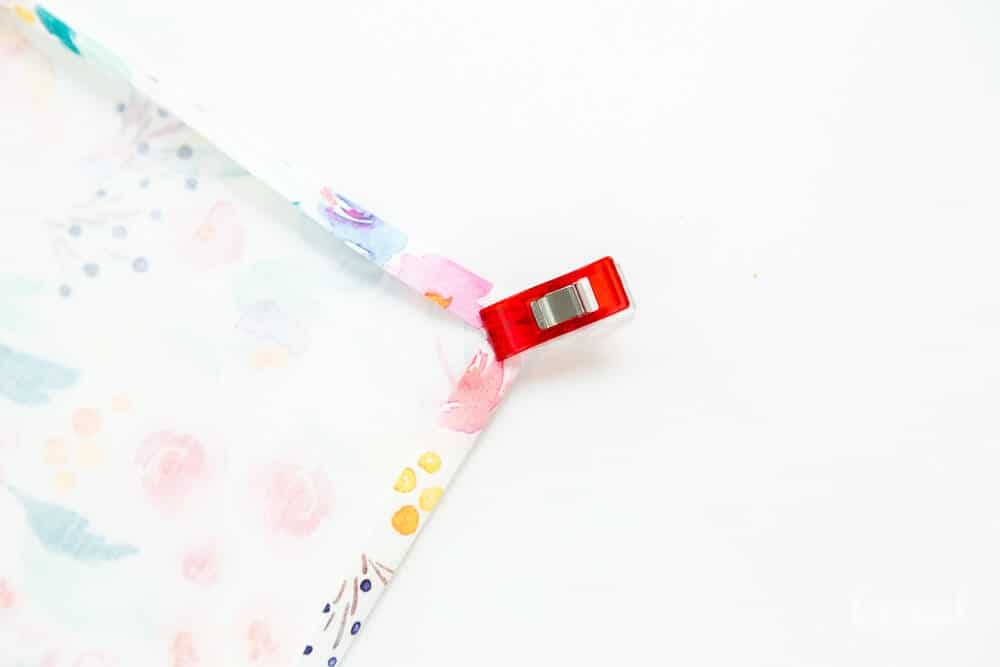
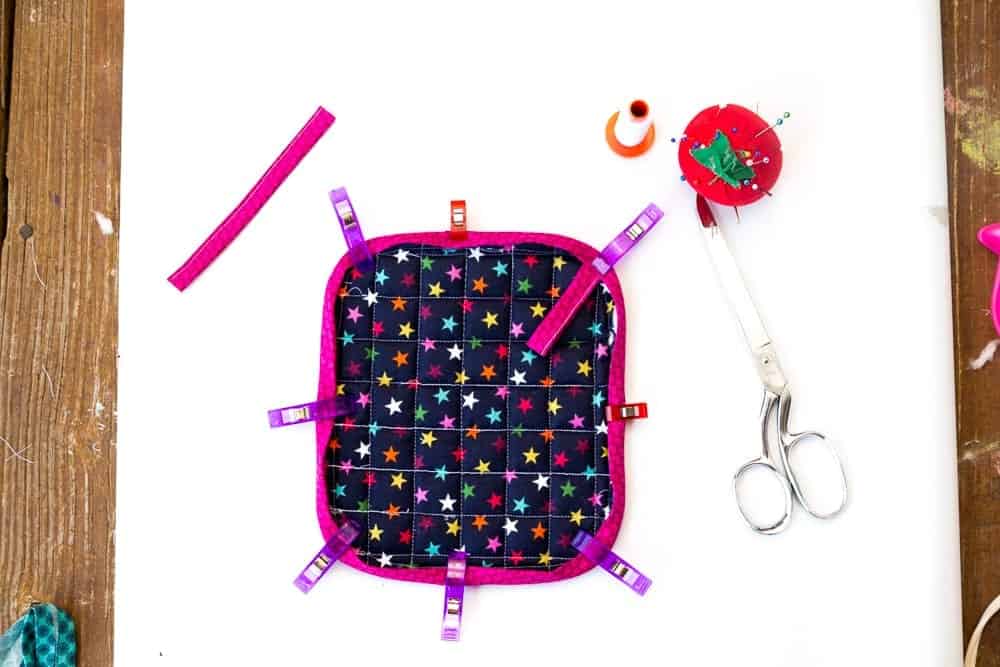
Step 19: Tuck the fabric flap of the opening in and press flat. Pin in place to secure.
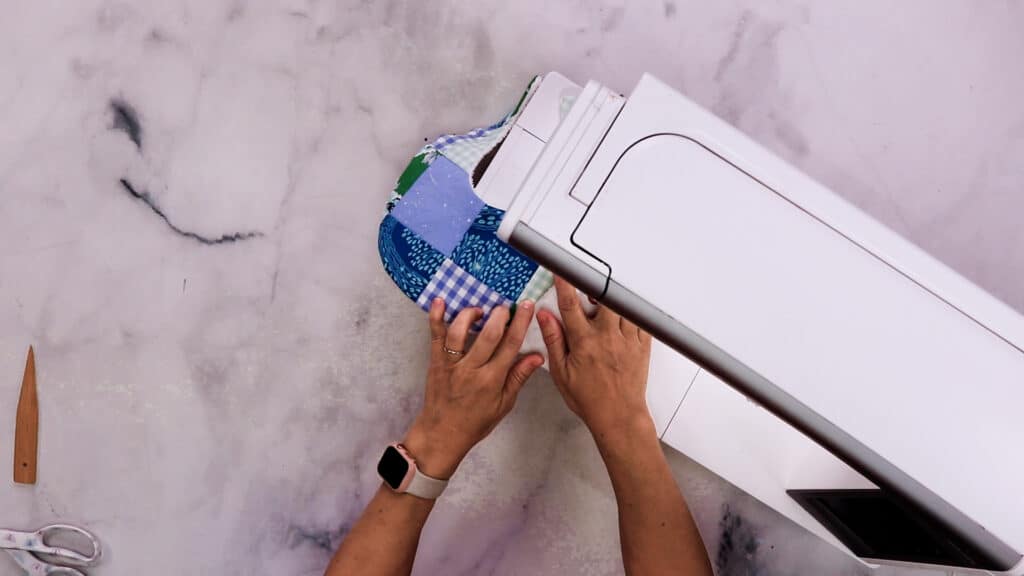
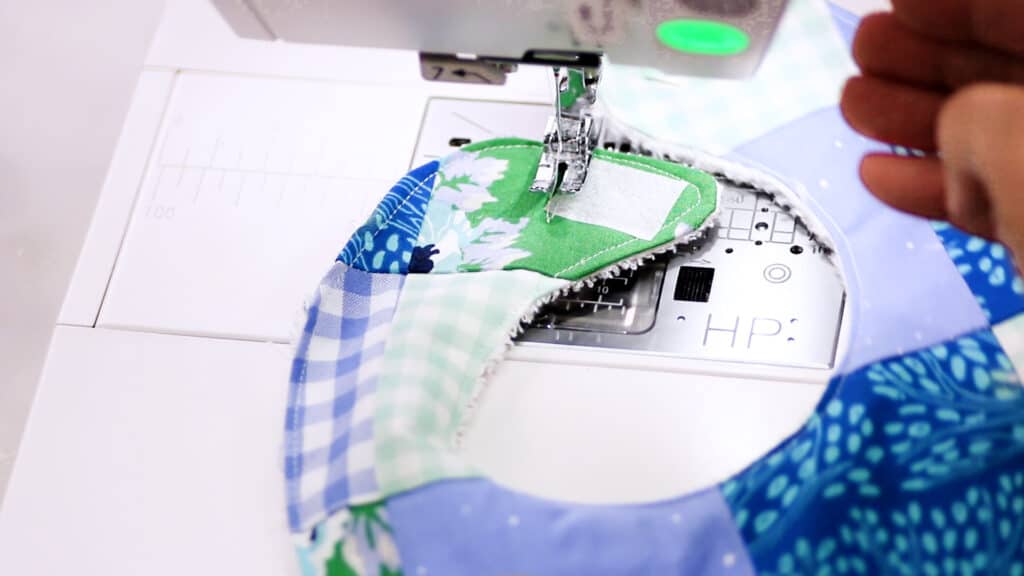
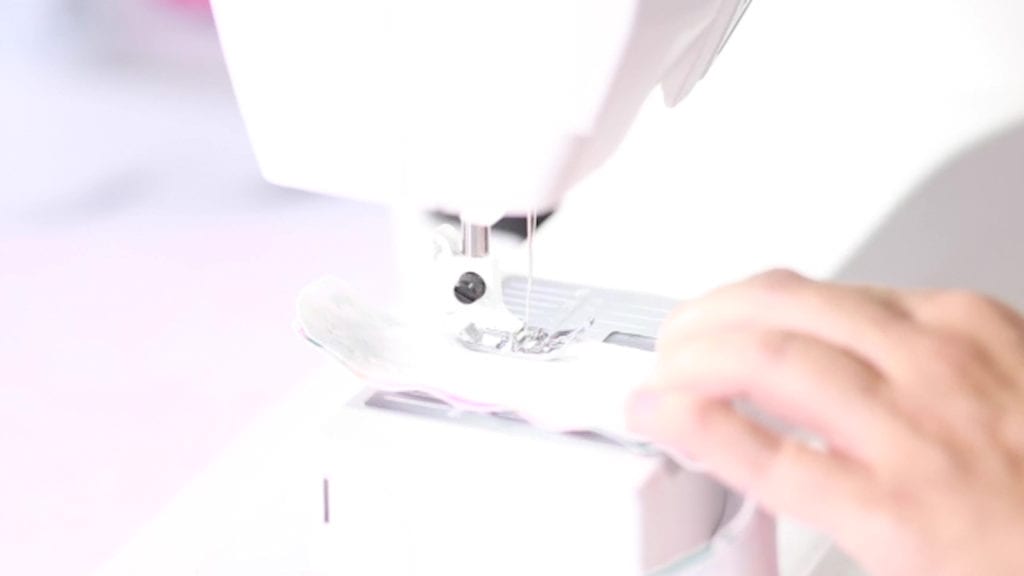
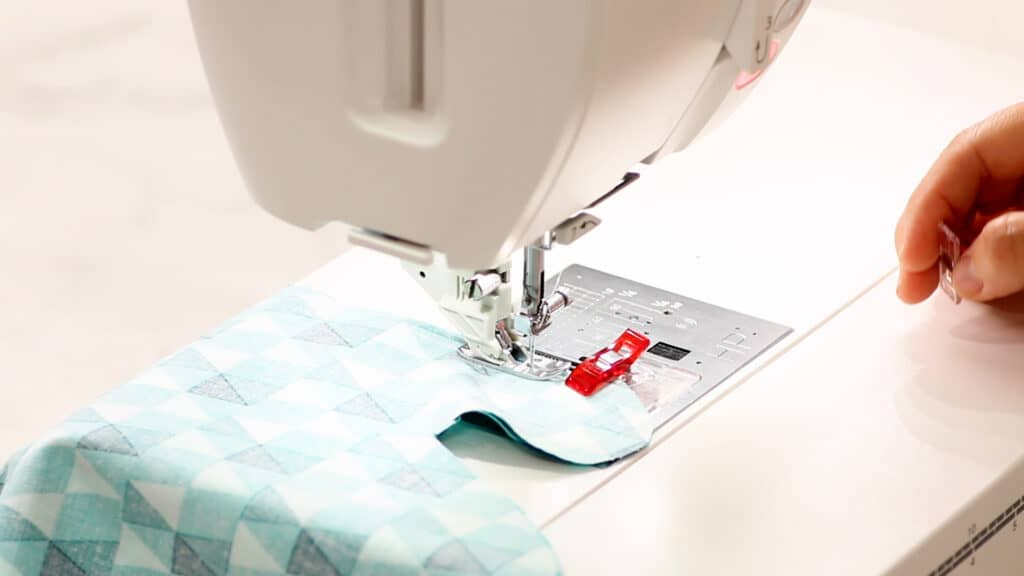
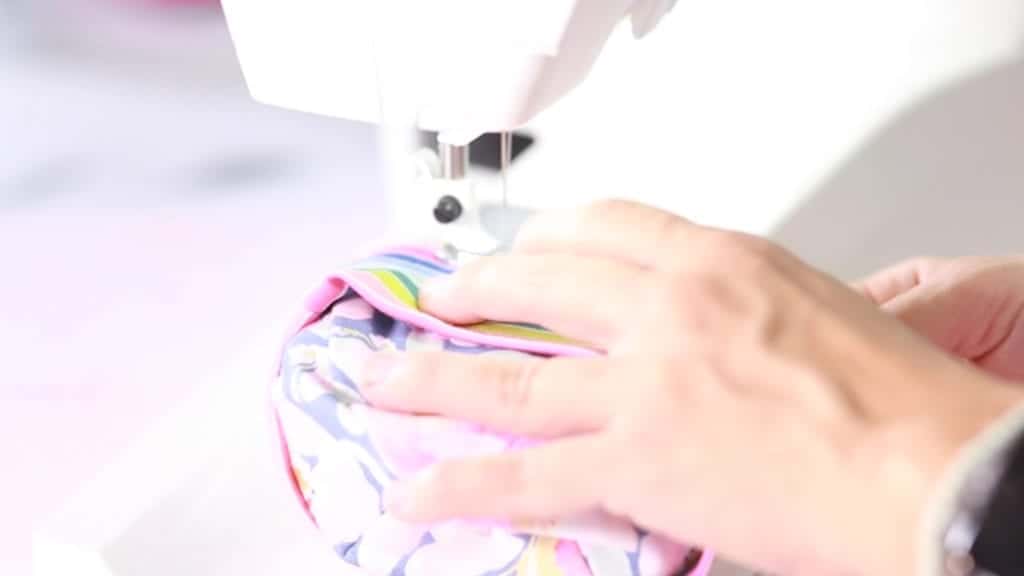
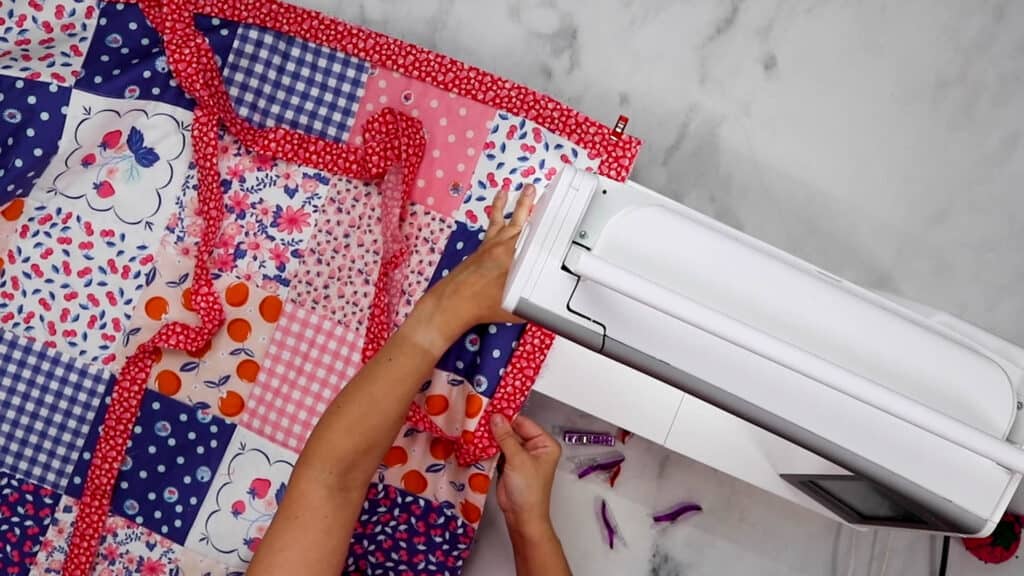
Step 20: Top stitch around the edge of the bib using 1/8″ seam allowance to create a professional finish. Stitch over the opening to close.
Step 21: Add KAM Snaps or velcro to the baby bib to open and close the bib.
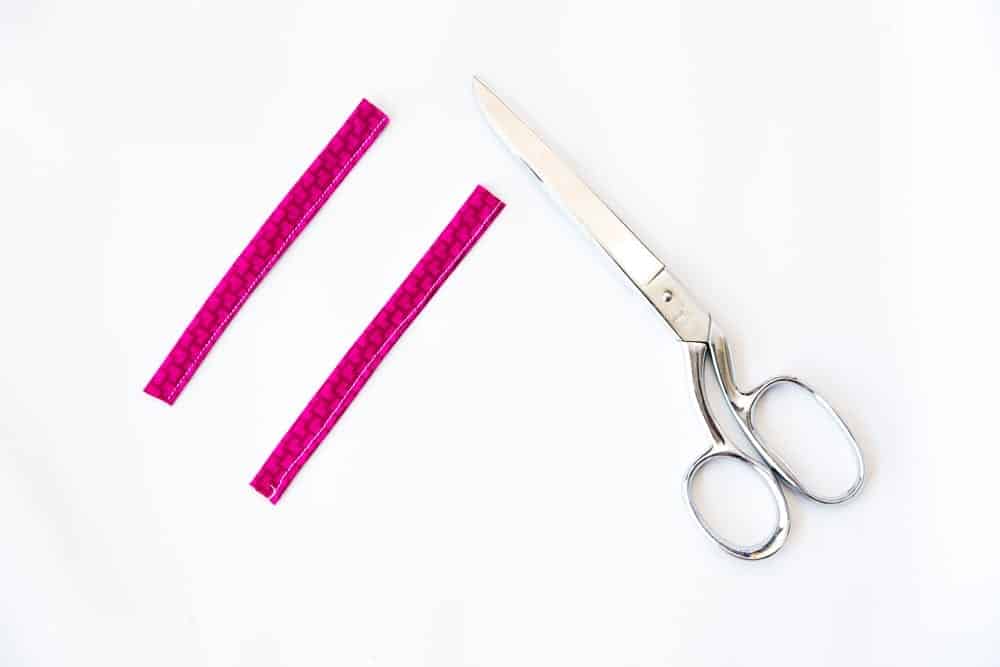
Cut two (2) 1″ squares of velcro. Pin in place on opposite front and back sides of the neck opening. Sew around the edge of the velcro and then make an X through the middle of each to create a strong stitch.
Step 22 – You are all finished. Give the bib to an adorable baby and make some more!

Pin the Patchwork Baby Bib Pattern to Save for Later
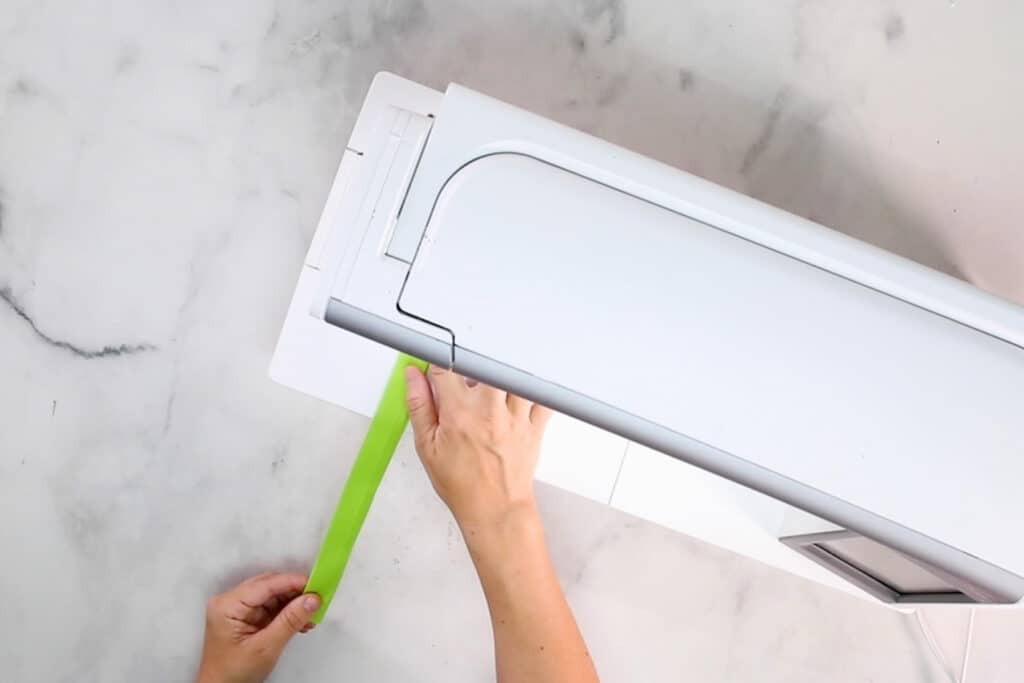
***If sewing the Bibs and Burp Cloths with Flannel you may also find These MUST HAVE TIPS FOR SEWING WITH FLANNEL FABRIC helpful.


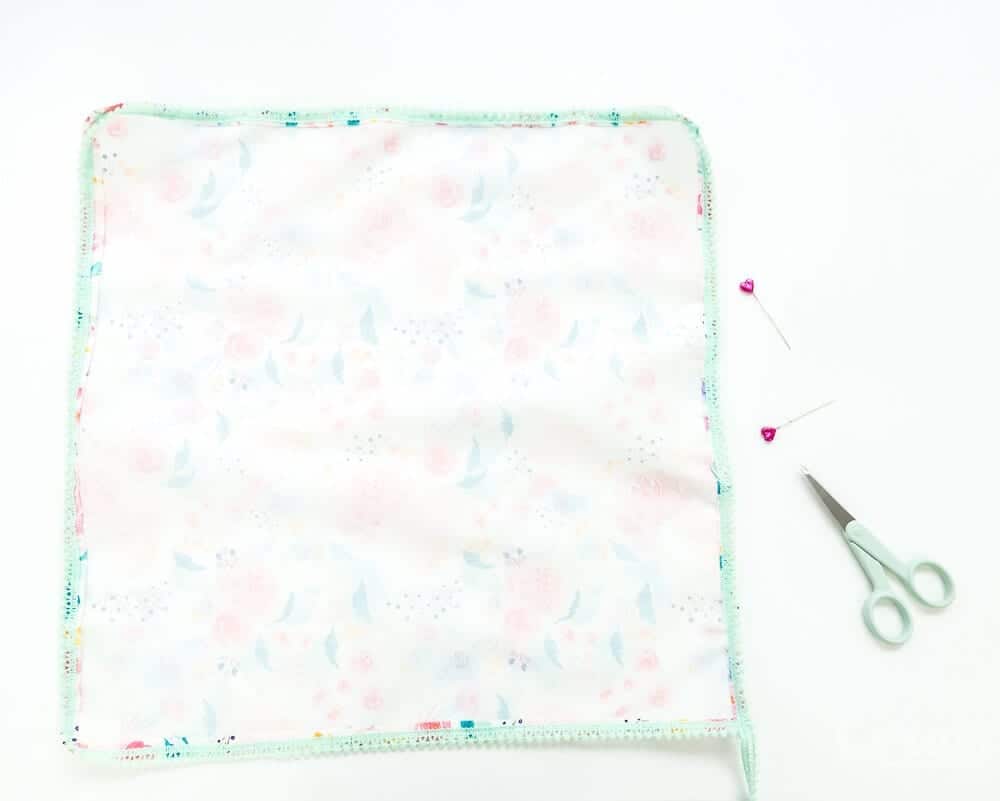
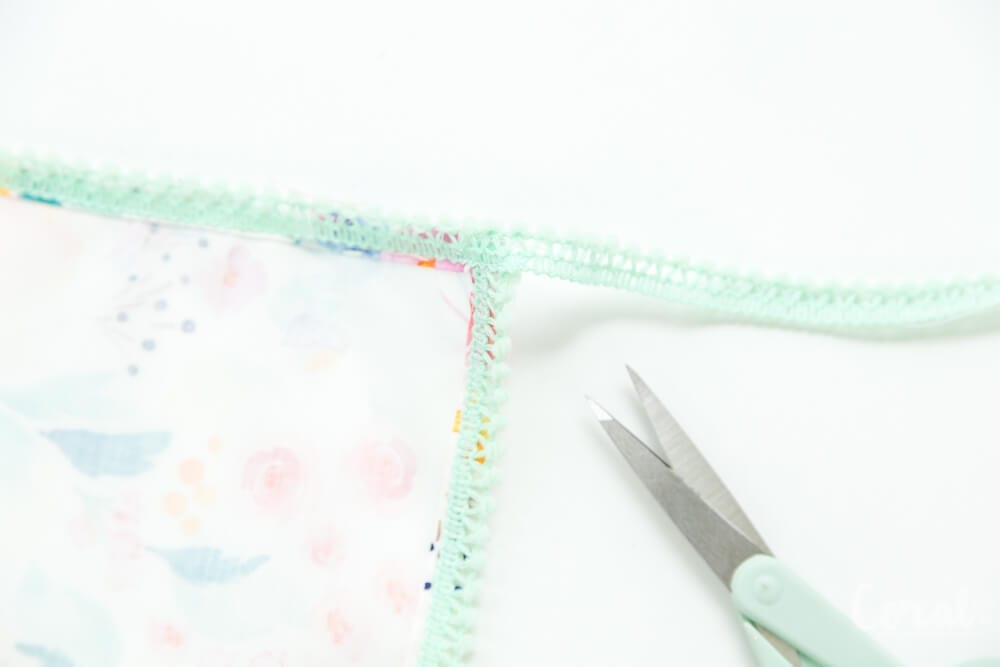


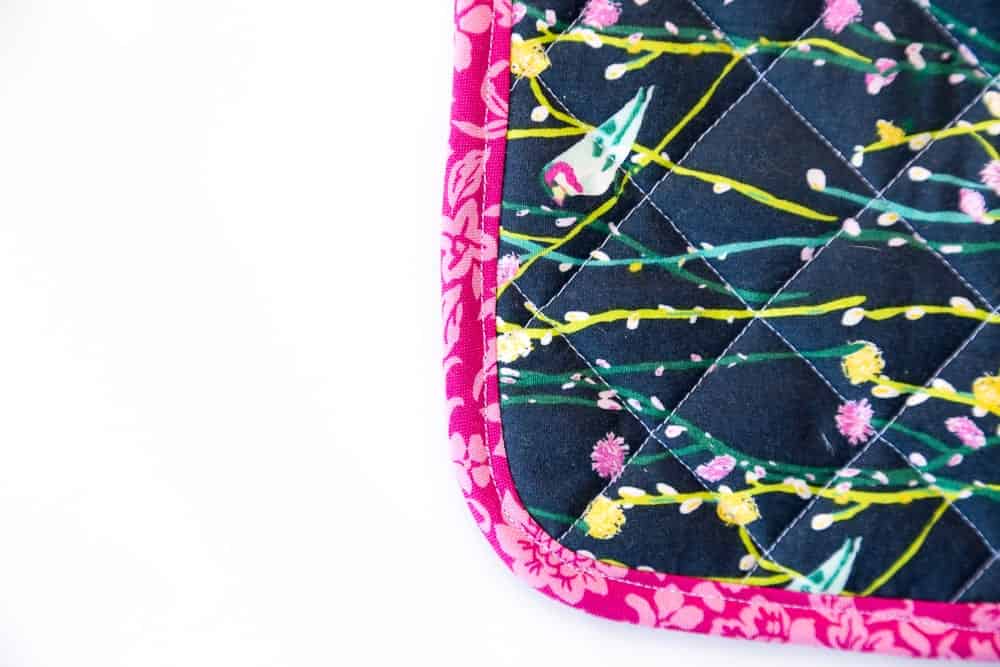


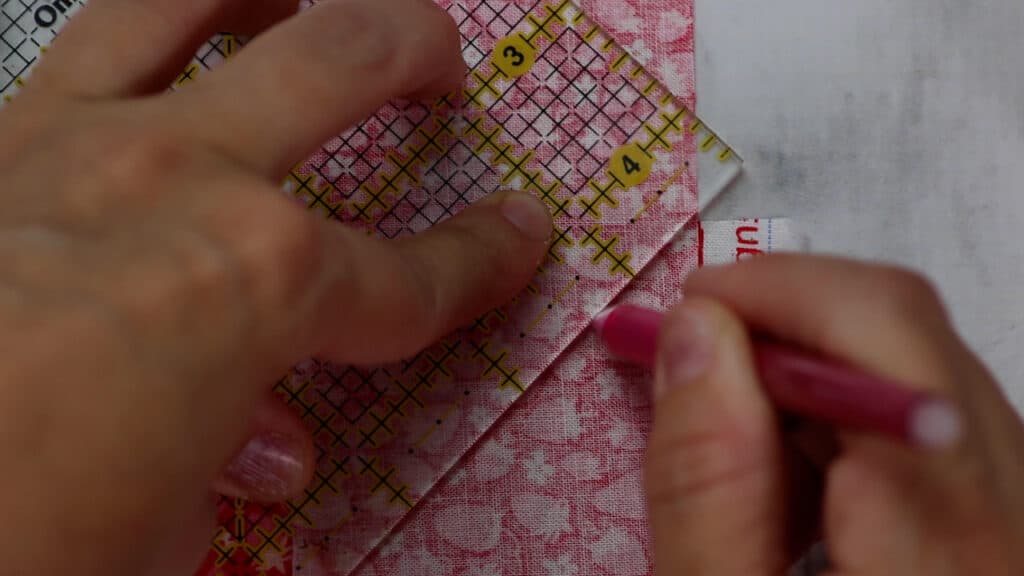


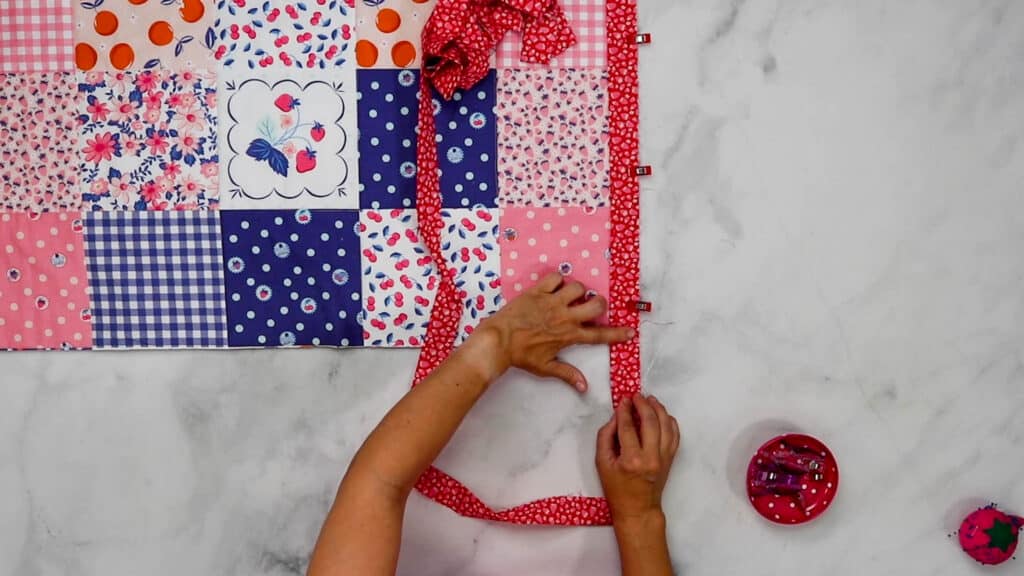

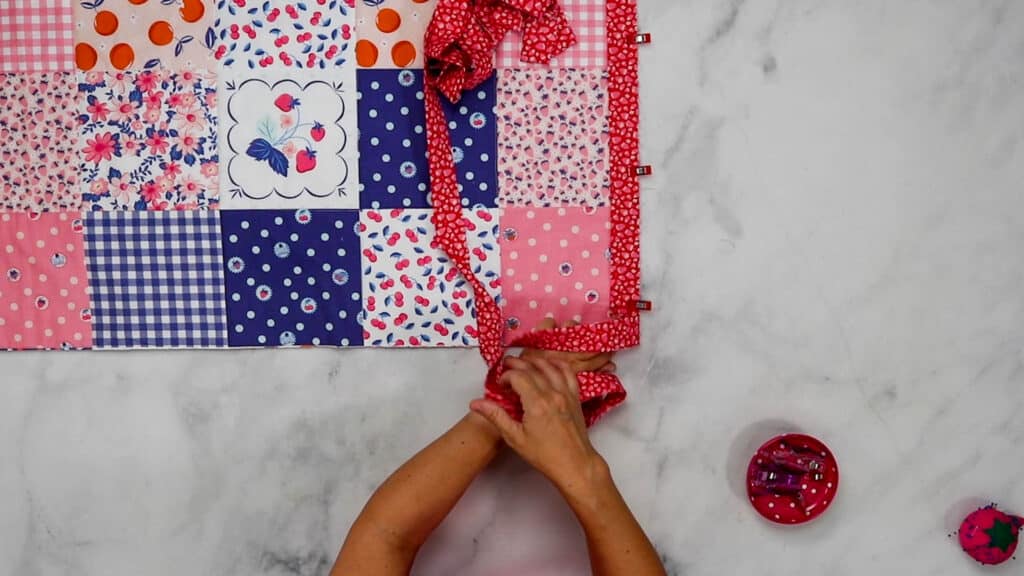


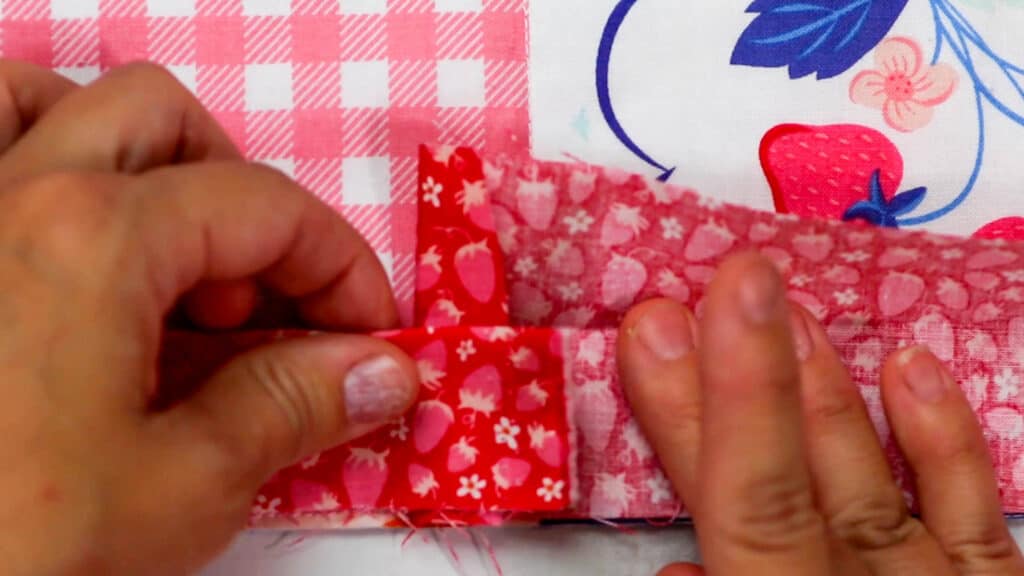
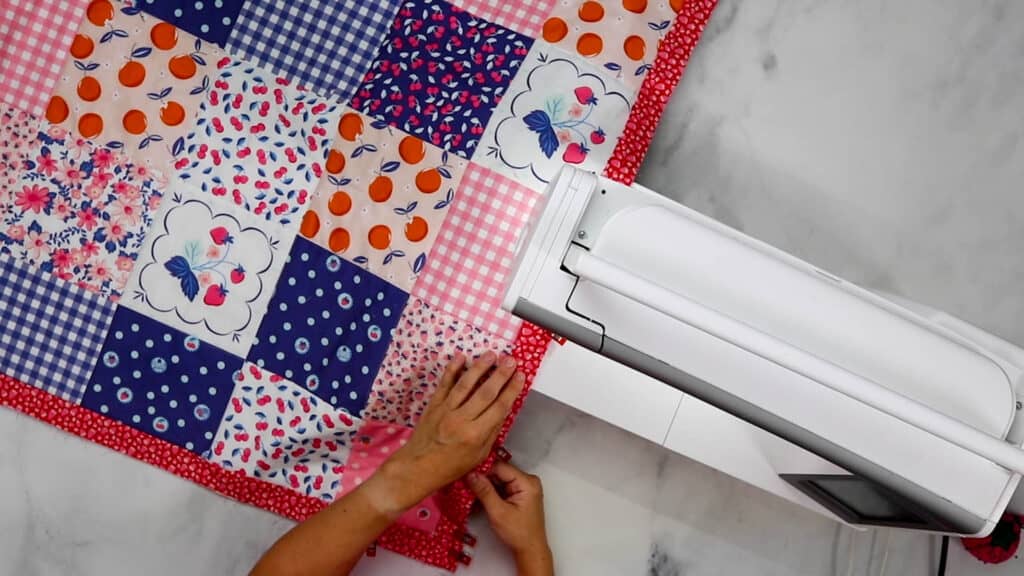


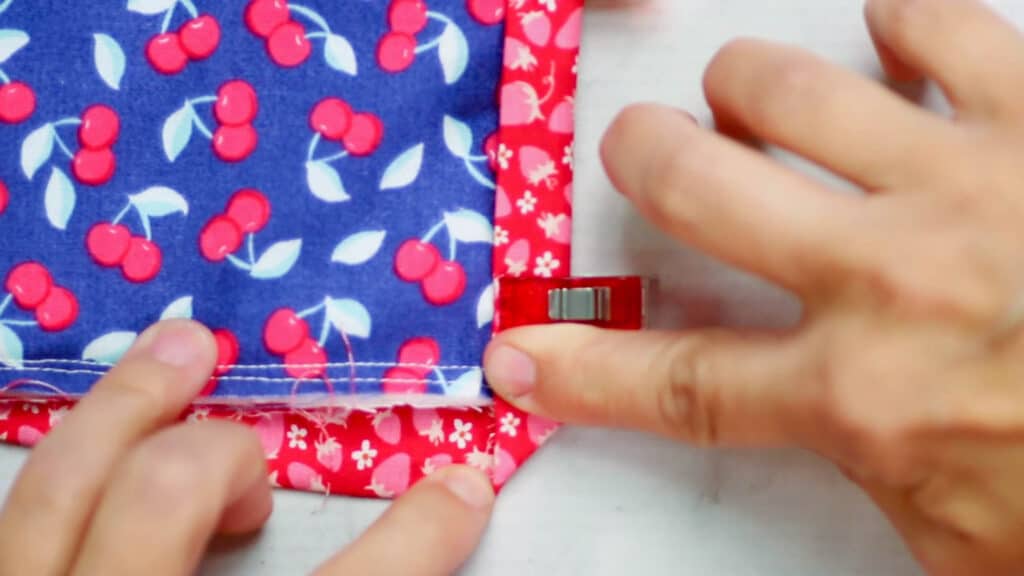
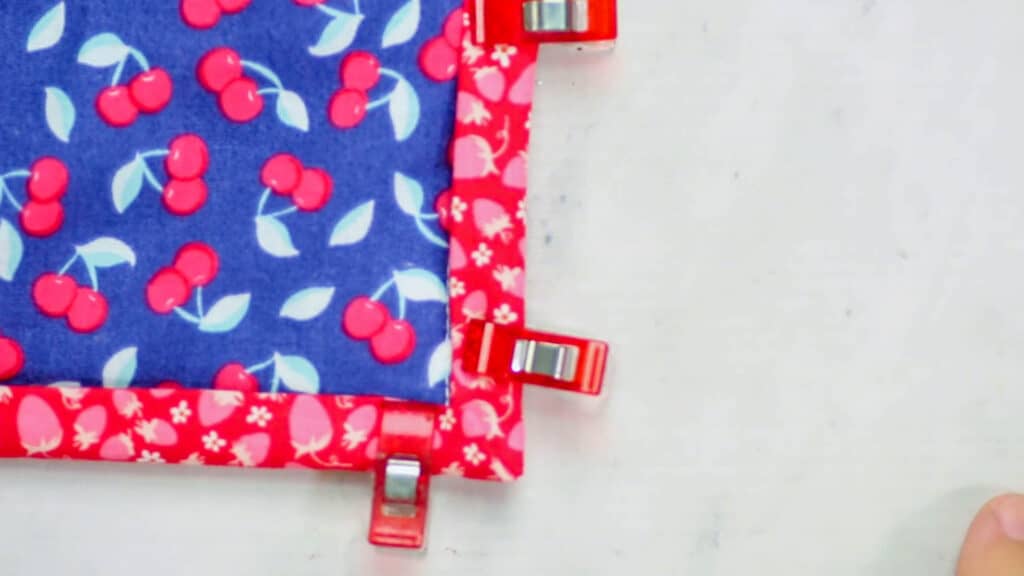
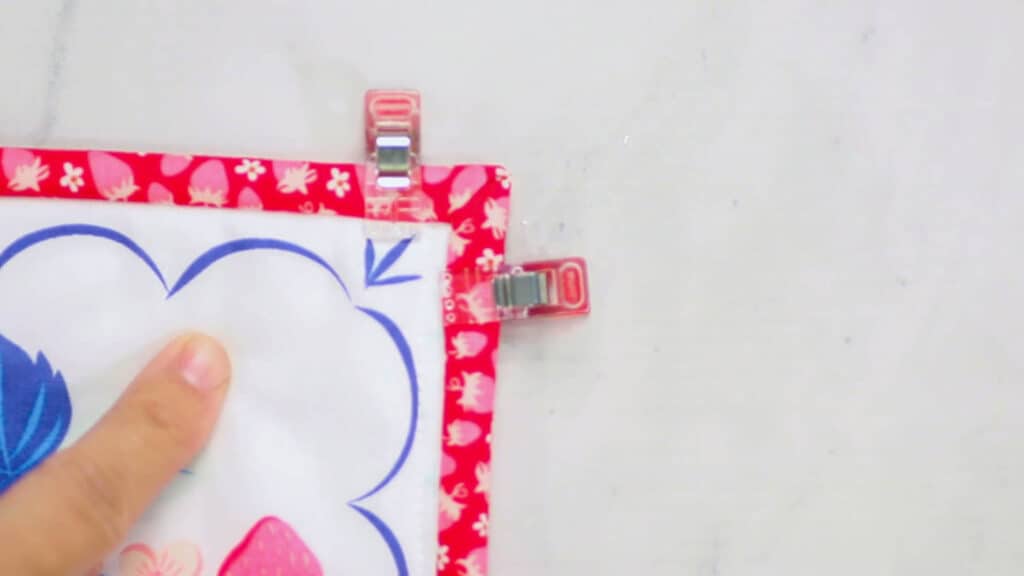
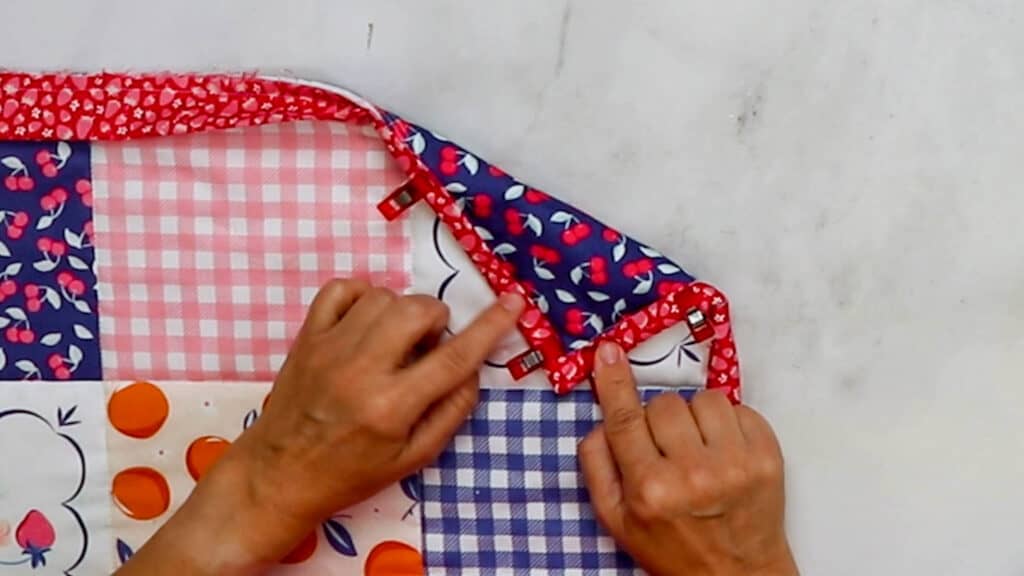


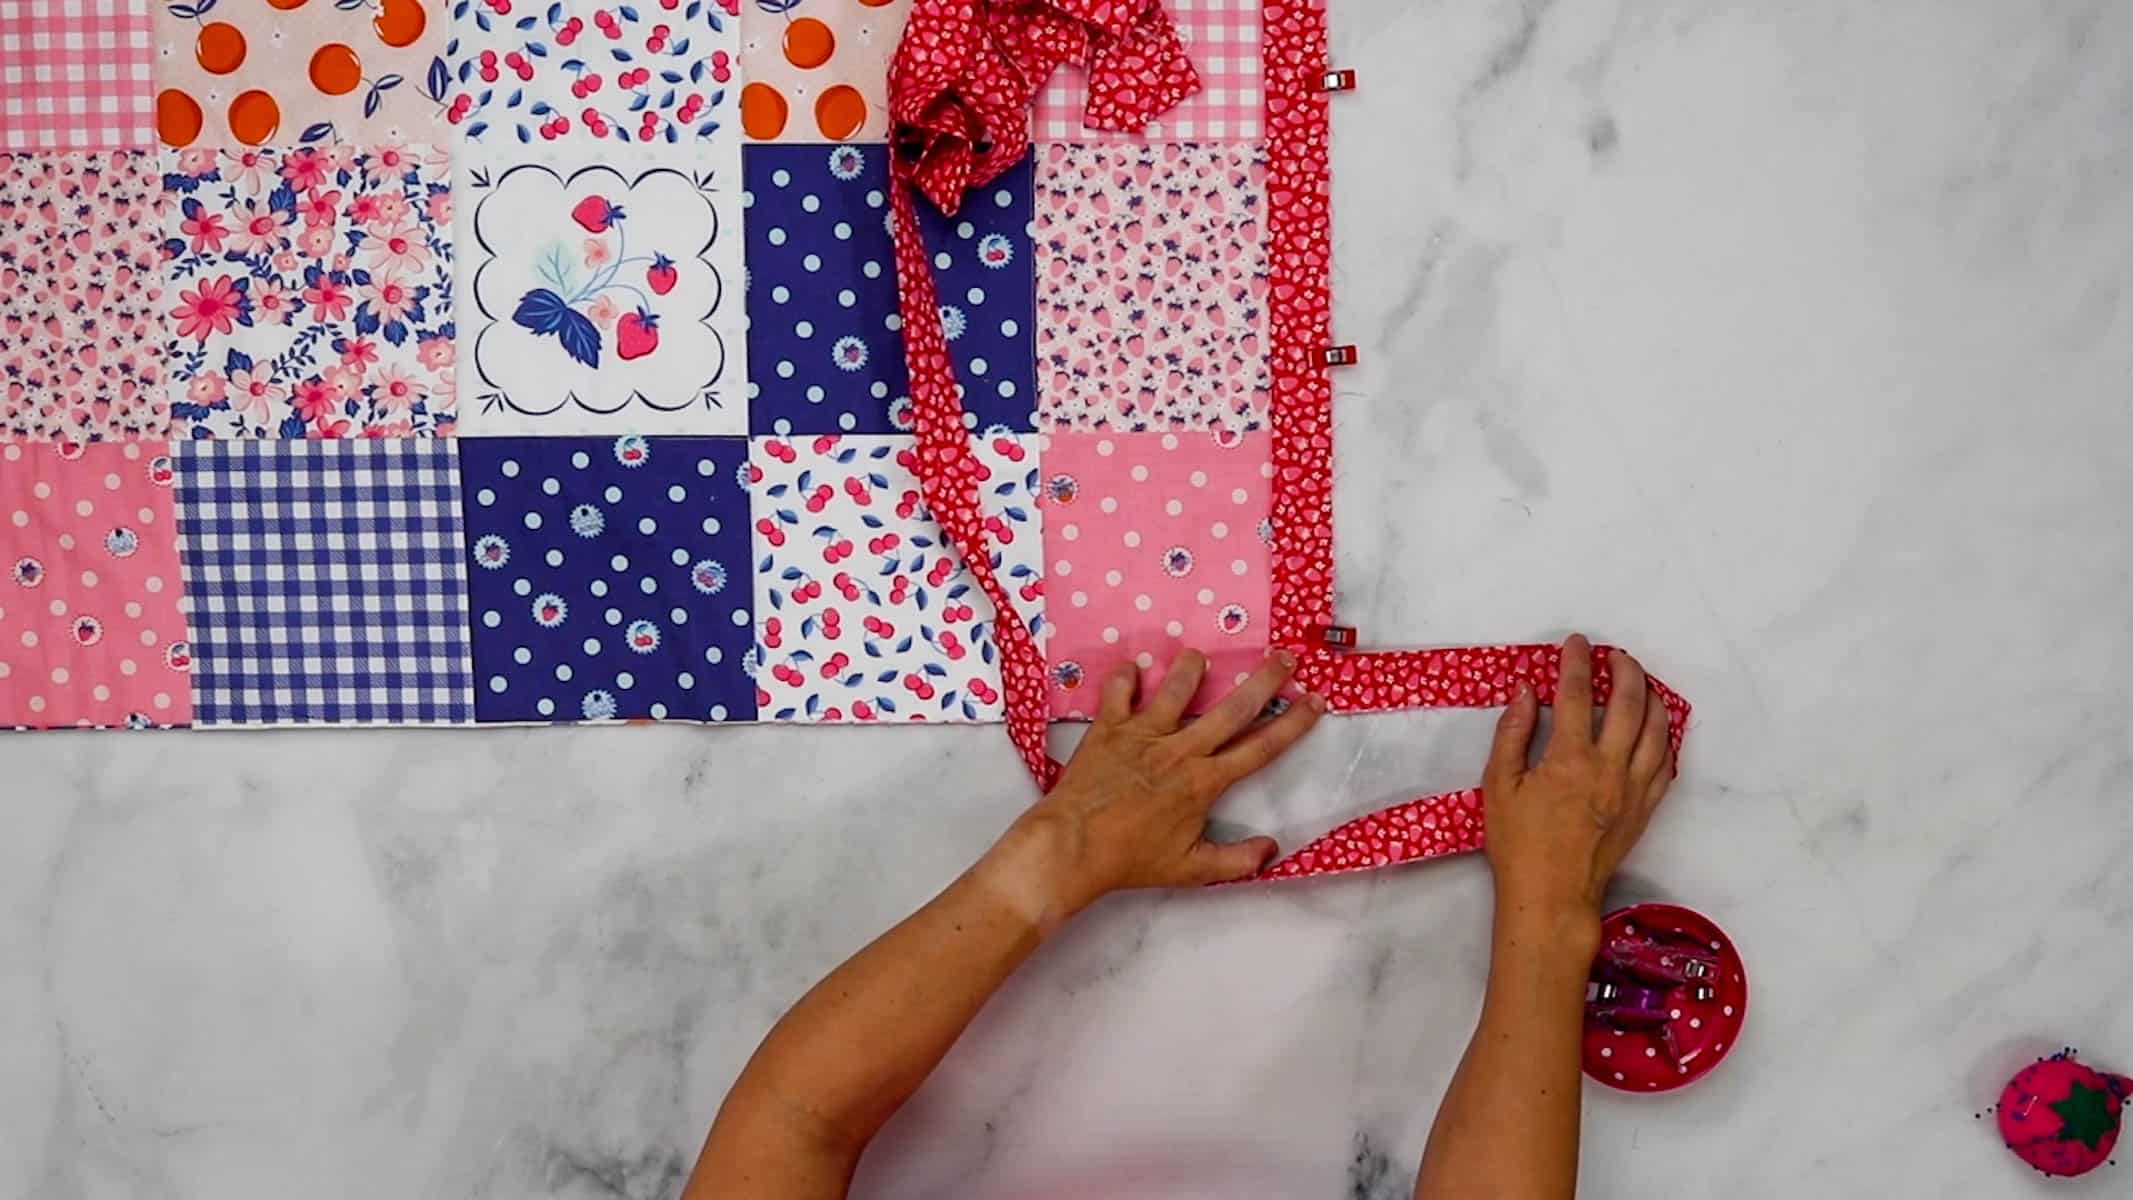

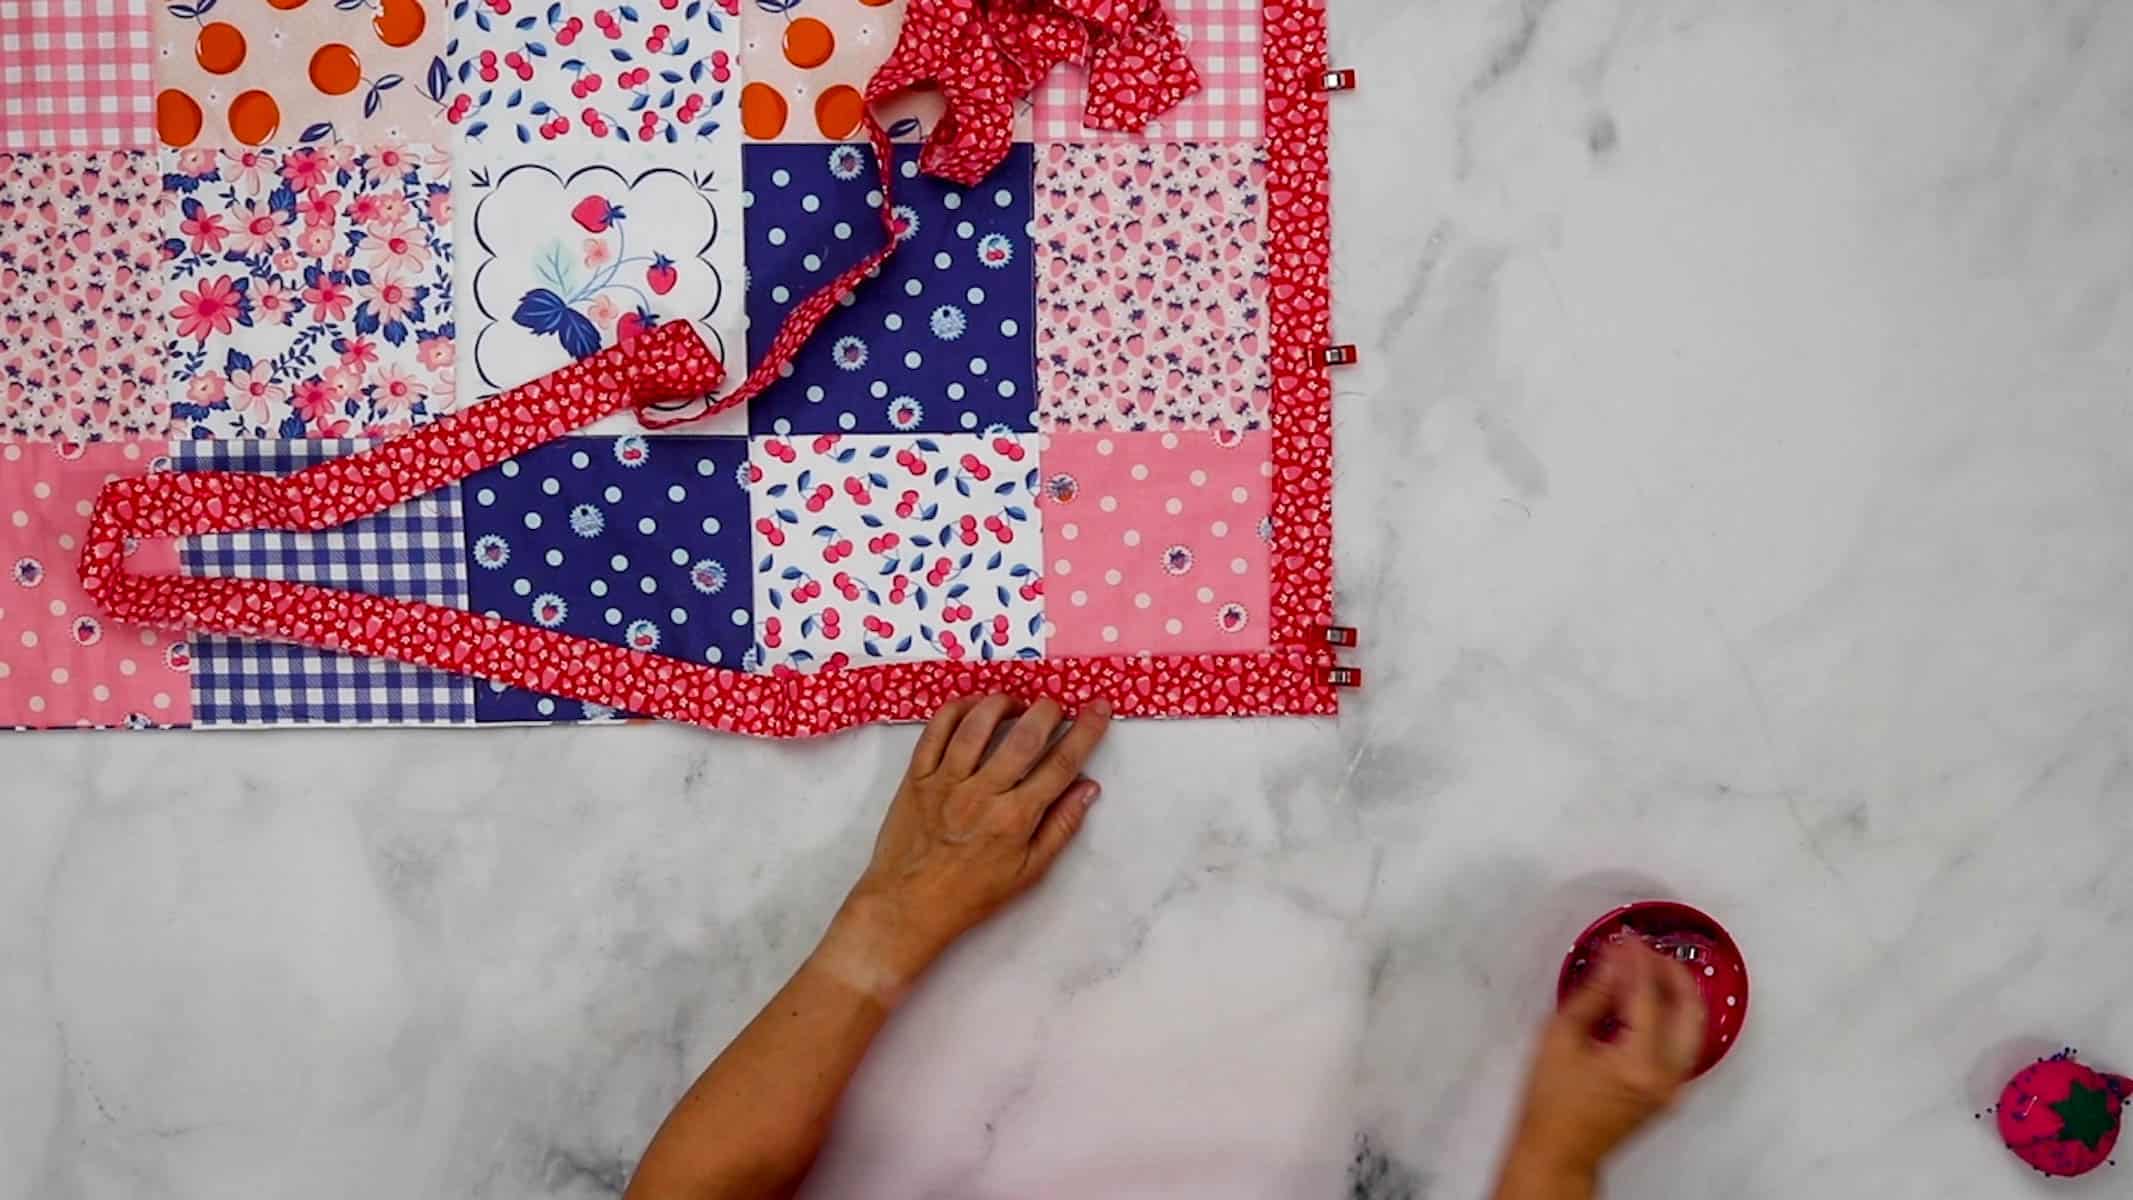


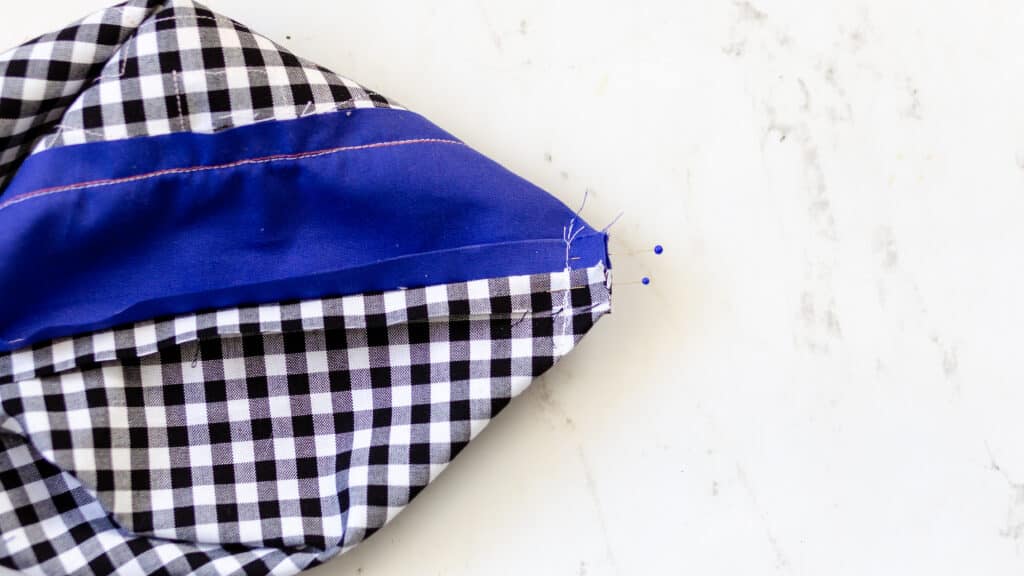
 Clip or pin in place to hold. The mitered corner should form a perfect diagonal line from the corner.
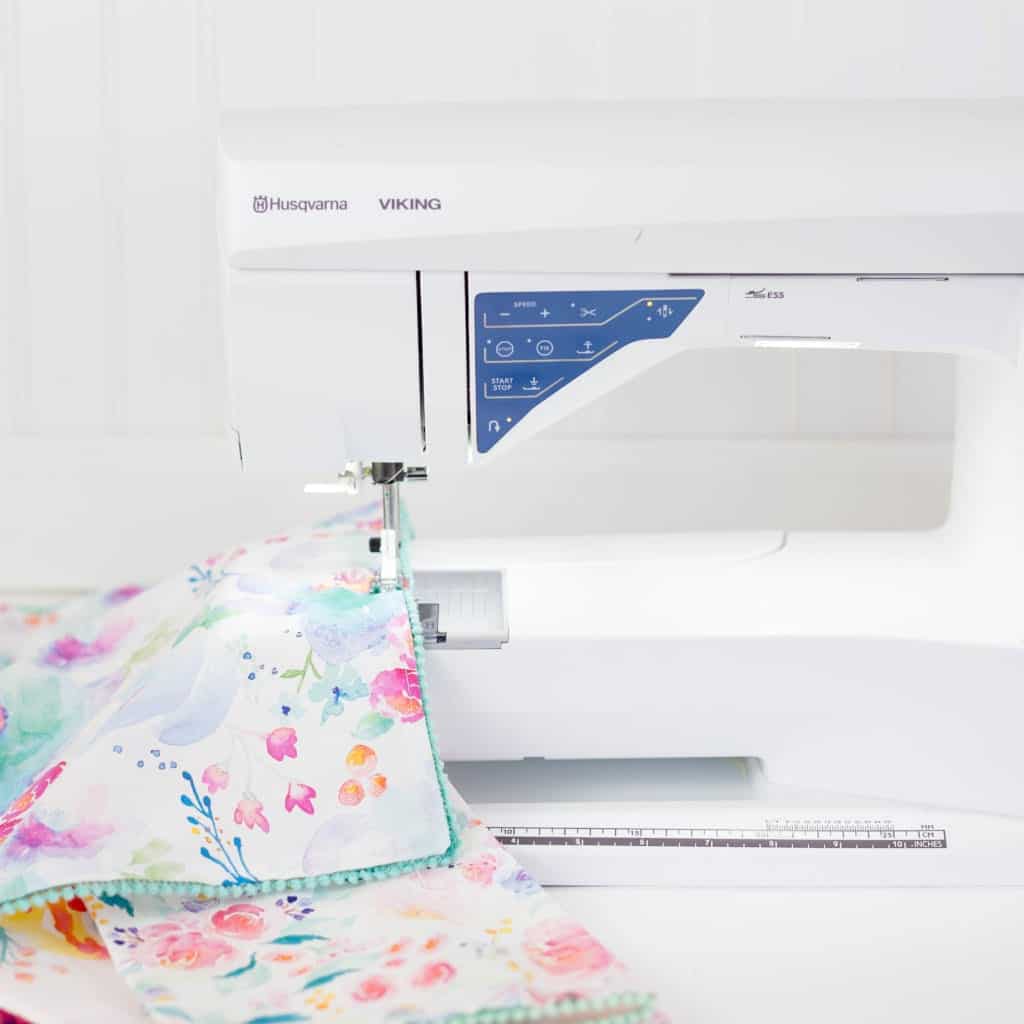
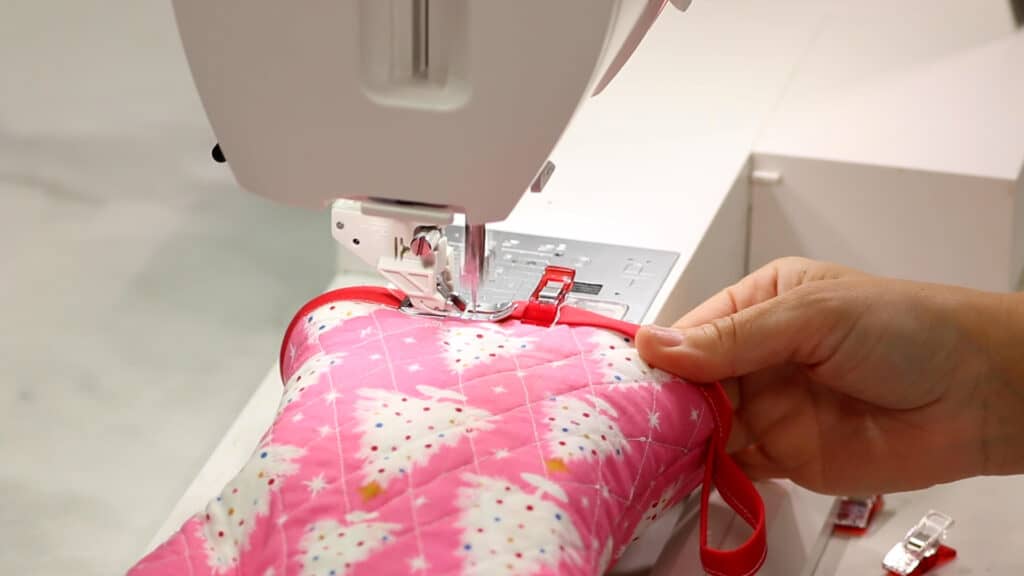
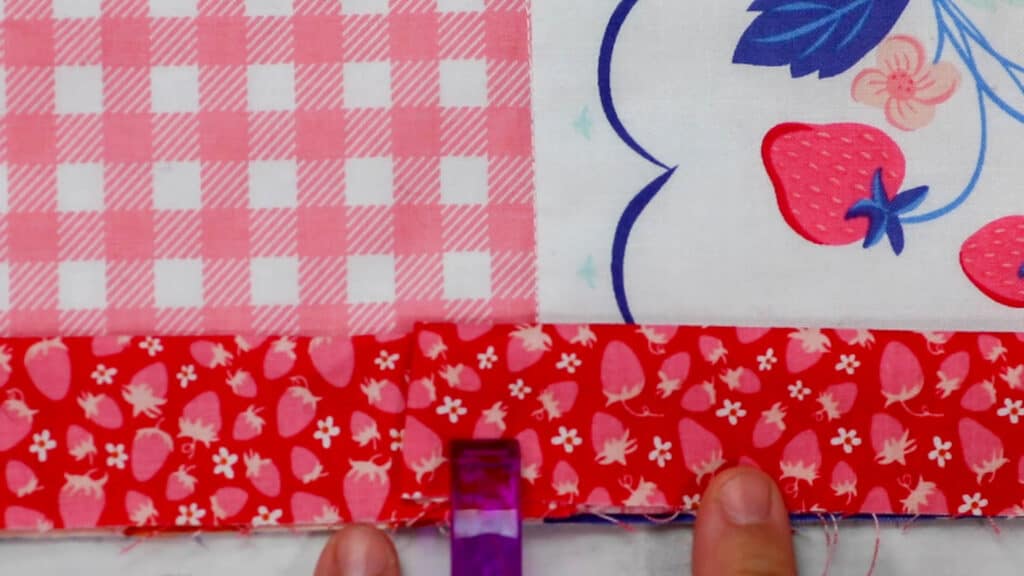
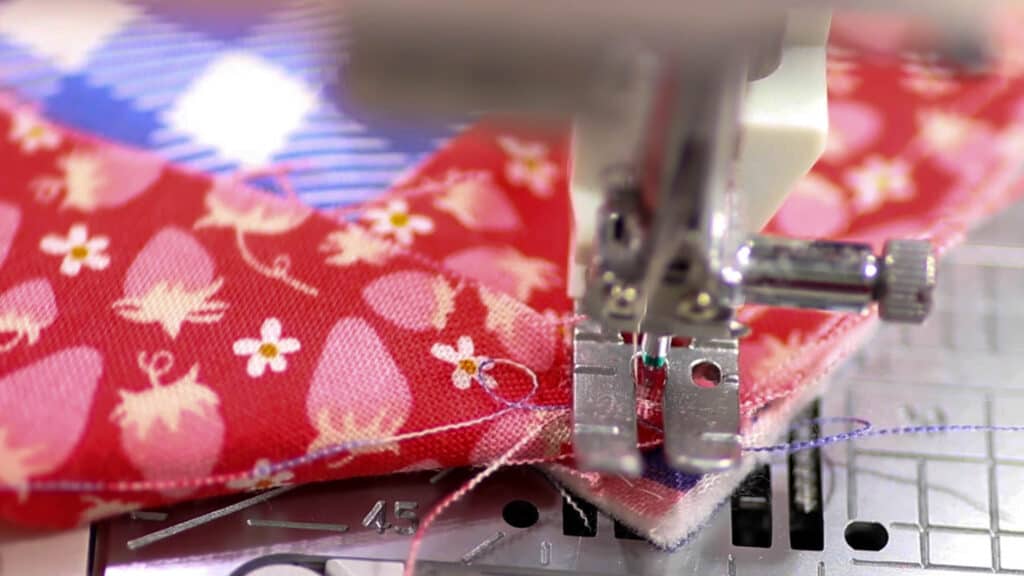
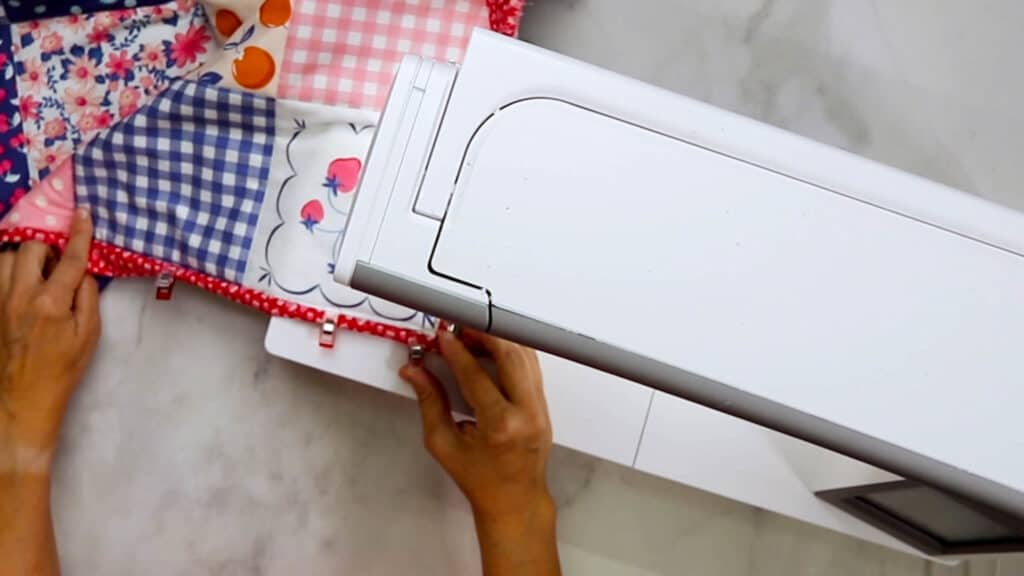
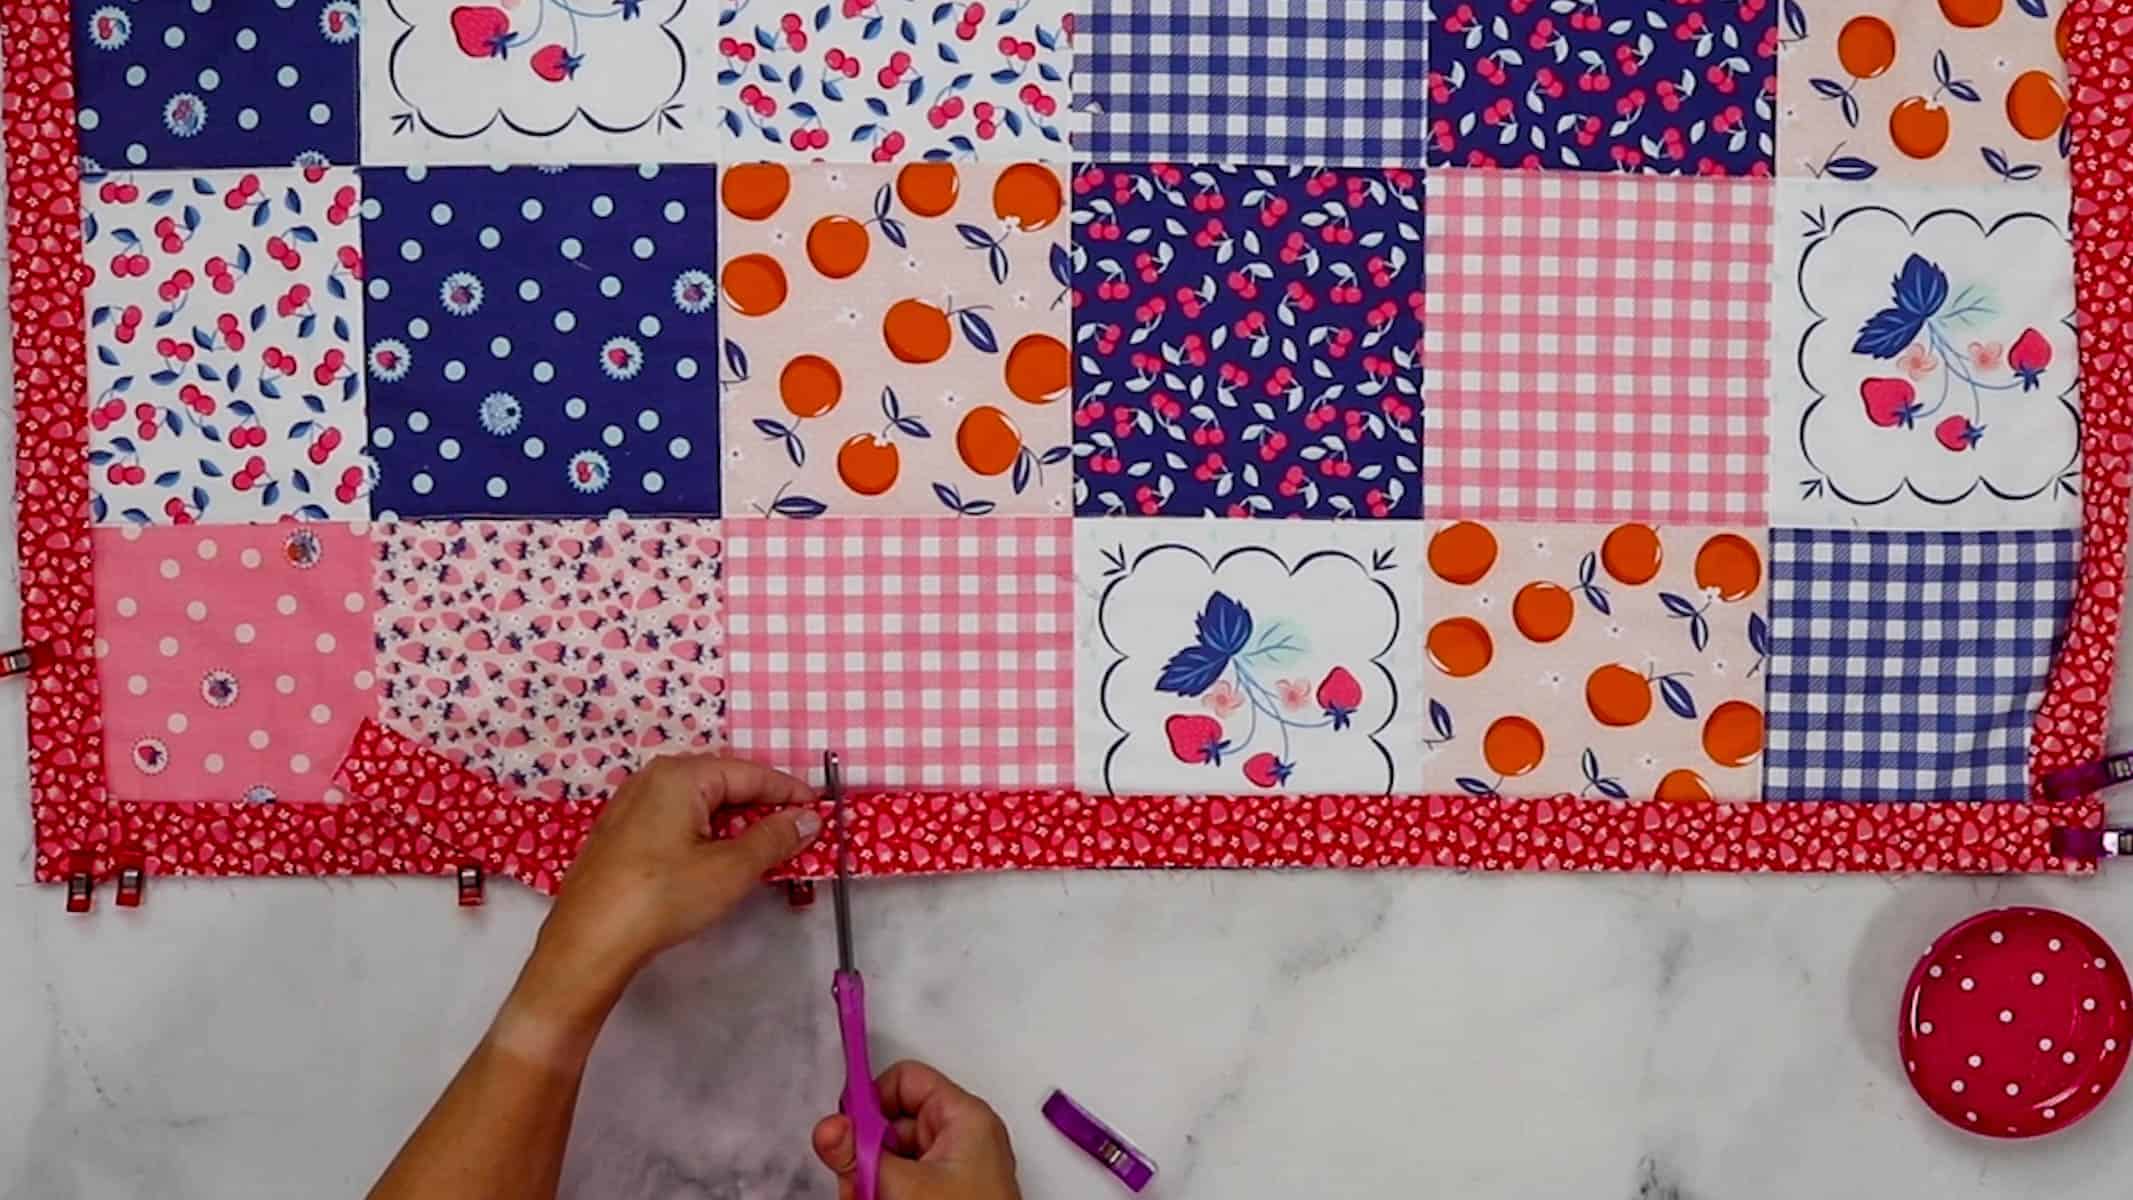
 When machine stitching your quilt binding, the stitching from the front should catch the binding on the backside.

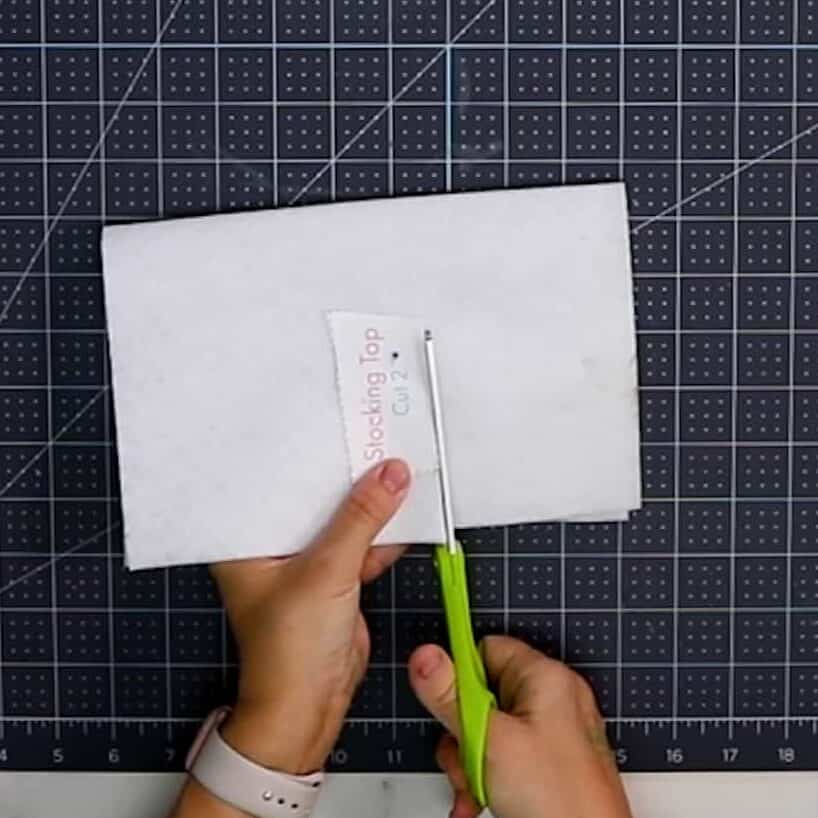
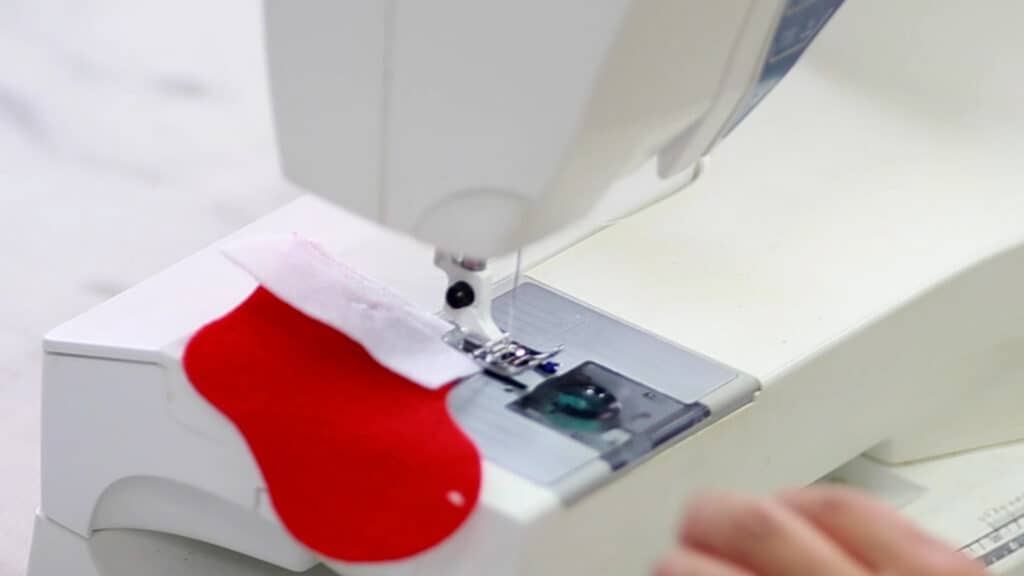

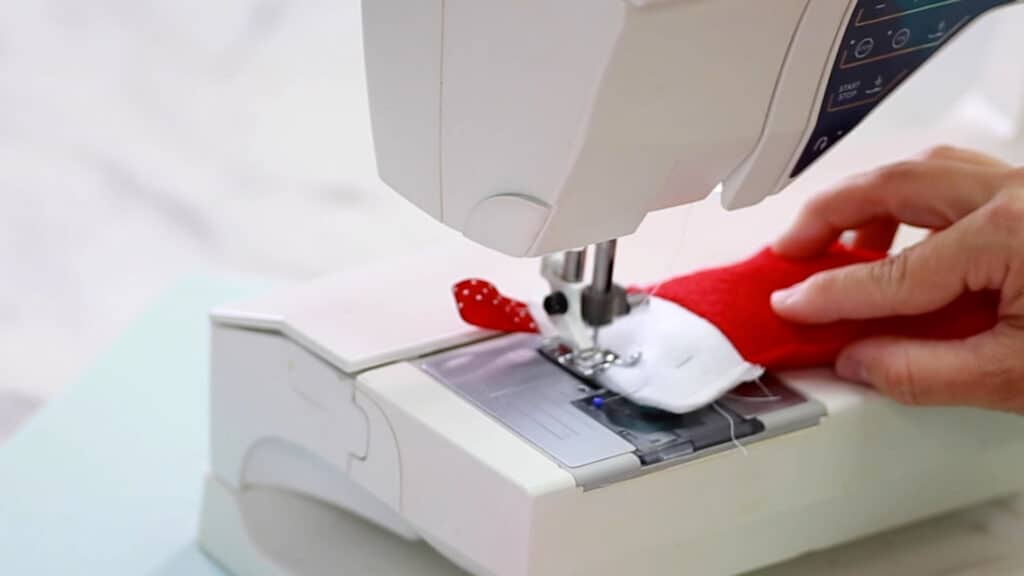


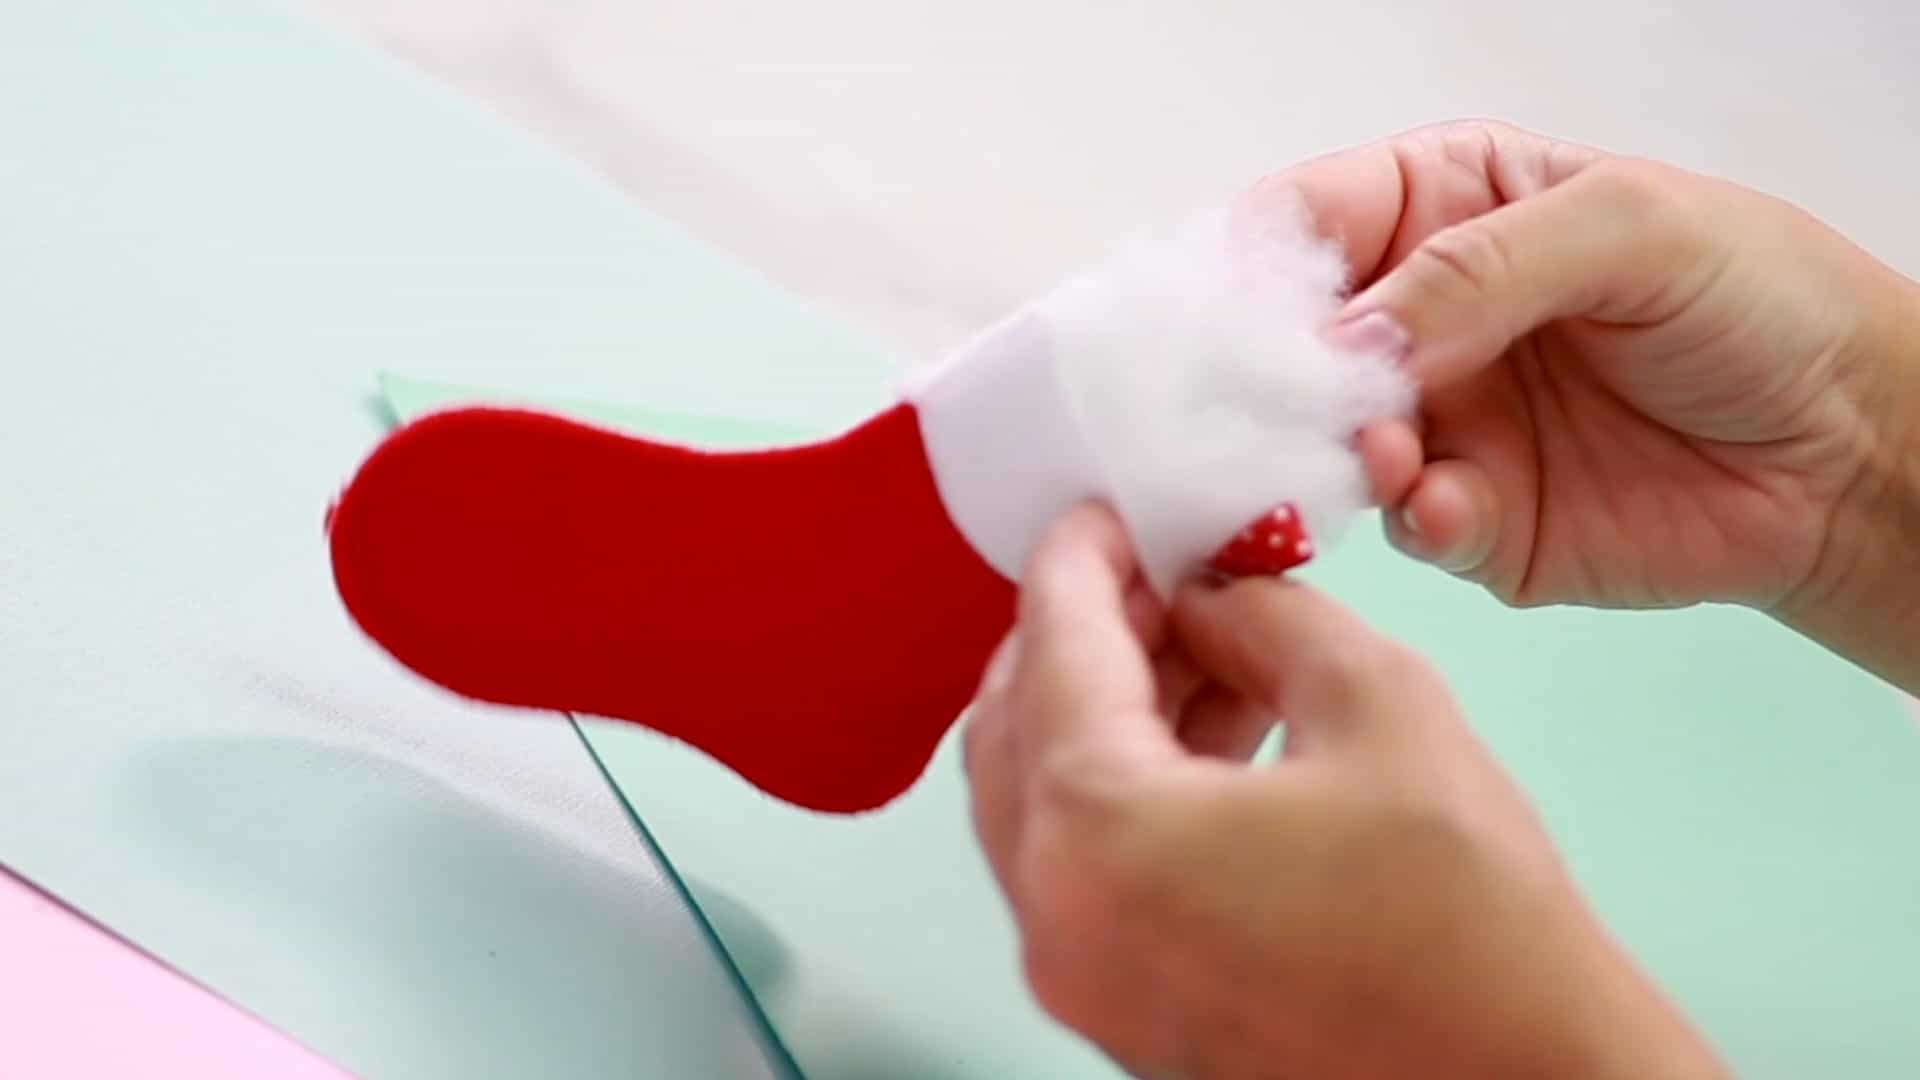
 Sew along the perimeter of the stocking, starting at the top side and following around to the other top side using 1/8" to 1/4" seam allowance. Leave the top open to place the fiberfill in.