
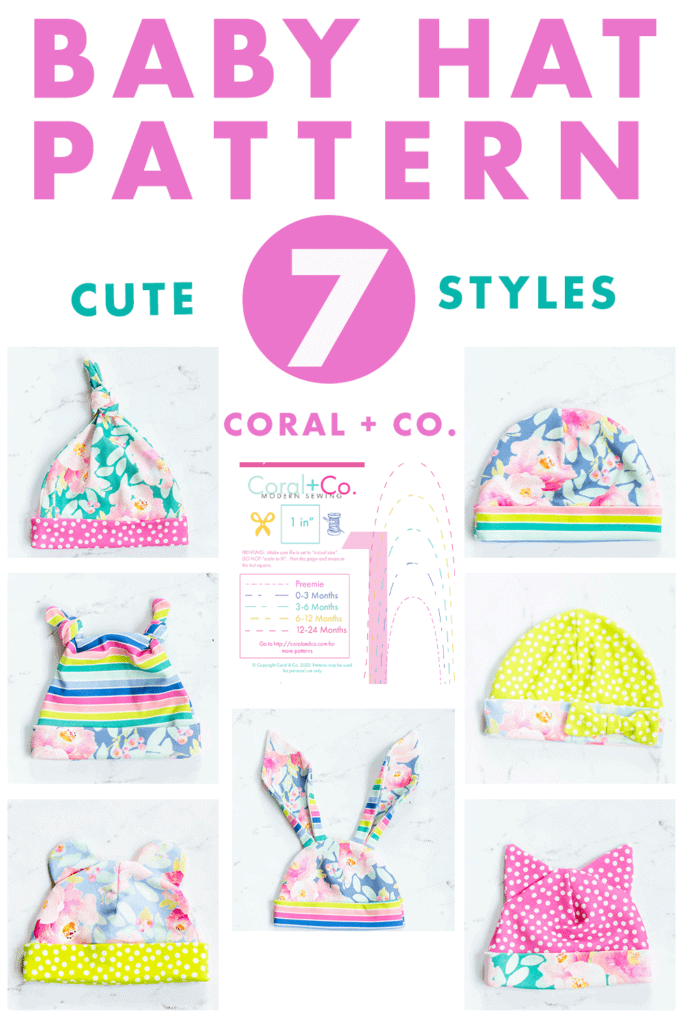
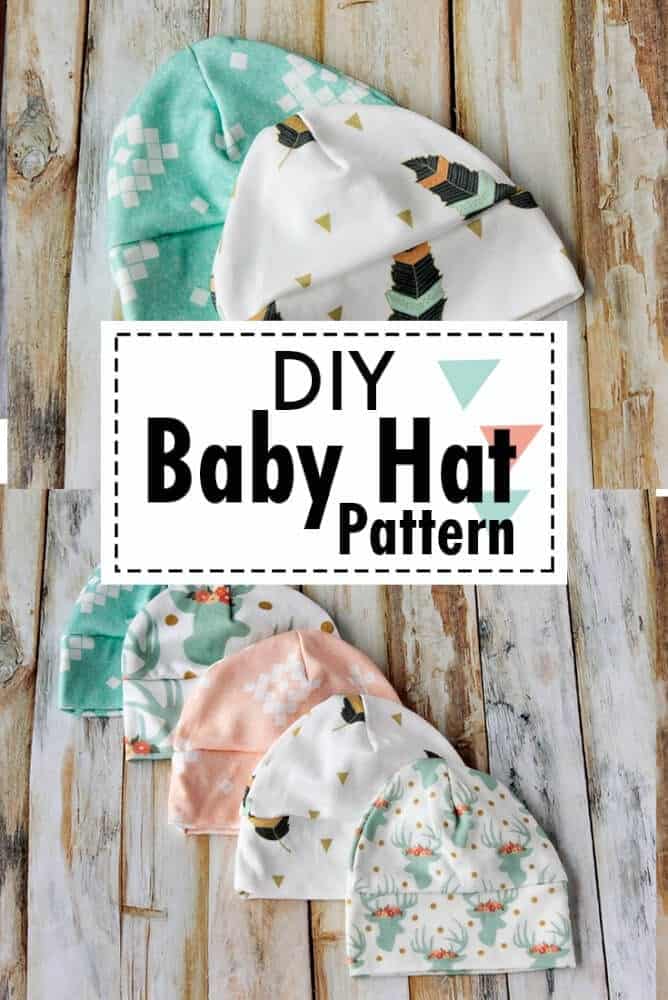
This is the baby hat sewing pattern that you need to make! Choose the basic baby hat or a top knot baby hat pattern for your little newborn bundle of joy.
Crafty Cuties: Sew Adorable Baby Hats with the FREE Pattern!
Hey there, crafty pals and baby enthusiasts! Get ready for a super fun project that's bound to make you smile. Today, we're diving into the world of baby hat sewing, and we've got a treat for you – a FREE baby hat sewing pattern that covers sizes from preemie to 24 months. Let's get started on this sewing adventure together!
Why Sew Baby Hats?
Let's talk about why sewing baby hats is a blast! It's not just about making a hat; it's about creating a little piece of warmth and love for the sweet baby in your life.. Handmade baby hats are like a snugly hug for your tiny tot and make the sweetest keepsakes.
The Fantastic FREE Baby Hat Sewing Pattern
Our free baby hat sewing pattern is your golden ticket to creating the most adorable little headgear. Whether you're a sewing pro or just getting started, this pattern is your new BFF on this crafting journey.
Let the Fun Begin!
With your free baby hat sewing pattern and materials ready, it's time to start the real fun. Follow the easy-peasy step-by-step instructions, and let your creative juices flow. Pick fabrics that make you smile and add cute little details that make each hat unique.
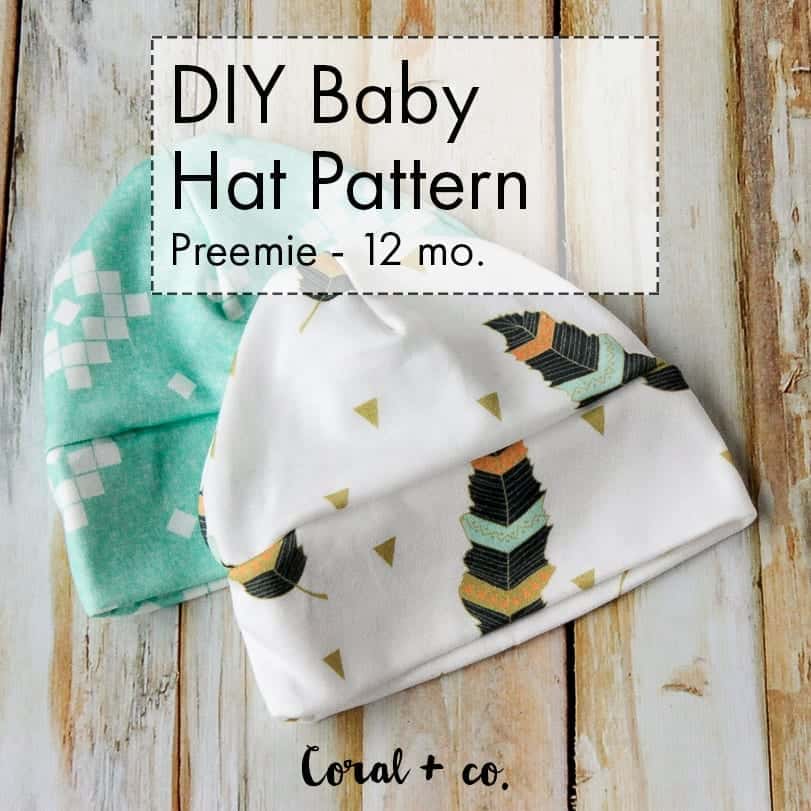
The FREE Baby Hat Sewing Pattern and Top Knot Baby Hat Sewing Pattern with a PDF download including the tutorial! Baby Cap Pattern in sizes preemie through 12 months so it is perfect for infants and big babies.
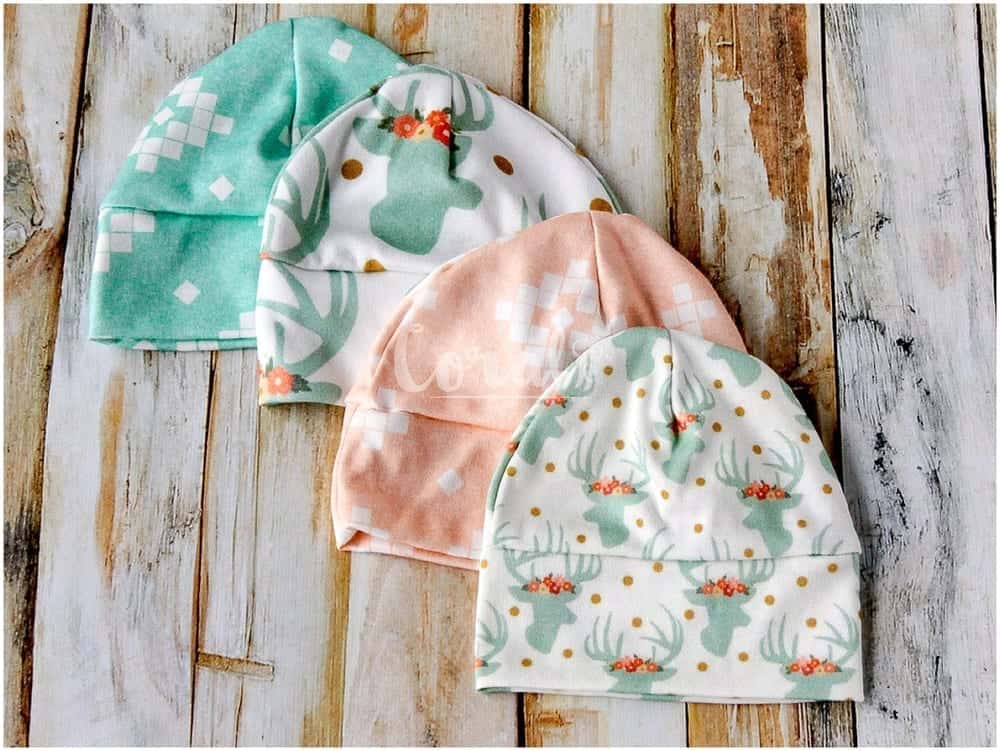
The baby hat pattern can be made with interlock knit, jersey knit, or even rib knit (I would size down for this option). I used an organic interlock knit for the batch that I made. Some of my favorite knits are Fabricworm's organic interlock knits and jersey knits by Art Gallery (so many pretty colors and designs!)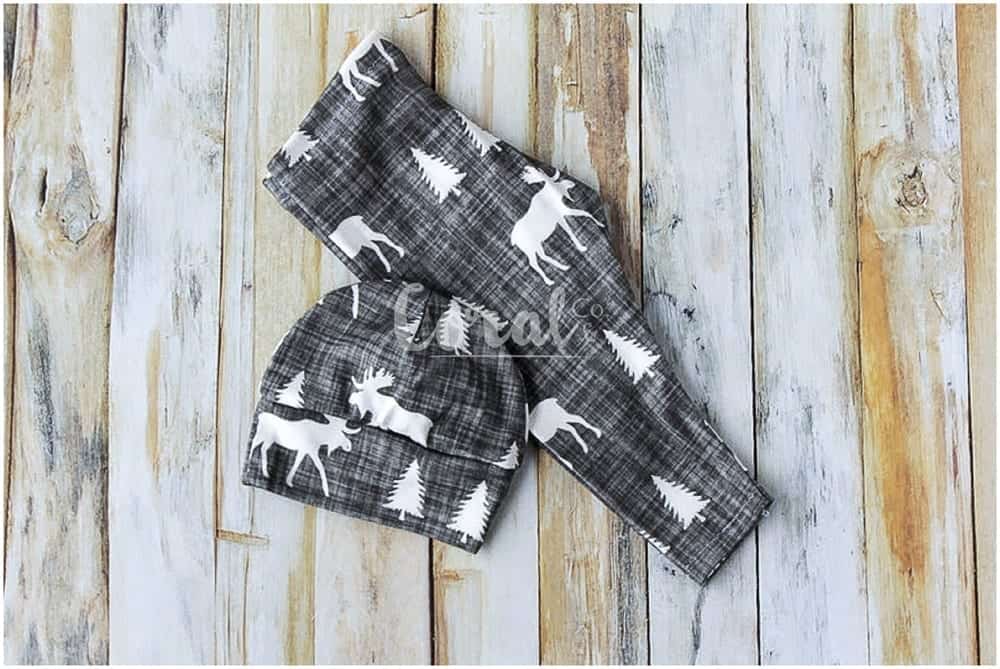
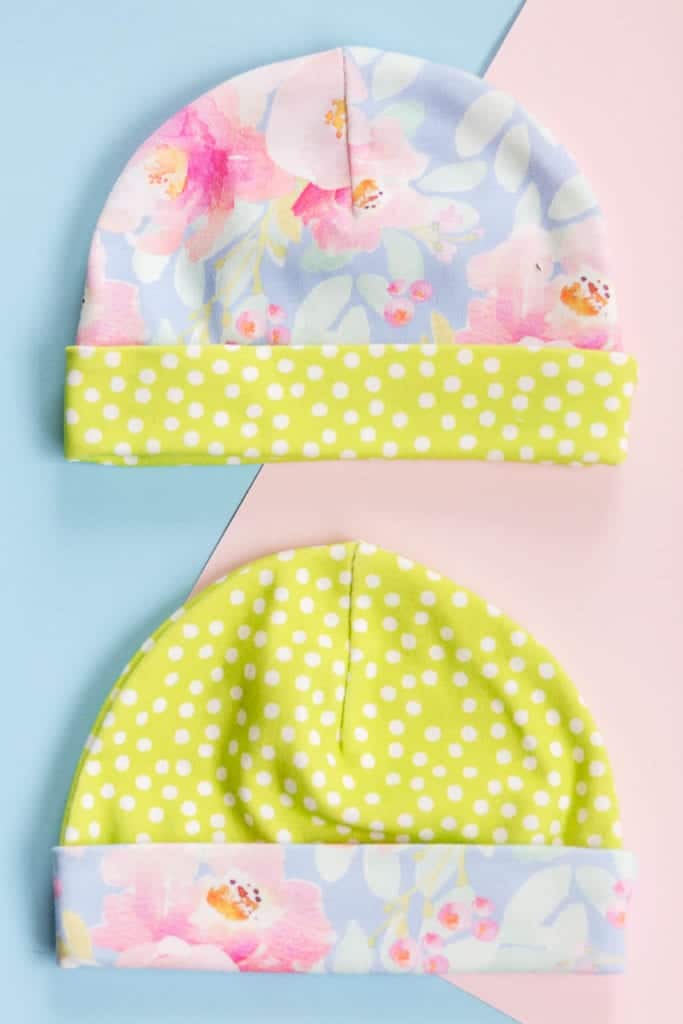
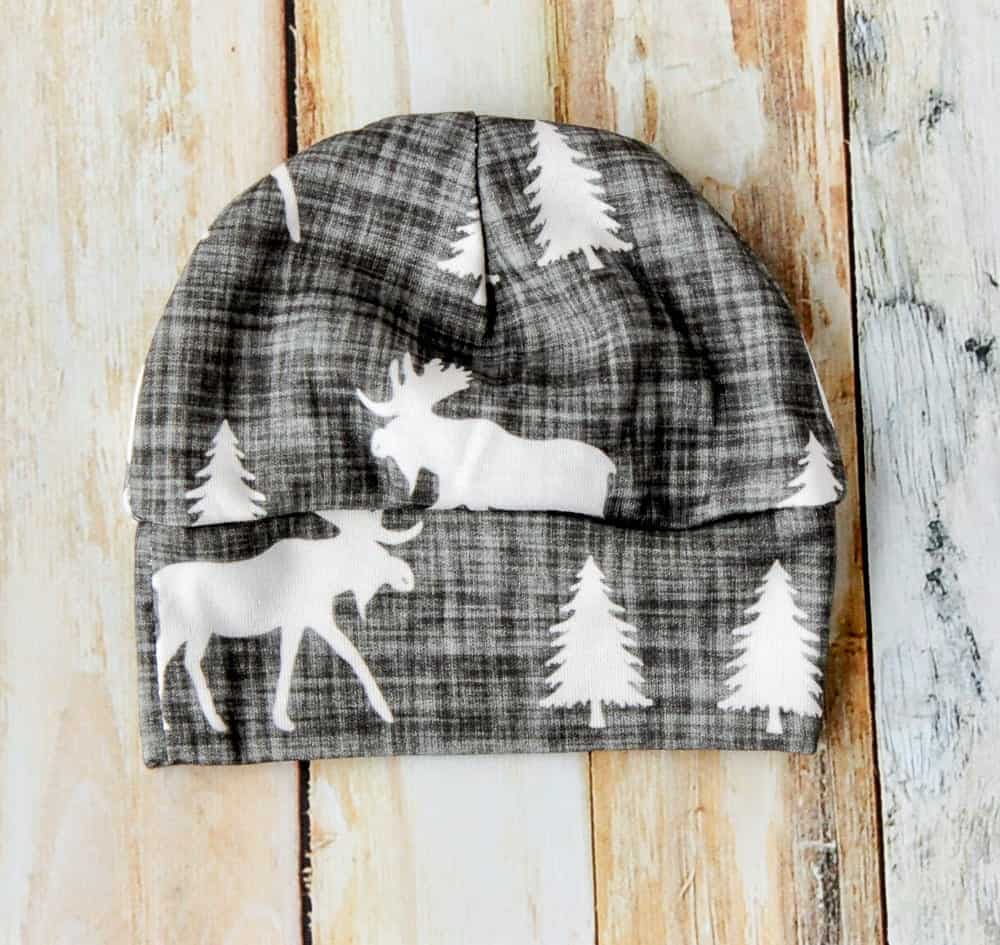
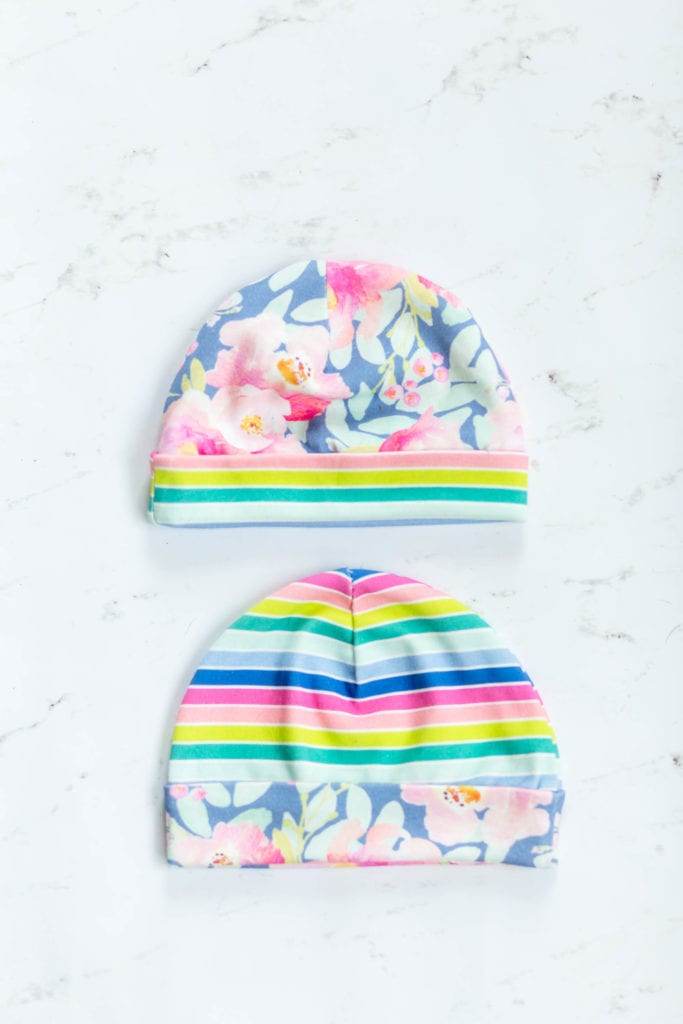
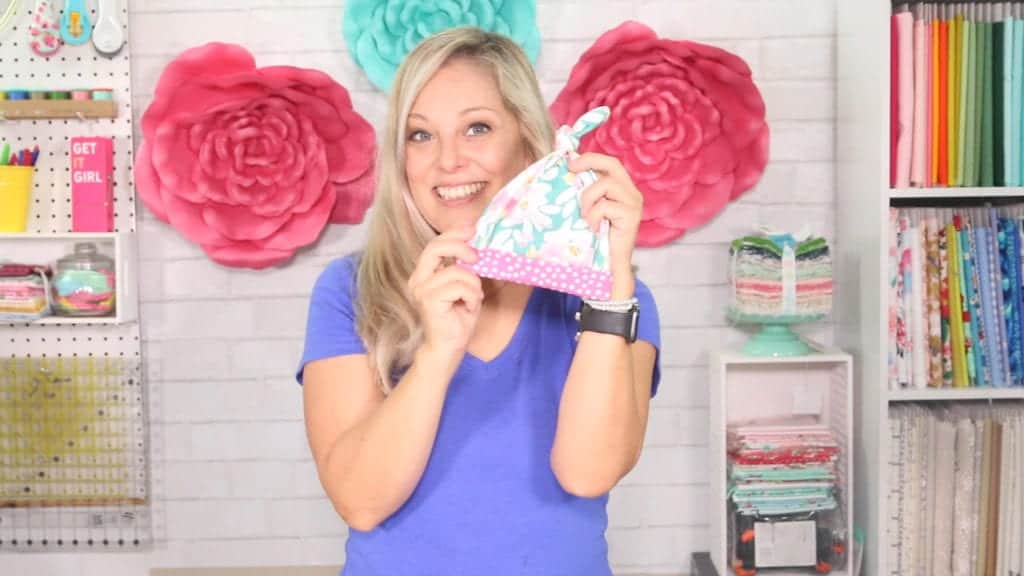
This cute little baby cap is made out of soft knit fabric and comes with a fitted top and a cuff that can be rolled up for more cuteness, and can be made with a top knot as well too.
Table of Contents
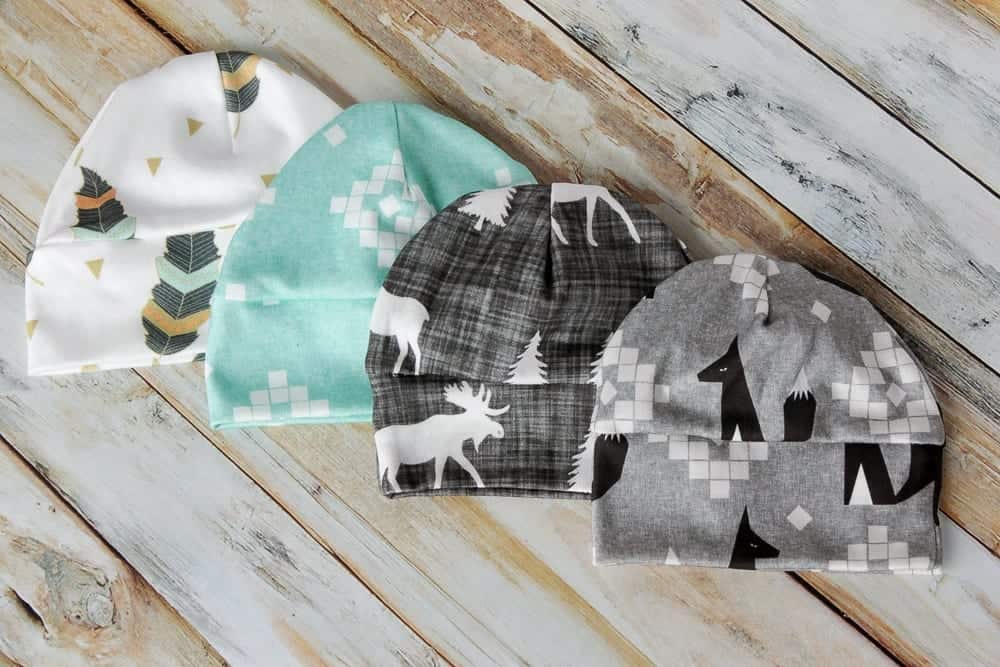
As you can see I had a lot of fun making them in a ton of different fabrics and can coordinate with the Knot Bow Headband Pattern and the Knit Swaddle Blanket for the perfect baby shower gift.
Other Baby Sewing projects you might like:
- 50+ Cutest Baby Sewing Projects
- Top Knot Baby Hat Pattern
- Scrappy Patchwork Baby Bib Pattern
- Sherpa Fleece Baby Blanket Tutorial
- Minky Fitted Crib Sheet Tutorial
- DIY Baby Leggings
- Free Baby Bib Pattern
The baby hat can be sewn with either a sewing machine or serger.
Sizes for Every Tiny Noggin
One of the coolest things about this pattern? It's got sizes for all those cute little craniums, from preemie perfection to toddler terrific! That means your little one can stay stylish and cozy from day one.
If you are new to sewing knits I have included some helpful tools below. The Baby Hat Sewing Pattern PDF comes in several sizes and options:
- Basic Baby Hat Sewing Pattern and Top Knot Baby Hat Sewing Pattern
- Preemie
- 0 - 3 Months
- 3 - 6 Months
- 6 - 12 Months
- 12 - 24 Months
Have you wondered how to make a cap for a newborn baby at home? The steps are incredibly easy and you will be making them by the dozen!!!
Baby Hat Pattern Supplies Needed
Gather Your Sewing Supplies
Let's round up your supplies! You'll need soft and snuggly fabric that makes your heart melt, thread in matching colors, some sewing pins, trusty scissors, and, of course, your sewing machine. But don't forget the secret ingredients – a dash of creativity and a whole lot of love!
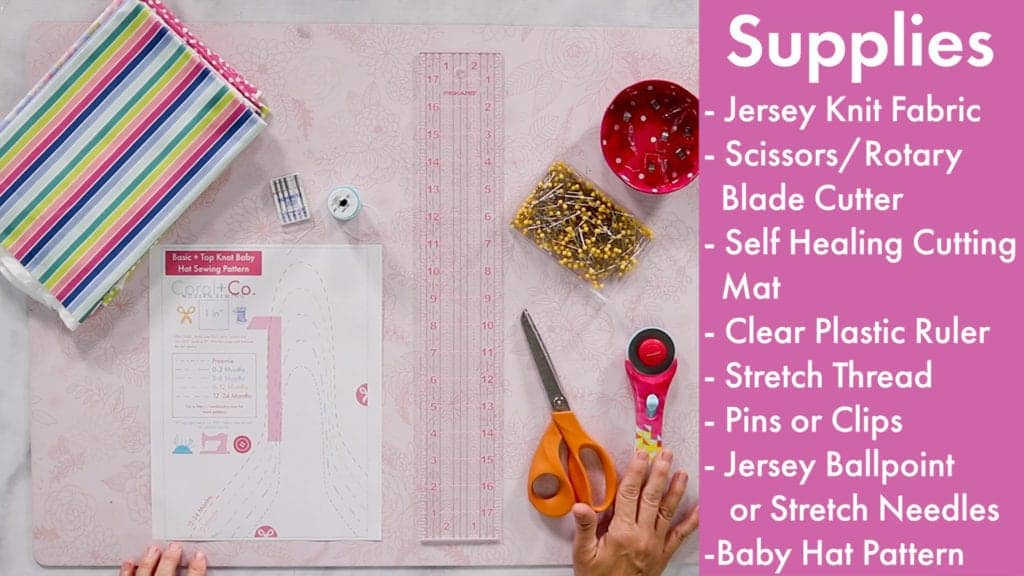
- Jersey Knit Fabric with at least 50% stretch
- Clear Plastic Ruler
- Rotary Cutter
- Self Healing Mat
- Walking Foot (* Optional but very helpful)
- Pins or Clips
- Stretch Thread
- Jersey Ball Point Needle
- FREE Baby Hat Pattern
Or you can shop the BABY HAT MEGA BUNDLE with 7 adorable options including the cutest animal ears!
Find the fabrics used for in the Baby Hat Sewing Pattern:
Fabrics used in the video: Peony Paradise designed by Indy Bloom Design available at Hawthorne Supply Co.
Spoonflower Fabrics in Photos: Ivie Cloth Company, Mint Peony Designs, Charlotte Winter
Download the Pattern
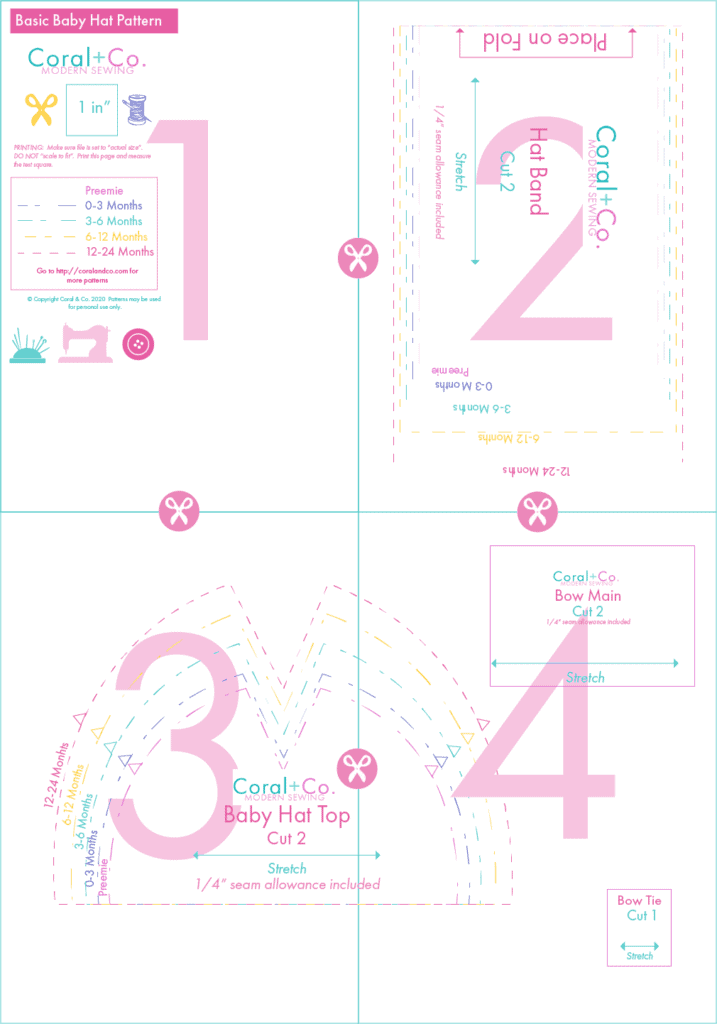
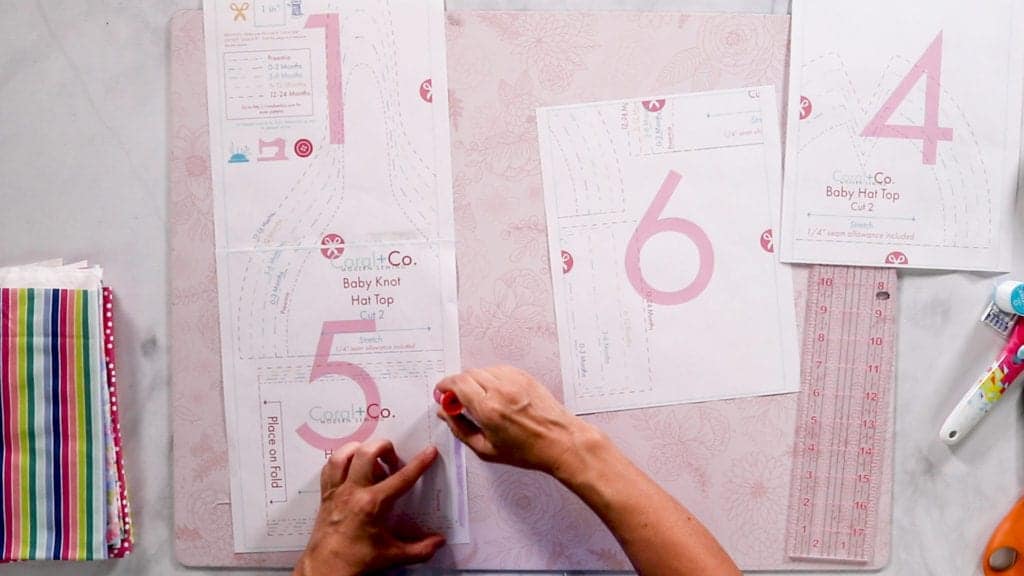
How to Assemble the Baby Hat Pattern
How To Sew A Baby Hat Quick Instructions
Or watch the video below for more tips.
- Assemble the Basic Baby Hat PDF Pattern, being sure to measure the 1" square.
- Place the baby hat top piece parallel to the stretch of the fabric and cut 2 from the top piece.
- Place the hatband pattern on the fabric fold and cut 1 hatband piece from the pattern.
- Pin or clip the short side of the baby hatband.
- Fold the baby hat top piece in half aligning the raw edges of the V shape created by the dart.
- Sew 1/4" seam allowance along the short side of the baby hatband piece to form one round (connected) piece.
- Sew 1/4" seam allowance along the raw edge of the dart (angled edge). Repeat for the other hat top piece.
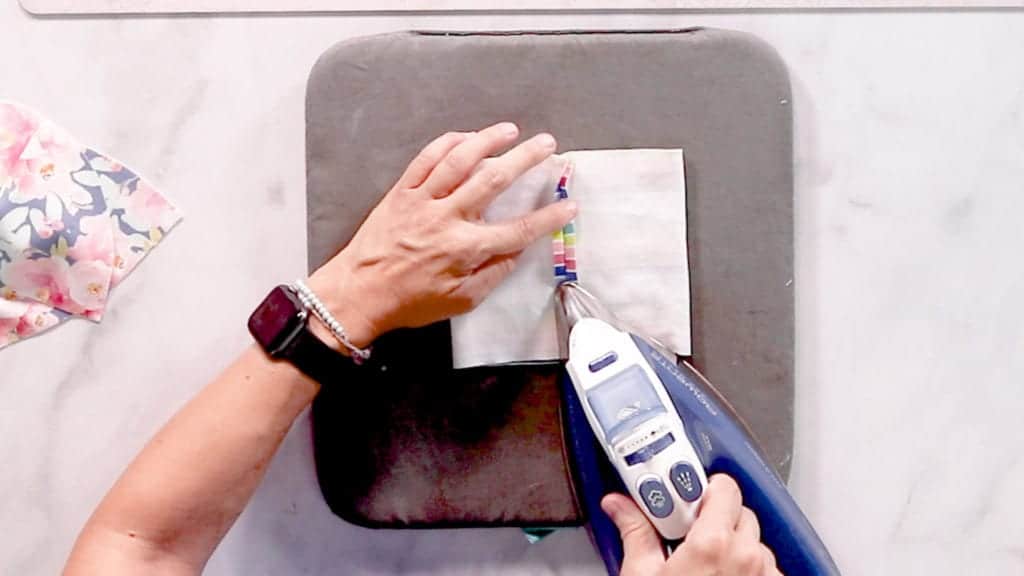
- Press the dart open or to one side.
- Press the seam allowance of the hatband piece open. Fold the hat band in half along the long side Wrong Sides Together with the raw edges together and press.
- Once angled edges are sewn, place hat pieces Right Sides Together lining up the darts and clip or pin in place to secure.
- Sew 1/4" seam allowance around the curved edge from one side to another.
- Turn hat top piece right side out being sure to roll the seam allowance out so it lays flat.
- Divide both the hat top and the cuff of the hatband piece into four even quarters and mark with pins.
- With the Right Sides of the hatband cuff and hat facing each other place the cuff around the Right Side of the hat. The folded edge will be on top with the raw edges on the bottom meeting with the raw edges of the hat.
- Line up the four even pin markings and pin the hat and hatband so they are evenly distributed.
- Sew the cuff to the hat using a 1/4in seam.
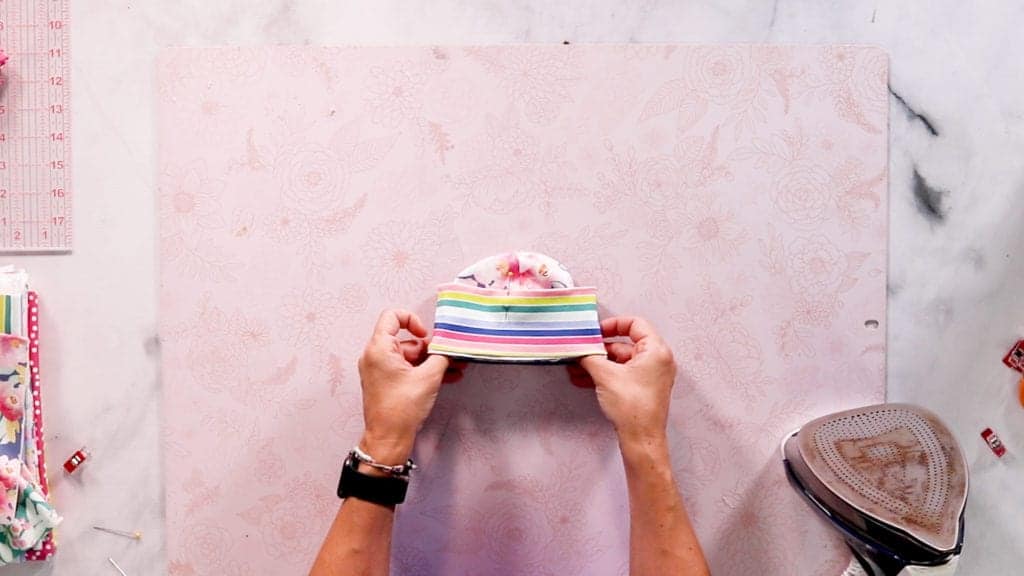
- Press the seam allowance of the cuff upward and press flat.
- Fold the hat band in half and press. Press the whole baby hat for a nice finish.
Follow Along The Step by Step Photo Instructions
Step 1 - Assemble the Basic Baby Hat PDF Pattern, being sure to measure the 1" square.
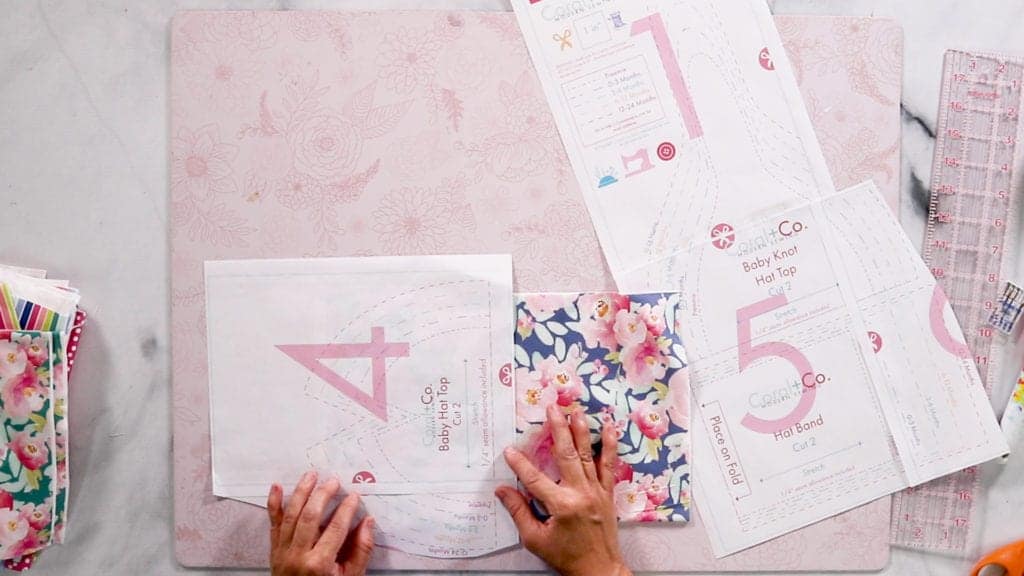
Step 2 - Place the baby hat top piece parallel to the stretch of the fabric and cut 2 from the top piece.
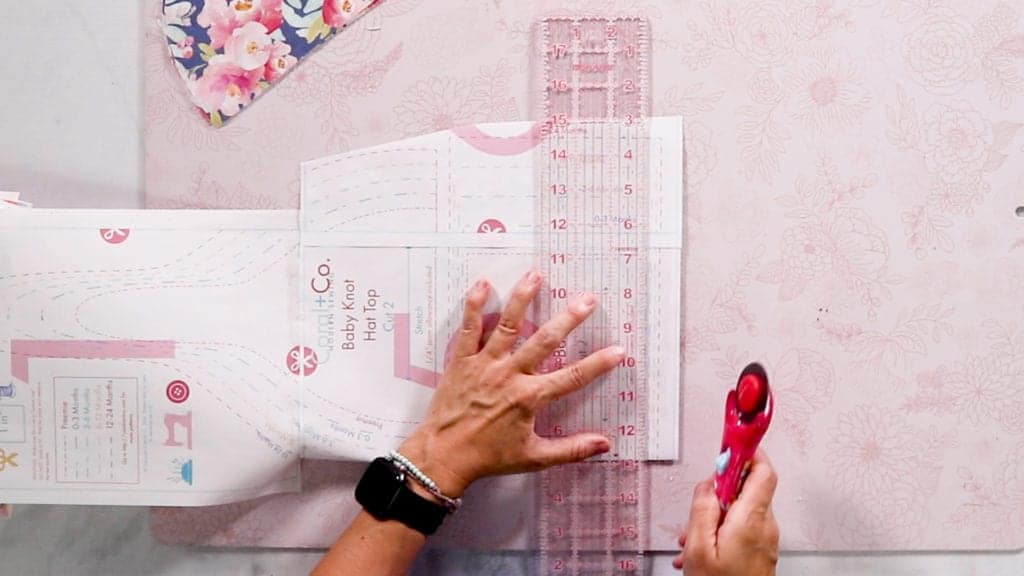
Step 3 - Place the hatband pattern on the fabric fold and cut 1 hatband piece from the pattern.
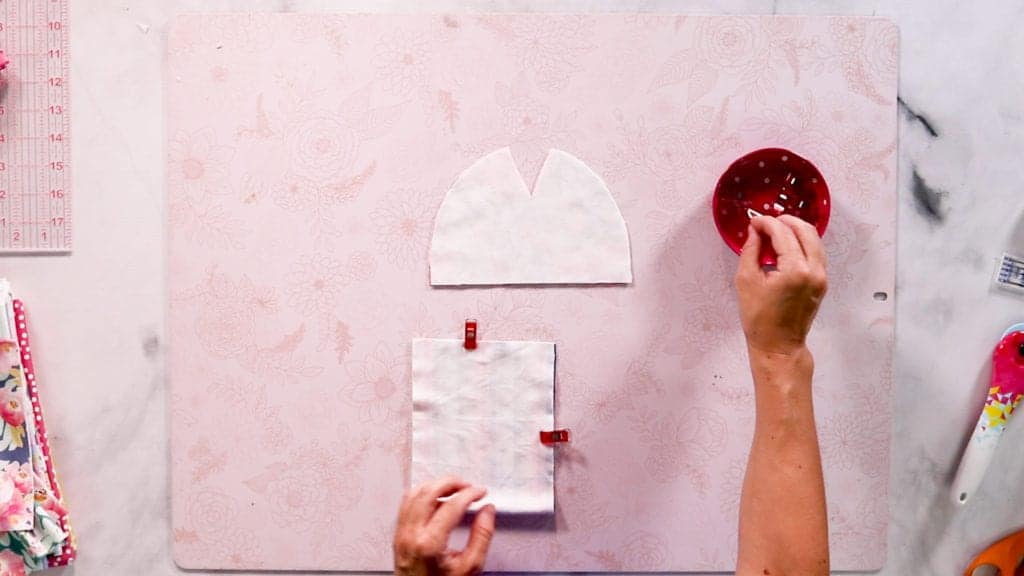
Step 4 - Pin or clip the short side of the baby hatband.
Step 5 - Sew 1/4" seam allowance along the short side of the baby hatband piece to form one round (connected) piece.
Press the seam allowance of the hatband piece open. Fold the hat band in half along the long side Wrong Sides Together with the raw edges together and press.
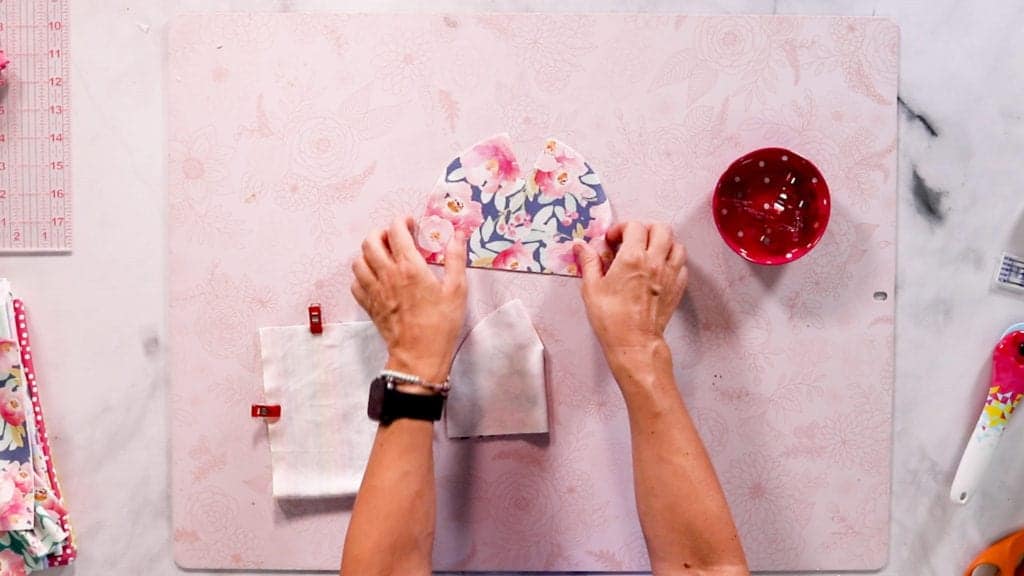
Step 6 - Fold the baby hat top piece in half aligning the raw edges of the V shape created by the dart.
Step 7 - Sew 1/4" seam allowance along the raw edge of the dart (angled edge). Repeat for the other hat top piece.

Step 8 - Press the dart open or to one side.
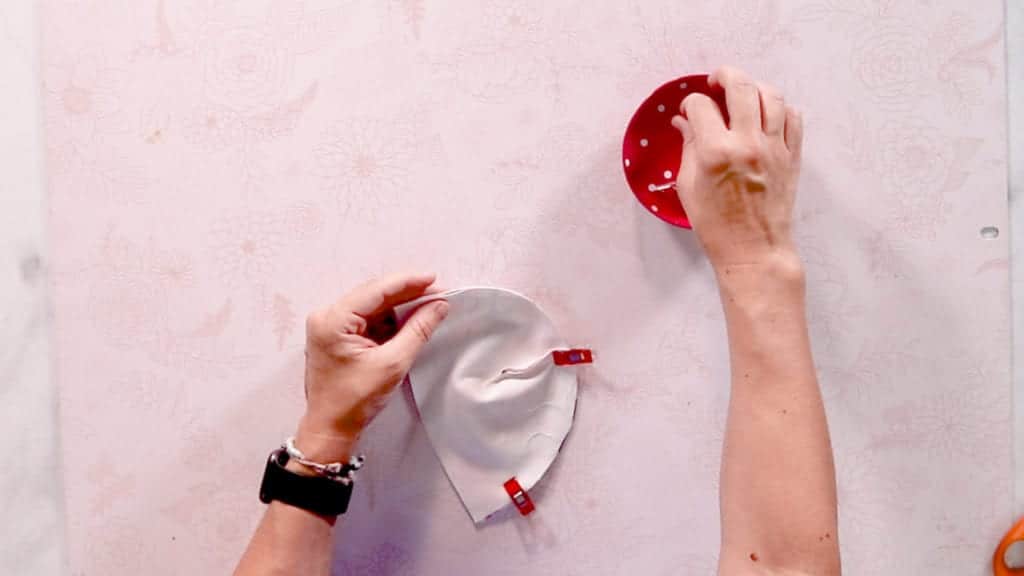
Step 9 - Once angled edges are sewn, place hat pieces Right Sides Together lining up the darts and clip or pin in place to secure.
Step 10 - Sew 1/4" seam allowance around the curved edge from one side to another.

Step 11 - Turn hat top piece right side out being sure to roll the seam allowance out so it lays flat.
Step 12 - Divide both the hat top and the cuff of the hatband piece into four even quarters and mark with pins.
Step 13 - With the Right Sides of the hatband cuff and hat facing each other place the cuff around the Right Side of the hat. The folded edge will be on top with the raw edges on the bottom meeting with the raw edges of the hat.
Step 14 - Line up the four even pin markings and pin the hat and hatband so they are evenly distributed.
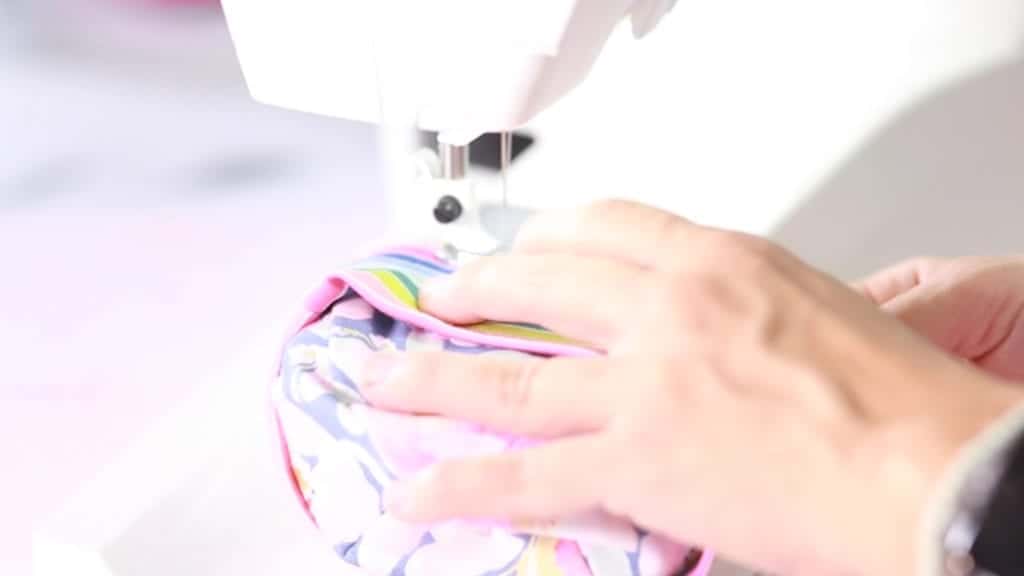
Step 15 - Sew the cuff to the hat using a 1/4in seam.

Step 16 - Press the seam allowance of the cuff upward and press flat.
Fold the hat band in half and press. Press the whole baby hat for a nice finish.
******Be sure to make sure that patterns line up before you sew if sewing with directional prints.
***Tips for Sewing with Knit Fabric
- A Walking Foot will help feed the fabric evenly when sewing with knits
- Stretch Thread will keep the seams from breaking.
- Using a Ball Point Needle will help prevent skipped stitches.
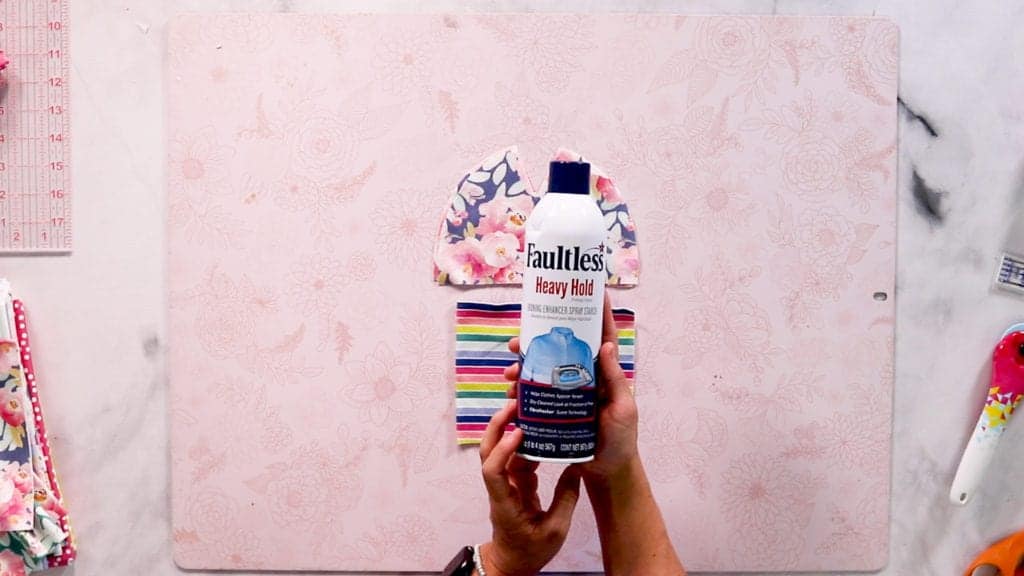
- Spray jersey fabric with starch to and press to stabilize and prevent the edges from rolling.
Sewing with Love
Remember, it's not just about making a hat; it's about putting your love into every stitch. These handmade baby hats will keep your little one snug and stylish while holding all the love you've poured into them.
So, whether you're a sewing pro or a newbie with a heart full of love, this free baby hat sewing pattern is the perfect project for you. Download it today, and let's get sewing these adorable little toppers! Happy crafting!
Watch the Full Video Tutorial Here:
***** You can find the Baby Hat Sewing Pattern and More Projects in the Resource Library.
You also might like: 15+ FREE Baby Hat Patterns and Tutorials
Pin Free Baby Hat Sewing Pattern for later:
Sorry, I'm french and i don't Know if the seam allowances are included on the baby hat pattern. Thank you for the pattern.
Can’t figure out how to download the pattern for the beanie cap. Help!
I love these hats! Do you have a pattern for the pants pictured with the hat? Thanks!
I will be making one soon!
hi, was a pattern ever created for the pants? So adorable!
How much fabric should I have cut for one hat?
A quarter yard will be enough or a fat quarter.
I keep clicking the pink box but nothing is happening??? help?
Im using my android phone i can find the link to download the patter.. can you help me?
I'm not sure if you can download on your phone.
hi what finished sizes are these please? i have printed the pattern off and the test square measure correctly, but they still look small. thank you
Can I make this with cotton flannel or do I need something with stretch? They are adorable!!
I would use a knit that has stretch.
Thank you so much for sharing your pattern.
i am unable to download and print this pattern.
Try refreshing your screen. Sometimes when my computer is slow it won’t download. Thanks!
Hi! I put in my email, but there is no pink box to download the pattern. Can you help? Thanks.
It's a pity, but me too, I'm not able to download the pattern.
I tried several times.
Greetings from Switzerland.
Barbara
It is all fixed now.
Hi, I tried to download the pattern, but didn't manage. I've downloaded the Doclr app, still nothing. Is there sth wrong with the page? Thanks!
It should be fixed. Thank you for letting me know 🙂
I also was not able to download the pattern. Is it possible for you to email a pdf?
I also tried to download and was not successful 🙁
I cannot get the pattern to download and want to make for our local NICU.
Are you on a desktop or iPhone?
Hi, I’ve tried several times to get the pattern emailed to me but it won’t send it.
Hi, I’ve tried several times to get the pattern sent to me and it I haven’t received it/it won’t send it.
You should be taken directly to the page with the link.
I just downloaded, saved and printed your pattern. Thank you very much. I'd love to make matching pants also, did I understand you have a pattern for these, too?
This hat is so cute!! Can’t wait to make one! What size head in inches would each different hat size fit? My babies usually have big heads 14-15in so I’m wanting to make sure I make a hat large enough for the one on the way.
Thanks!
Hello! I am trying to make one of the DIY baby hats. Could you send me the exact measurements for the fabric? I want to make sure i cut the correct amount. Thanks!
Dear Shelly,
Thanks for the lovely patterns!! Just a question....the seam allowances are included for the hat pattern or do they neeed to be added still?
Yes seam allowances are included 🙂
Can you use a serger machine or is it critical to have the stretch thread?
You can definitely use a serger. You really only need stretch thread if you are not using a serger.
I do alterations and am always cutting off sleeves and pants and have nice scraps. I also make knit tops for one client and the company she buys her fabric from requires she buy full yards. She gives me the excess which is some times as much as 1/2 yard. Some of the prints are perfect for the modern baby. You've given me a great way to use the excess fabric. Thanks for sharing. The caps seem a little long on the small sizes. Are you suppose to turn up the cuff or leave it down?
The cuff is supposed to be turned up. Thank you, I’m so glad you are going to make some ❤️
love the hats but can not down load or print can you help?
Can you save it to your computer first?
not @ all familar with stretch thread? where can you get it?
On amazon, there should be a link to it in the post.
Hi, thanks for the pattern.
I have made it but I have modified so that it is reversible (made a set of two) which hides all the seams inside the hat so that they dont touch baby's skin directly 🙂
I wish I could post the picture here!
Thanks again.
What a great idea! Tag me on Instagram @coralandcoblog 🙂
hey im working on making the hats and i just sewed one together but i didnt sew it right and didnt know if u have a video of u sewing one together that i can see. its all new to me with making the baby hats.
Hey I need some help with the hats I have the hat sewed and the band part done but I don’t understand how to sew them together. I didn’t know if u had a video of how to sew them together.
I do not have one up yet. But I will soon!
Me enjoying, will read more. Thanks!
Hi
Cute hats@
I downloaded and saved the pattern,
The cuff takes one full 8x11 sheet of paper
The hat 'body' itself is split between two sheets of paper
Am I supposed to tape the two parts of the pattern together?
Brooke
Will someone please help me on how to print the page to the right size so the pattern is complete and not on two separate pages? Thank you
You will need to tape it together
This is a great pattern. I made several hats for my grandson and now I am making some for a local hospital for the newborns. Thank you so much for sharing your pattern.
That is so sweet. Thanks for stopping by.
My go to for baby hats. I get the knit that has spandex and they fit the best. They go together so quickly.
Do you have width and length measurements? I don’t have access to a printer but I’d really like to use the template to make my own pattern.
I don’t have them by themselves.
The head bandpattetn says cut 2, did I miss something?
I am unable to download the hat pattern. can you email it to me then I can just print it off? Or I will gladly pay postage for a hard copy. Please, I am 86 yrs old (on the 10th) and still trying to do as much as I can. Today I took 30 crochet caps to the Homeless shelter as we had a big snow last night. I have a lot of nice fleece and knit fabric ready for these caps. Please help me to help others
I am having difficulty getting the 1" scale to come out on my printed pattern for this hat.
it has abut 7/8th of an inch rather than the full 1". what can I do to fix this? I love these hats! I have twin grand daughters coming in a couple of weeks and these are perfect!
I cannot seem to get the pattern enlarged to the right size on my computer. At this point it may fit a doll. Do you have any recommendations on what percentage should I enlarge the baby hat pattern? It sure is cute.
Hello.. I’m very new to sewing, and I’m confused. I cut the hat out on the fold. Am I supposed to do this twice? What am I missing
Pattern downloaded fine ( it was a bit hard to find the actual download button, as all the links are bold, but not linked) but once I found it, I sewed up 2 hats in about 30 minutes! They are perfect! Thank you so much!
Hi Heather,
Can I ask what paper size you use? I use A4 and I always have trouble with printing it in the right size. It never is 1 inch...
Thanks
I have saved the pattern but can't get the 1 inch block to be the correct size, I have it set an actual.
I have the same problem, tried all of the settings on my printer. I use A4 paper, maybe that's the problem? Don't know wich paper size you use?
I had this happen on another pattern. When I printed the inch box was just a bit smaller than an inch when I looked at the custom print options it said actual size but I noticed there was also a number which on mine was 86 so I went back to the pdf of pattern and enlarged it with the settings on my computer - where you would zoom in or out. I set it at 100 and then tried printing again and it came out to the proper inch! Hope that might help you.
Just wondering.....If you use a sewing machine instead of a serger, when you sew the band on the bottom of the hat, there will be an exposed seam on the inside of the hat. Could you do a French seam when attaching the band so that there is no exposed seam to rub on the baby's head? I'm trying to imagine in my head if that would work, but I'm having trouble visualizing how it would be done.
Hi. I gave you my email address, pressed download, but all I received was another screen asking for my email again. Help please.
Great tutorial and video, thanks for making!
Just so you know you made the pattern for a 7x10" paper, most of us use 8.5x11". I am looking for a proper scaling ratio for it to come out accurately. I will update when I find out.
UPDATE: Scale to print 114%! That should solve your problems and your inch will measure accurately.
Hi
I was looking at this pattern but the one with the knot at the front as seen amongst the hat on the photo that brings you to this page. It doesn't show the pattern here though. Just the plain one. Can you add the link to access the other style variations on this hat please? Thank you
Do you have a YouTube video? The last part adding a cuff does not make sense to me. Thank you:)
I can't figure out how to download the pattern. I clicked on "Resource Library", signed up to get the newsletter, but have not received an email providing the password to access the "Resource Library". Can anyone help me please?
Sadly, I am unable to see the PDF, just the embedded jpegs. If anyone can help that would be grand!
I had a very hard time finding it as well. I managed to find it, here it is:
https://www.coralandco.com/wp-content/uploads/2017/12/Baby-Hat-Sewing-Pattern.-Easy-DIY-Sewing-Pattern-for-Infant-and-Baby.-Perfect-Baby-Shower-gift-to-make-in-15-minutes.-Made-by-Coral-Co.-1.pdf
Hope this helps.
I tried to download the sunhat and little Mary Jane shoes but it takes me to a different pattern. Can you assist? Thank you! Love your hats and appreciate your sharing!
I don't understand the last instruction re. placing the cuff around the hat and then sewing it on. I see others have also struggled to understand this...it almost seems like there's an instruction missing. Anyone else figured it out? Or Shelley, can you help? I had a look on your YouTube but there's no video.
Thanks
I made this hat twice because I thought I made it wrong the 1st time because it was so big. The 2nd time, it fit my husband!
What size did you make?
can you email me the pattern, there is no way to download it. thanks
i cant download the pattern, I have refreshed the screen several times, i click on the box and nothing happens, can you email me the pattern please
Hi, I've tried printing page 1 of the Baby Hat Pattern several times, both from the download and from Adobe, but I'm not able to get the 1" square to measure correctly. I'm not a novice to printing PDF patterns, having printed many. I'm wondering if the square is really supposed to measure 1", or will the hat fit regardless? I'm trying to make the hats for a friend's triplet granddaughters who should be arriving any day now. 🙂
Thanks for sharing such good knowledge as I was seeking newborn baby caps, now I think its enough for me and my baby.
Hi Shelly, your patterns are better than anything else found online, especially if you’re after a trendy design. Thank you! Your subscribe page is a 404 error... are you able to get that fixed so I can subscribe? Thanks 🙂
I tried downloading the pattern, but couldn't. It says that the content is password protected 🙁
Wonderful post it is very inspiring locke and key dodge black shearling jacket
and informative content good work keep it up.
Love the preemie size hat! Quick & easy to complete. Only comment is that the Hat Band pattern piece calls for 'Cut2' . . . may just be a typo! Thanks!
The hat band says cut 2 on fold. Is that an error? I watched your video and read the directions and it shows 1. Such an adorable pattern!!!