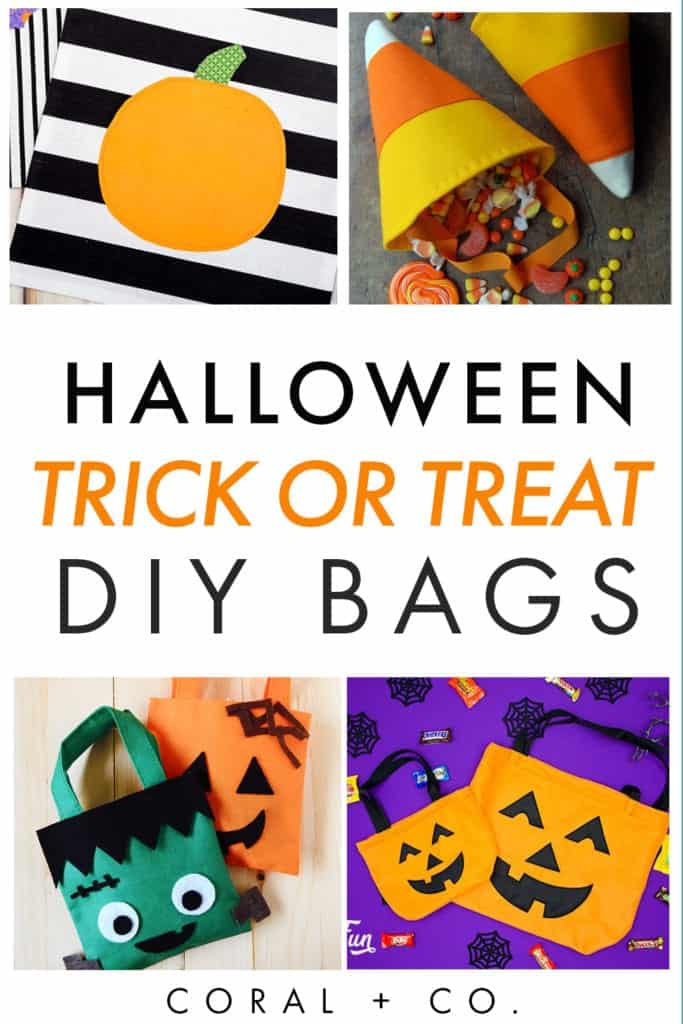
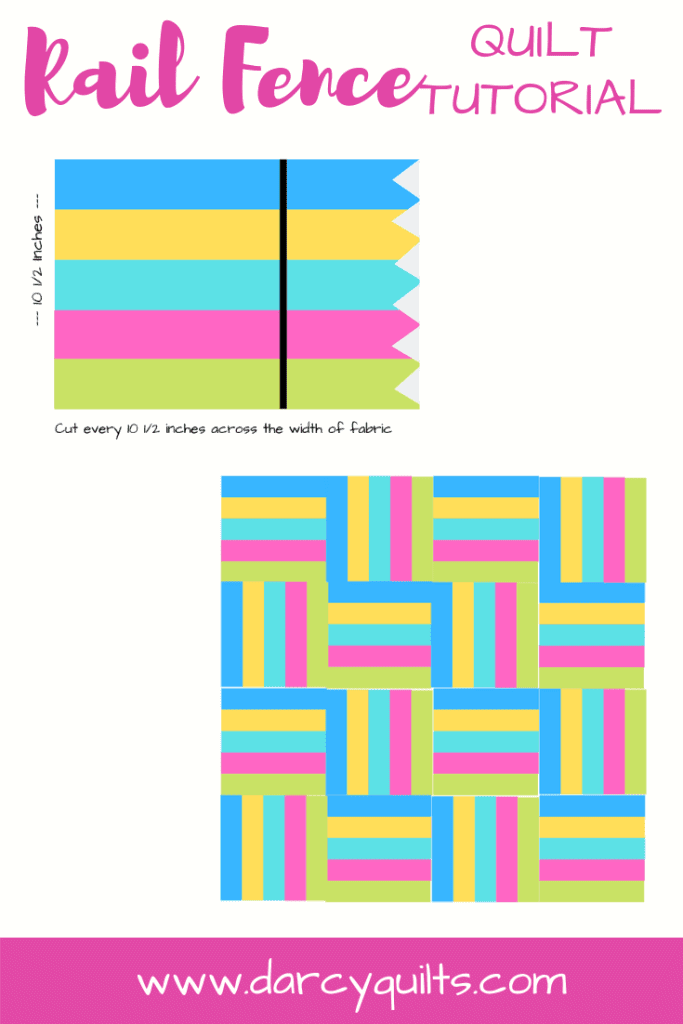
This Amazing list of 25+ DIY Halloween Trick or Treat Bags to Sew will make you ready to start carving the pumpkin and saying boo!
More Halloween Inspired Projects
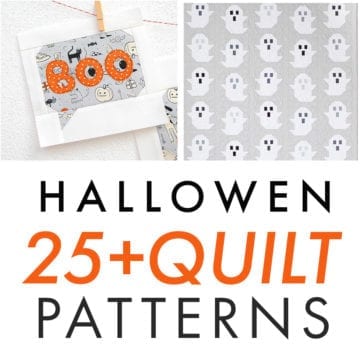
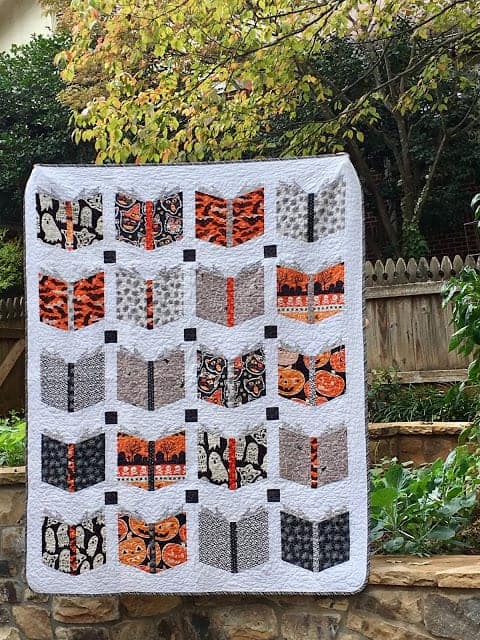
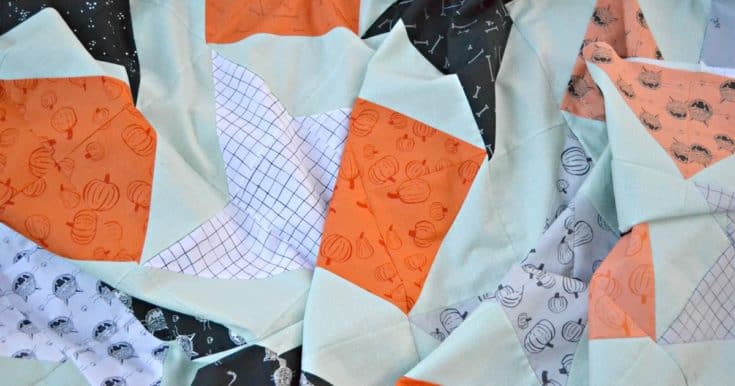
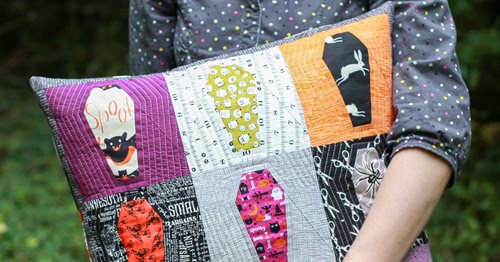
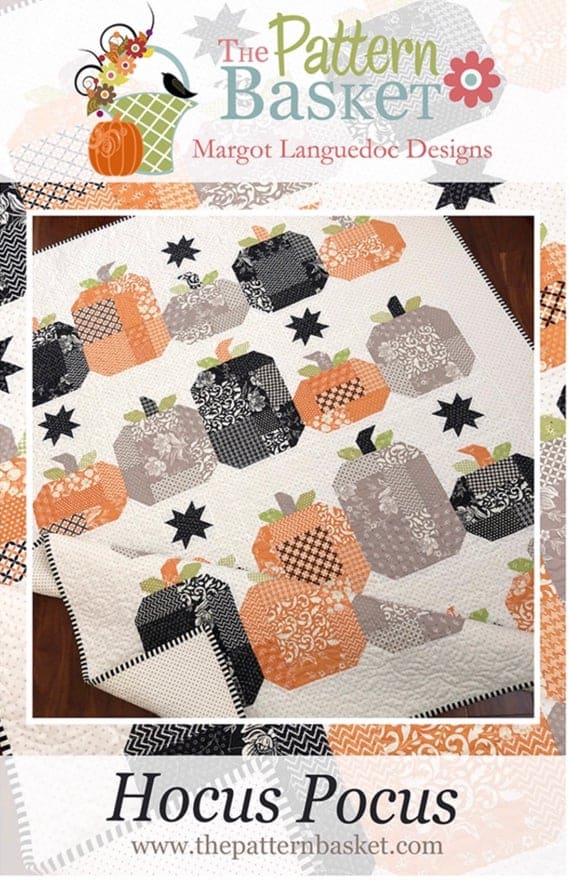
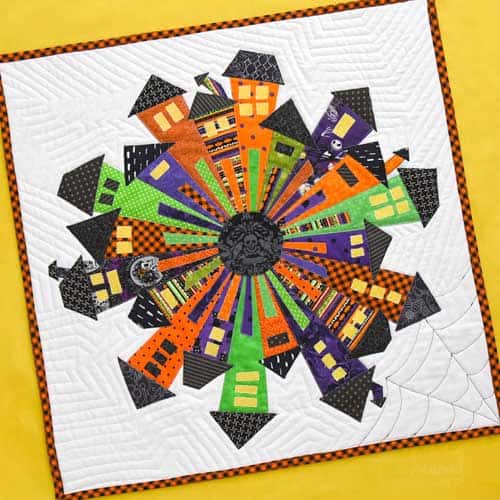
- 25+ Halloween Quilts to Sew
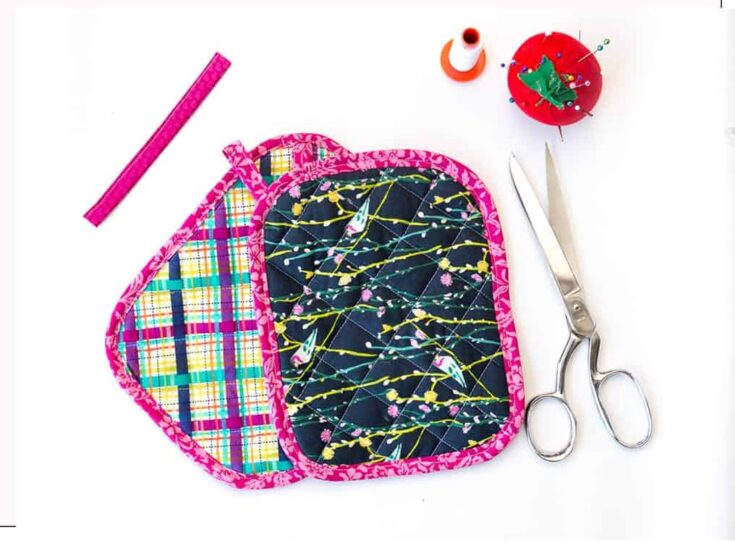
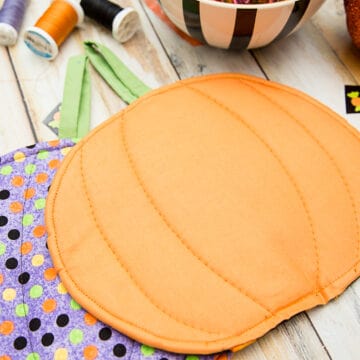
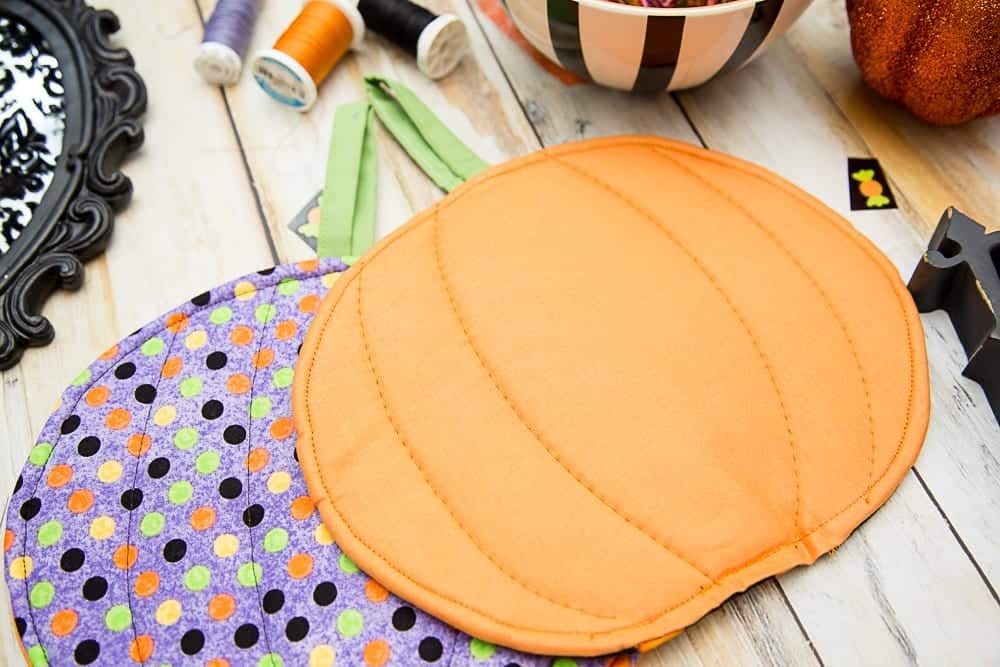
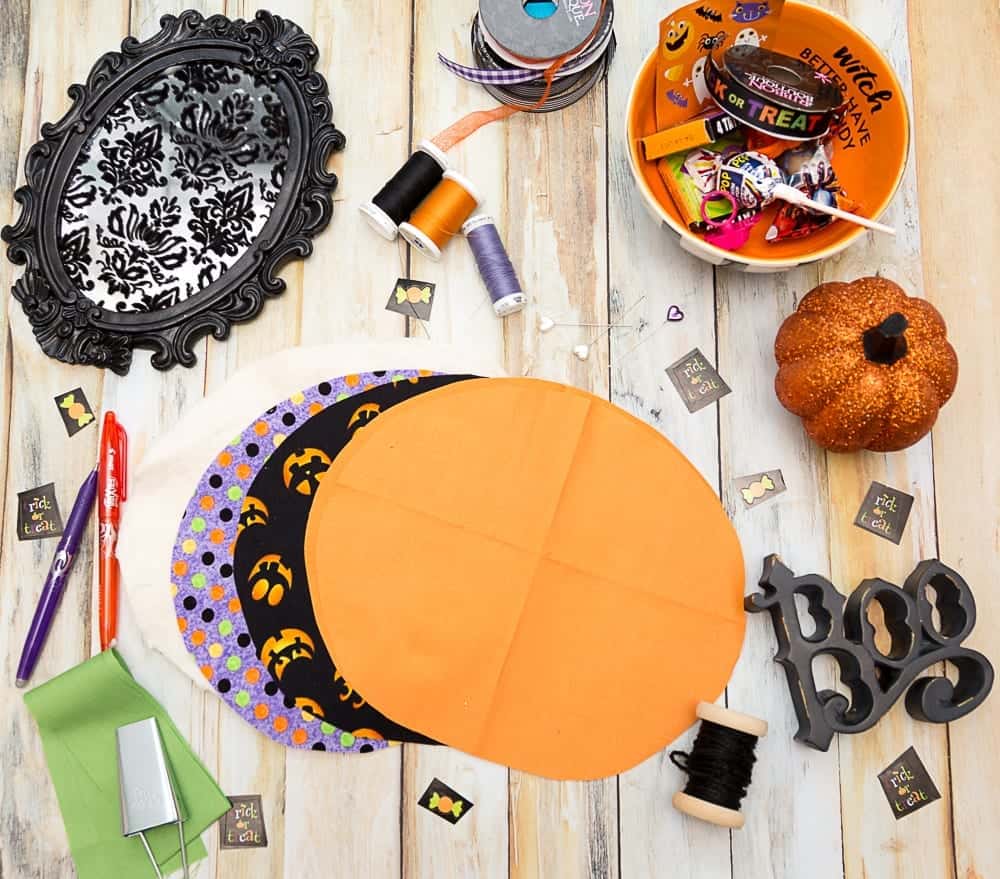
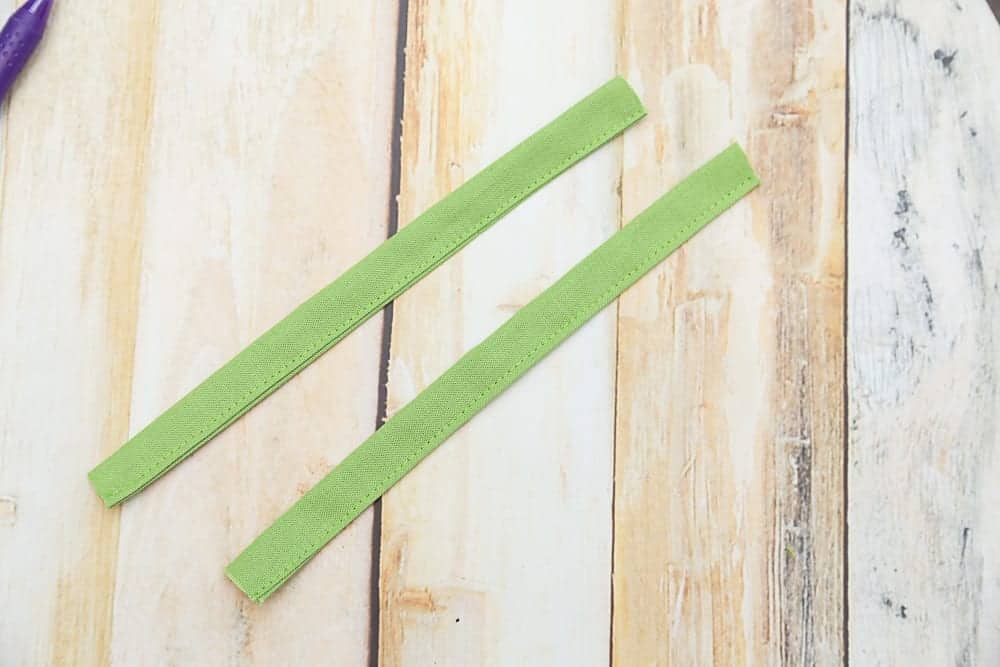
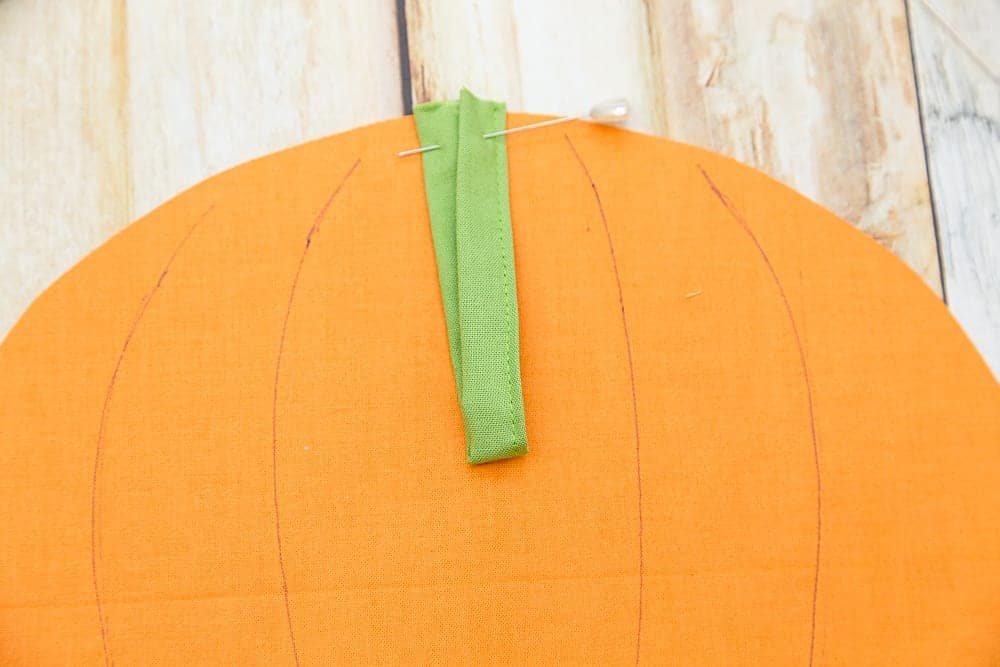
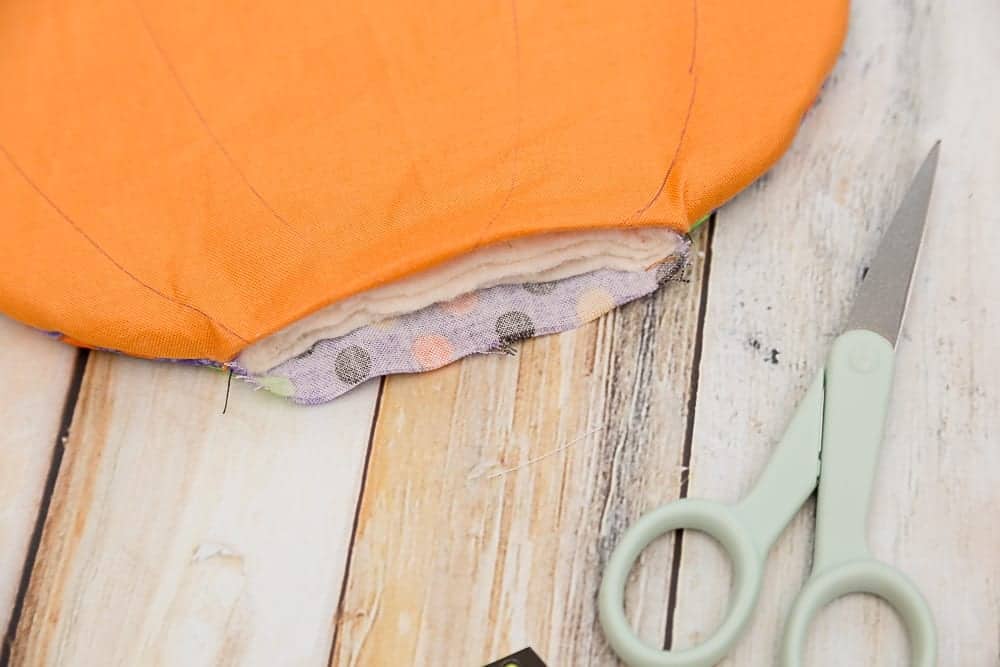
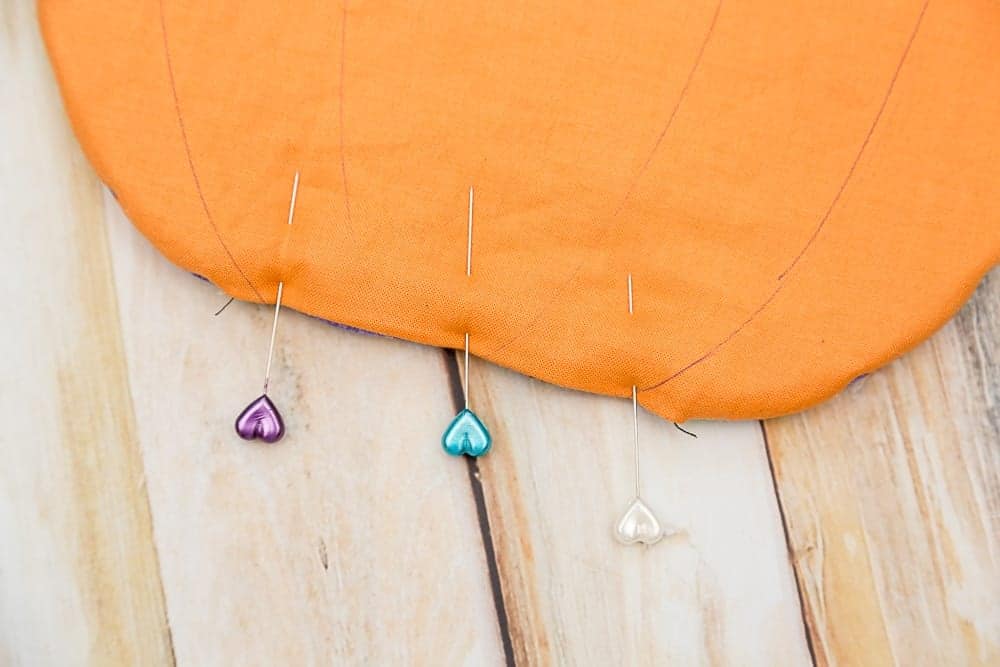
- Pumpkin Pot Holder Tutorial
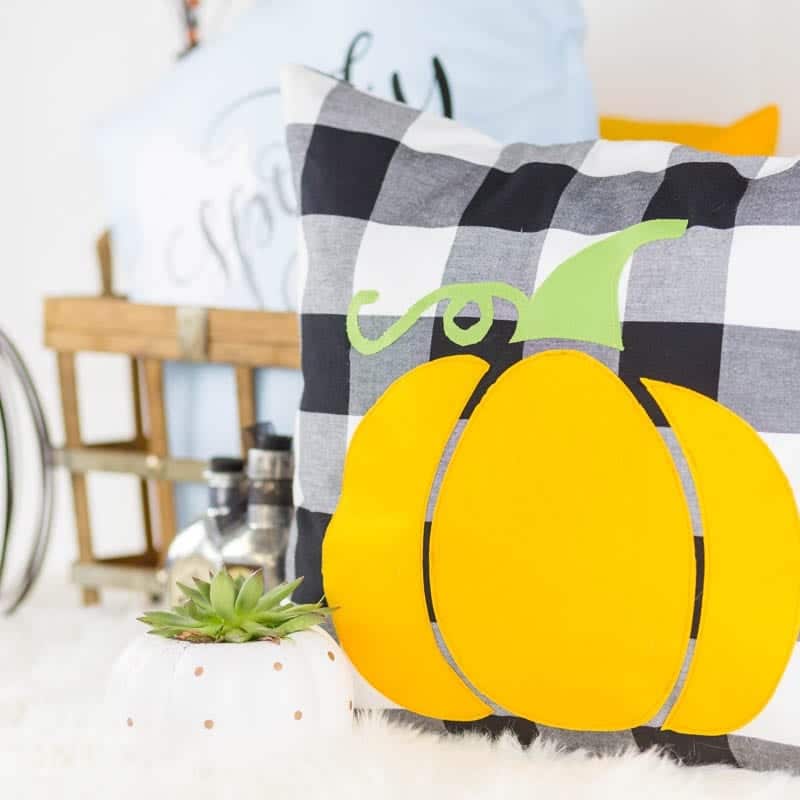
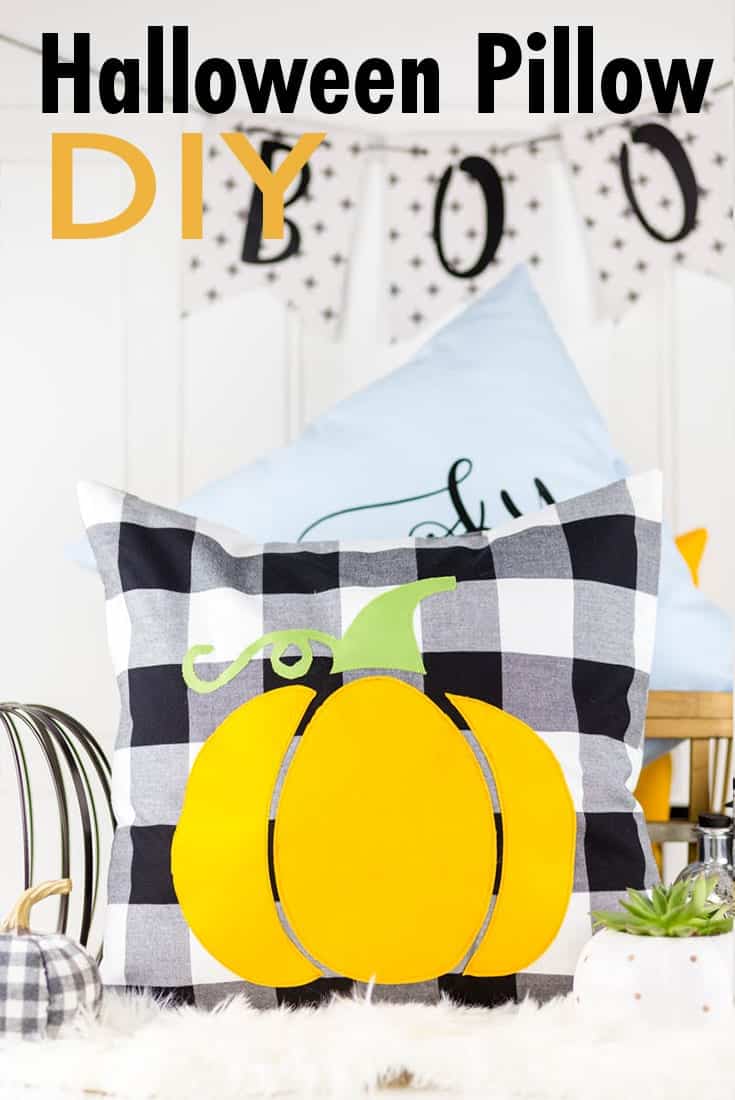
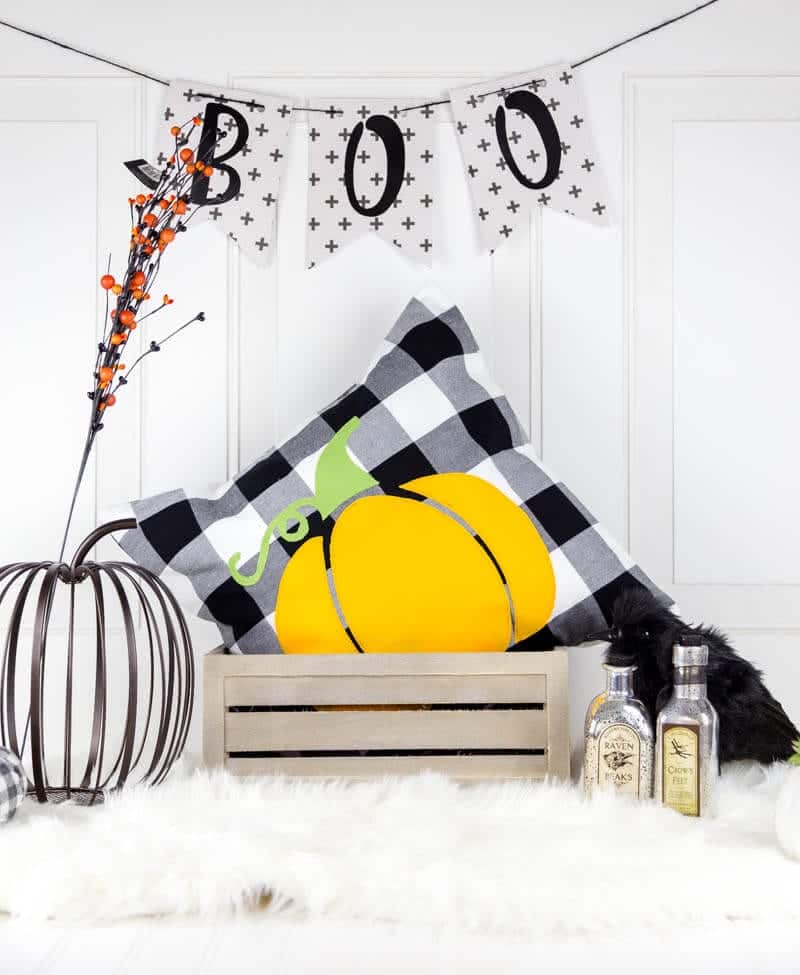
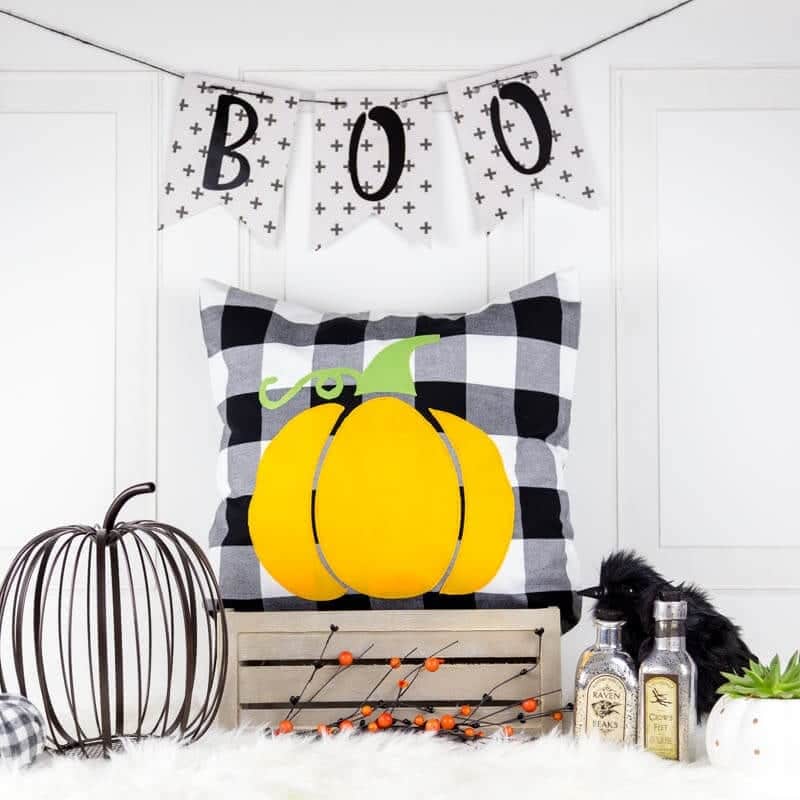
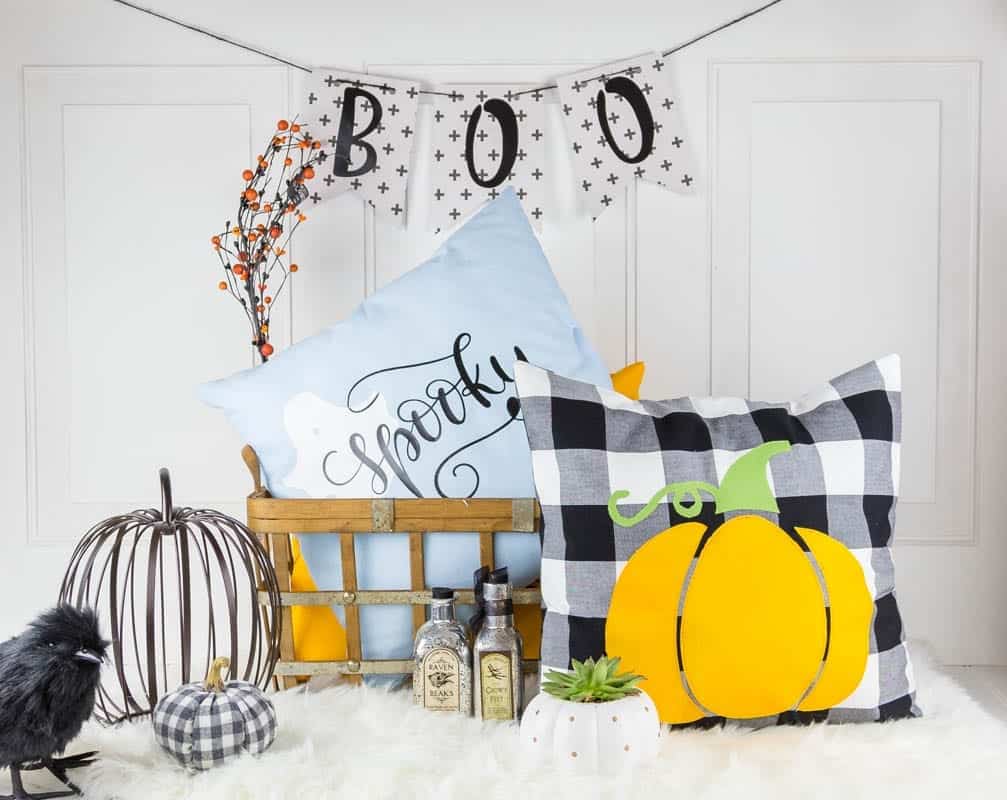
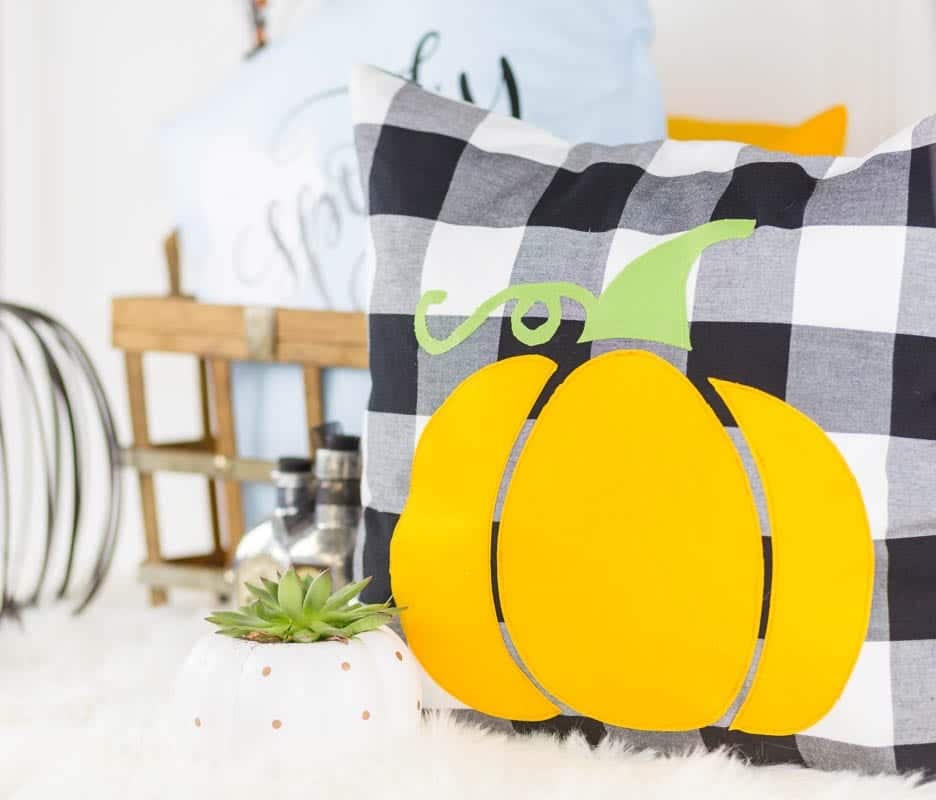
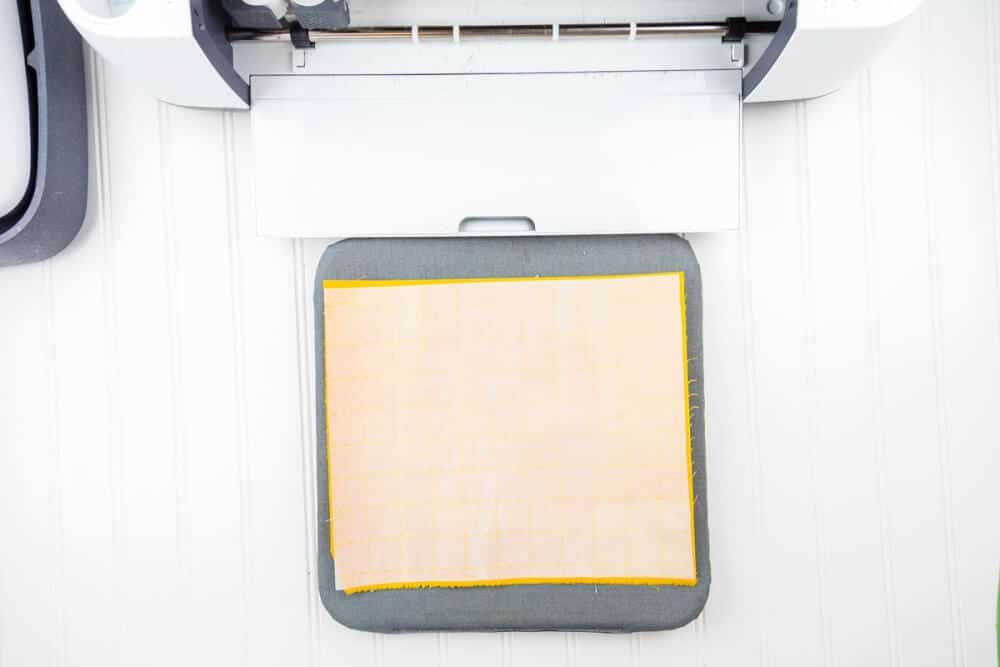
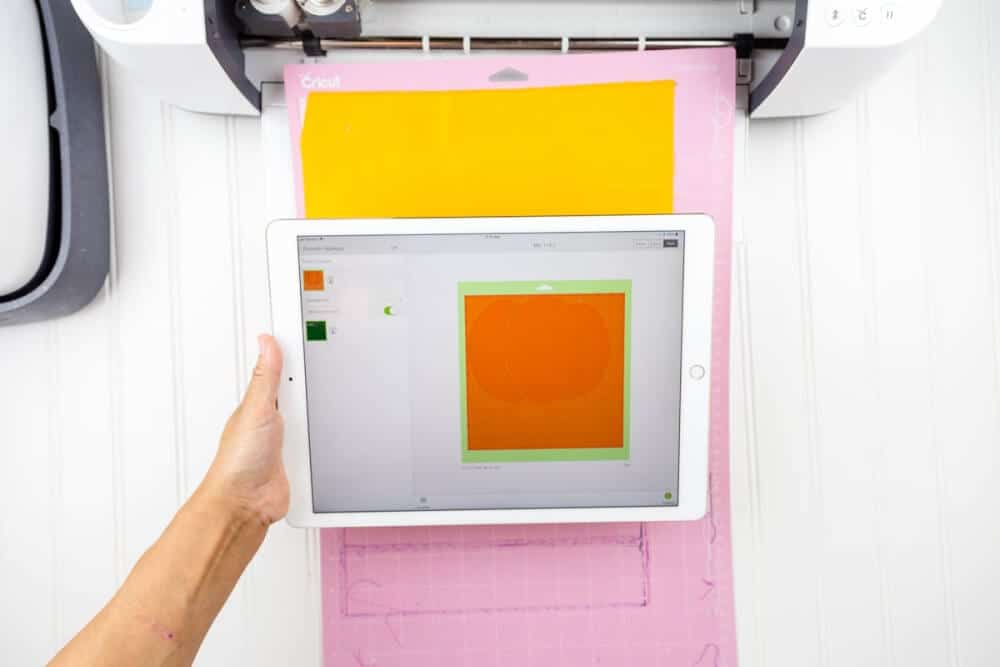
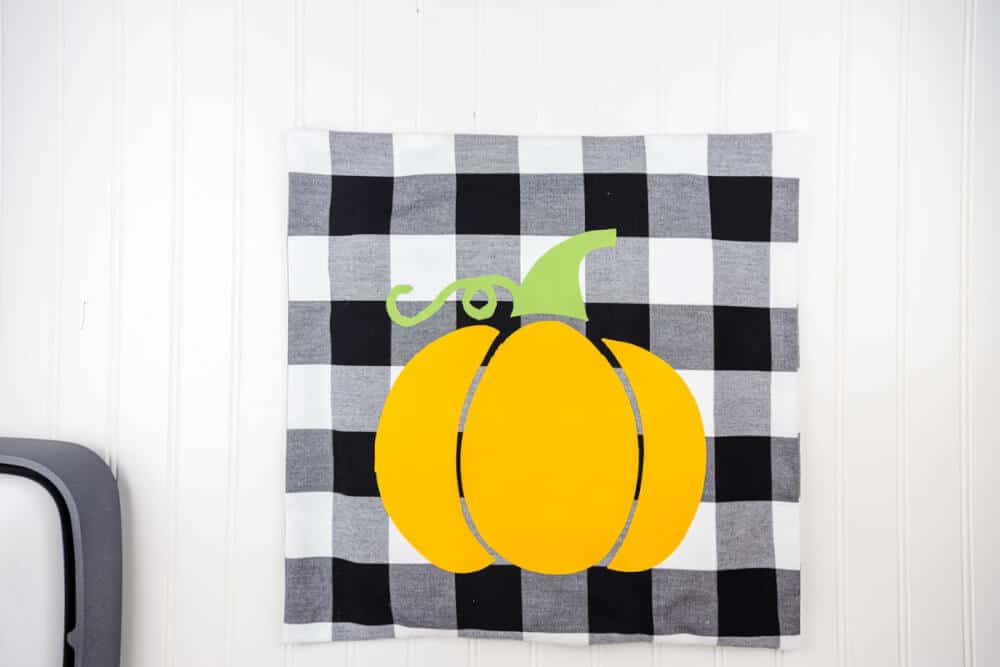
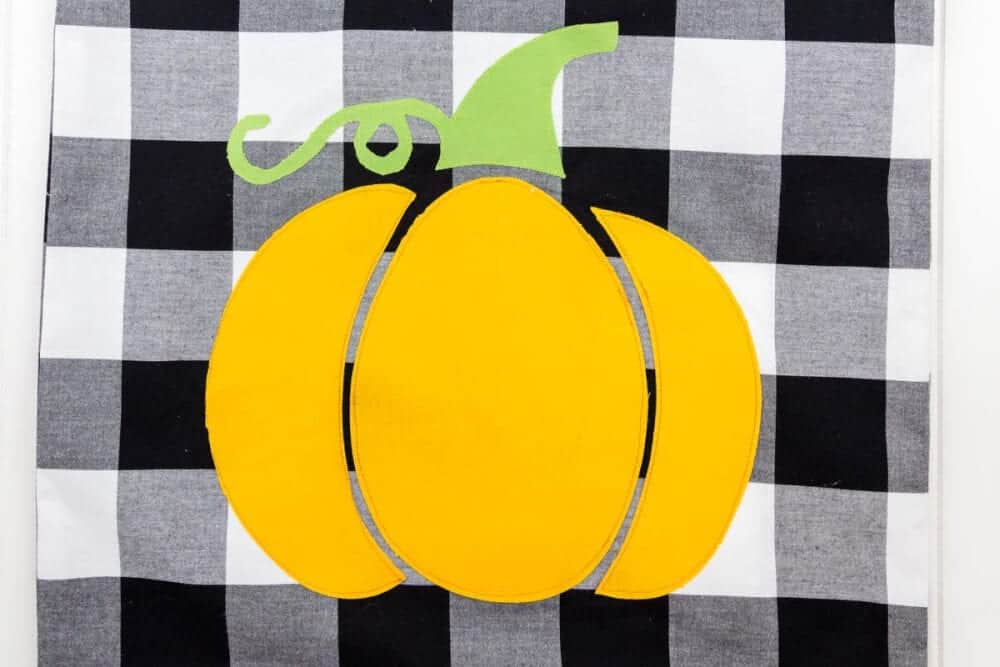
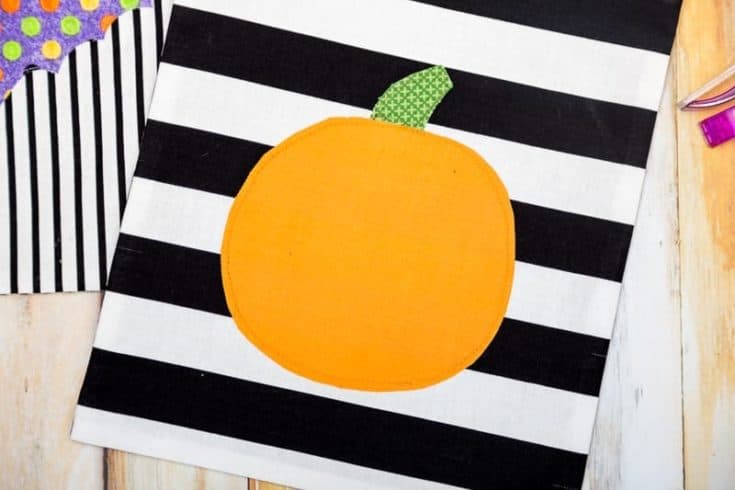
- Applique Pumpkin Halloween Pillow
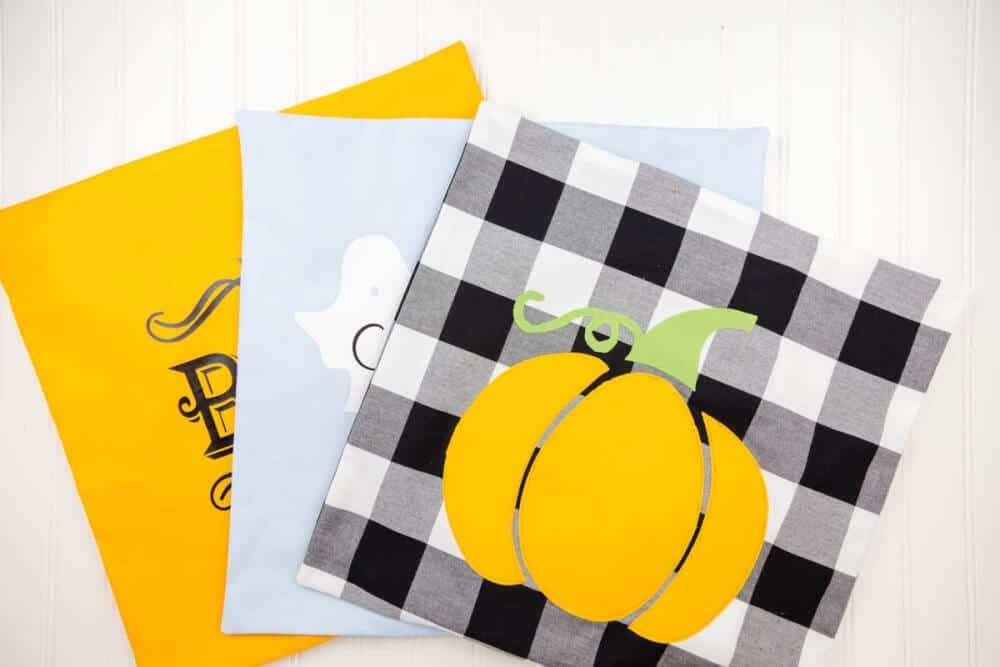
- DIY Halloween Iron On Pillows
And best of all, ALL of these DIY Halloween Trick or Treat Bags to Sew are FREE tutorials and patterns.
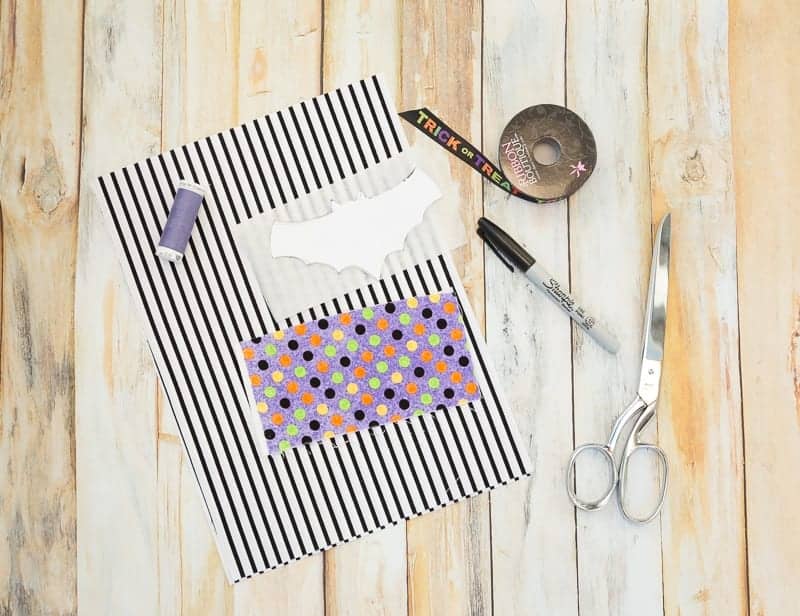
Halloween Trick or Treat Bags
Scroll through this list of 25+ DIY Halloween Trick or Treat Bags. If you see one you like, click continue reading to be taken to it! Tell me in the comments below which one is your favorite.
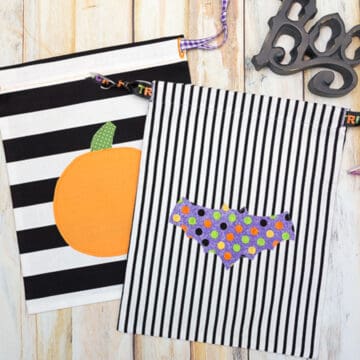
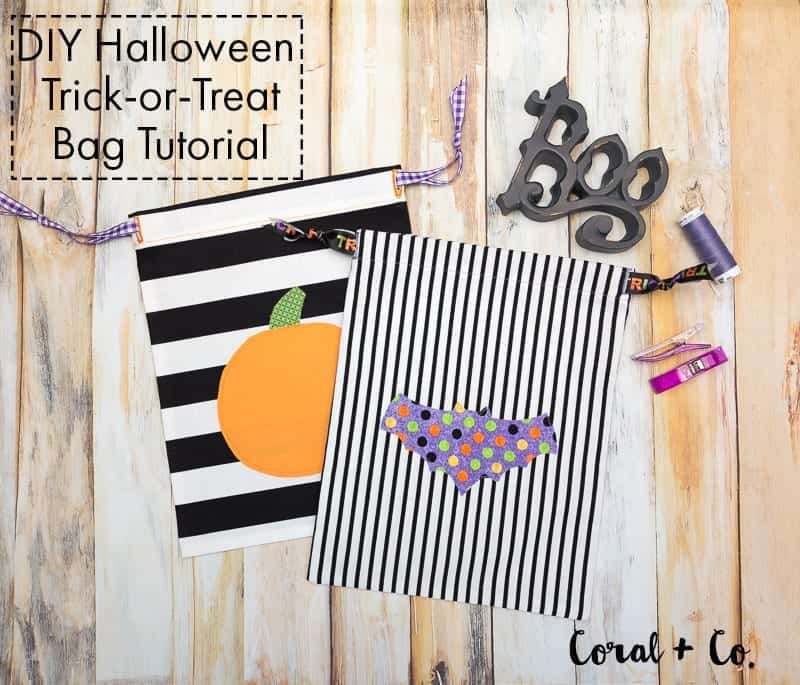
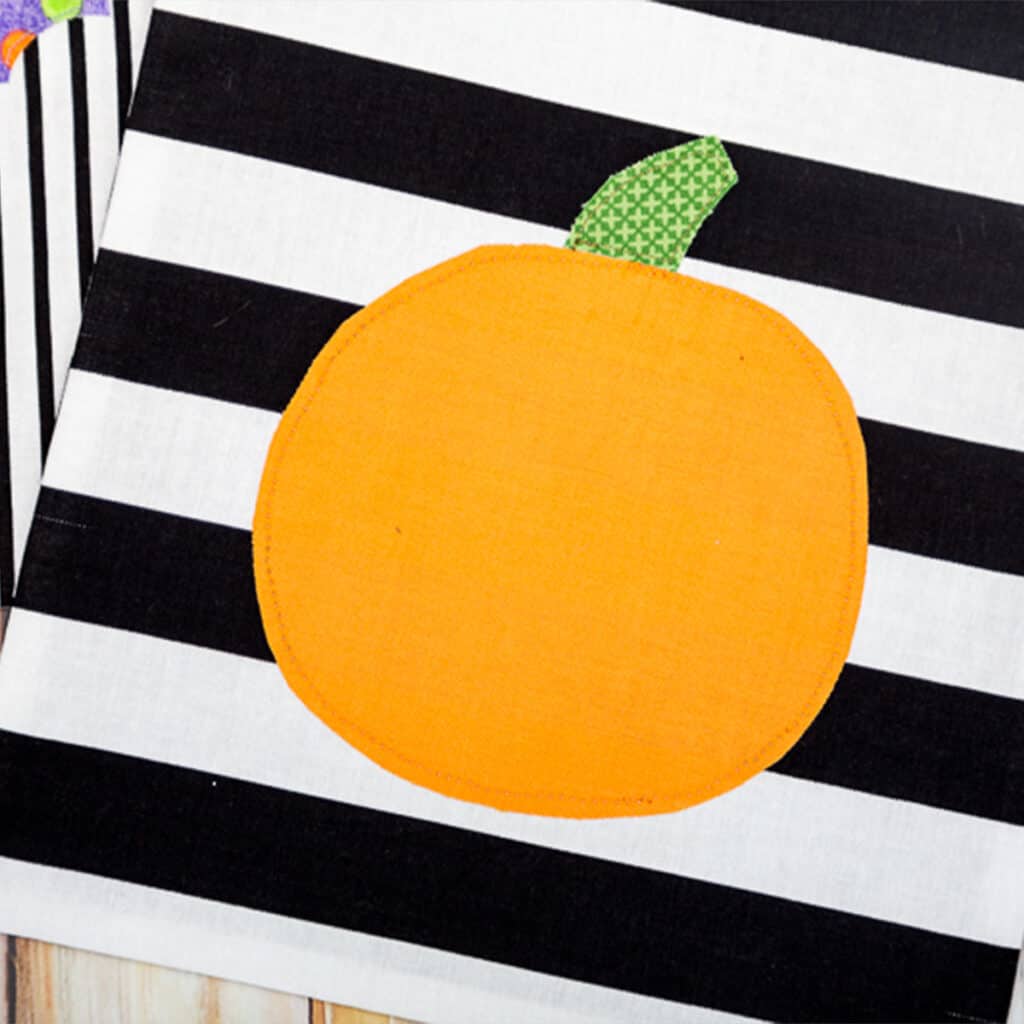
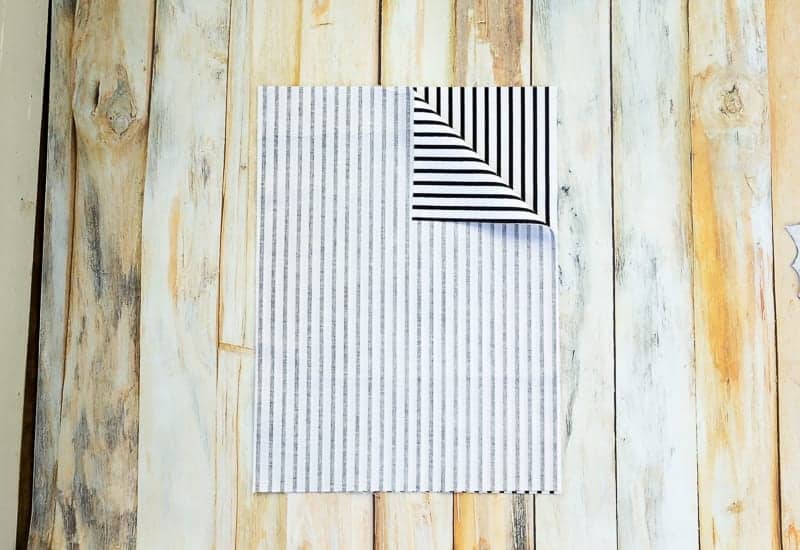
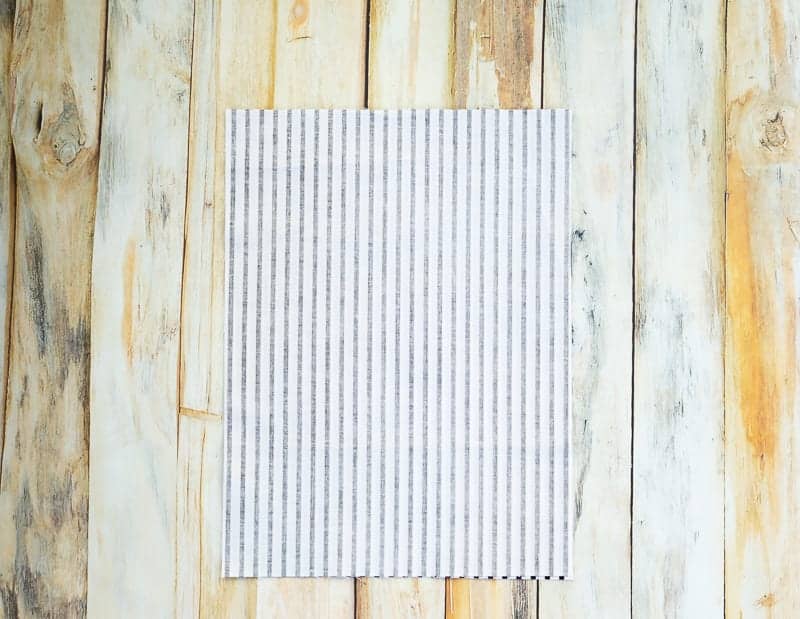
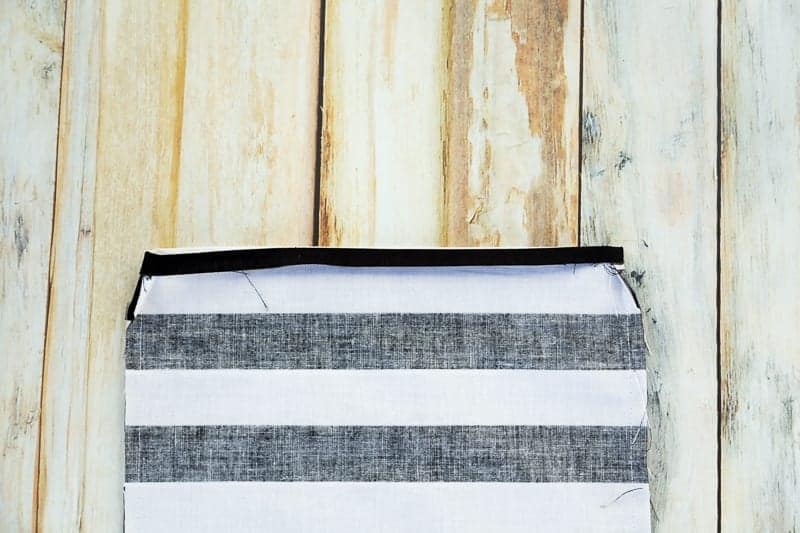
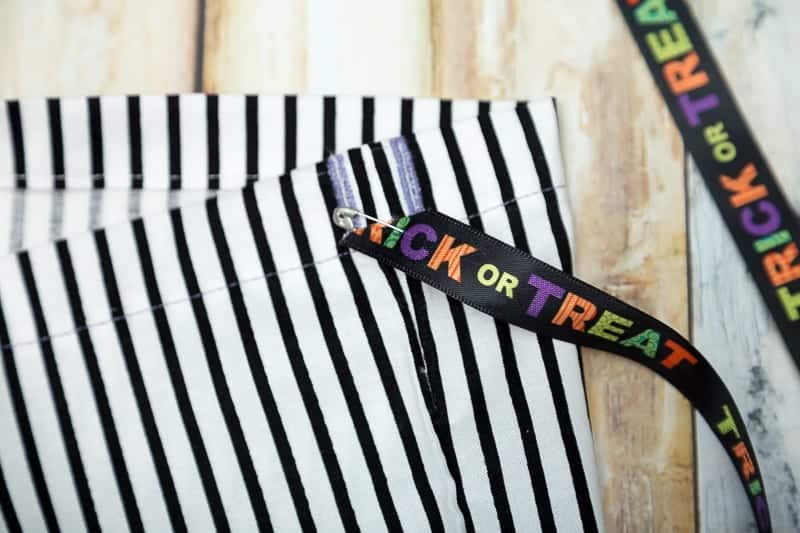
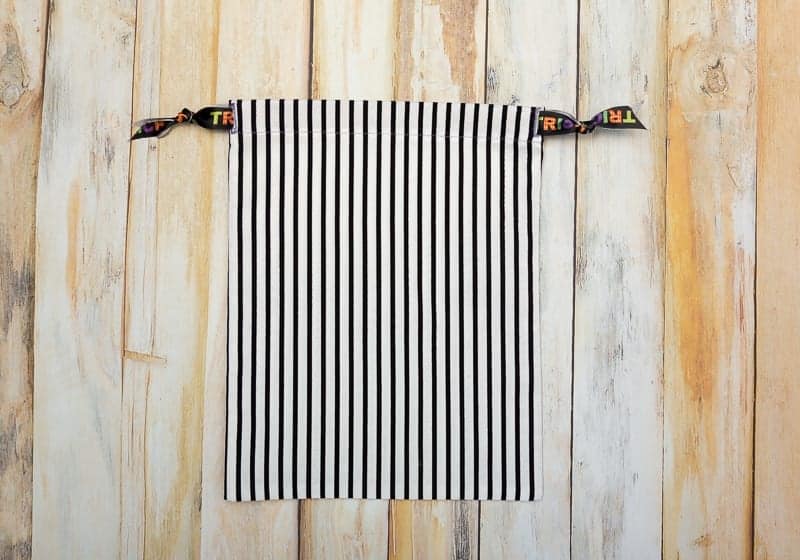
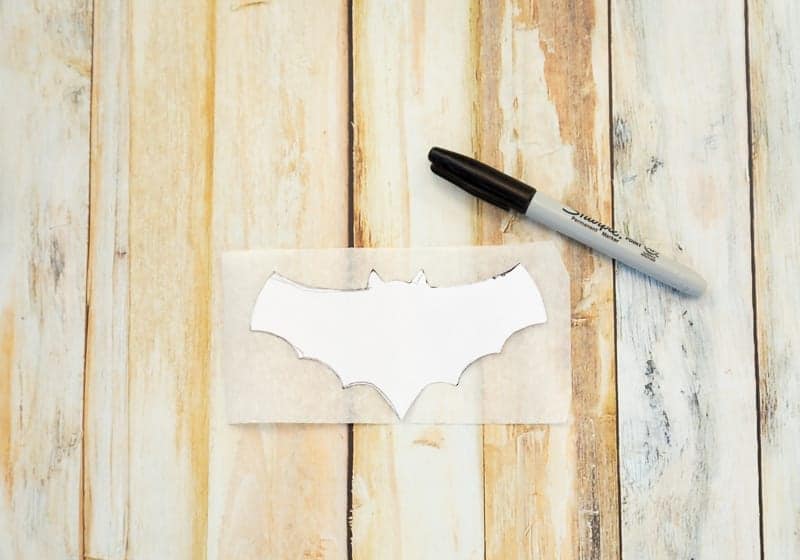
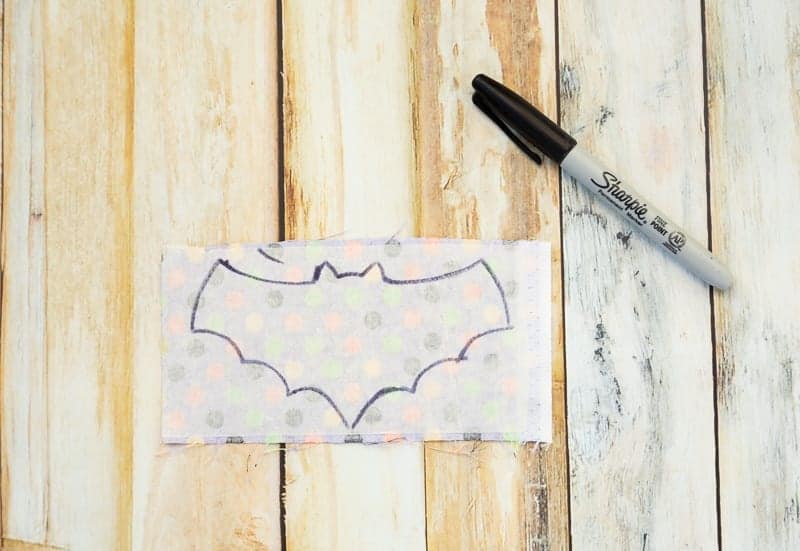
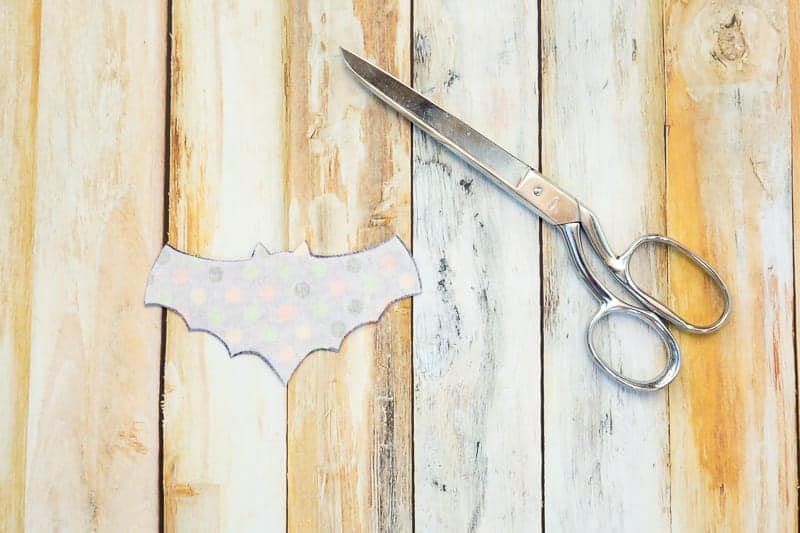
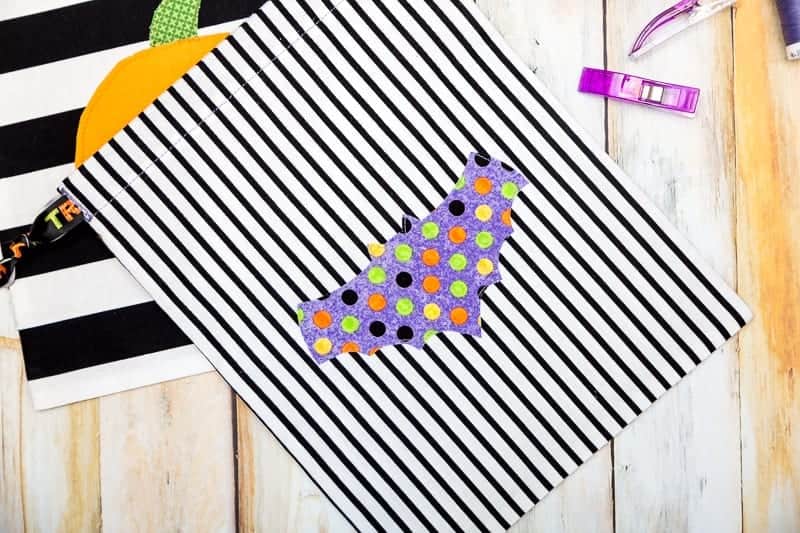
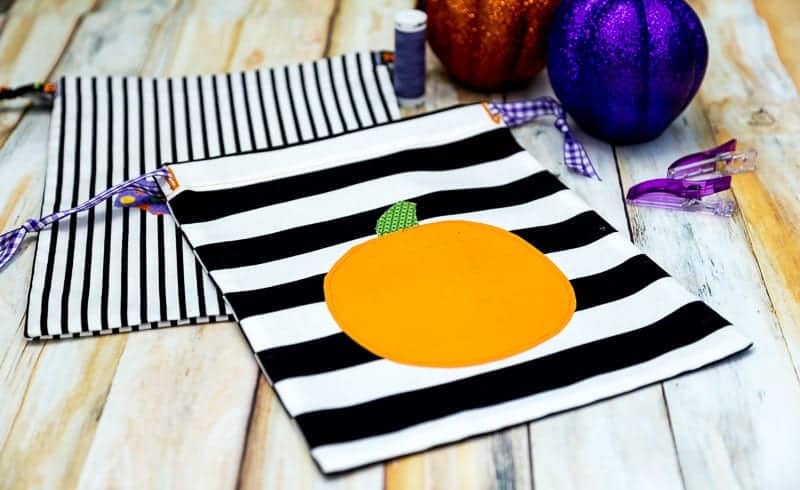
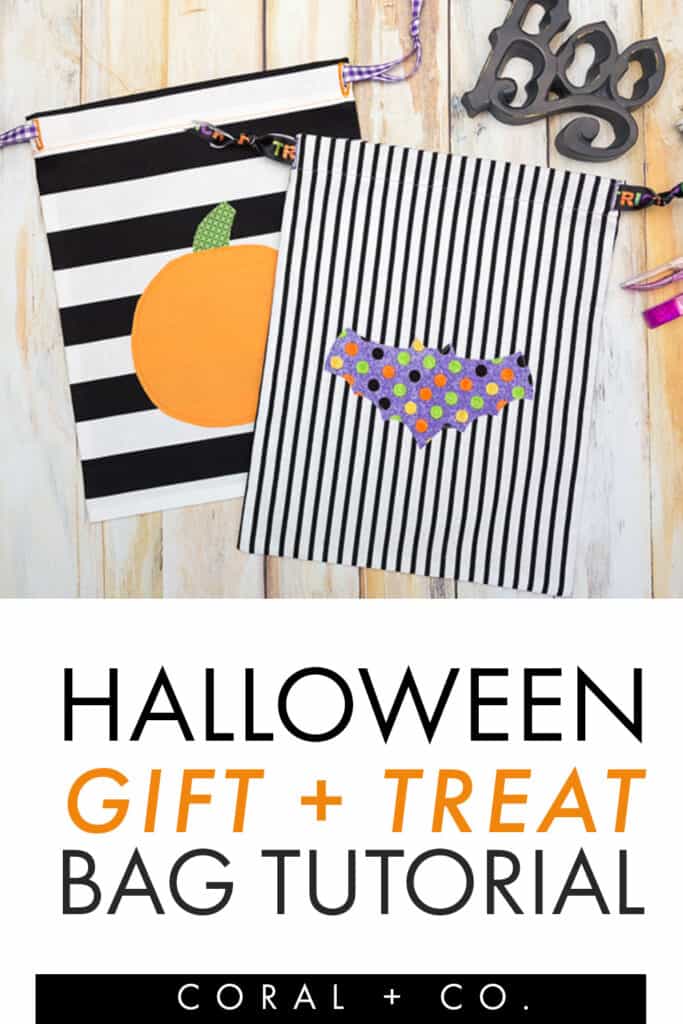
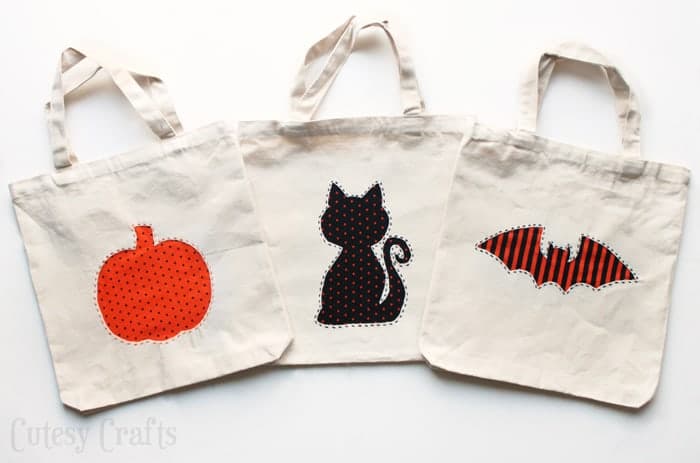
Learn how to sew a Trick or Treat Halloween Bag with this Free Pattern, which comes in two different sizes. The pattern also includes five different applique templates for you to decorate the front of the bag with.
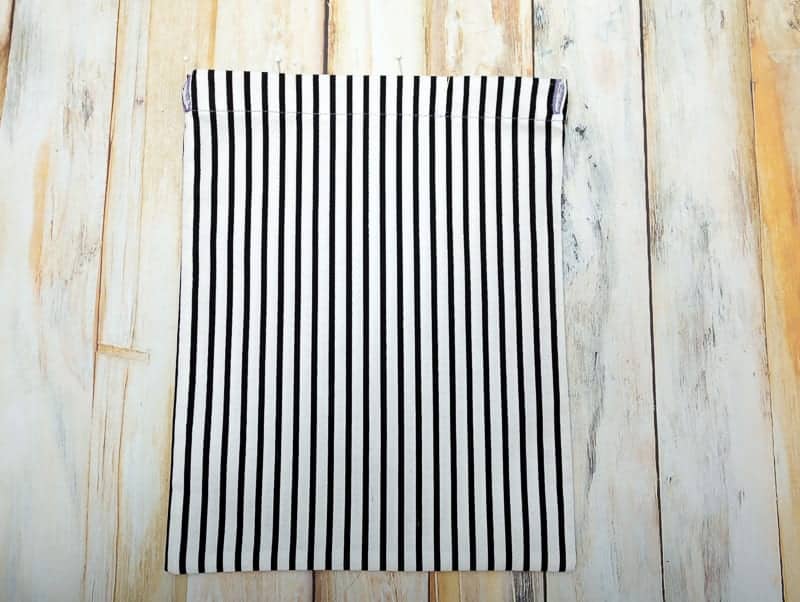
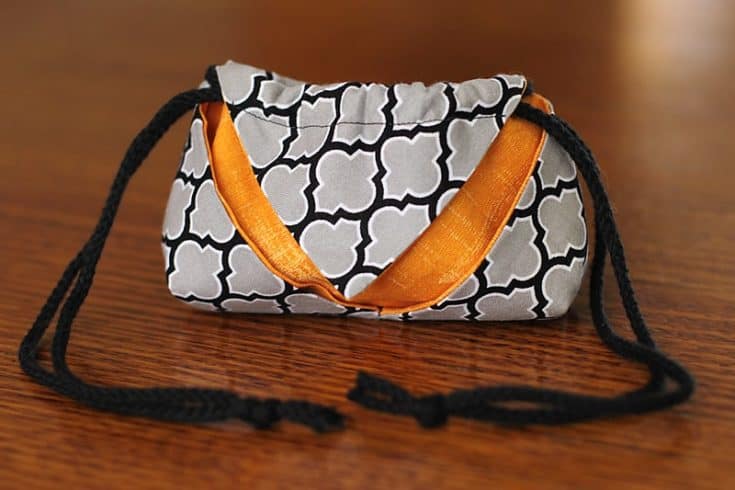
This simple Halloween Trick or Treat bag can also be used as a party or gift bag. It has a simple draw string closure.
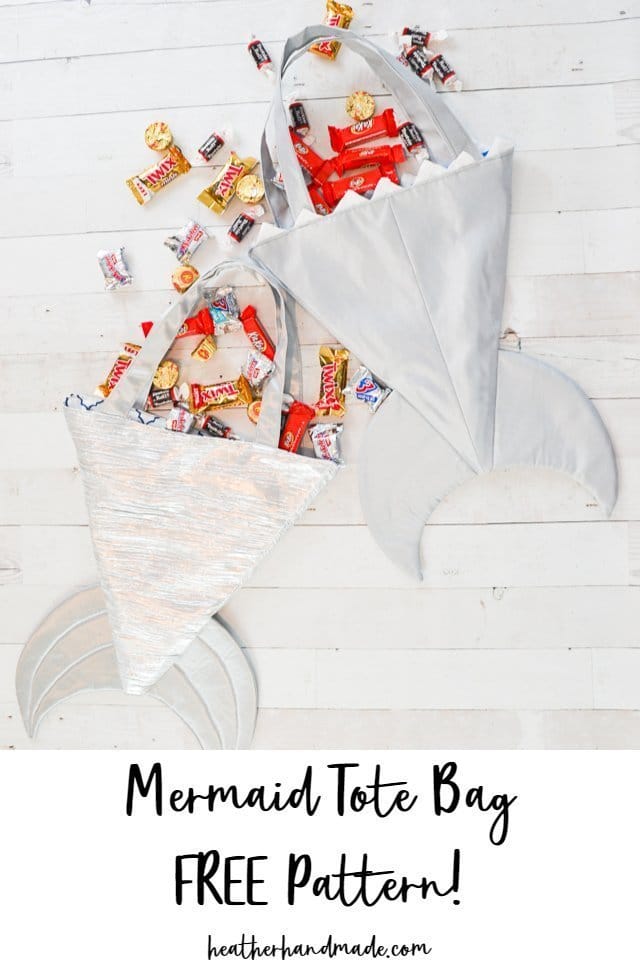
For the little girl that loves mermaids this is the perfect Halloween Trick or Treat bag.
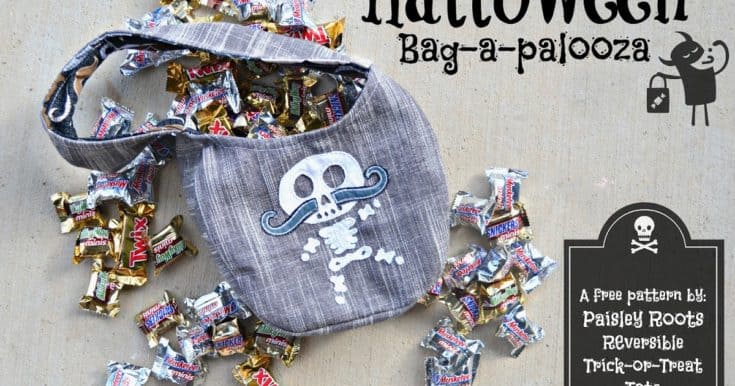
Sew up this Trick or Treat Bag for your little pirate!
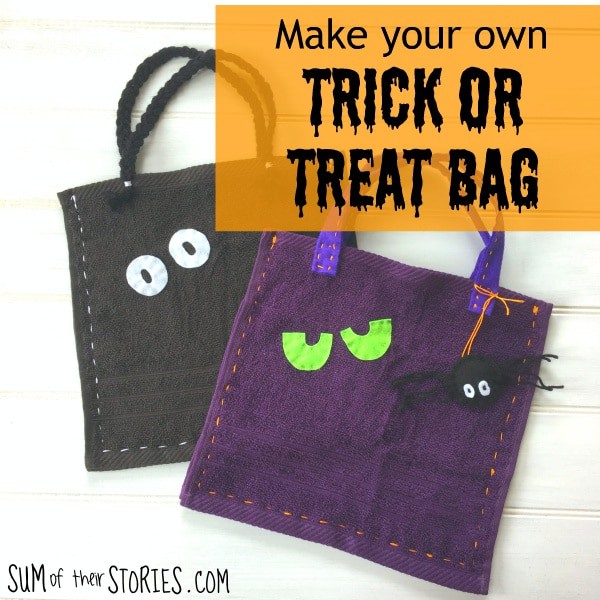
These little Trick or Treat Bags can be sewn in batches making them a good option if you have lots of little Trick or Treaters.
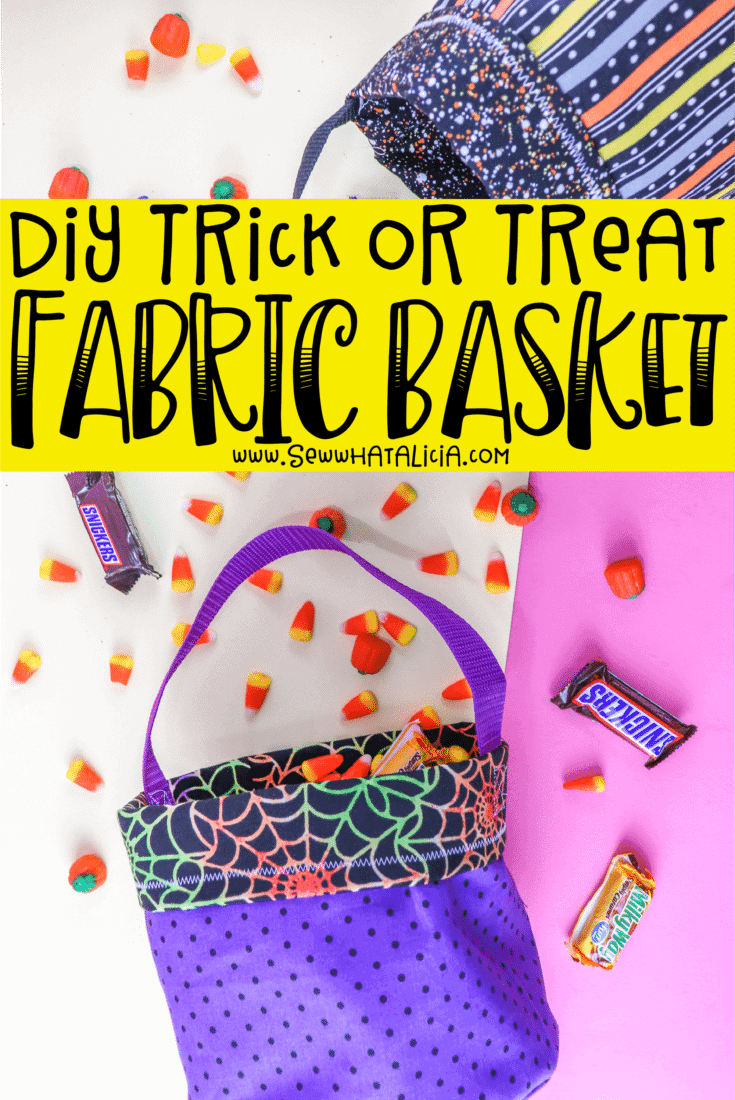
This Basket style Trick or Treat bag will hold lots of candy and other goodies.
Get spooky with these DIY Trick or Treat bags.
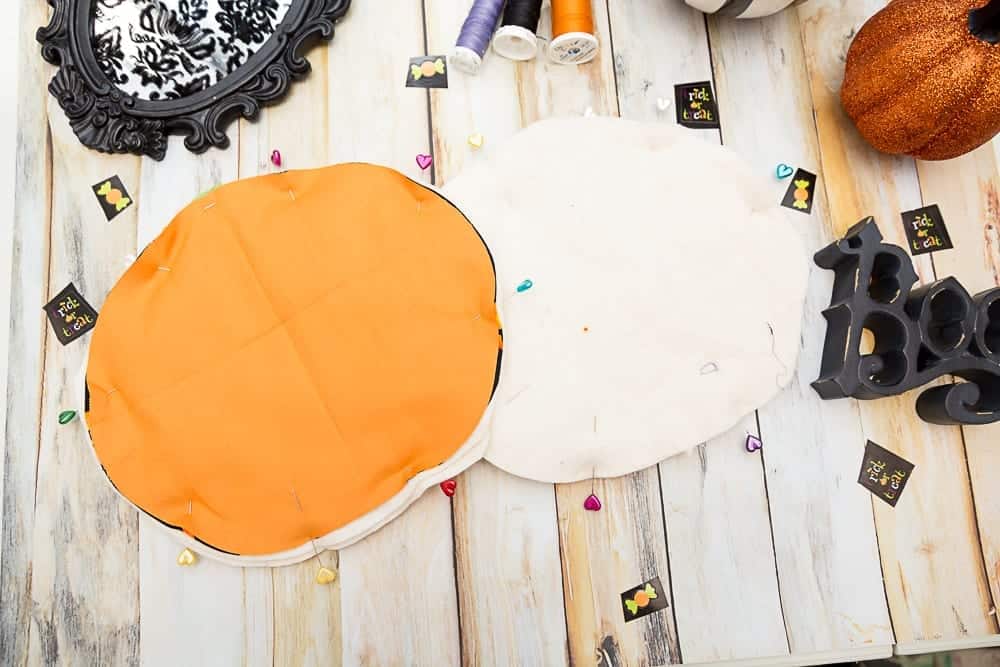
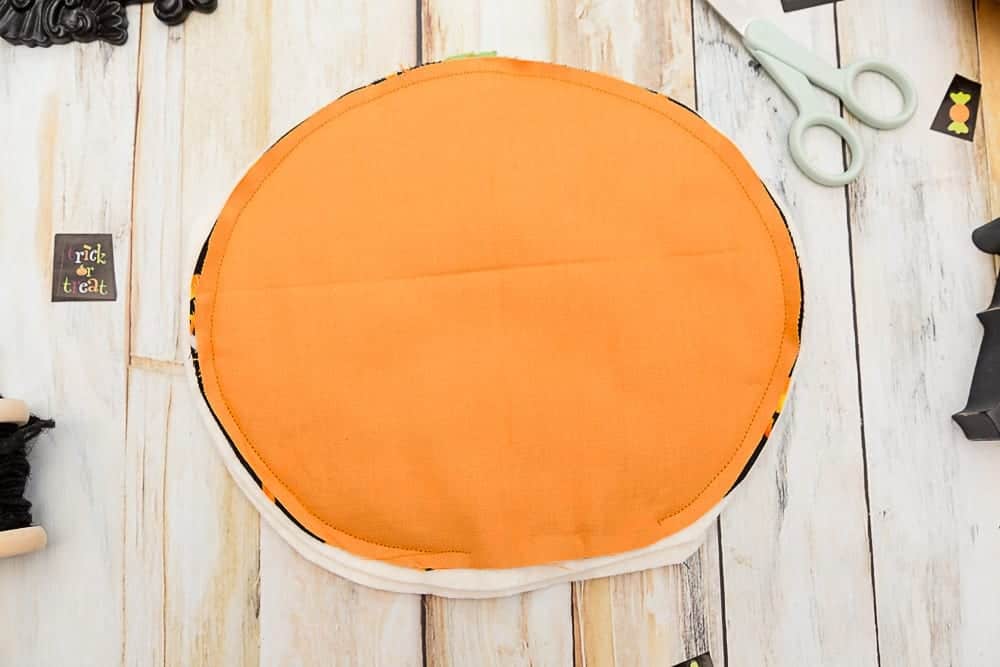
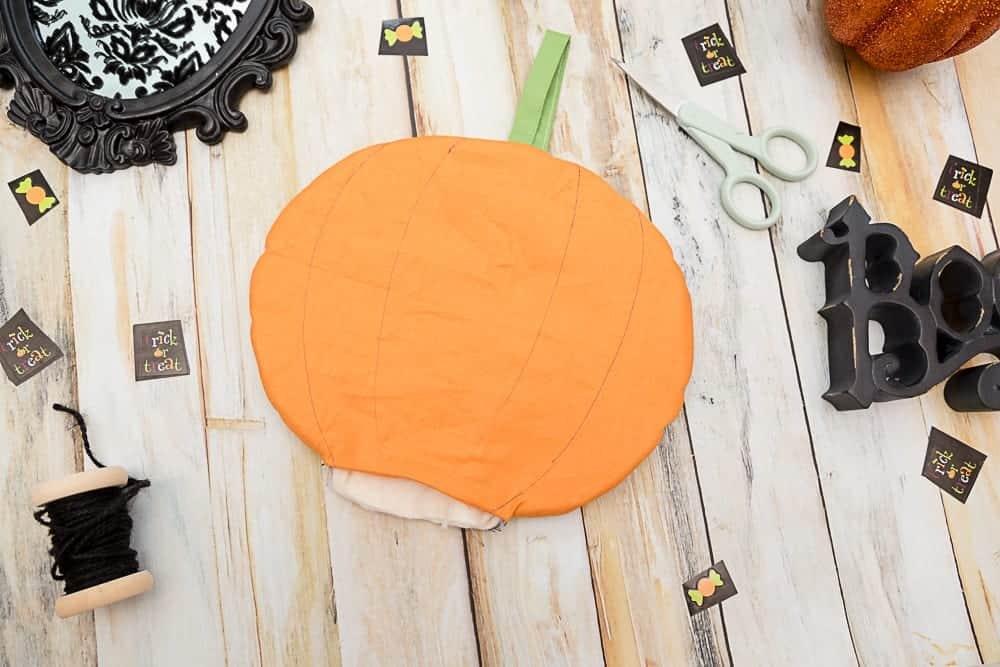
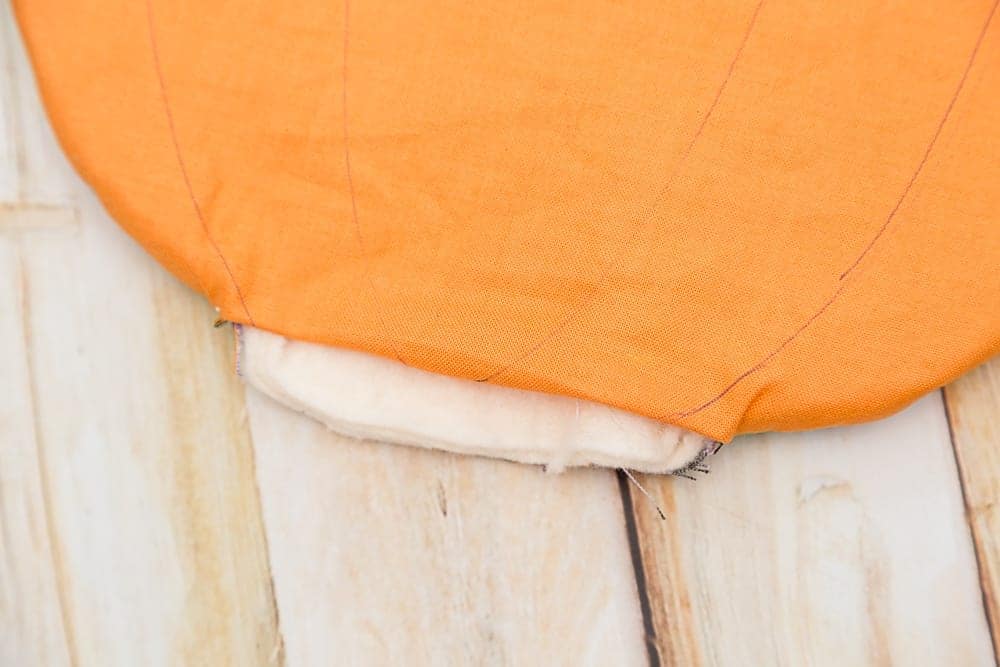
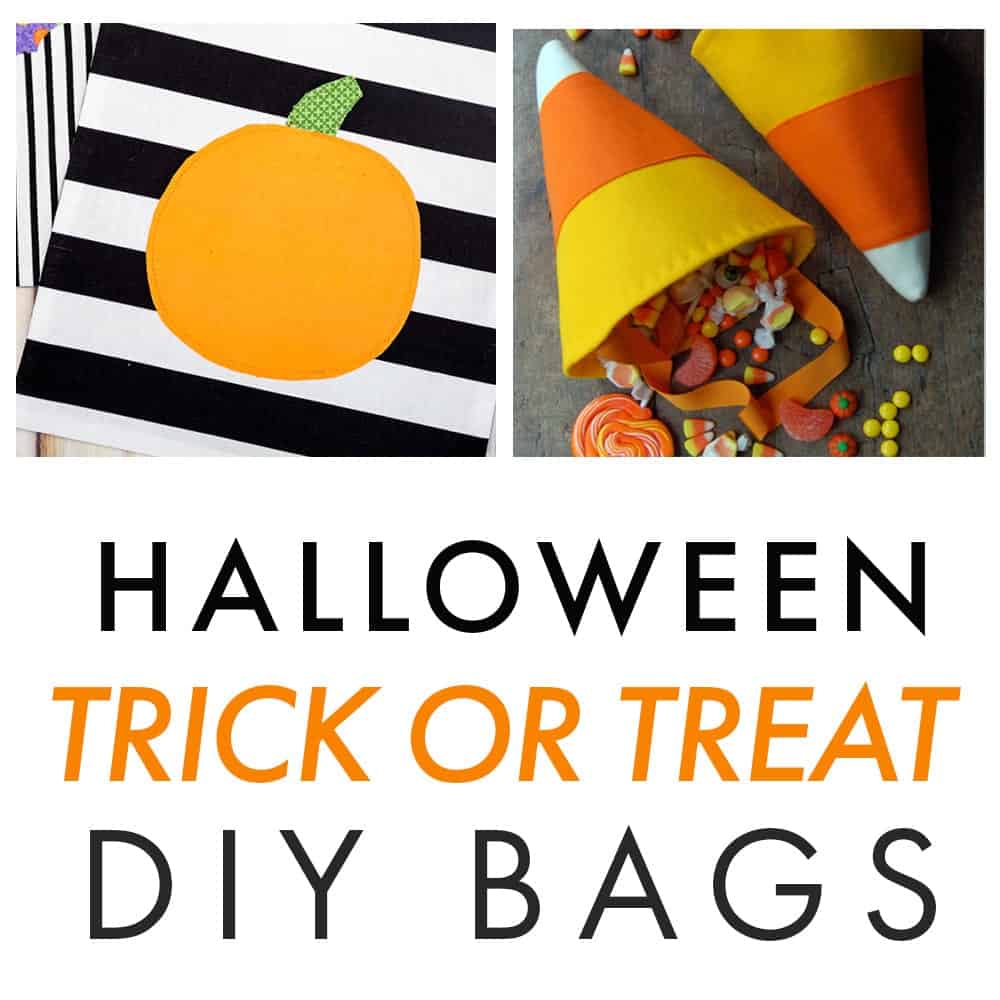
Who doesn't love pumpkins???? These cute Jack'olantern bags are a fun DIY Halloween sewing project to make.
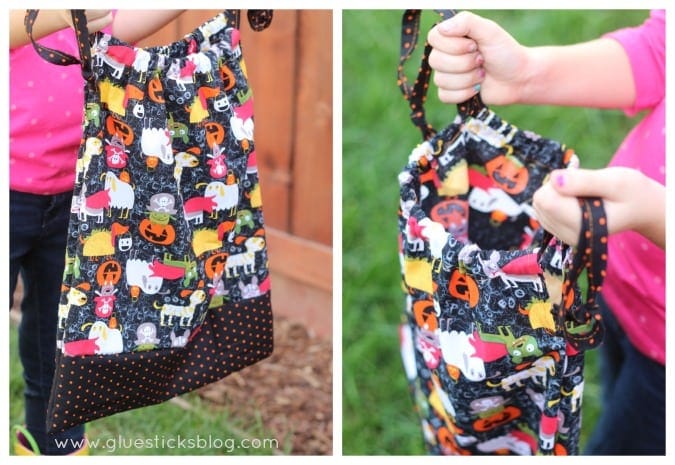
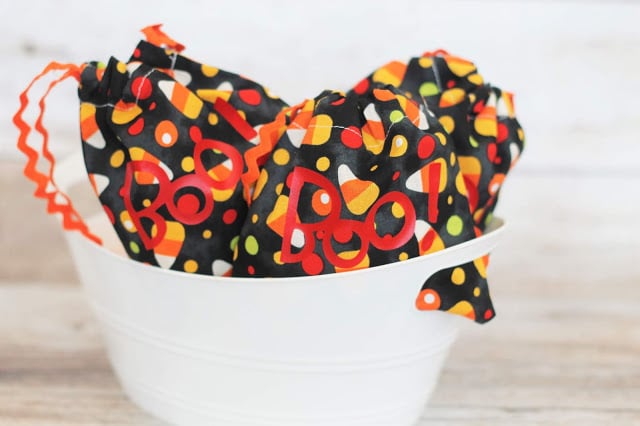
Here is another cute version of a drawstring Halloween Trick or Treat bag.
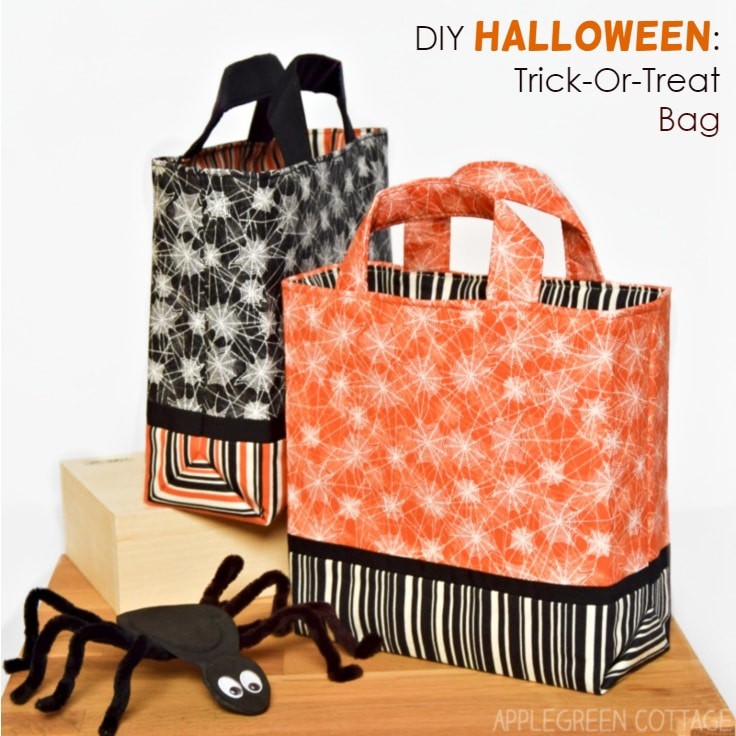
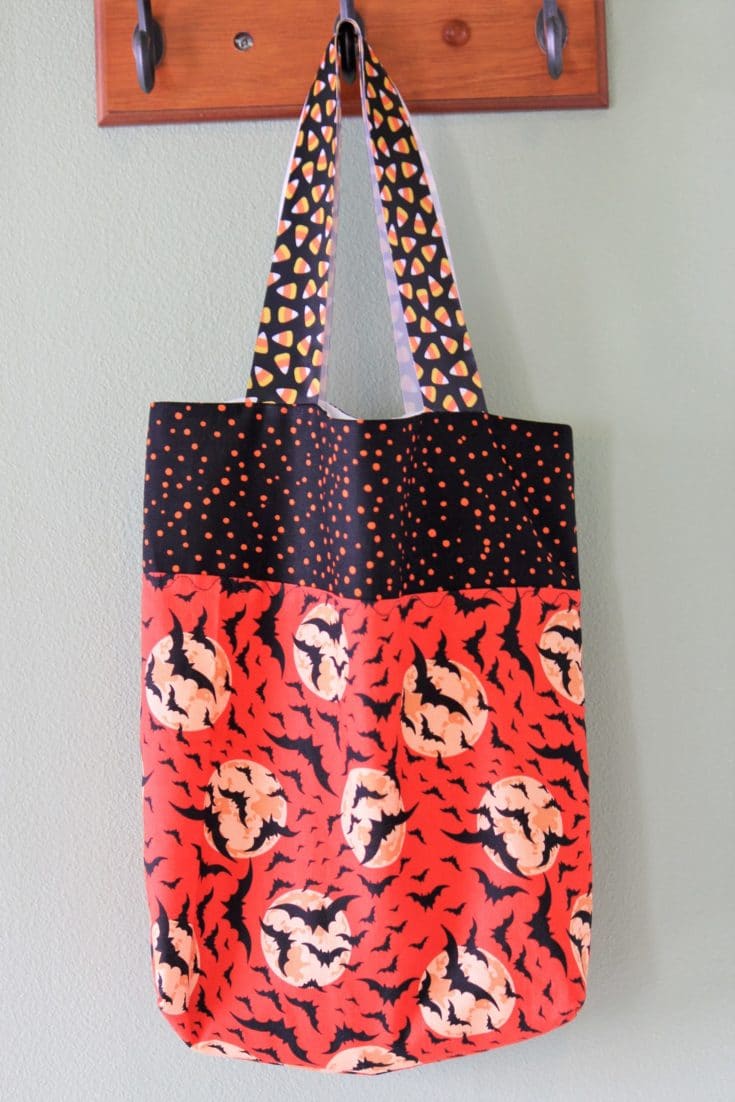
These boxy Trick or Treat bags are sure to hold LOTS of candy!
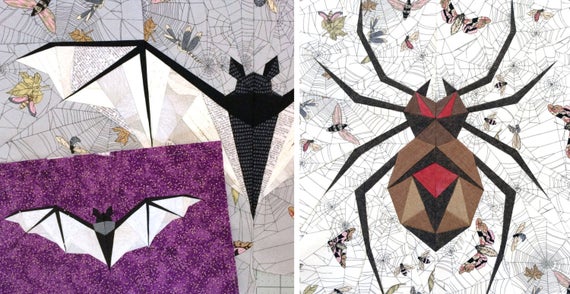
DIY Halloween Trick or Treat Bags with Sticky Spiderwebs + Moving Spiders (eek!)
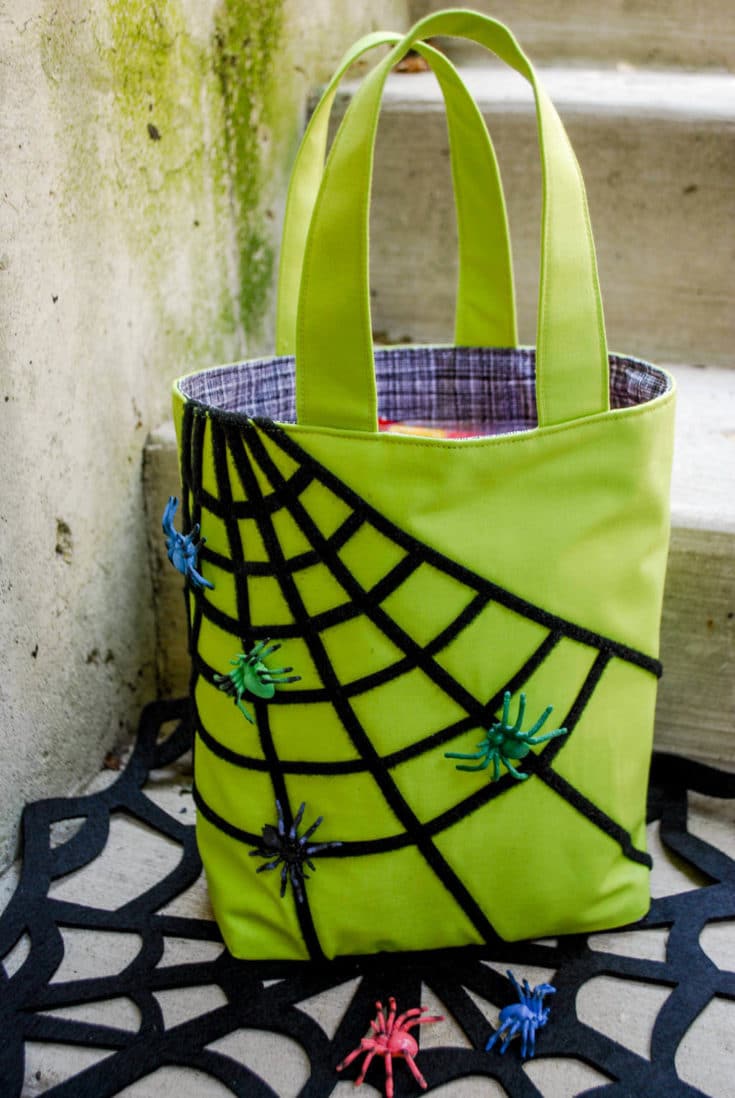
Spiders, eek! This is a fun Trick or Treat bag to add some creepy crawlys to.
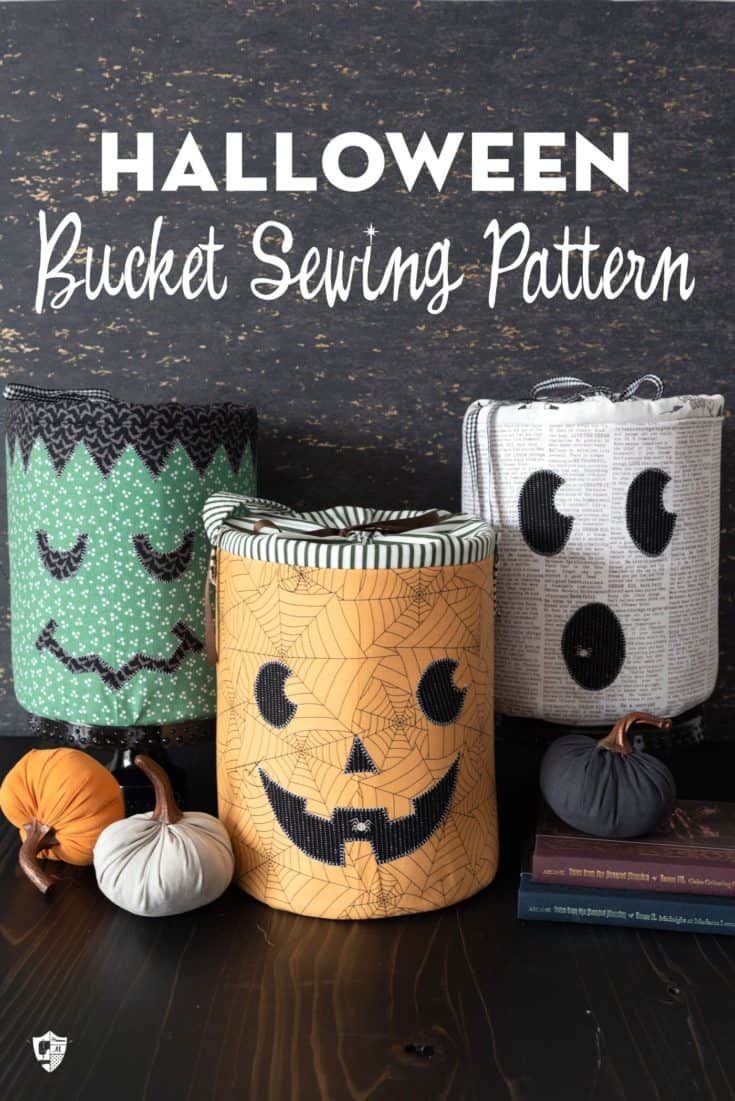
This bucket style Trick or Treat bag sewing pattern is a whole lotta fun.
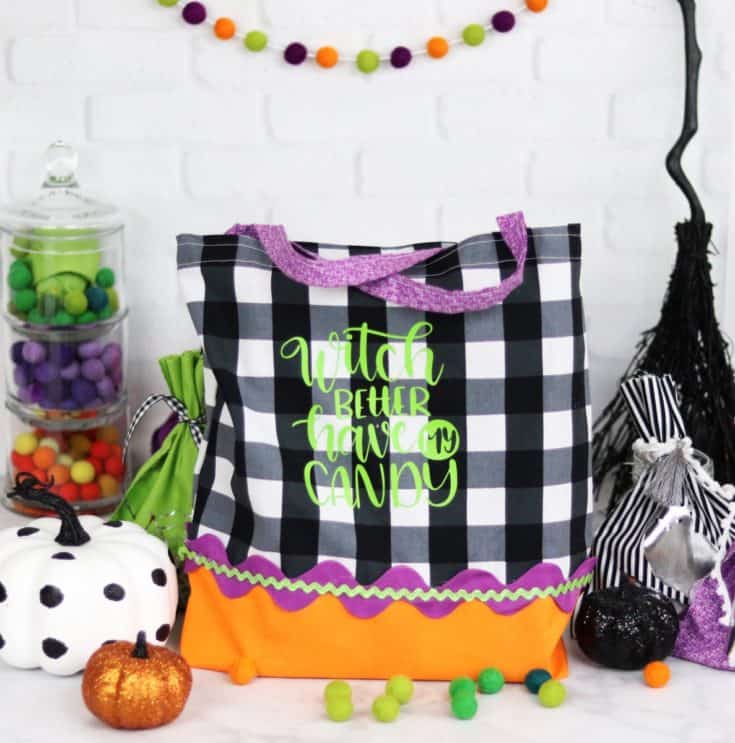
This Trick or Treat bag is a fun way to add some rick rack and pretty trims to.
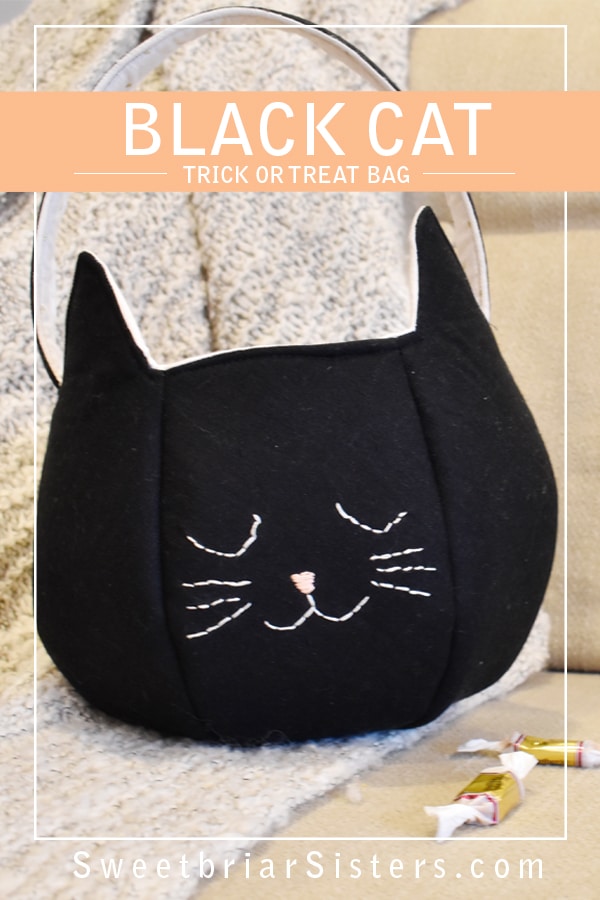
If you or your little one are cat lovers then this is the DIY Trick or Treat bag for you!
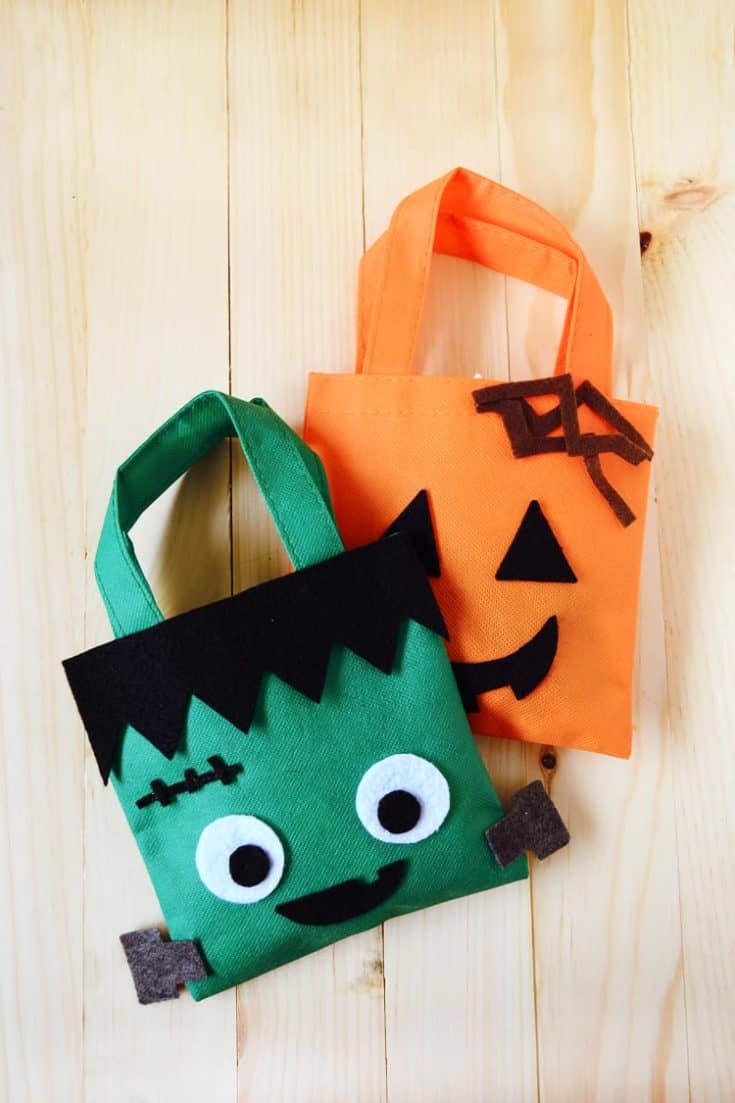
This little monster Trick or Treat Bag doesn't involve much sewing, although you could sew the felt instead of glueing it, but man it is cute.
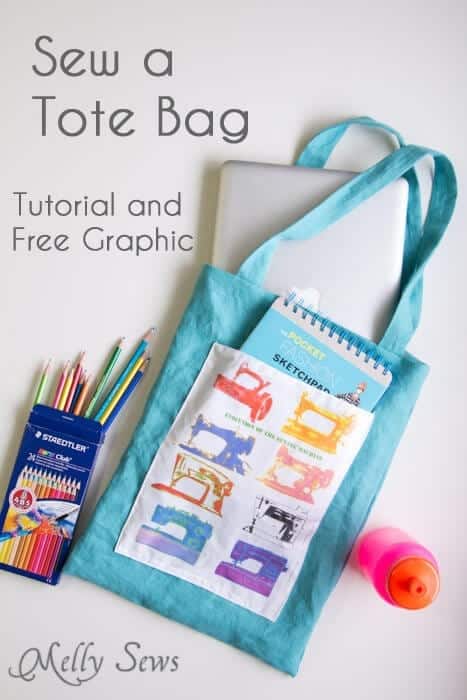
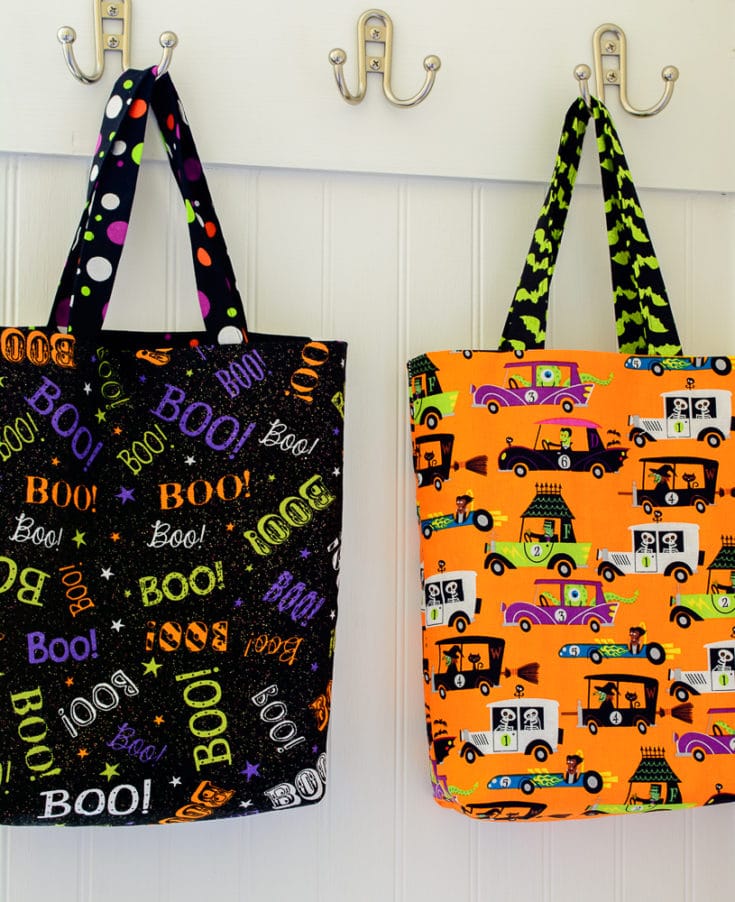
This simple tote bag style is a good beginner sewing project.
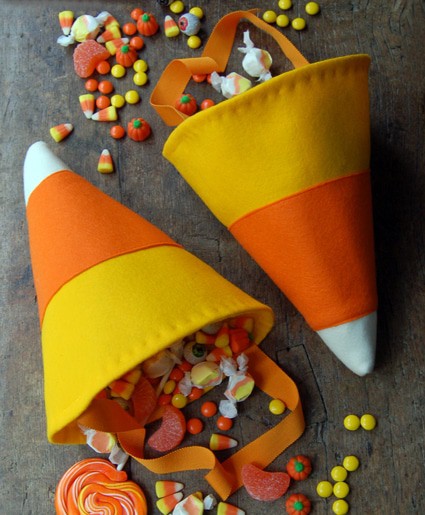
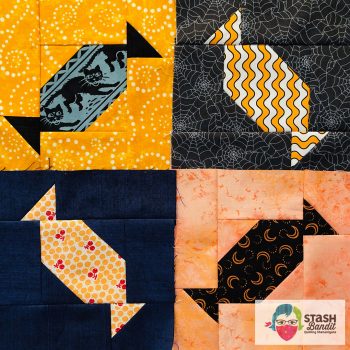
Candy corn, yassss! These DIY Trick or Treat bags are AMAZING!
Here is a way to add some whimsey to your DIY Trick or Treat bags.
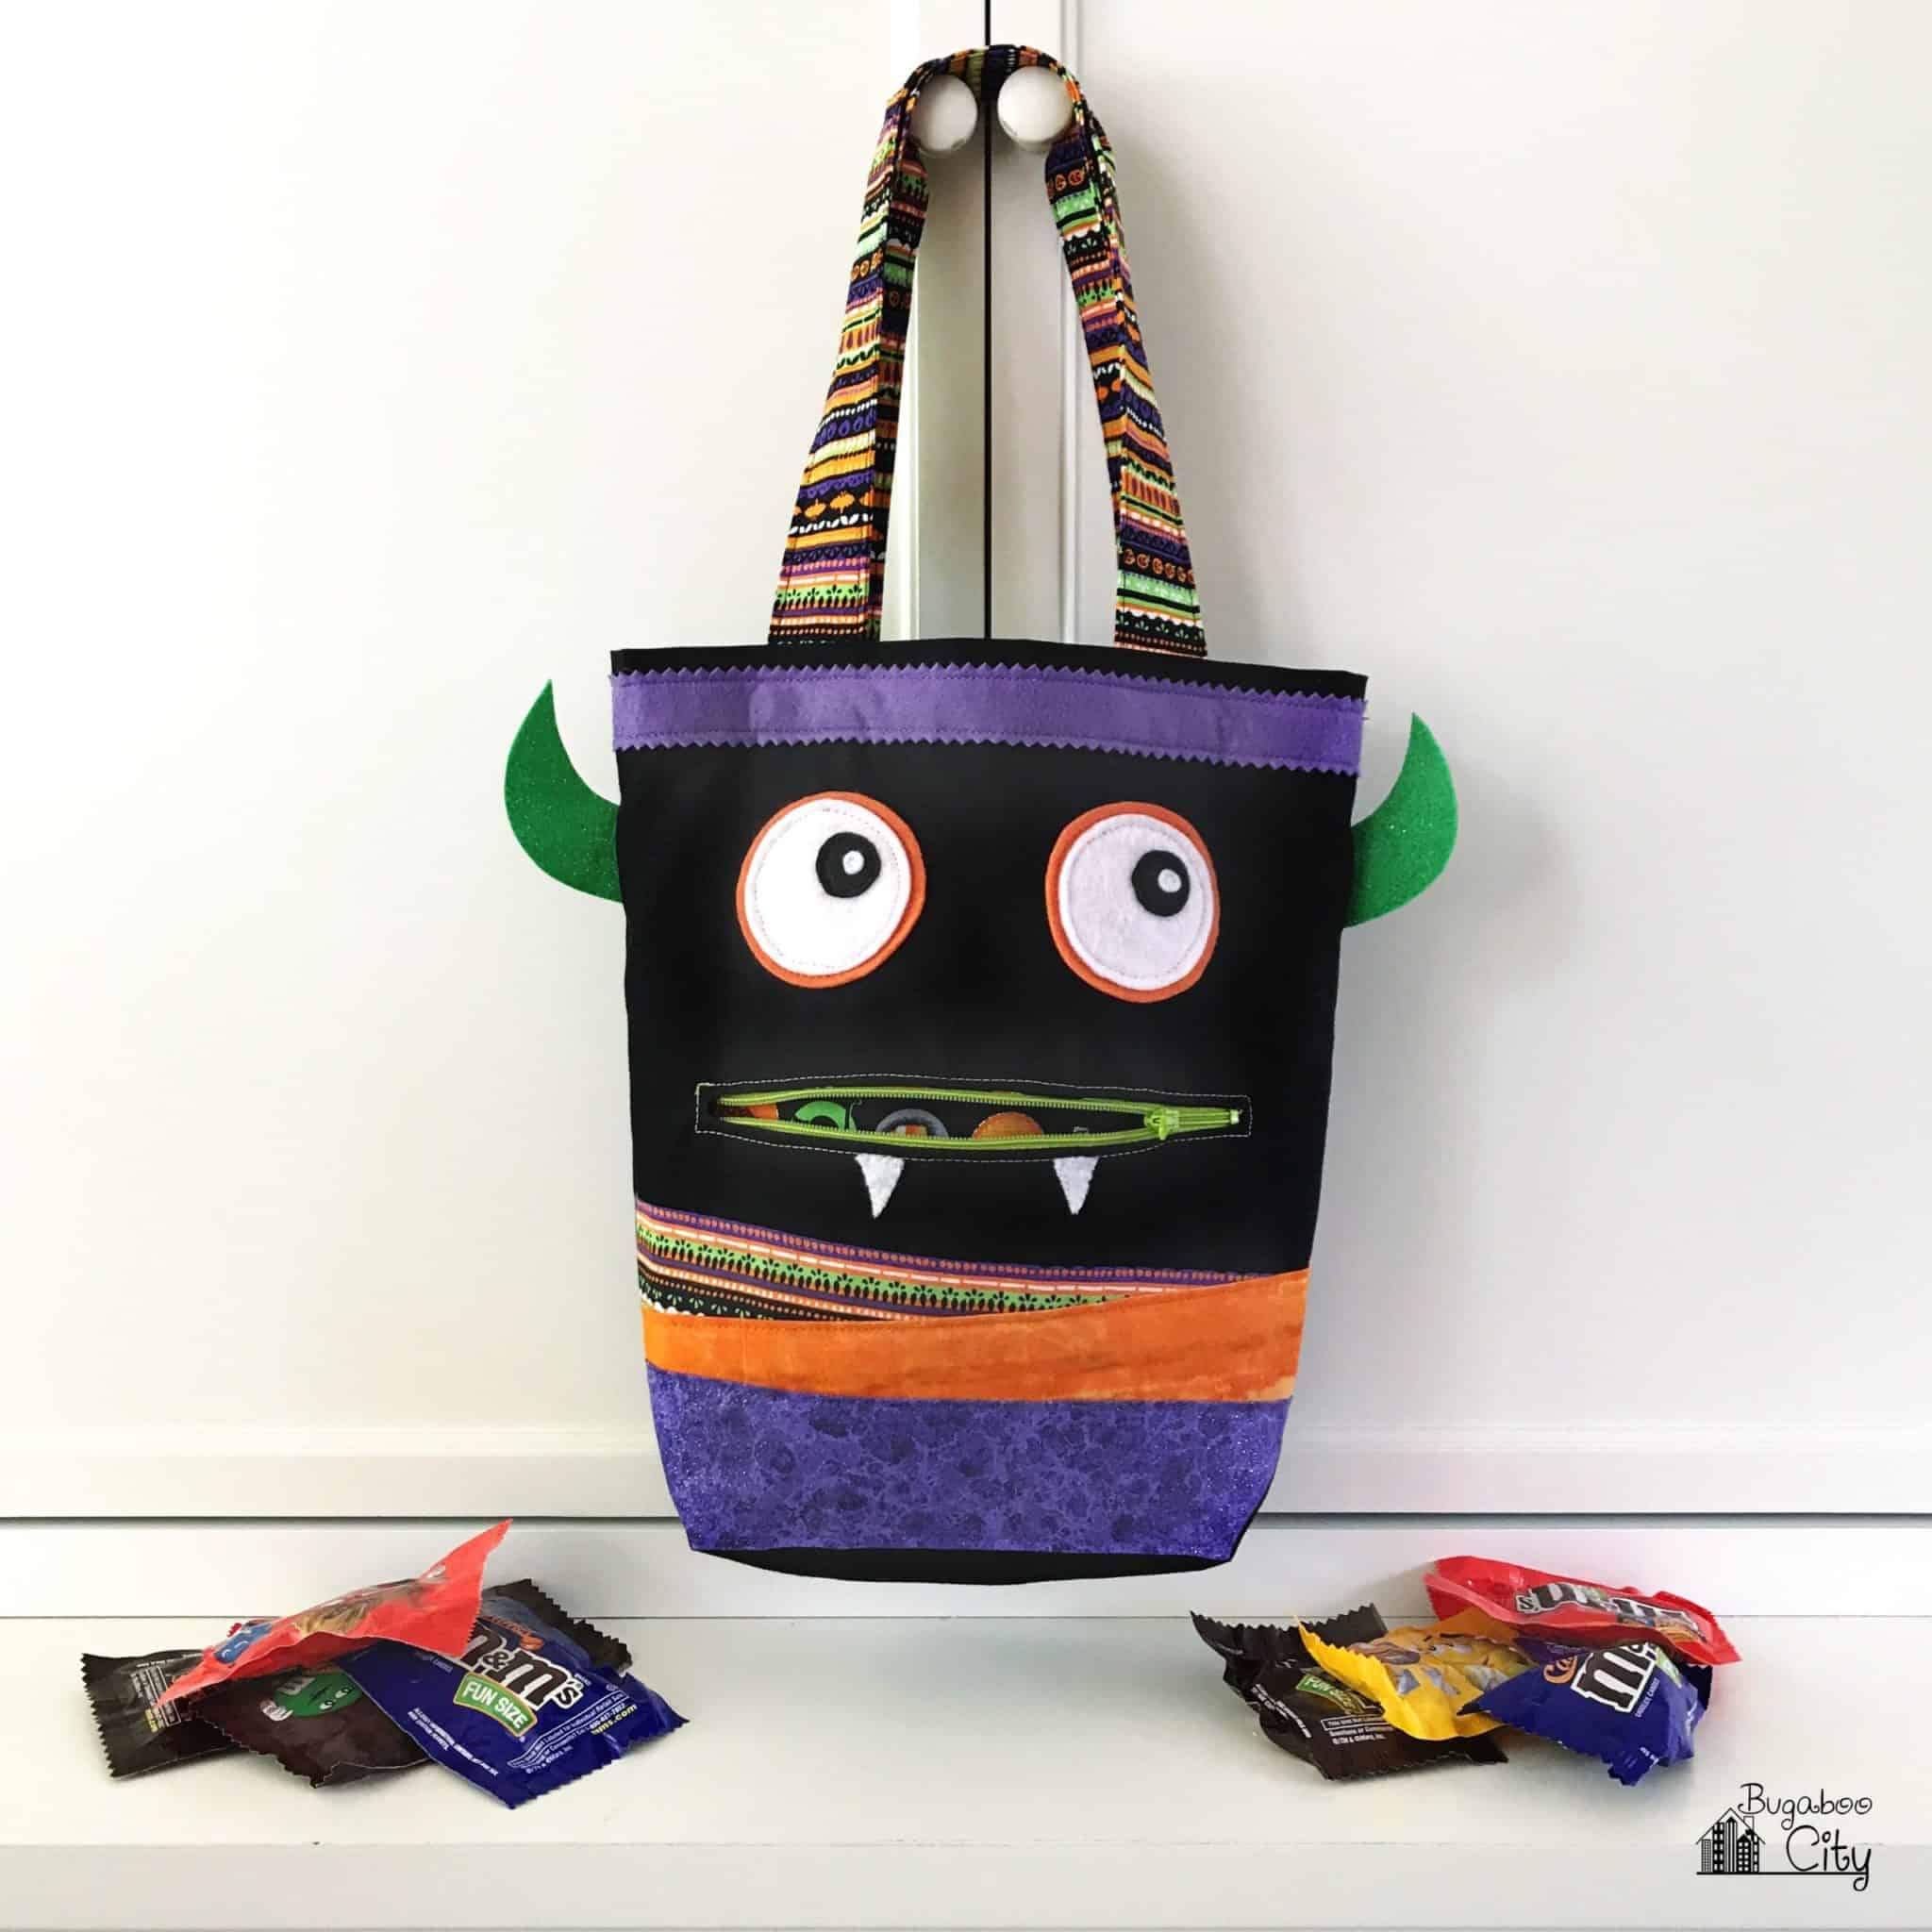
I'm pretty sure this is the cutest little monster bag ever!
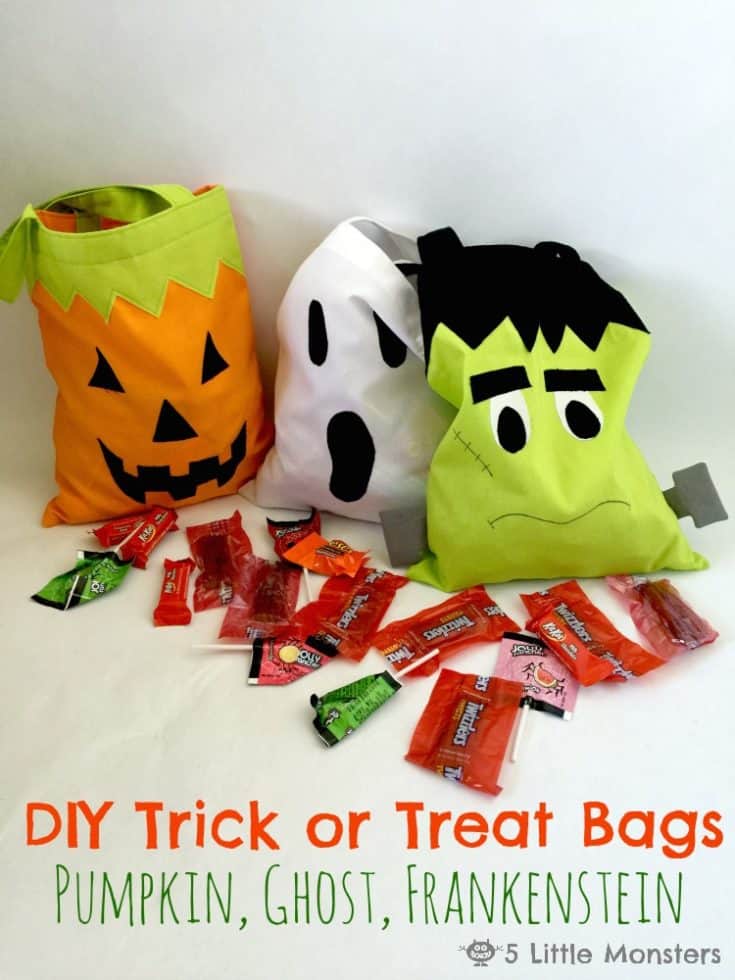
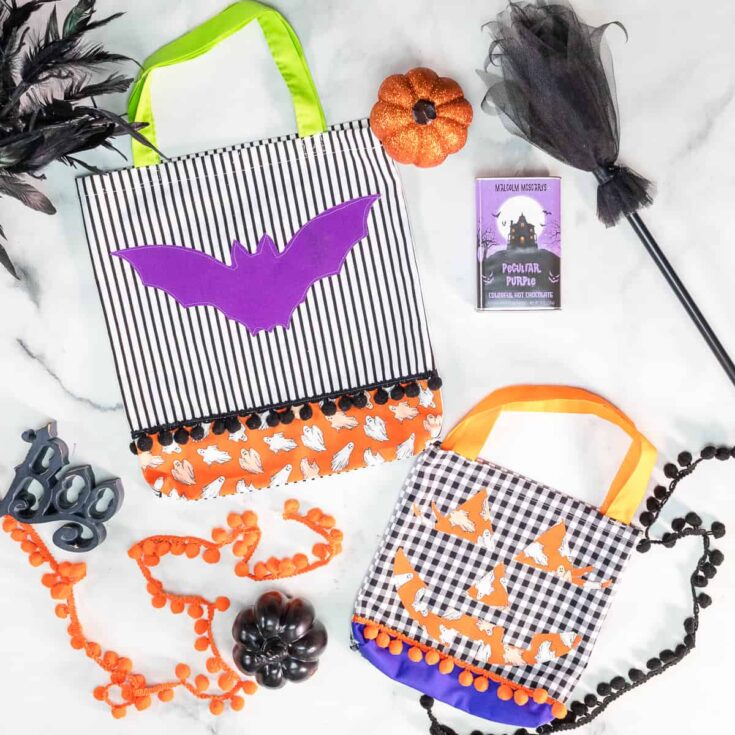
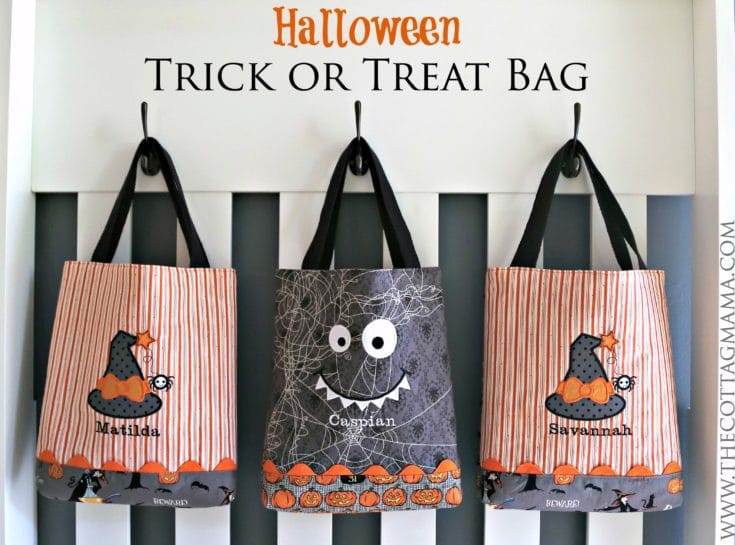
Monster's, pumpkins, and ghosts, oh my! There is a Trick or Treat bag for every kind of Trick or Treater with this sewing project.
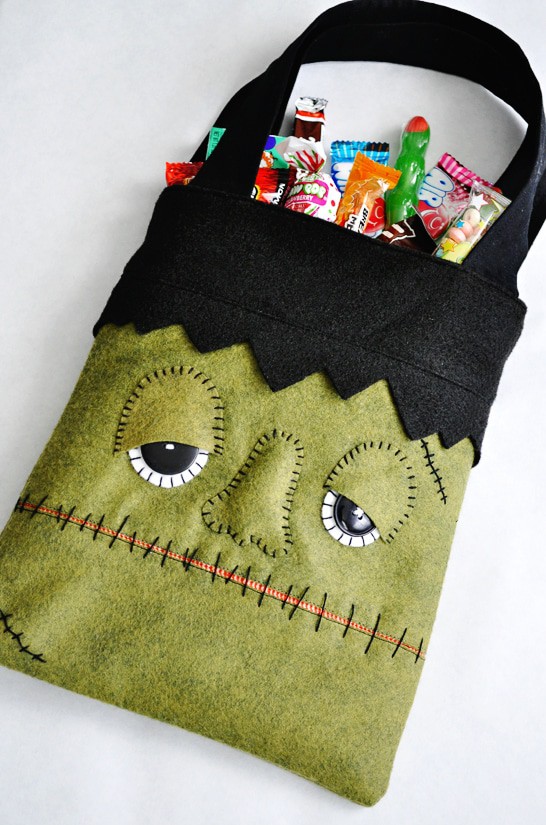
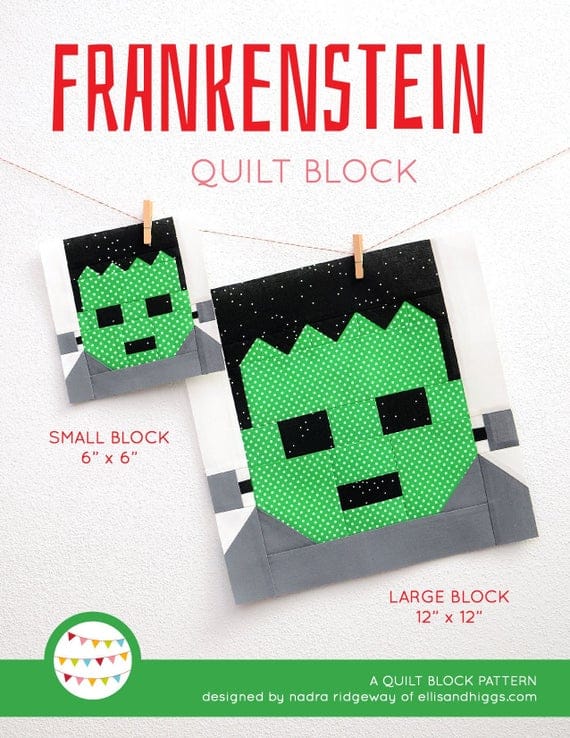
This bag is probably the coolest Frankenstein bag ever!
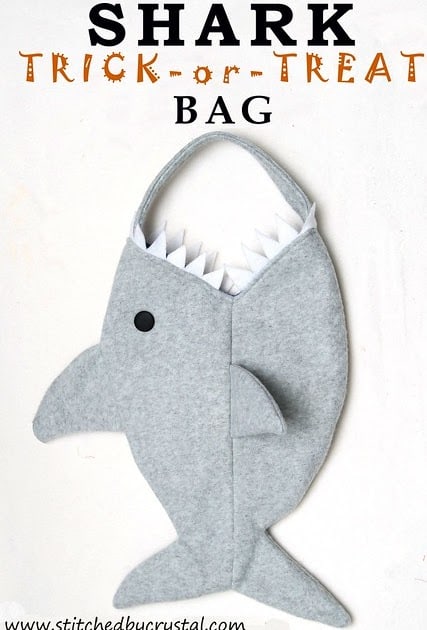
Baby Shark, du duh du duh ta duh. Sorry, not sorry. The song might be annoying when it gets stuck in your head and can't stop singing it but this bag sure isn't.

Another candy corn Trick or Treat bag for the win!
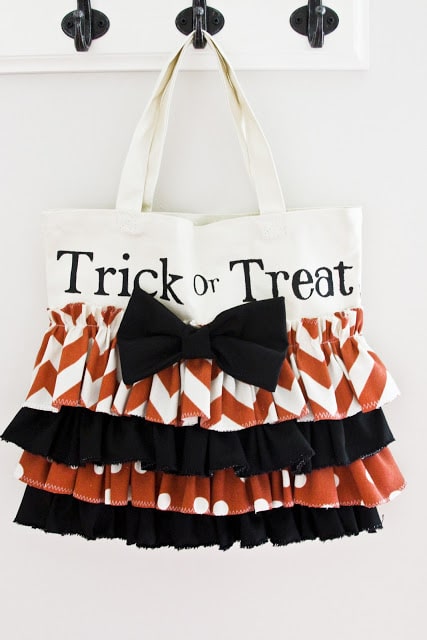
If you have a little ruffle lover then this ruffle trim Trick or Treat bag is going to be a hit!
Easy. Simple. Straight to the point on this DIY Trick or Treat bag sewing tutorial.
Reverse applique is a really fun way to show off cute fabrics and fun shapes.
Another fun drawstring bag (with cool inserts!) to make for Halloween.
Pin the coolest DIY Halloween Trick or Treat Bags to sew for Later!