

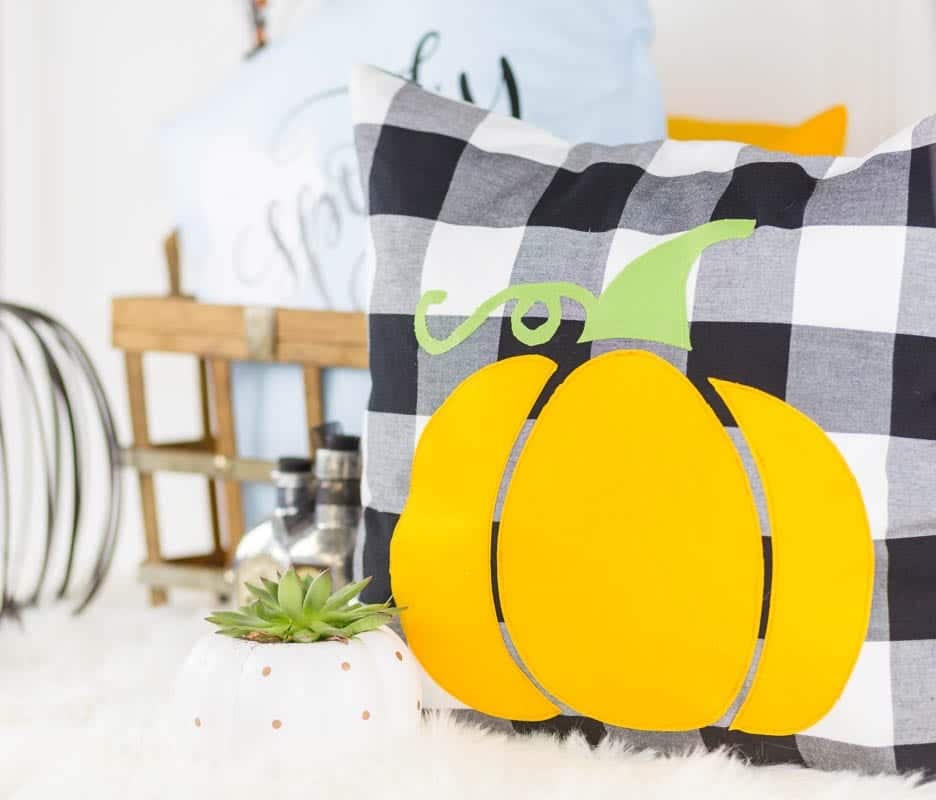
Adorable Pumpkin Applique Pattern! Use this FREE pumpkin appliqué pattern to create some super cute Halloween pillows, and add such a fun splash of color to your decor. And they are so easy to change the pillowcase out for the current season.
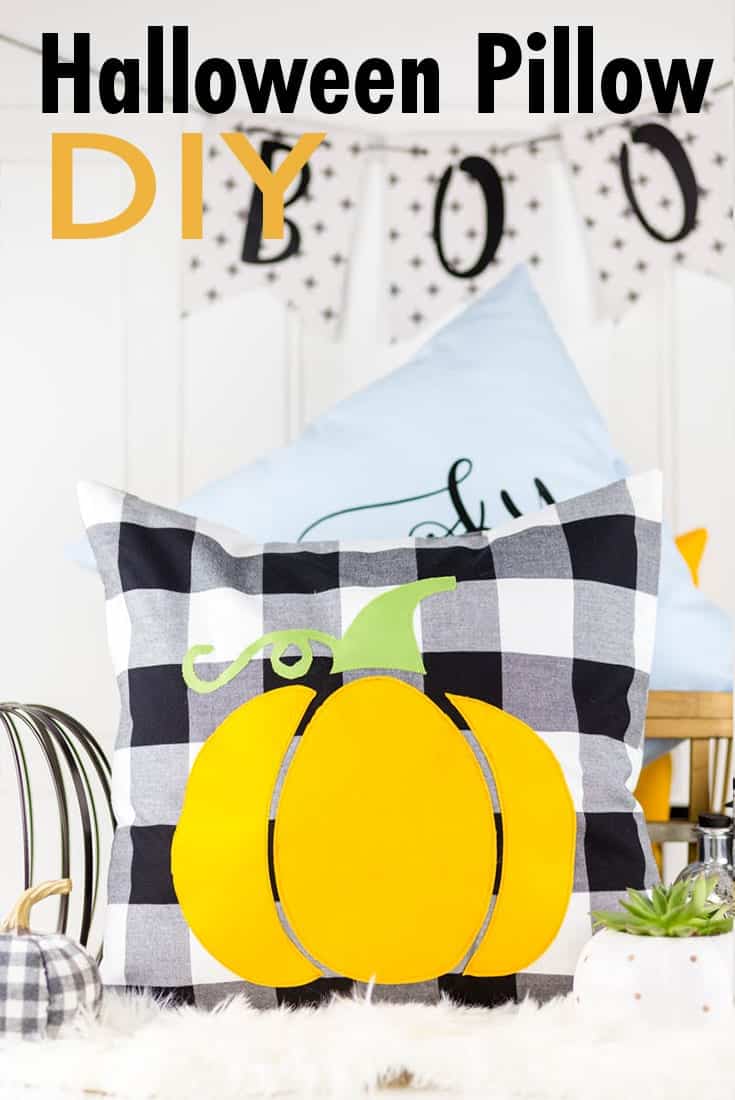
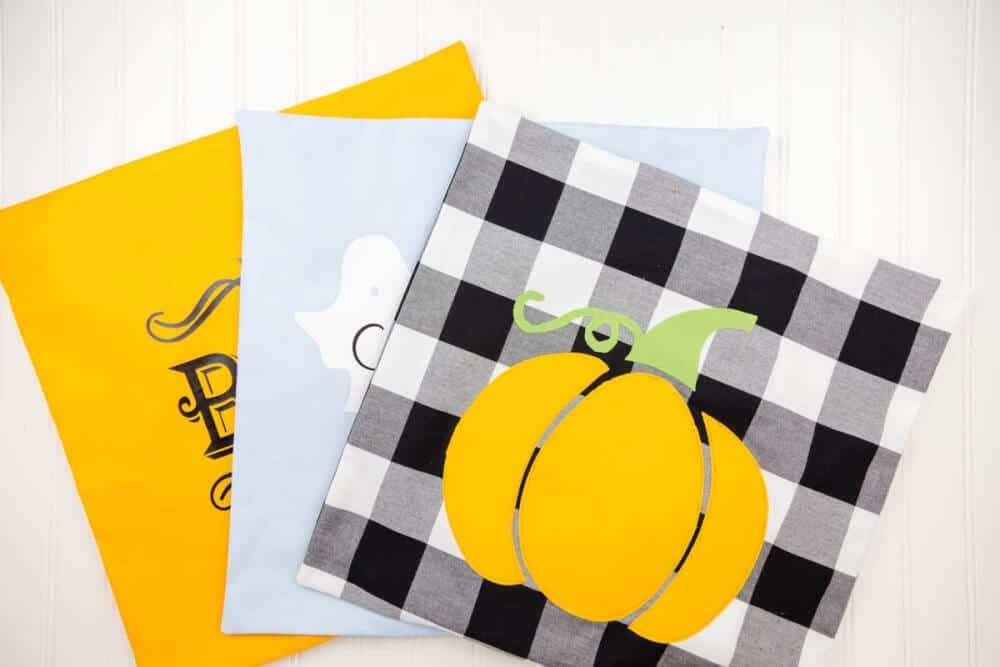
This post is part of the Halloween Sewing and Craft Series. You can scroll to the bottom to see who else is participating. This tutorial will show you how to make a raw edge pumpkin applique on a pillow and comes with a free Pumpkin Applique pattern.
More Halloween Projects
- Cutest Halloween Treat Bag Tutorial
- Trick or Treat Bag Pattern - Tote Bag in 2 Sizes
- 25 + Halloween Trick or Treat Bags
- 25+ Halloween Quilt Patterns to Sew!
Table of contents
It is made to fit an 18" pillow but could probably fit one slightly bigger or smaller as well.
The pumpkin applique piece comes either as a cut file for your cutting machine or a pdf so that if you do not have a cutting machine, you can still make it. You will just have to trace the pattern and do the cutting yourself.
Instead of sewing it, you could also easily use iron-on vinyl. I think the texture of the fabric applique adds a nice touch to the pillow and it is easy to sew since the applique pieces are so large.
Supplies Needed
- Steam-a-seam 2 double sided fusible
- 8 x 11 piece of orange fabric
- 6 x 8 piece of green fabric
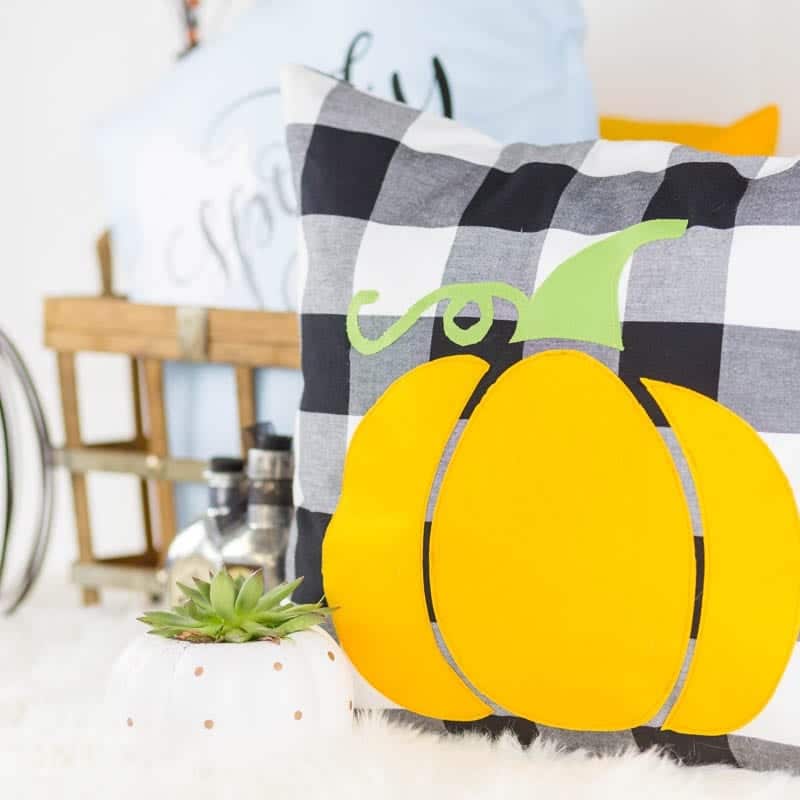
- 18" square pillowcase in 2" Black Woven Carolina Gingham (I will have a tutorial up soon on how to make a simple envelope pillowcase like the one shown)
- 18" pillow insert
- Pumpkin Applique PDF Pattern or Pumpkin Applique Cut Files (in PNG form): Body and Stem.
Both the Pumpkin PDF and the PNG cut files can be found in the Resource Library
***Sign up here for the Resource Library

Instructions to make the Applique
Step 1 - Peel one side of the steam-a-seam 2 off and place on the wrong side of the fabric. 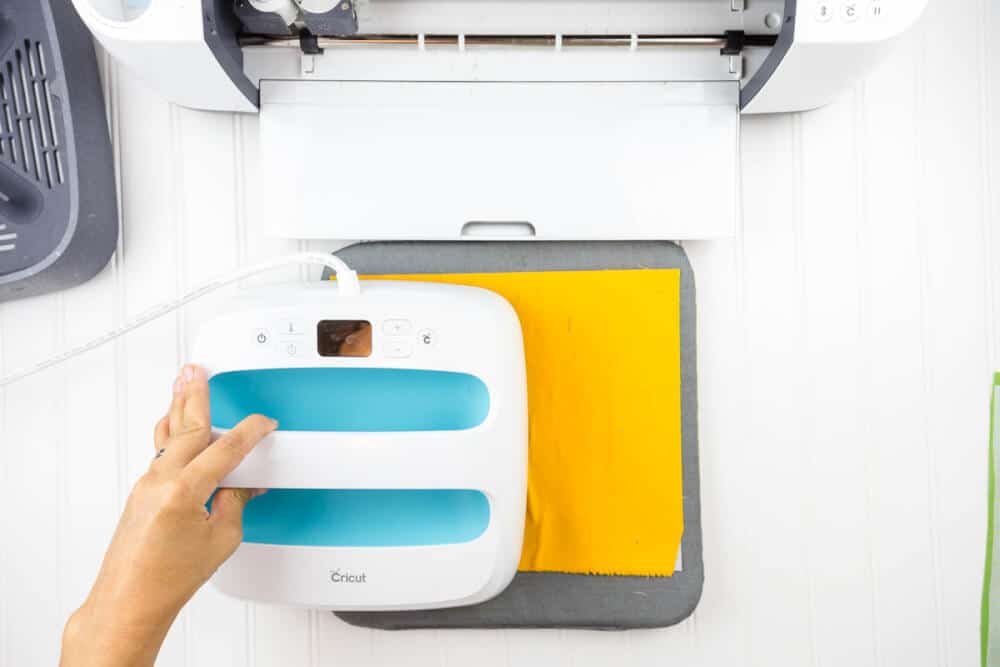
Step 2 - Iron fusible onto the fabric following the instructions on the package.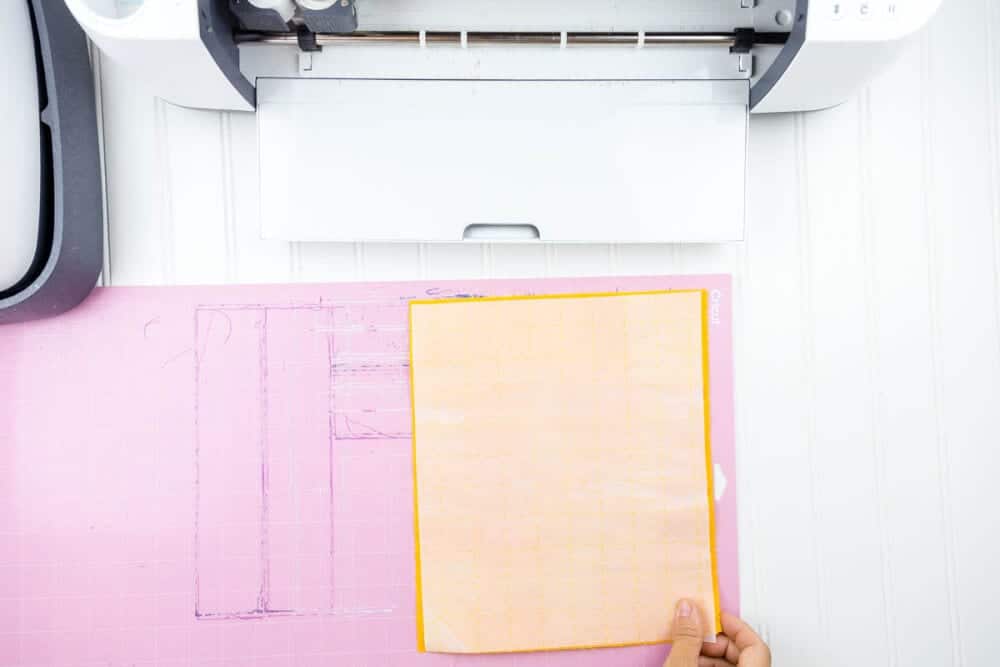
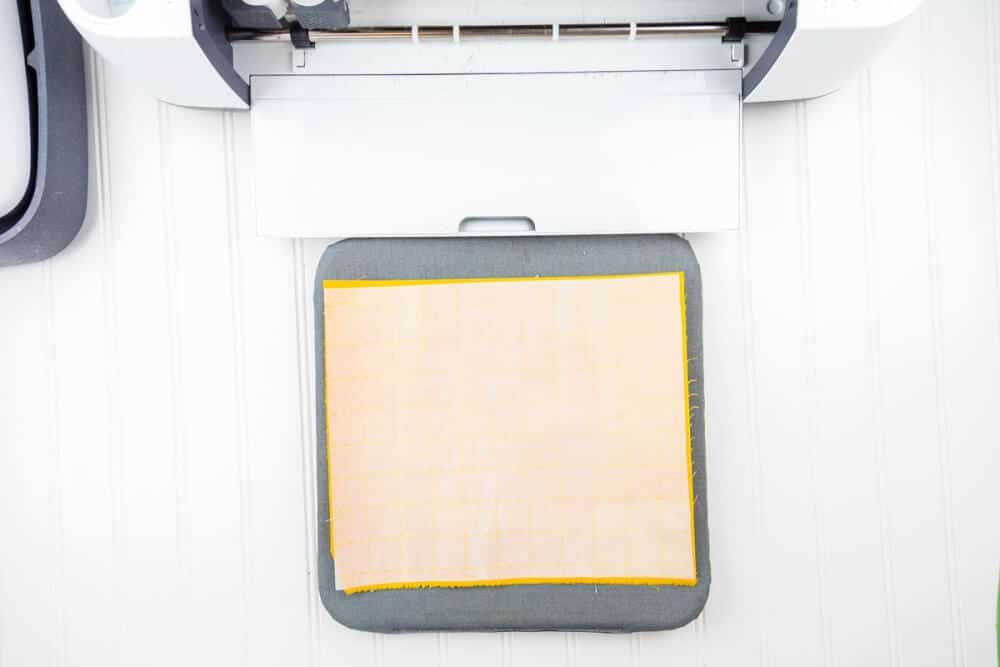
Step 3 - If using a Cricut or other cutting machine, place fabric on the cutting mat. If cutting by hand you will need to trace the applique pattern on the steam a seam before you cut out the pumpkin. You can see how to do this in this Treat Bag with applique tutorial.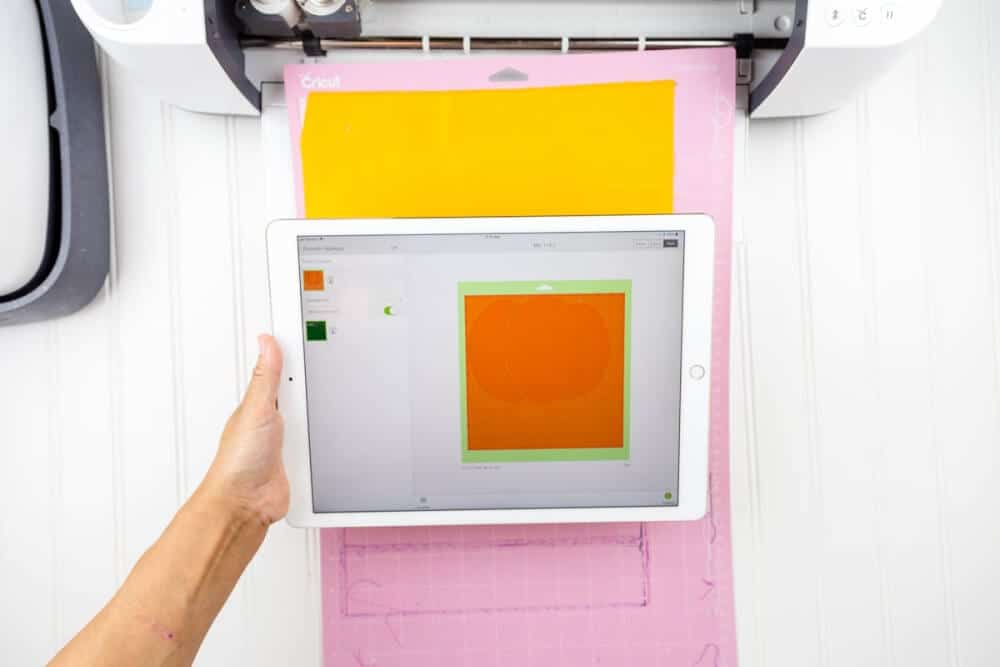
For Cricut users, load the pattern in Design Space.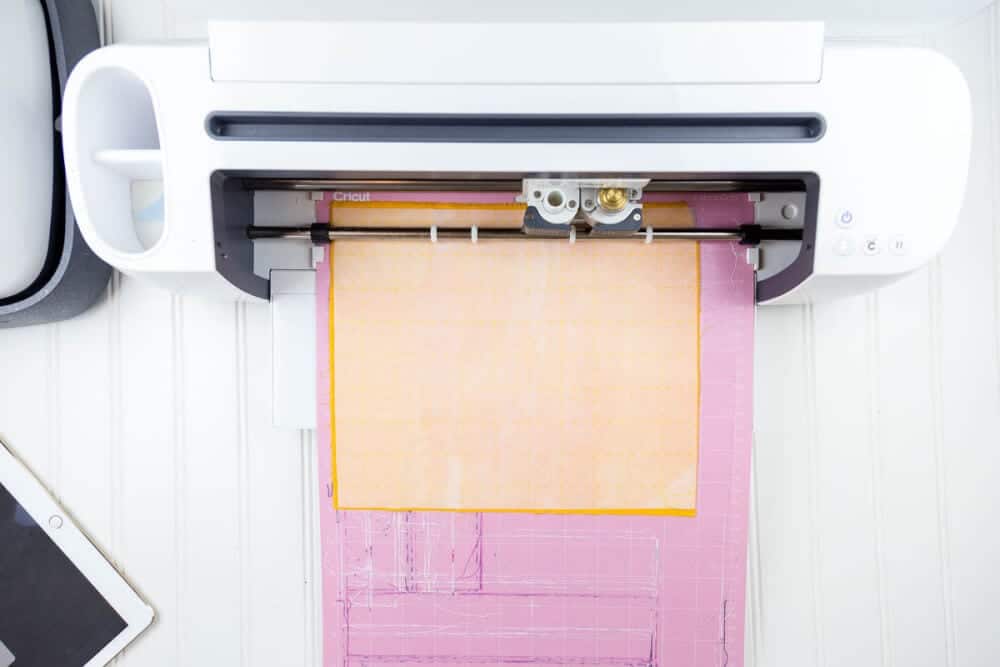
Cut out shapes with your cutting machine, so the fusible is on the back of the pumpkin.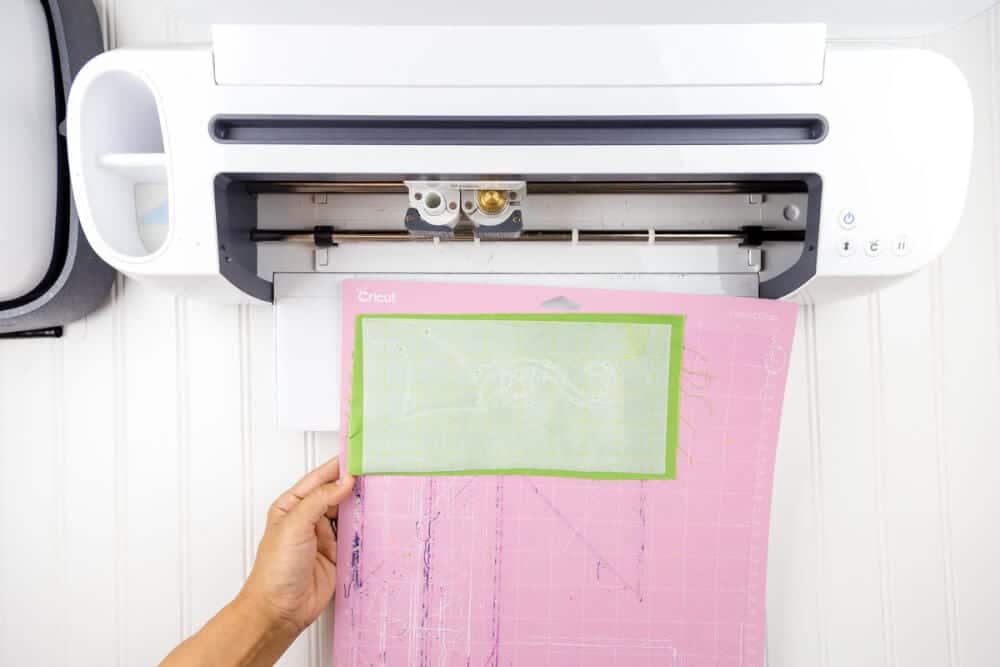
Repeat above steps for the stem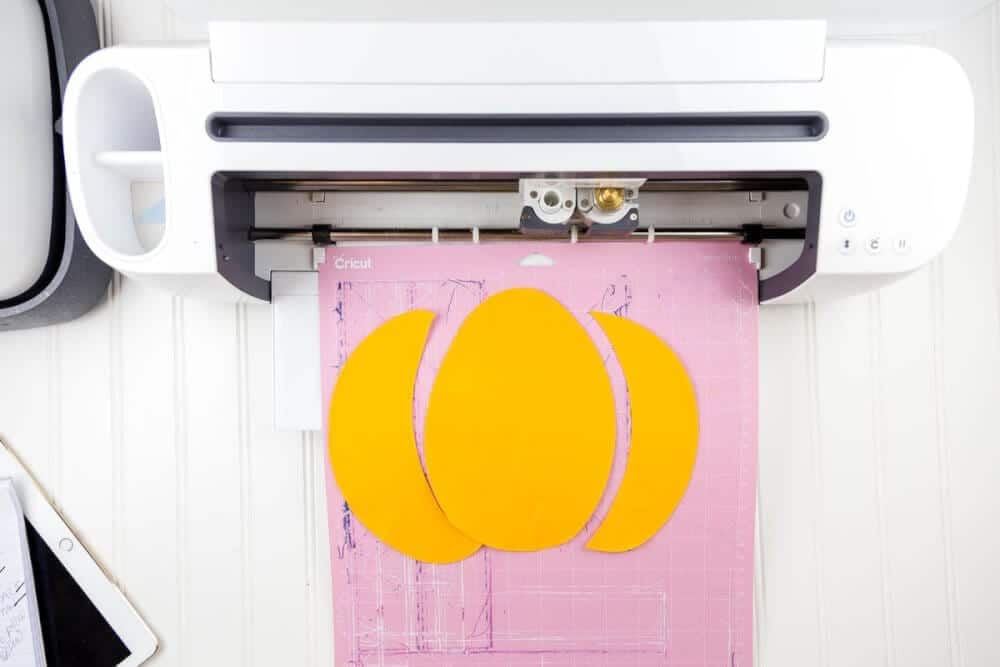
Peel off the back layer of the fusible and place pumpkin and stem on the pillow.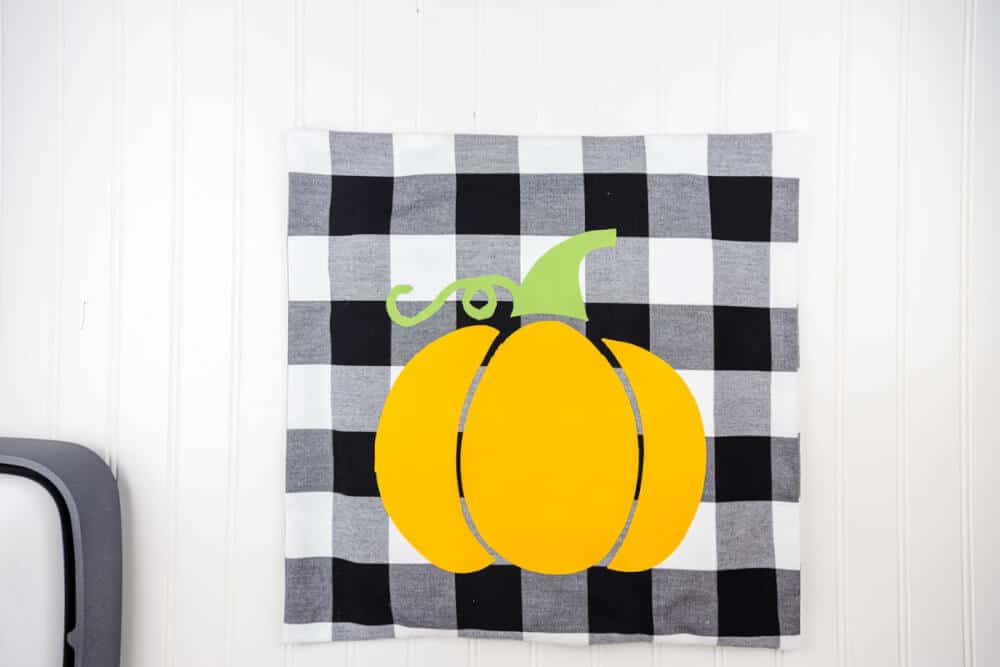
Iron into place according to the package's instructions to set the steam-a-seam.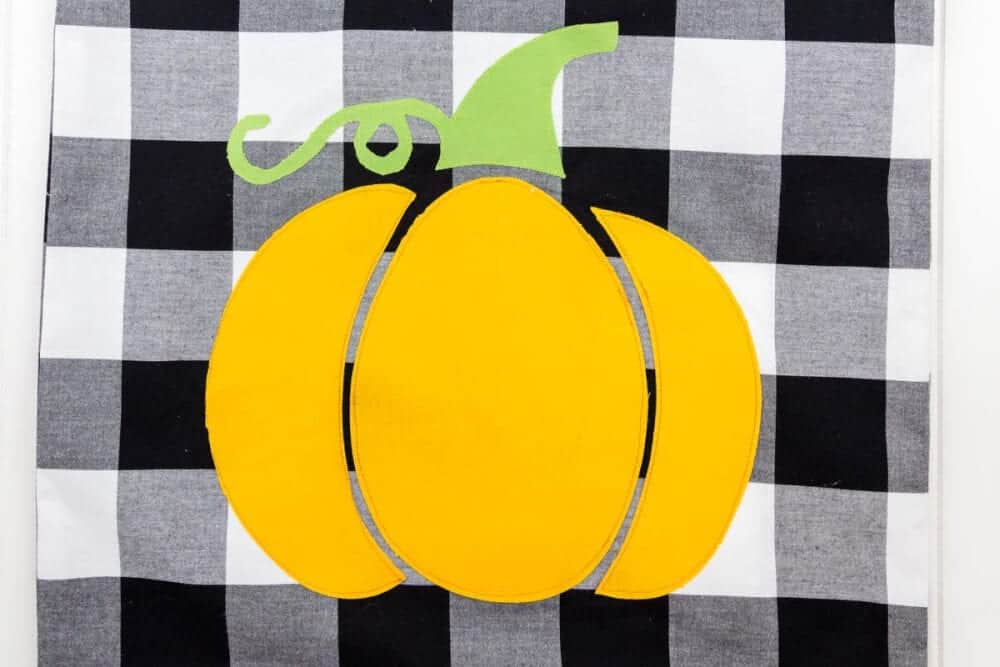
Step 4 - Sew around the edge of the pumpkin and stem to secure so that it stays in place after washing.
Where is the SVG pattern? I have searched several times and cannot find link. thanks for the darling idea, but I want to cut it quickly this morning...
kastenc at sbcglobal dot net
It is the second option listed. It is in png format so you can upload it into design space.
I assume you should enlarge the pattern? By how much?
You should not need to enlarge it for a 18 x 18 pillow