
What are the best Quilting Supplies for Beginners? Which ones are a must have to get started? If you are new to quilting heading to the fabric store can be overwhelming. There are so many different sewing supplies and notions and it is hard to know where to start. I have compiled a list of your Must Have beginner quilting supplies. These are the basic sewing supplies you will need to make your first quilt. Once you get started quilting and fall in love with it, there are many more supplies that you will want to add to your collection. This list is a great place to start for a beginner quilter.
You Might Also Like: Sewing Room Ideas for Small Spaces
Table of Contents
Get the FREE PDF Shopping List for Beginner Quilt Supplies
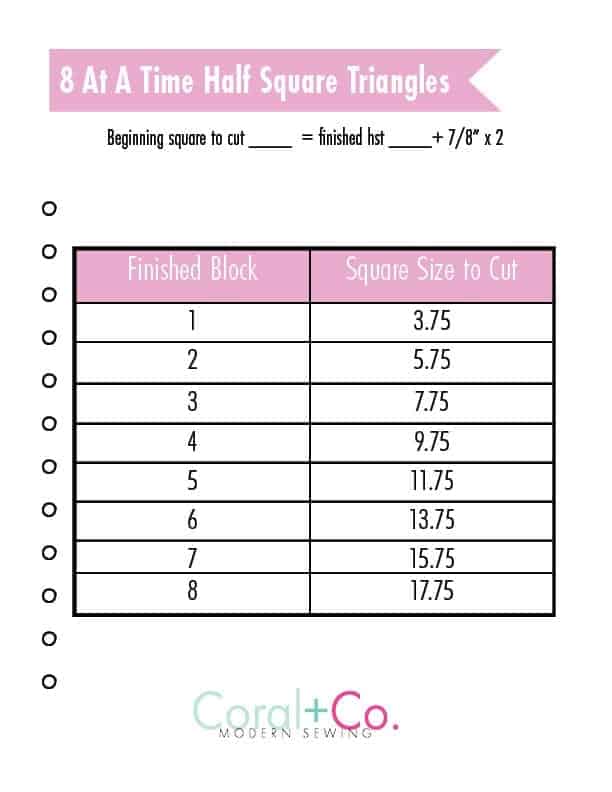
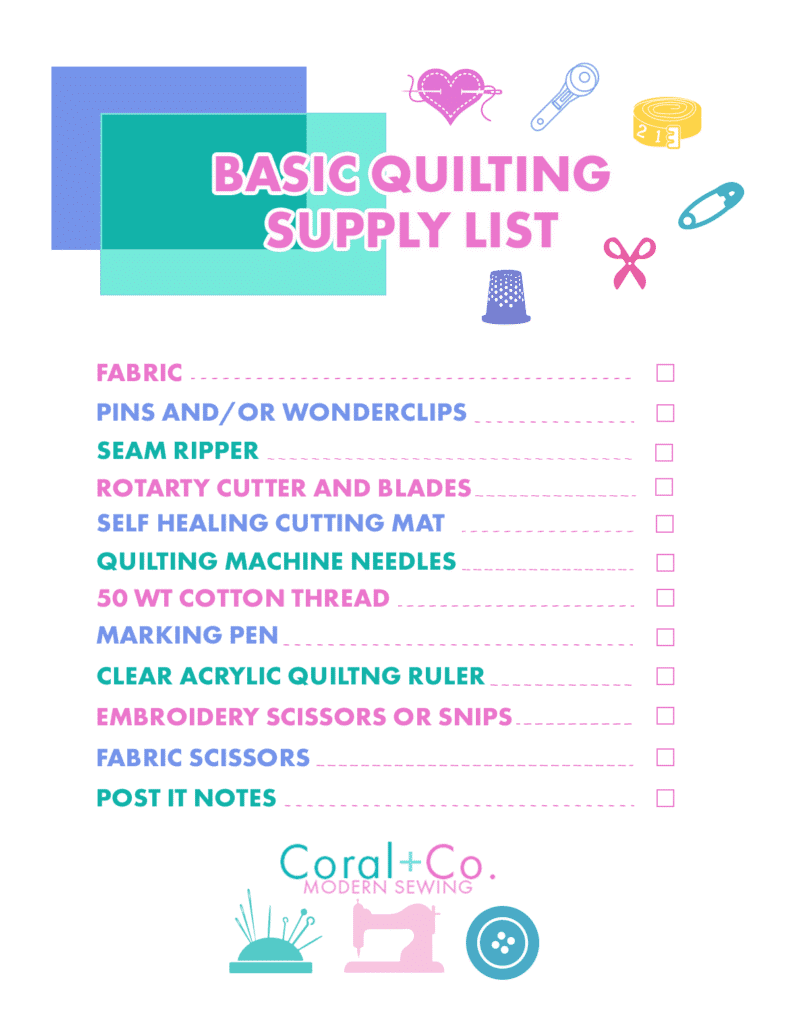
I’ve also made a FREE PDF Beginner Quilting Supply Shopping List for you to take with you to the fabric store. The picture below is just an image. You will to scroll to the bottom and sign up for the Resource Library to get your FREE PDF Shopping List.
Quick FAQ’s
The most basic supplies to get started quilting are fabric, pins, seam ripper, needles, thread, scissors, rotary blade and cutting mat, ruler, and an iron and board.
If you were to buy everything on the list off of Amazon it would cost about $200 for all the quilting supplies. You can find my favorite quilting supplies on Amazon here. However there are some great ways to save money when getting started. Scroll to the end of the post for more money saving tips.
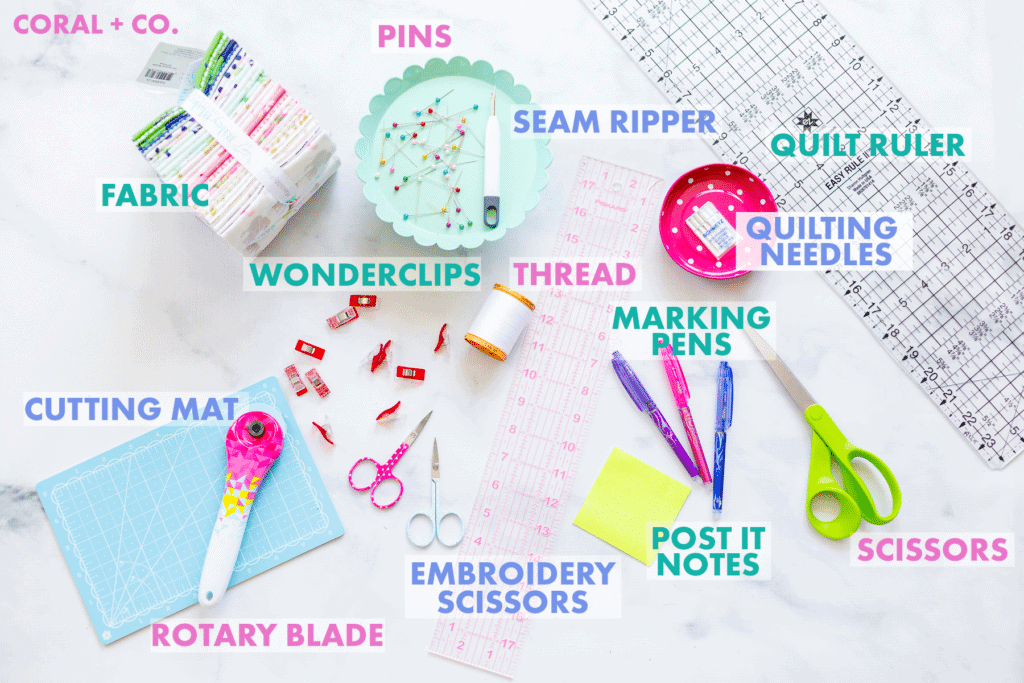
Here is the quick list, scroll down for more details on each item.
- Fabric – Charm Packs or Fat Quarters
- Pins
- Wonder Clips
- Seam Ripper
- Quilting Sewing Machine Needles
- Marking Pen or Tool
- 50 Weight Cotton Thread
- Post-it Notes
- Small snips or Embroidery Scissors
- Fabric Scissors
- Rotary Blade Cutter
- Self Healing Cutting Mat
- Acrylic Quilt Ruler: 6.5″ x 24.5″
- Iron
- Ironing Board or Wool Pressing Mat
- Starch
Learn about Quilting Supplies for Beginners
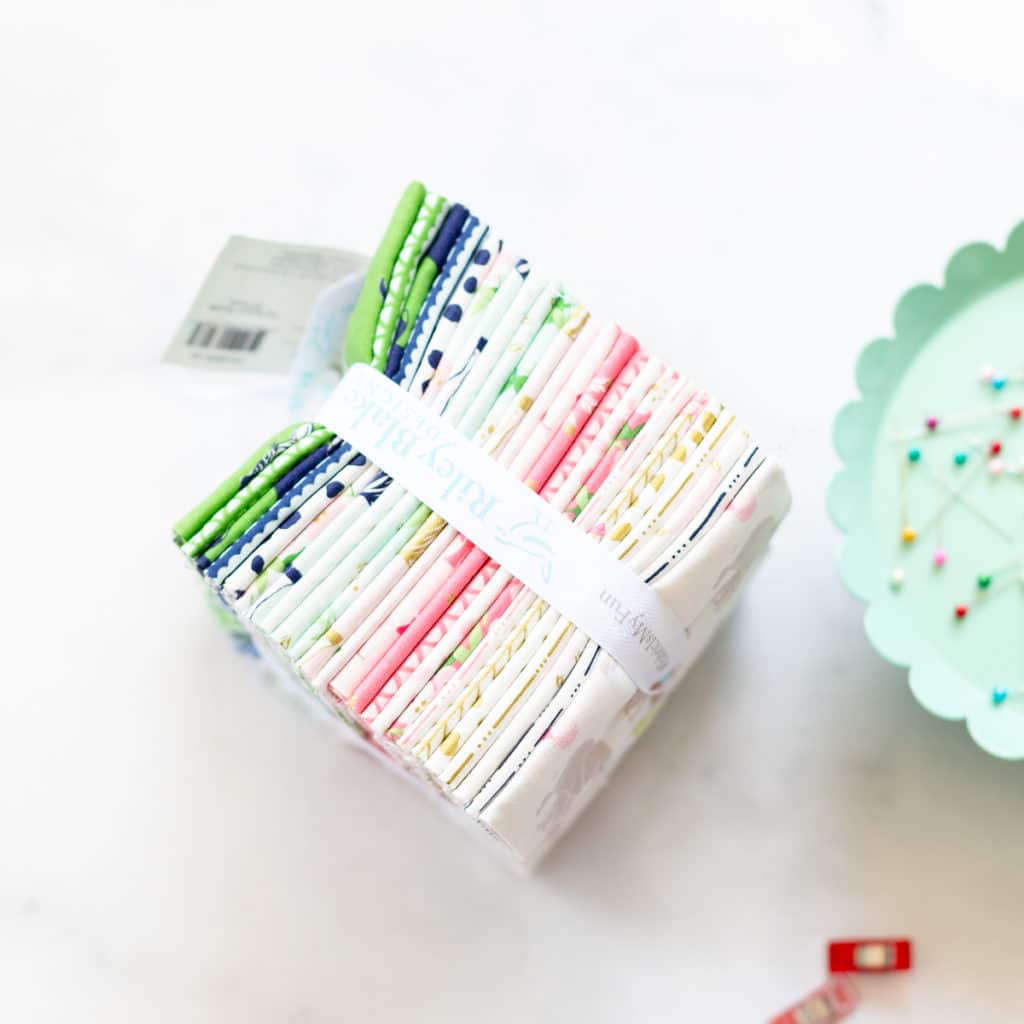
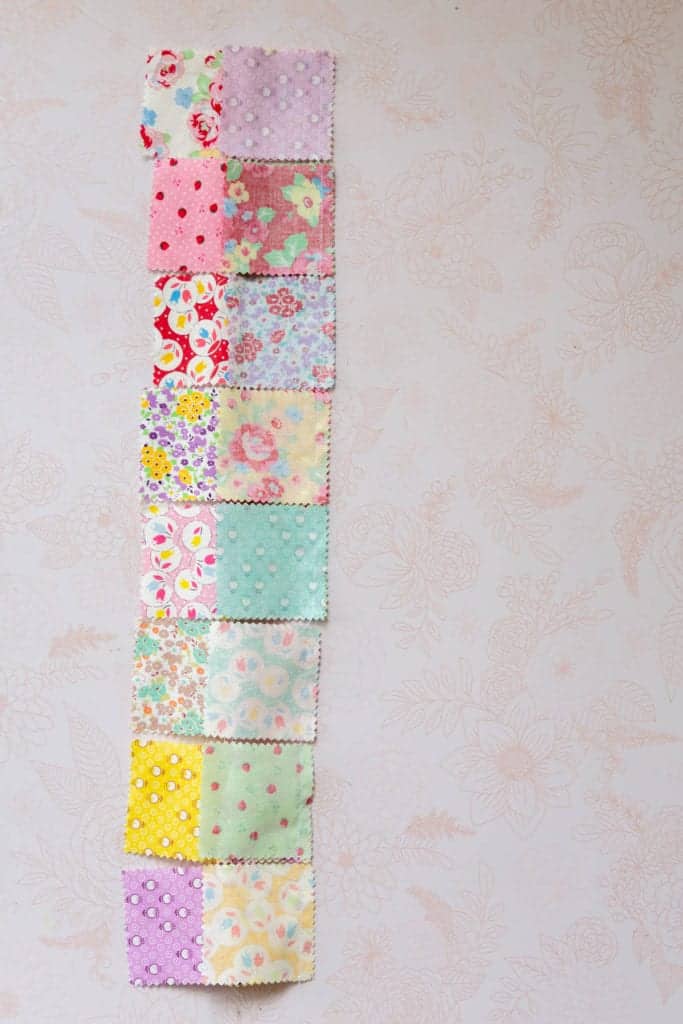
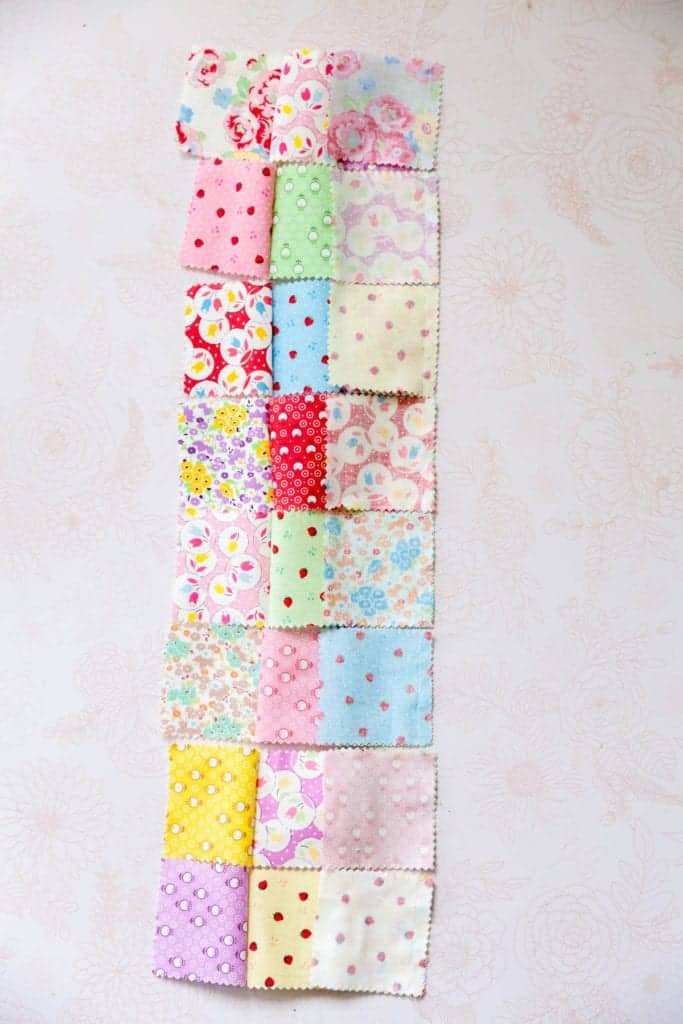
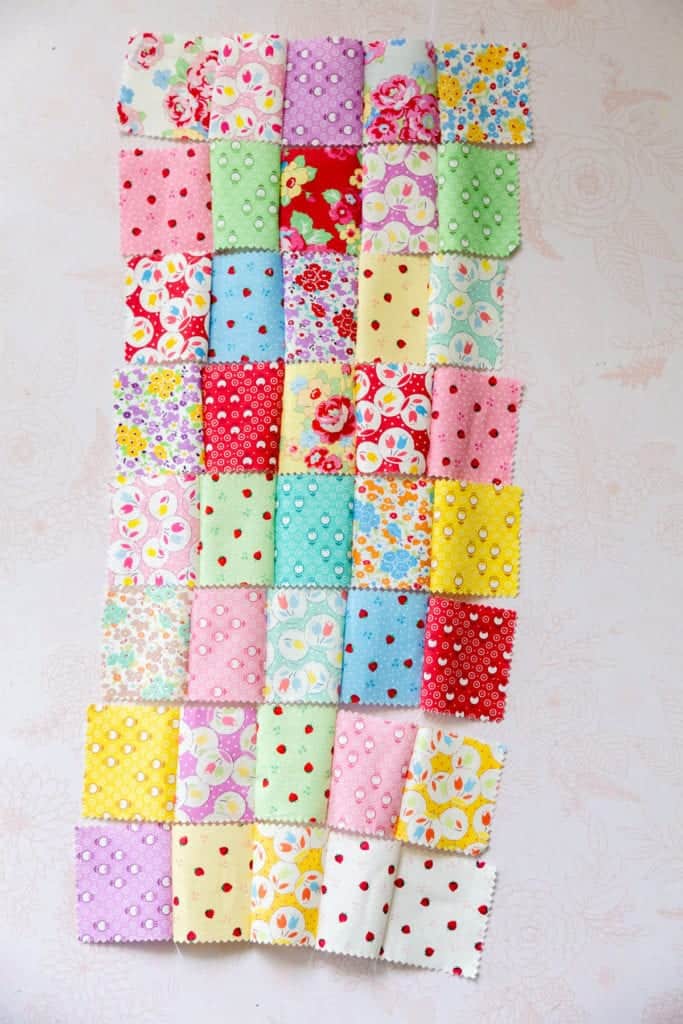
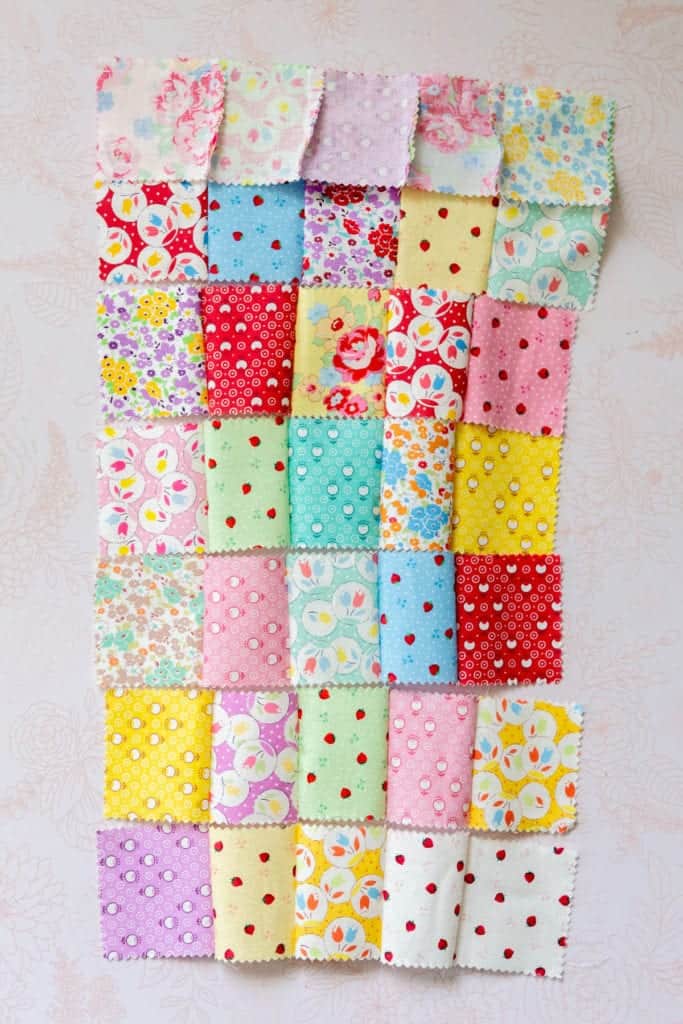
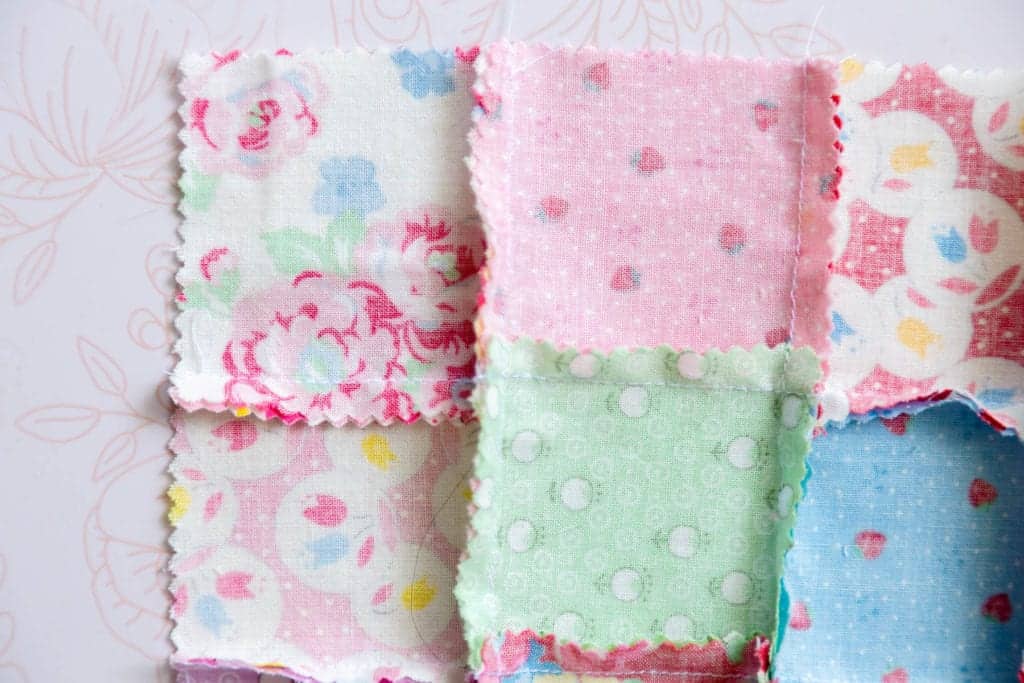
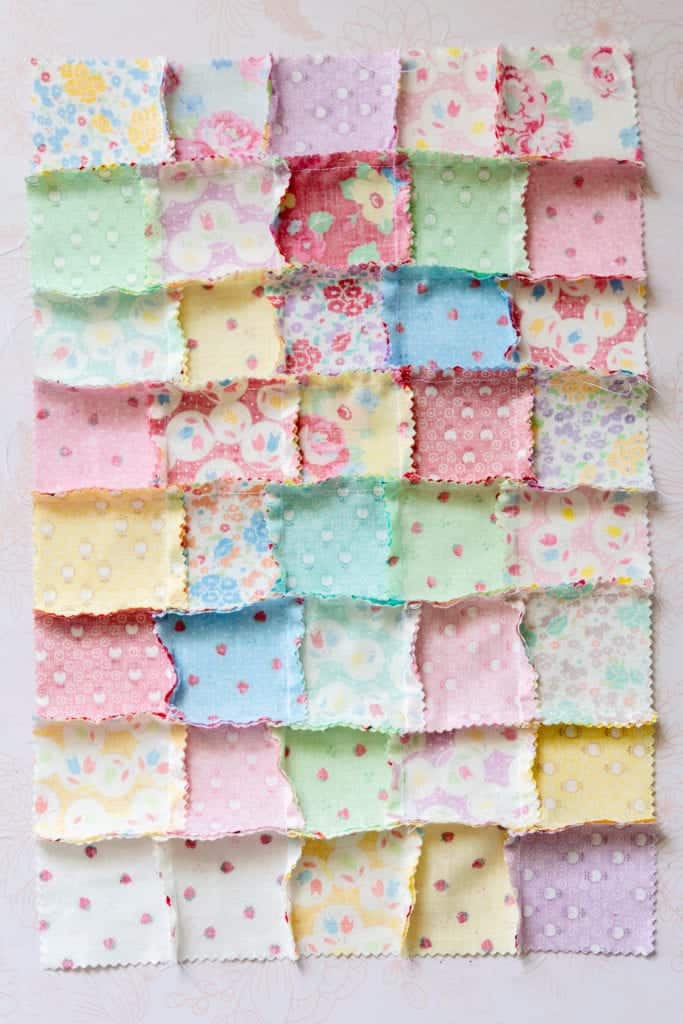
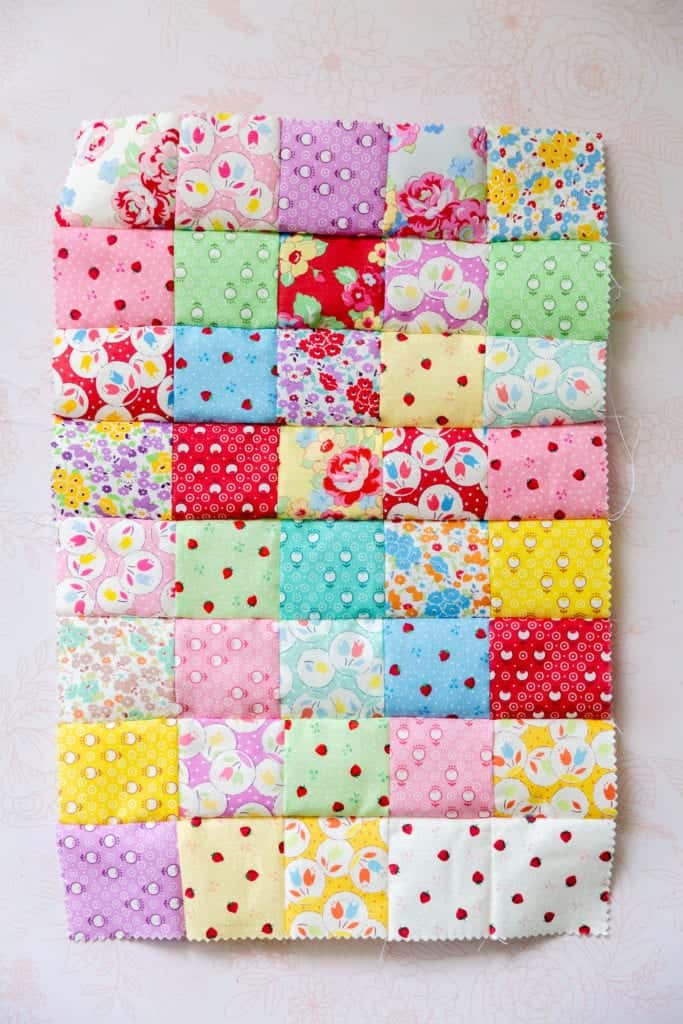
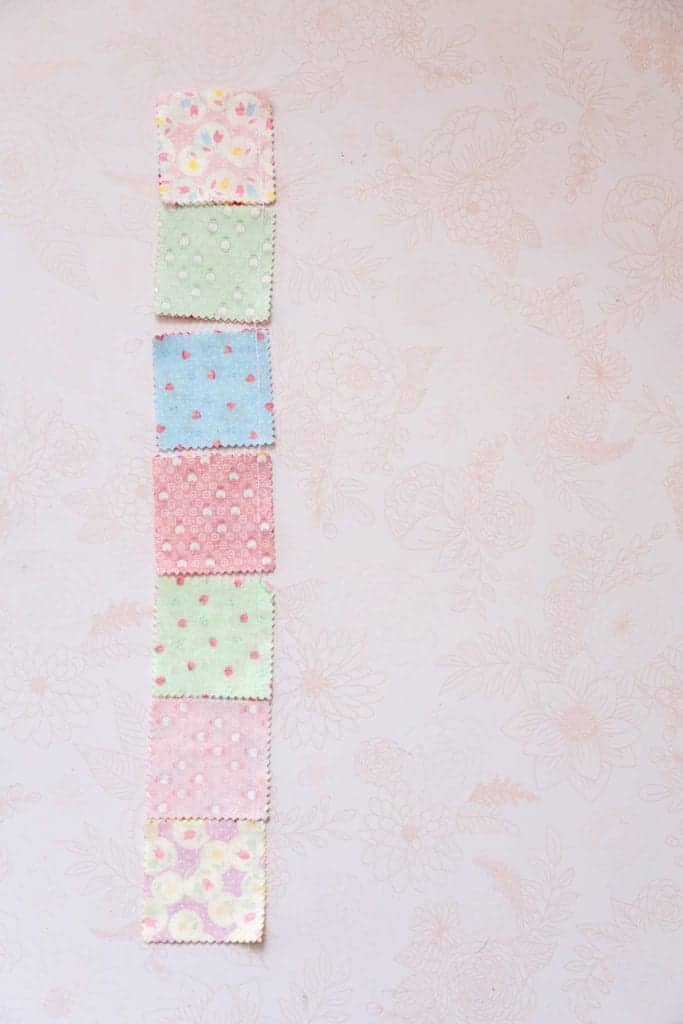
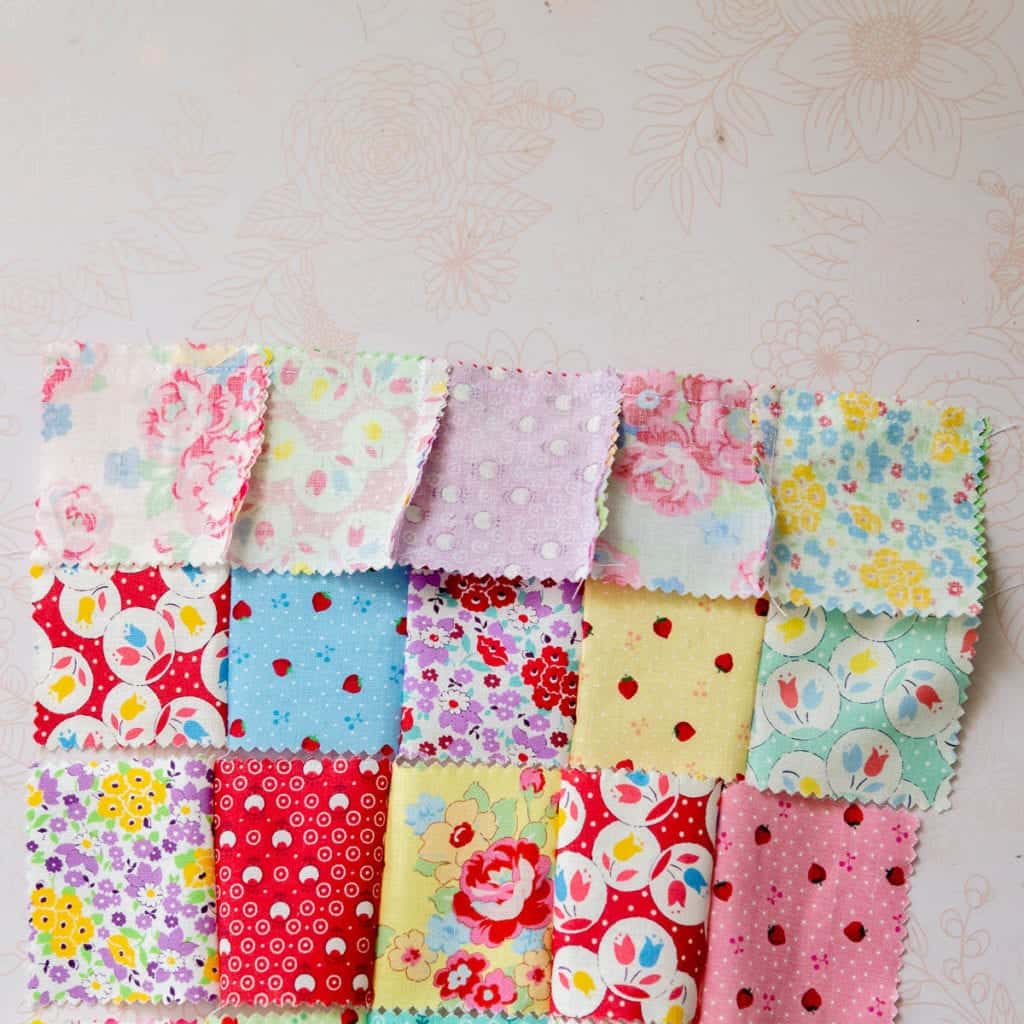
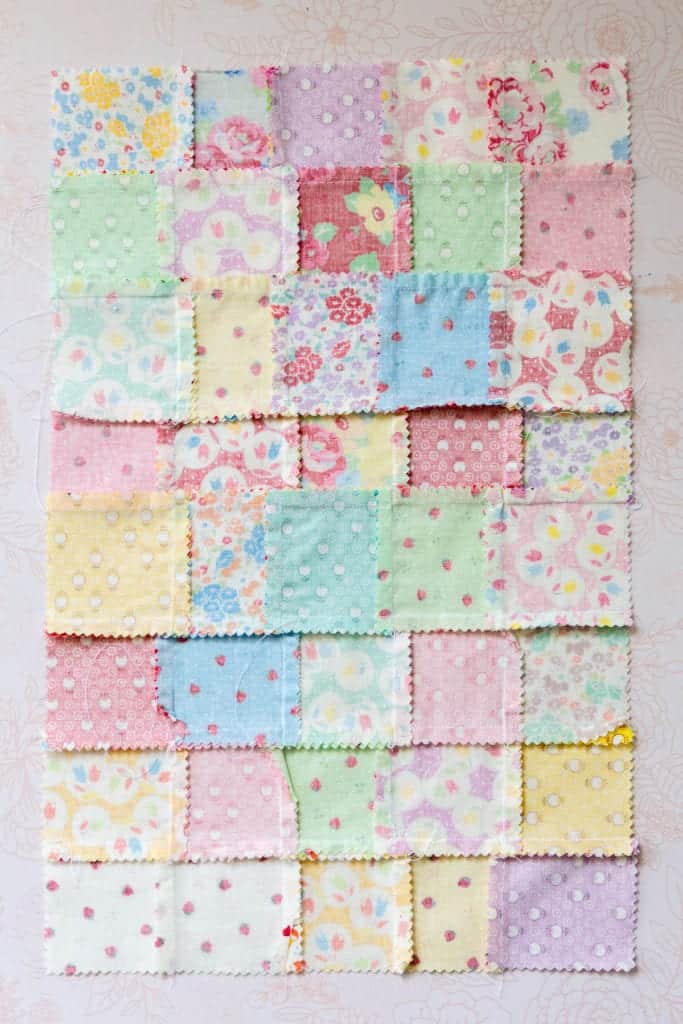
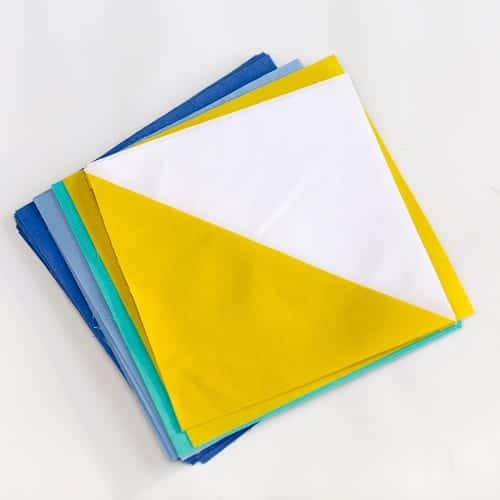
Fabric – Charm Squares which are also known as precut fabric are an excellent way to start. The 5″ squares are already cut for you and come in a color-coordinating palette. To make a baby size quilt you will generally need two charm square packs for the quilt top. Whatever fabric you choose make sure to have a high quality 100% cotton quilting or medium weight fabric.
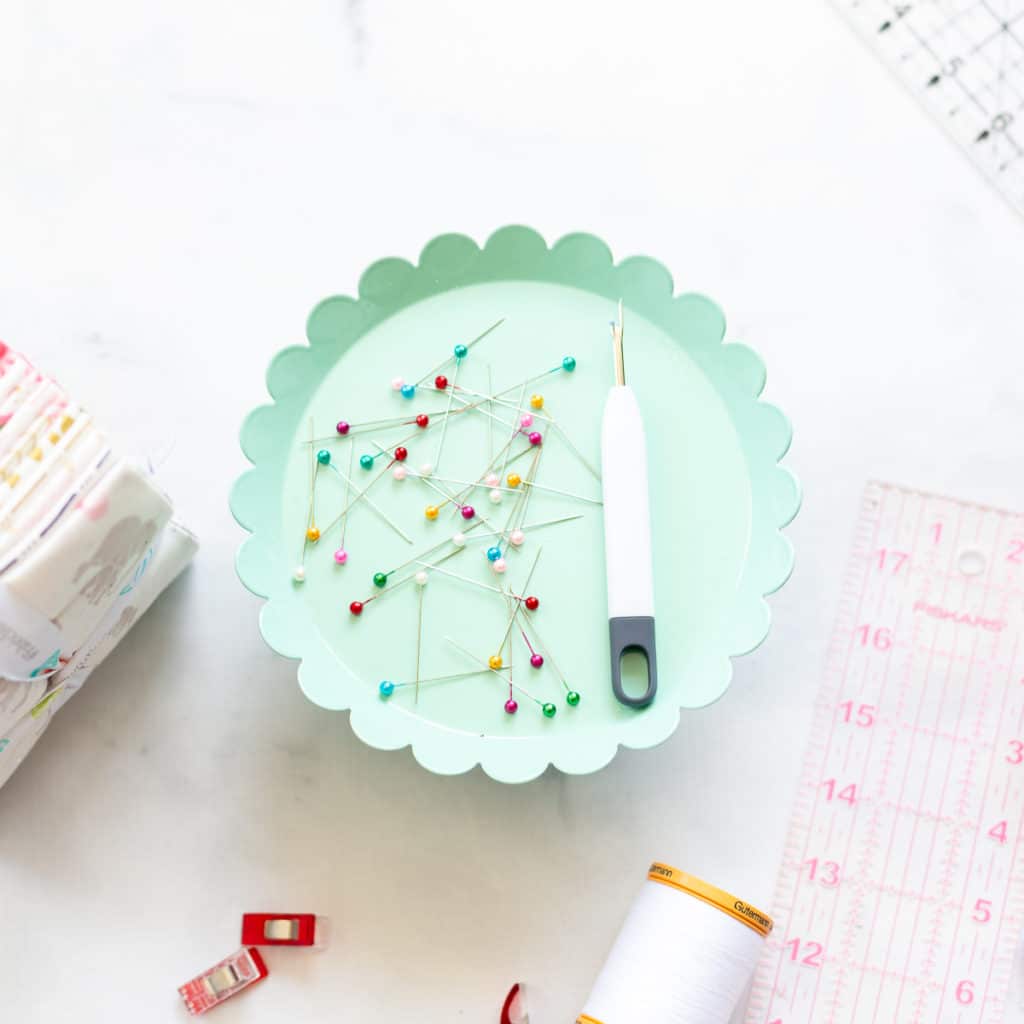
Pins – Pins are essential for holding the fabric neatly together while you sew or piece it. They come in different lengths with different types of heads. I prefer the longer sharp glass head pins. Glass head pins will not melt under the iron and they are easier to find if you drop them on the floor. I also find the sharp pins are easier to push through the layers of fabric.
Seam Ripper – This is a must have tool. I reach for mine constantly and have at least four at all times. Every sewist will make a mistake and have to rip out a seam. You will even get fast at it with time. There are several different types but my favorite is the Clover Ergonomic Seam Ripper.
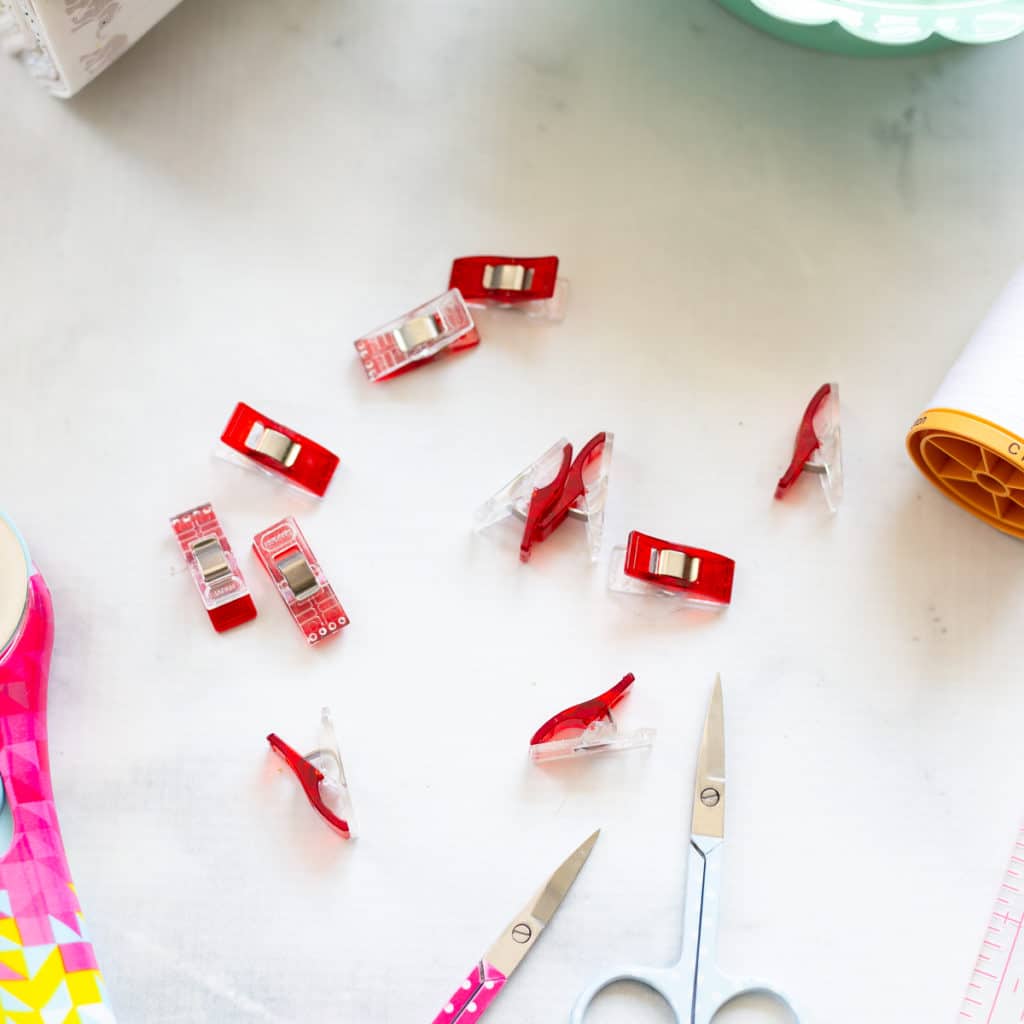
WonderClips – These are optional and can be substituted for pins, but can save you a lot of time and headache when you go to bind the quilt. Wonderclips slip on and off easily and hold the binding nice and flat.
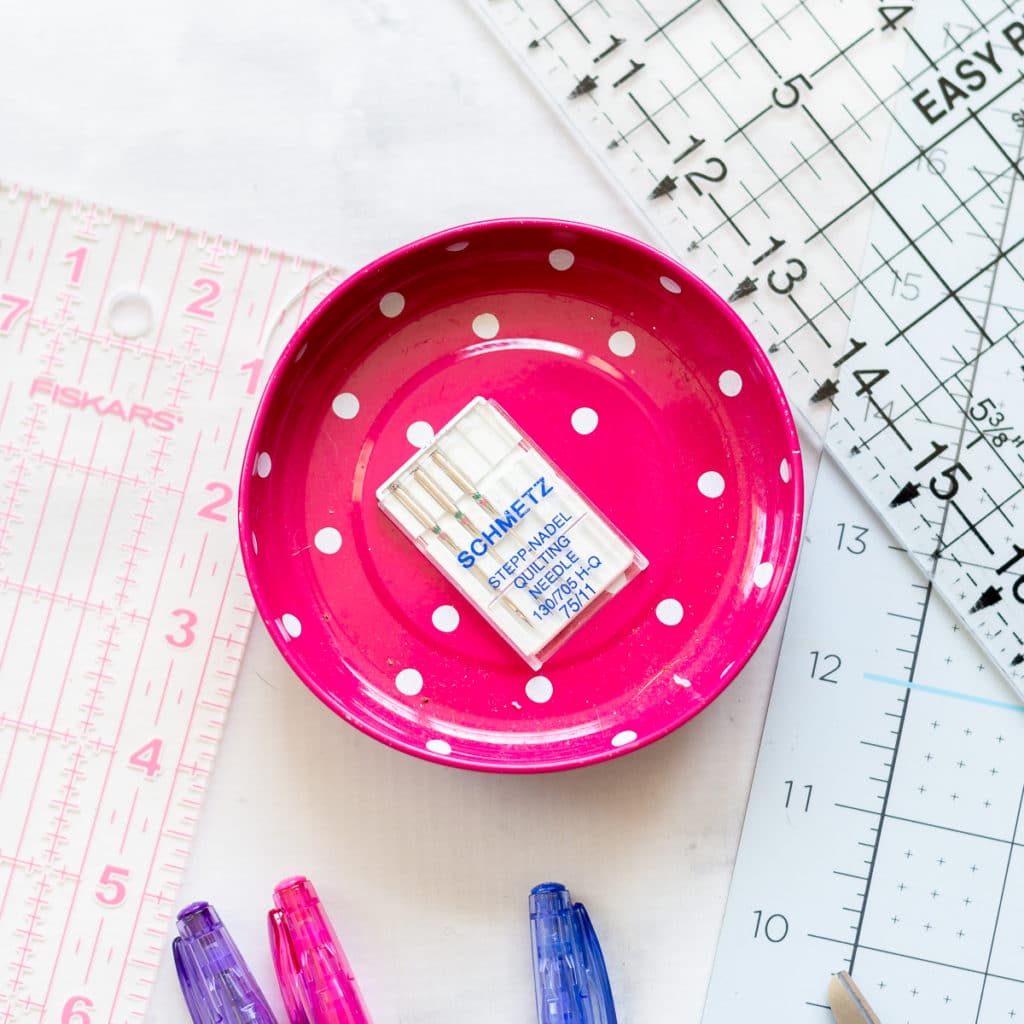
Quilting Machine Needles – This type of needle is specifically designed to pierce through several different layers of fabric without damaging them. Quilting Needles are used for both piecing and machine quilting. Check out How to Choose the Right Type of Needle for Machine Quilting for more details on what different types of needles are used for.
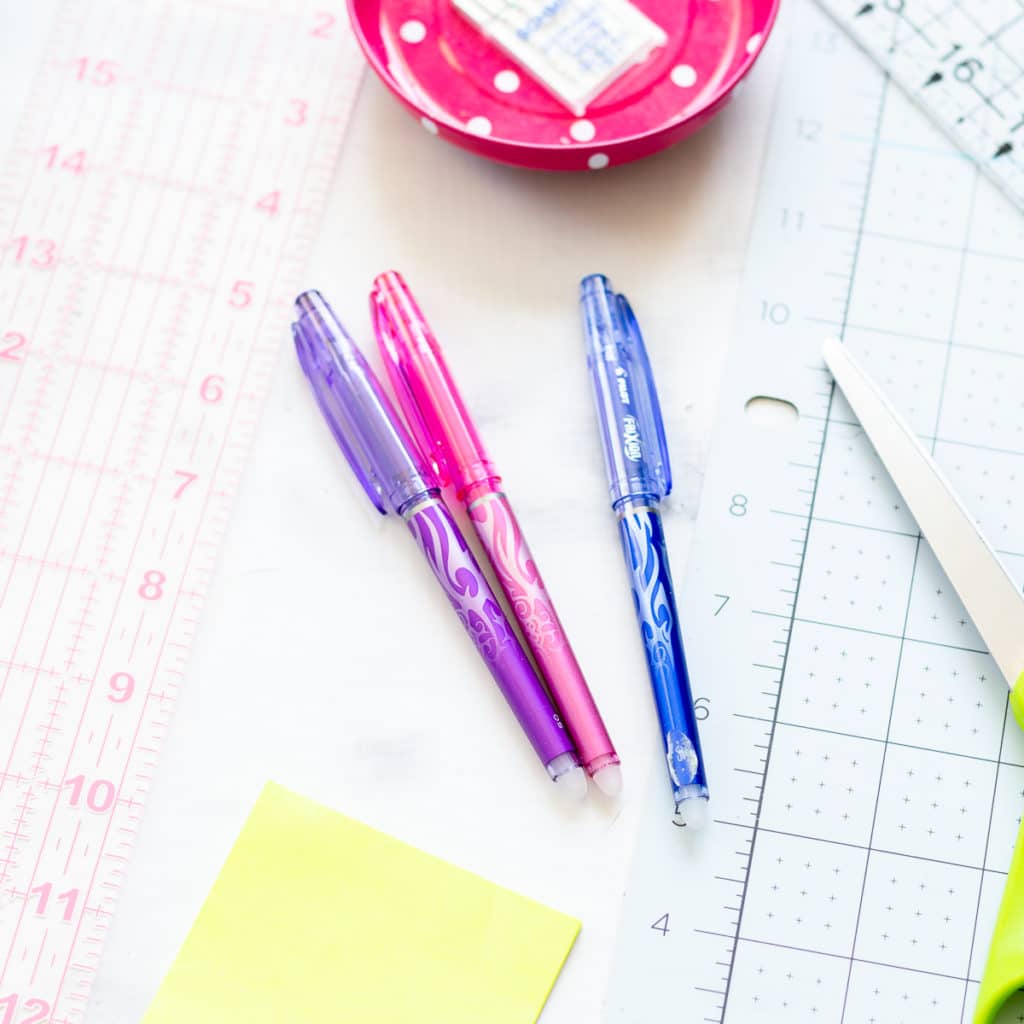
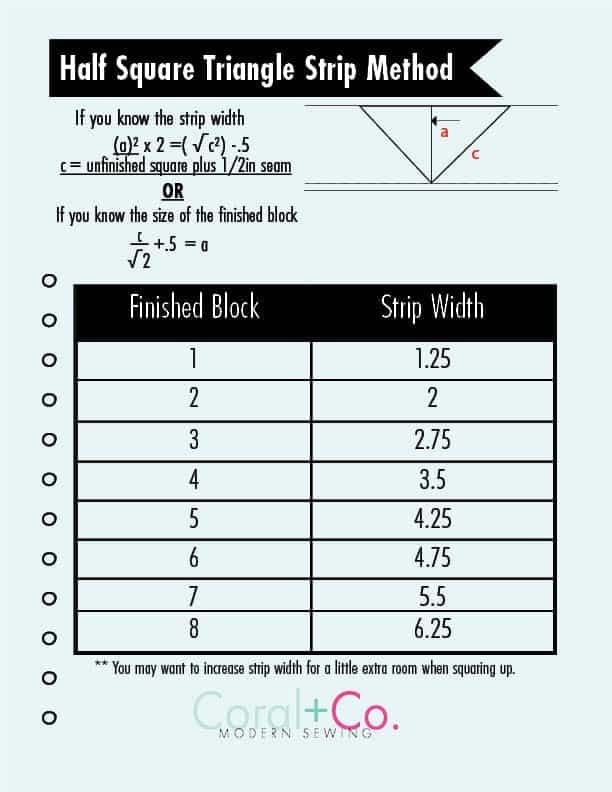
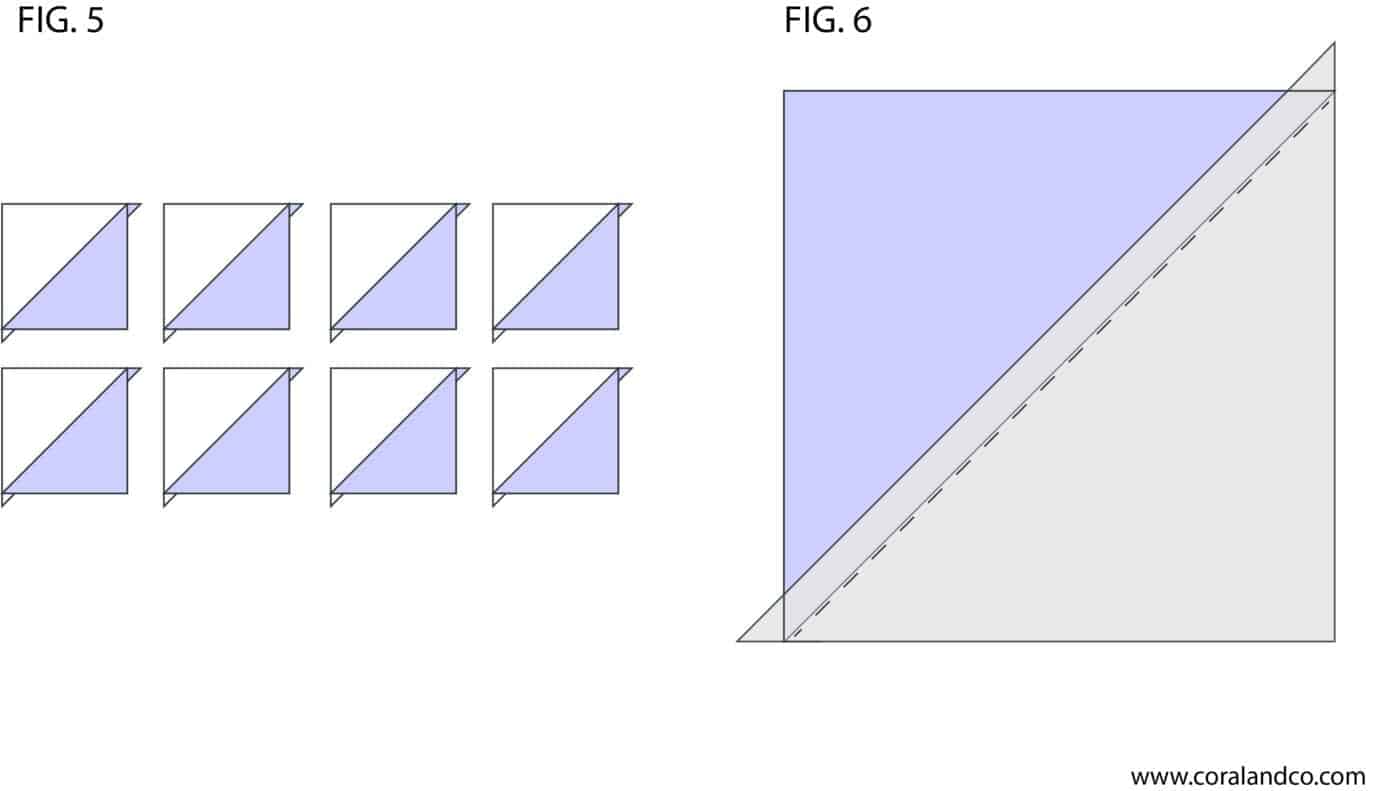
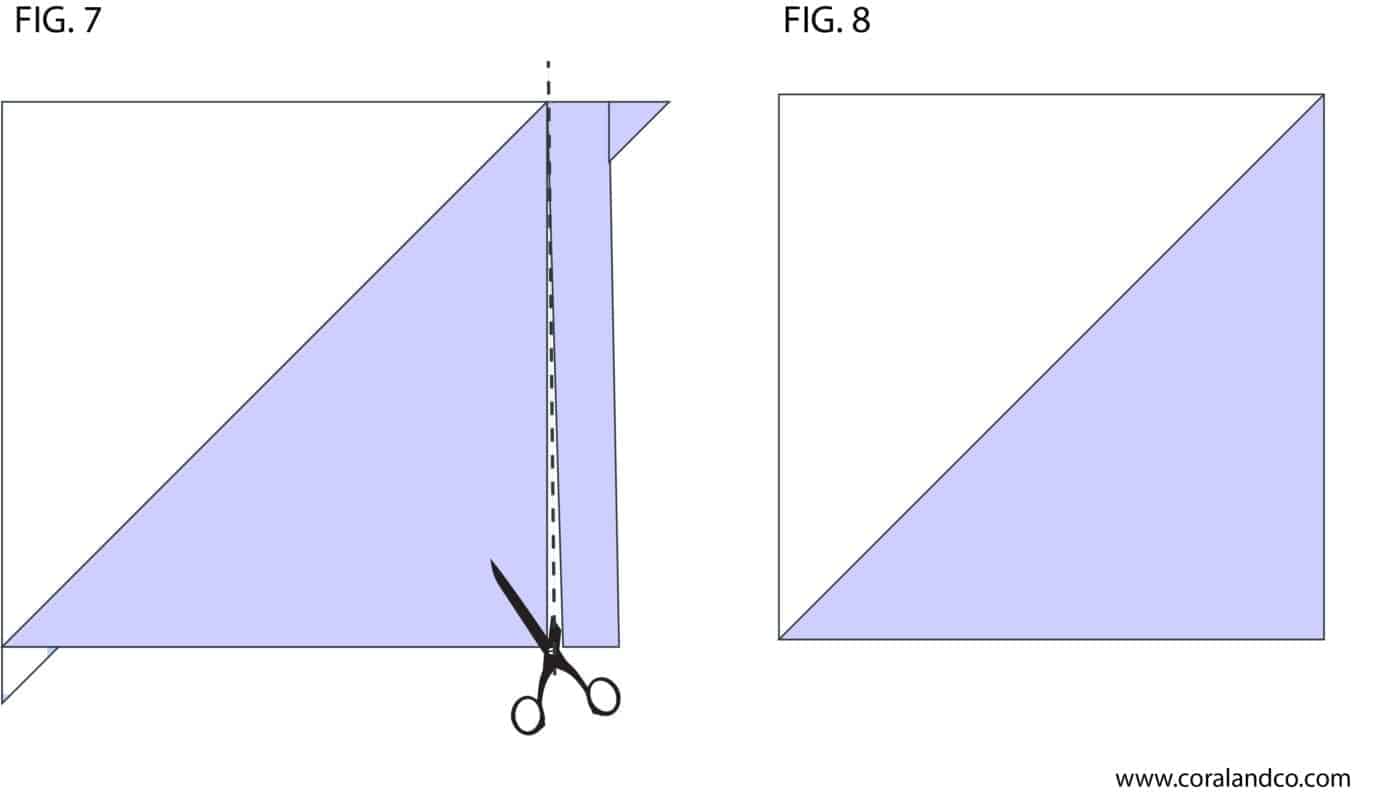
Marking Tool – I prefer using Frixon Erasable Pens because they disappear from the fabric with a little heat. They are great for marking diagonal lines when making Half Square Triangles and my favorite way to draw diamonds or squares when machine quilting the finished quilt top.
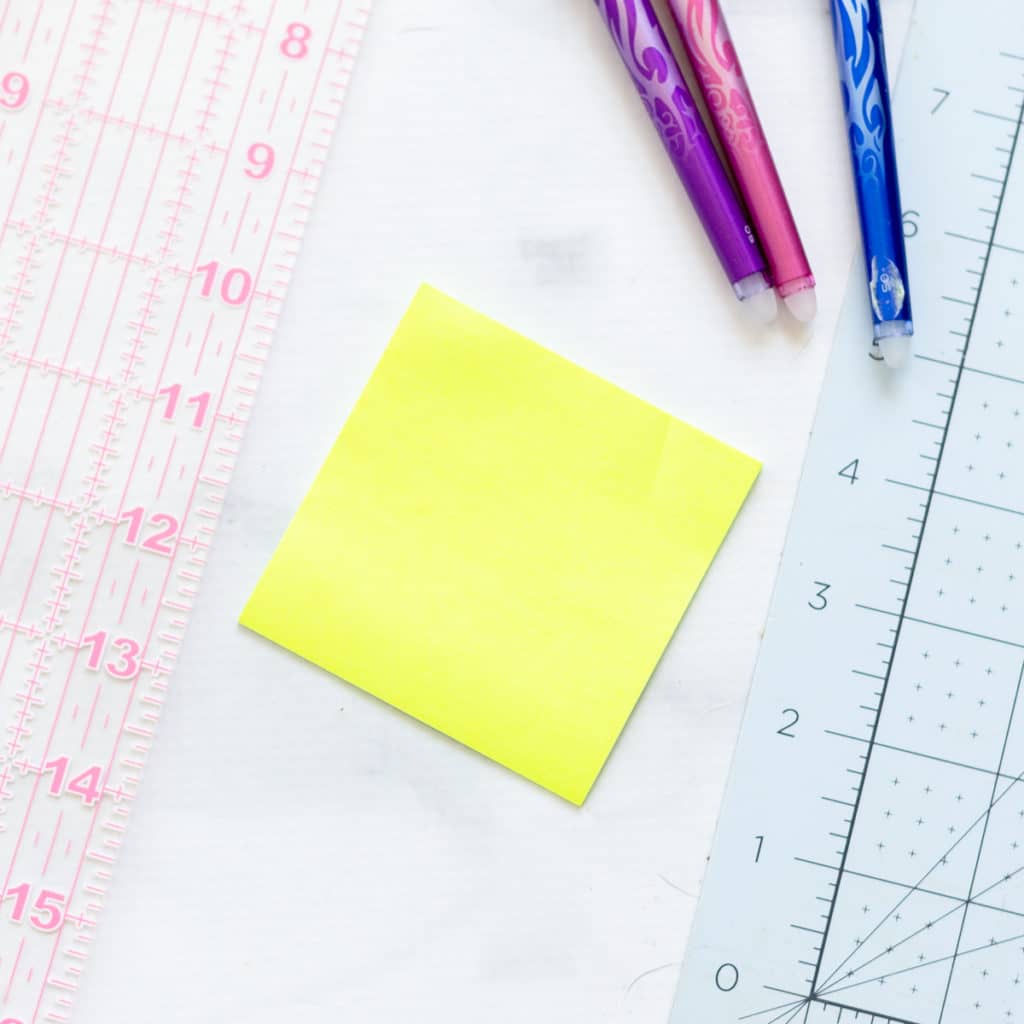
Post It Notes – I like to use Post It Notes to mark my different fabric pieces when making a quilt top. I rip them in half or use mini ones to write the block letter of the cut piece on it to keep organized and from getting my pieces mixed up.
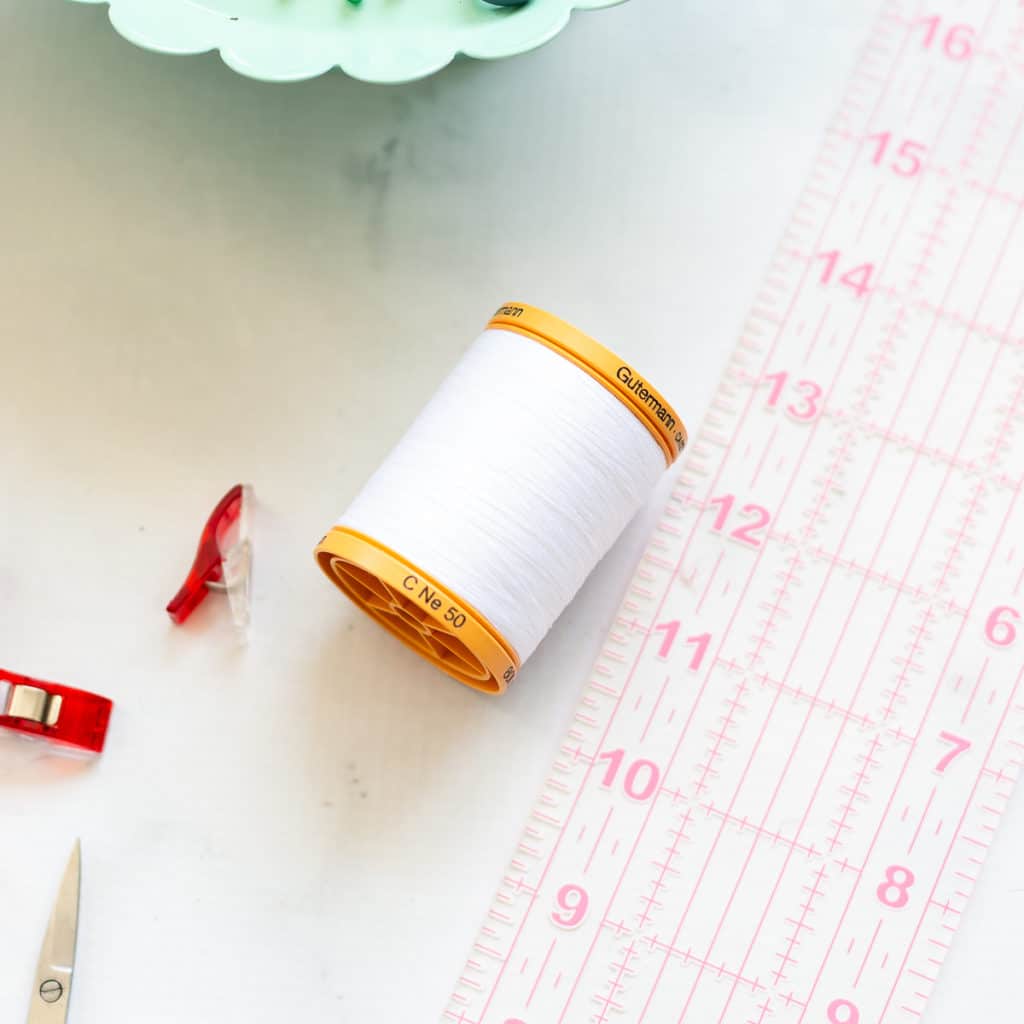
Thread – I recommend high quality 50 wt cotton thread such as Aurifil in a neutral color. It is a little pricier but is a great quality. If you are just getting started and want to see if you like it first a more economic but good quality thread I recommend is Gutterman 50wt cotton thread.
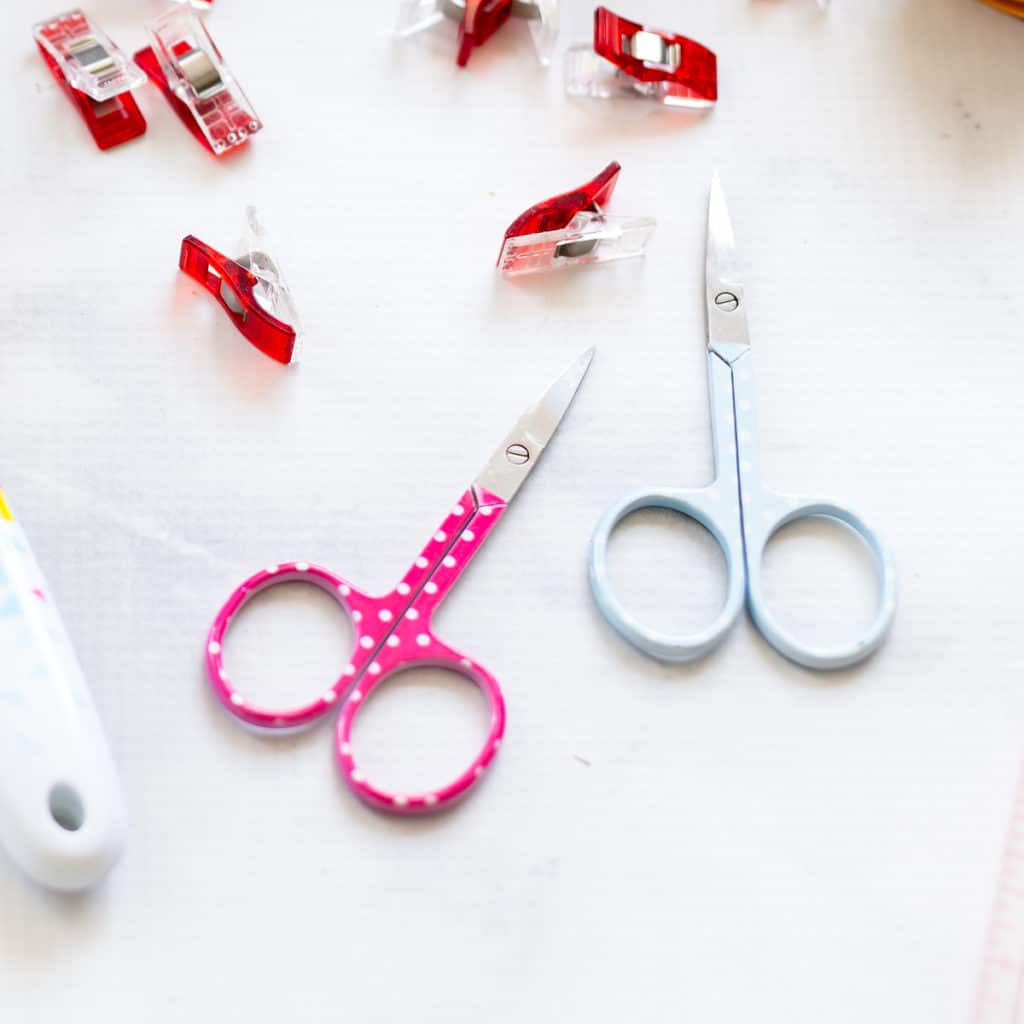
Embroidery Scissors – When quilting you will often use scissors to snip threads or pick small seams. Small scissors or snips are easier to use when quilting then larger scissors. My favorite are these Riley Blake Designs Embroidery Scissors because they are so cute!
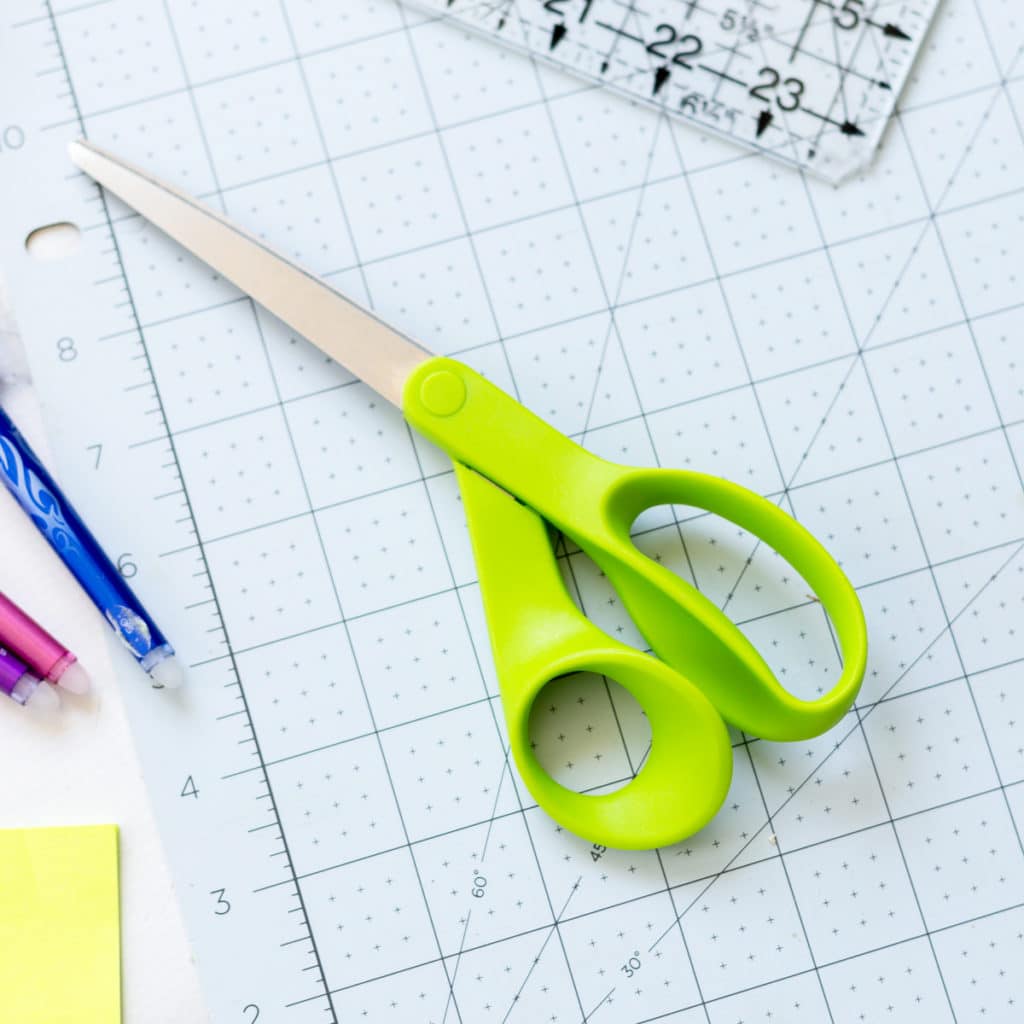
Fabric Shears – It is always handy to have a good pair of fabric scissors for cutting small bits of fabric and other uses.

Rotary Blade Cutter – This is probably one of the most important and useful tools when quilting. This funny tool looks like a pizza cutter and is the key to cutting fabric accurately. It also makes cutting fabric a lot faster. The most useful size to start with is a medium size 45mm cutter. Read this post to find out more about How to Use a Rotary Blade and Cutting Mat.
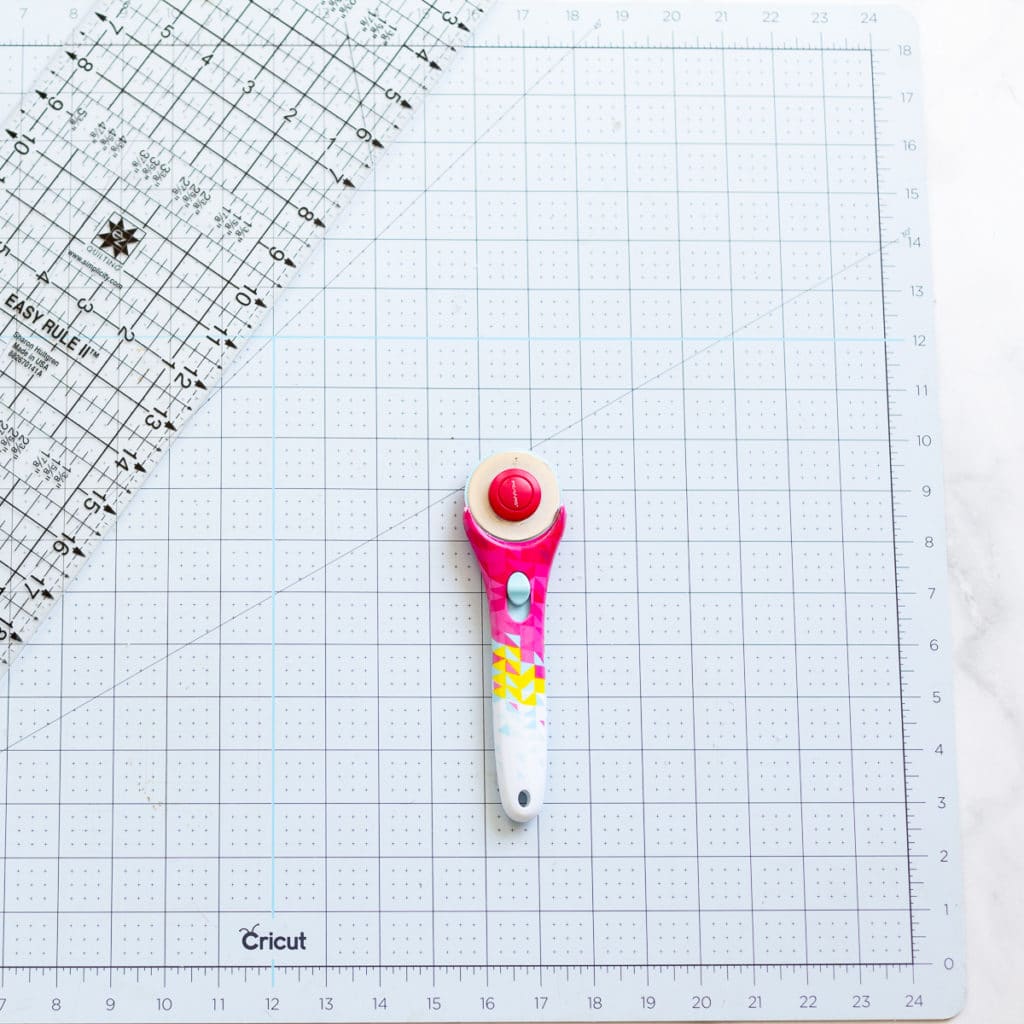
Self Healing Cutting Mat – This mat is an important part of your quilting supplies because it will protect your surface from cuts. The mat is self healing so the cuts from the blade don’t show and the blade is kept sharp. If you can afford it and you have the space I reccomend a 24″ x 36″ mat since it will make cutting most fabric lengths easier. If you have a small space an 18″ x 24″ mat is a good size to start with.

Acrylic Quilting Ruler – These rulers are clear, non-slip and accurate markings on them to help accurately cut your fabric. My go to ruler size is Creative Grids 6.5″ x 24.5″ ruler, it can easily cut Fat Quarters and Half Yards and has versatile grids and markings. My second favorite size ruler is my 3″ x 18″ruler and can be a little easier to use when cutting smaller size fabric pieces.
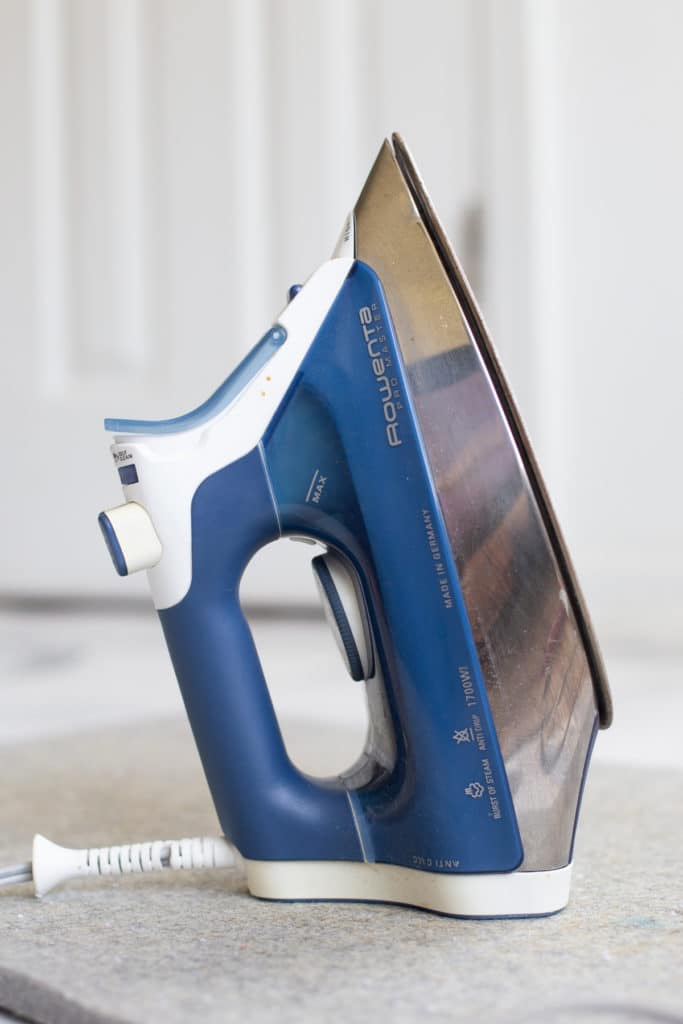
Iron – Any iron is sufficient to get started. The most important quilting features in an iron are a good steam feature and the ability to get really hot. A spray bottle with water can also be substituted for the steamer on the iron. Just spray the fabric with water and then press.
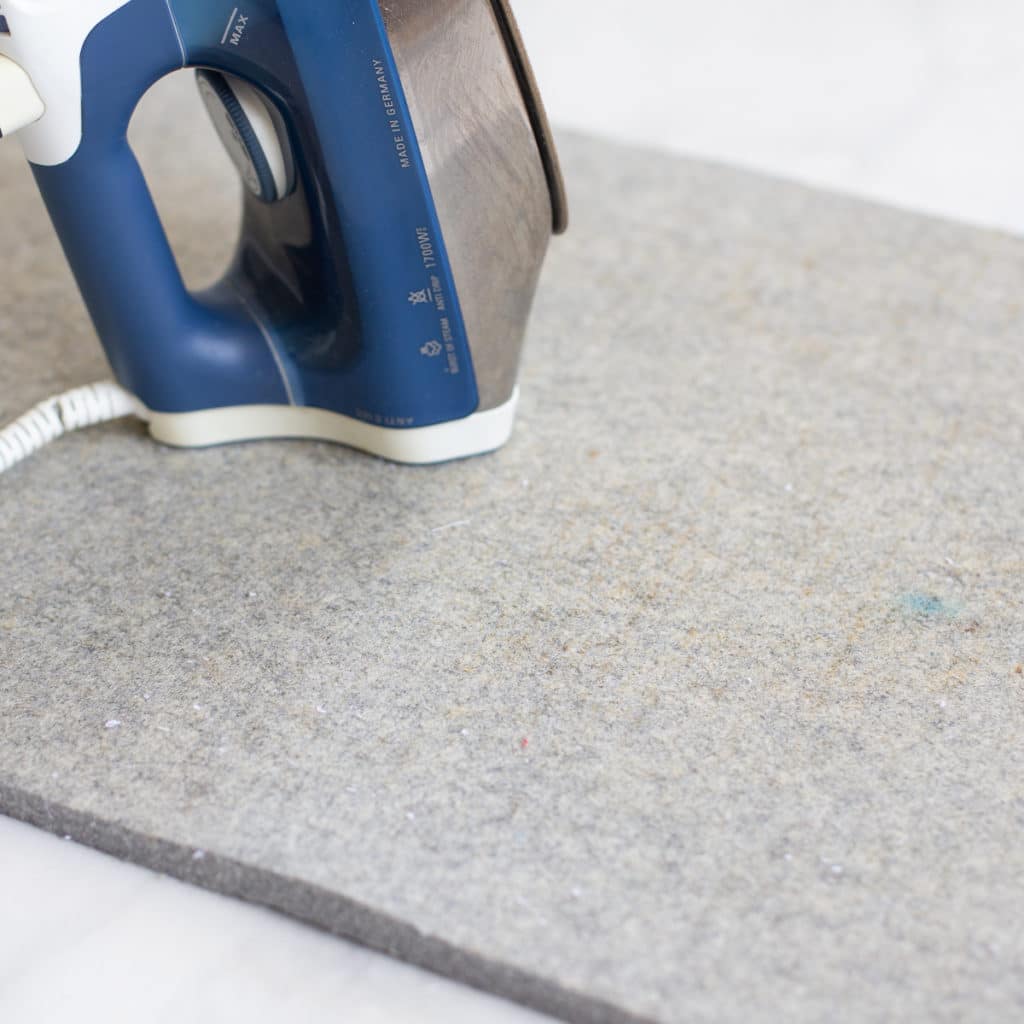
Ironing Board or Wool Pressing Mat – You will need either an ironing board or a portable wool pressing mat. I prefer to use a wool pressing mat since I can move it around but also for its ability to help make crisp seams when pressing on it.
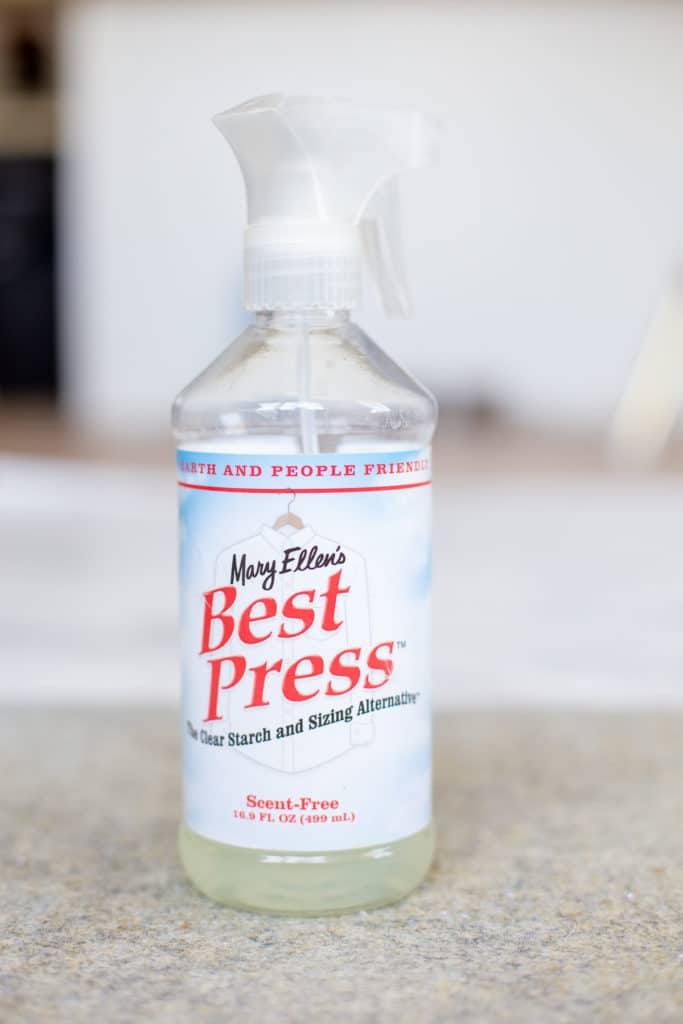
Starch – Quilters swear by Mary Ellen’s Best Press. It has a nice light feel to it. But don’t be afraid to use your grocery store starch as well. Either one will give you nice and crisp fabric to sew with.
How to Save Money on Quilting Supplies
Sewing Coupons – Joanne, Michaels, and Hobby Lobby are famous for their 40% – 60% off coupons. When I need to buy and expensive new item like a cutting mat, I always make sure to grab a coupon before I head to the store. Additionally there are usually a 5% – 20% off coupon off the entire purchase.
To get the best coupons, I suggest downloading the app, signing up for emails or texts, adding your name the coupon mailing list. That way you can collect up to Three 40% – 60% off coupons saving you a ton of money on big item purchases.
Additionally be on the lookout for the big sale days. These usually happen around the holidays where they have big doorbuster deals, but there are also sales during the year where you can save 50% on all sewing notions. Small sewing notions like thread and needles can really add up so this is a great time to stock up and really save a lot of money.
Sewing and Quilting Supplies can definitely be an investment, but they are sure to last you for years. I have had the same ruler for over 10 years. Additionally, I reuse my rotary cutter and dull blades to cut paper and card stock.
Thrift stores can be another great place to find fabric or batting, as well as ribbon and trims.
More Beginner Quilting Posts for You:
- How to Chain Piece Quilt Blocks
- How to Use a Rotary Cutter and Mat
- How to Choose the Right Sewing Needle for Quilting
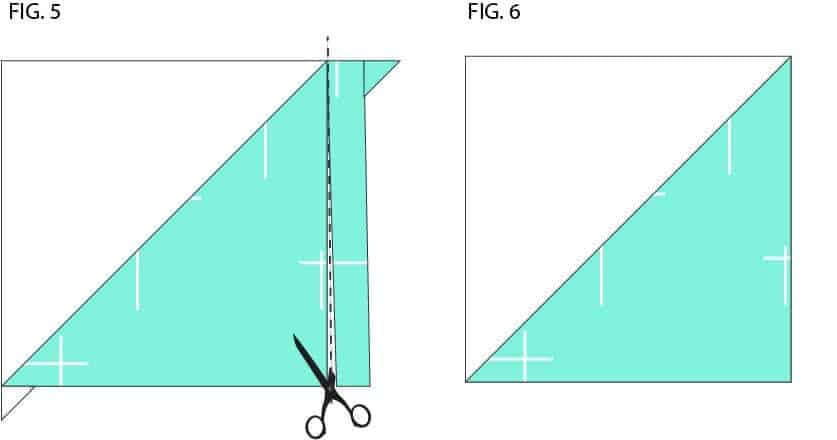
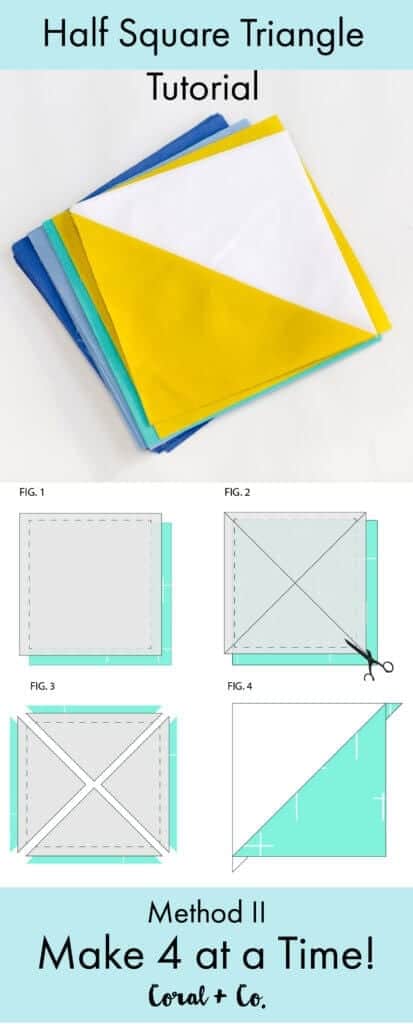
- How to Use Half Square Triangle Paper
- Sewing Room Ideas for Small Spaces
Free Quilt Patterns
- Swiss Cross Quilt Pattern
- Simple Squares Quilt Pattern
- Ribbons and Bows Quilt Pattern
- Four Square Quilt Pattern
- Safari Party Squared Quilt Pattern
- Heart Block Mini Quilt
Don’t have time to sew now? Save this Image to Pinterest to make later.