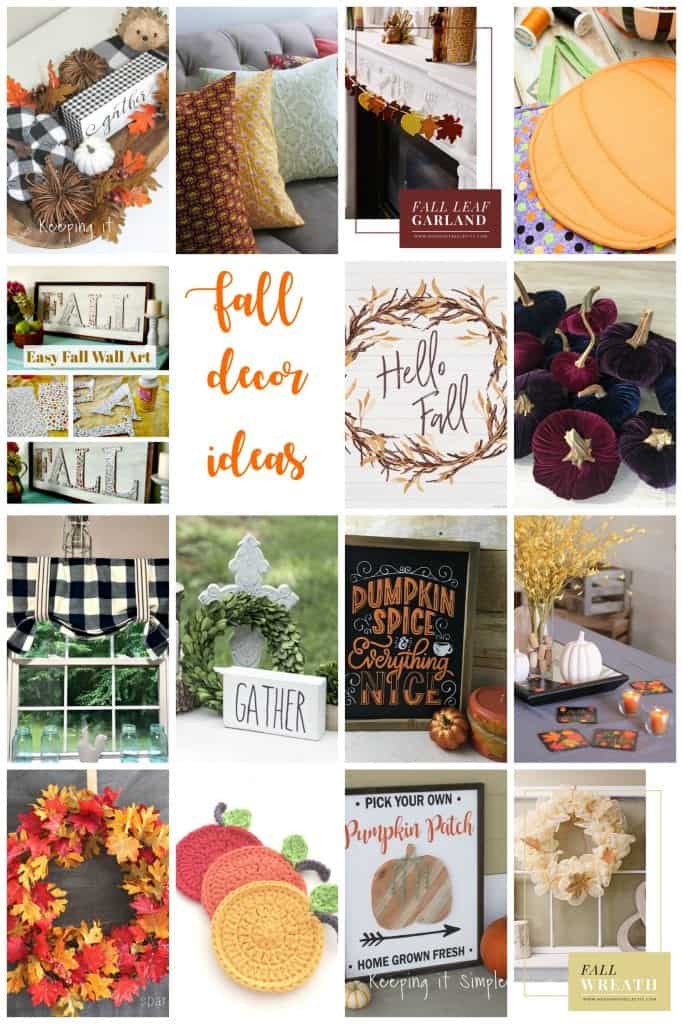
I know that a lot of people don’t even want to think about fall right now, but it’s coming and it will be here before we know it! I like to have my seasonal decor up for awhile, so it is nice to start early so that you can make some fun decorations for fall. Here are some great ideas to get you started!

…
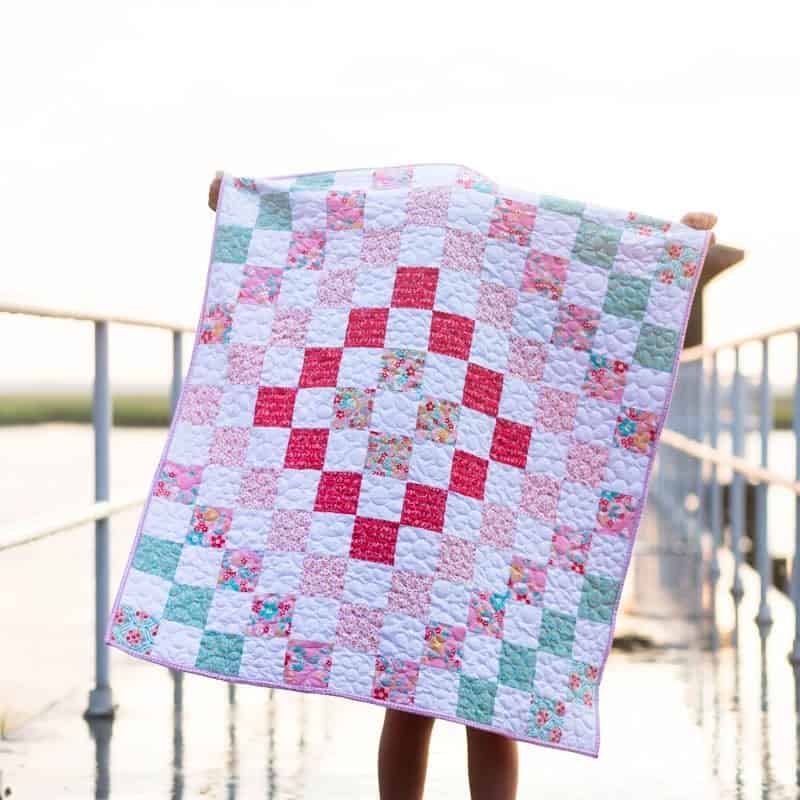
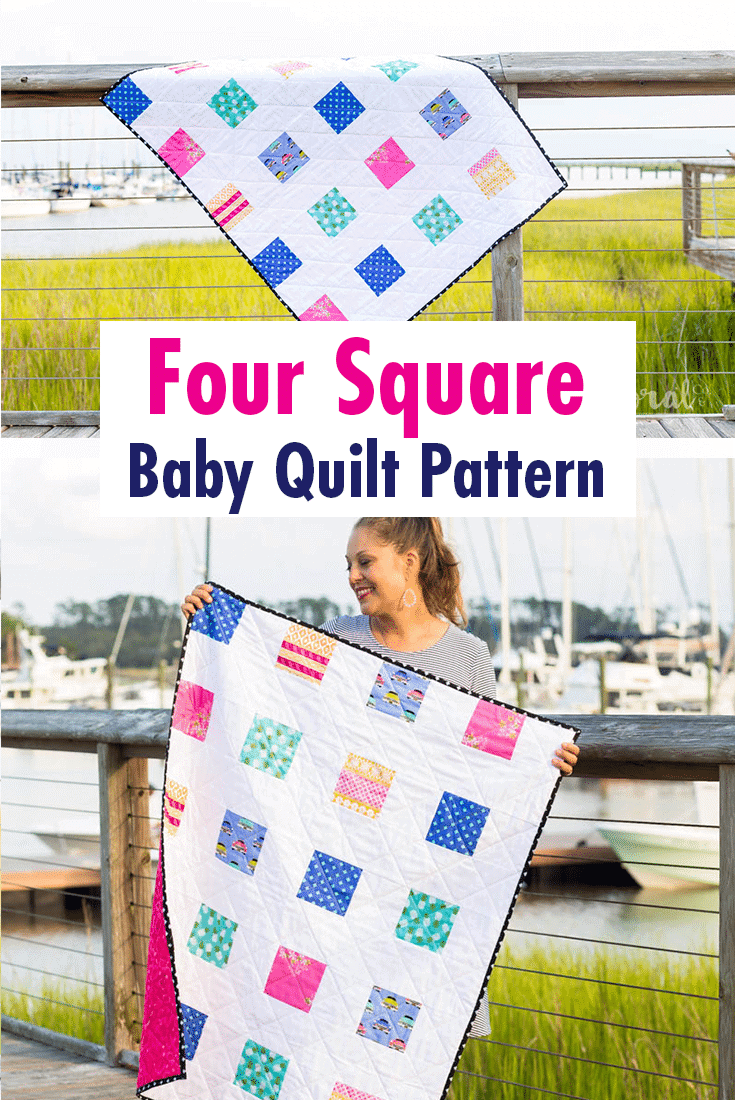
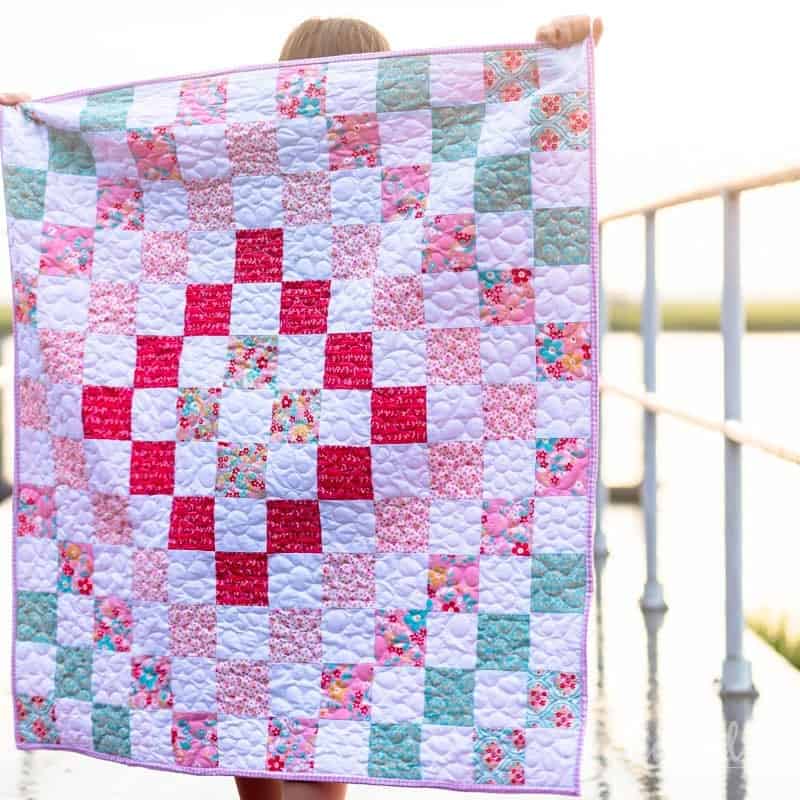
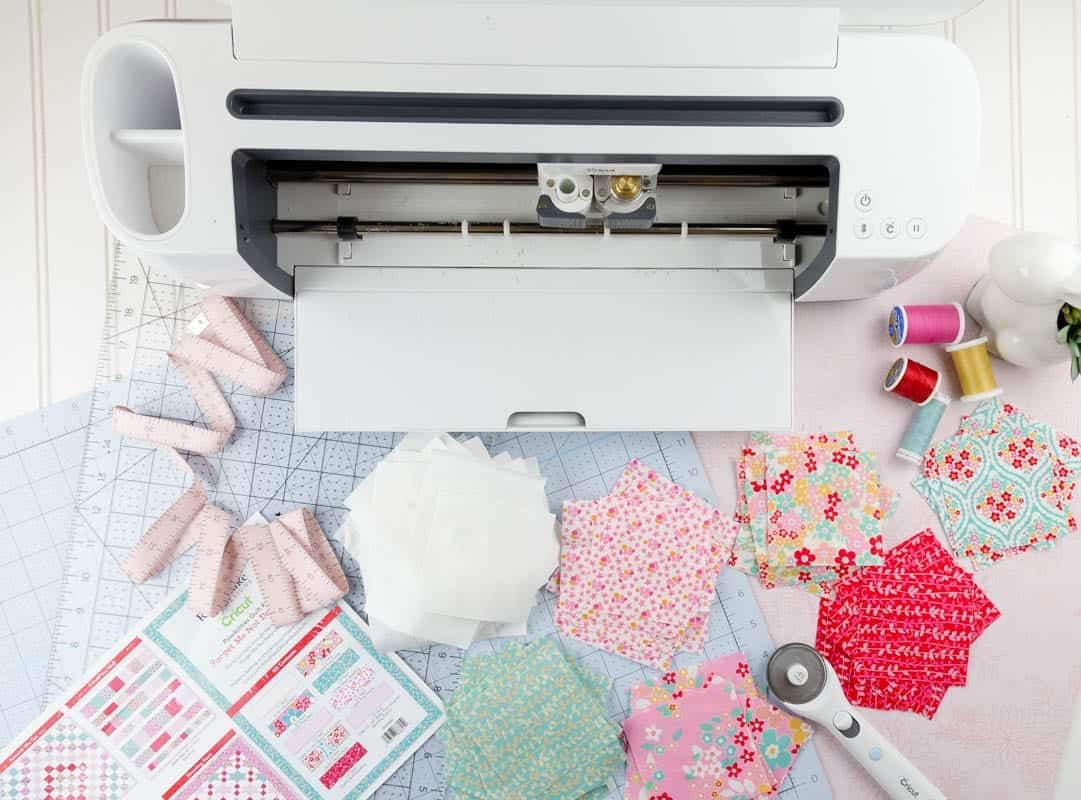
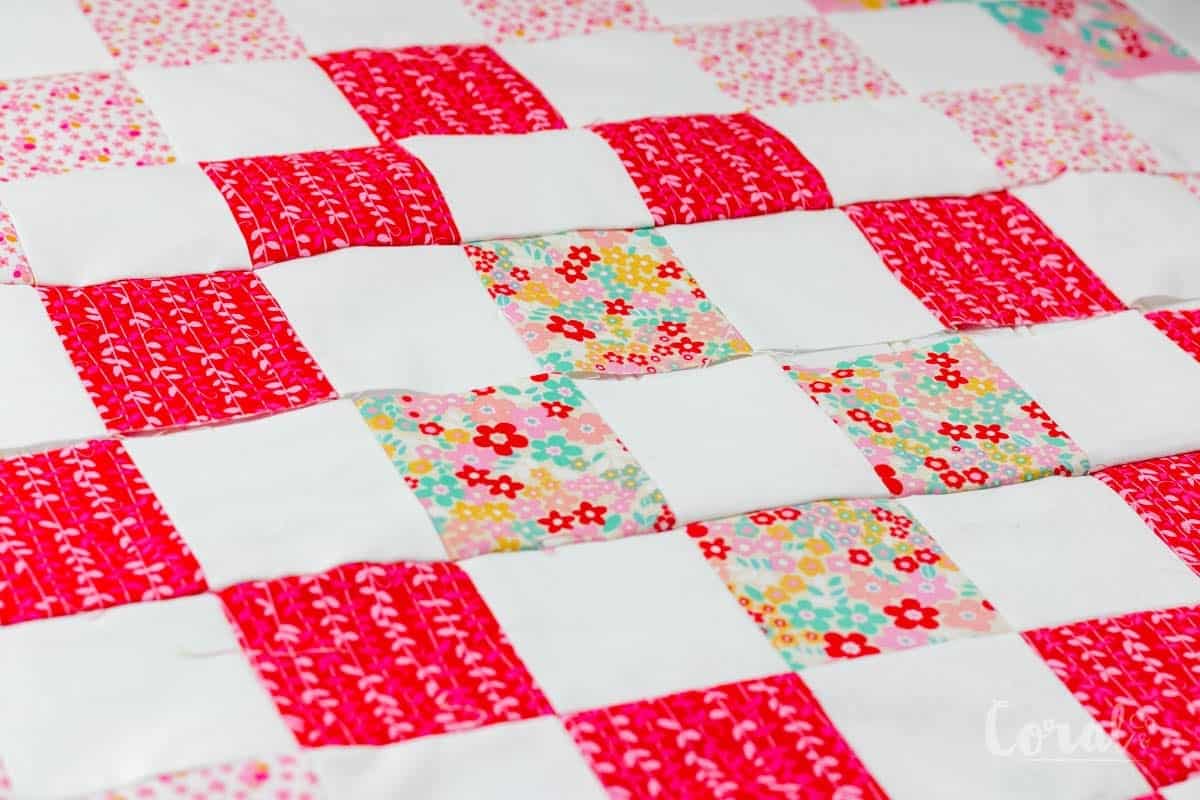
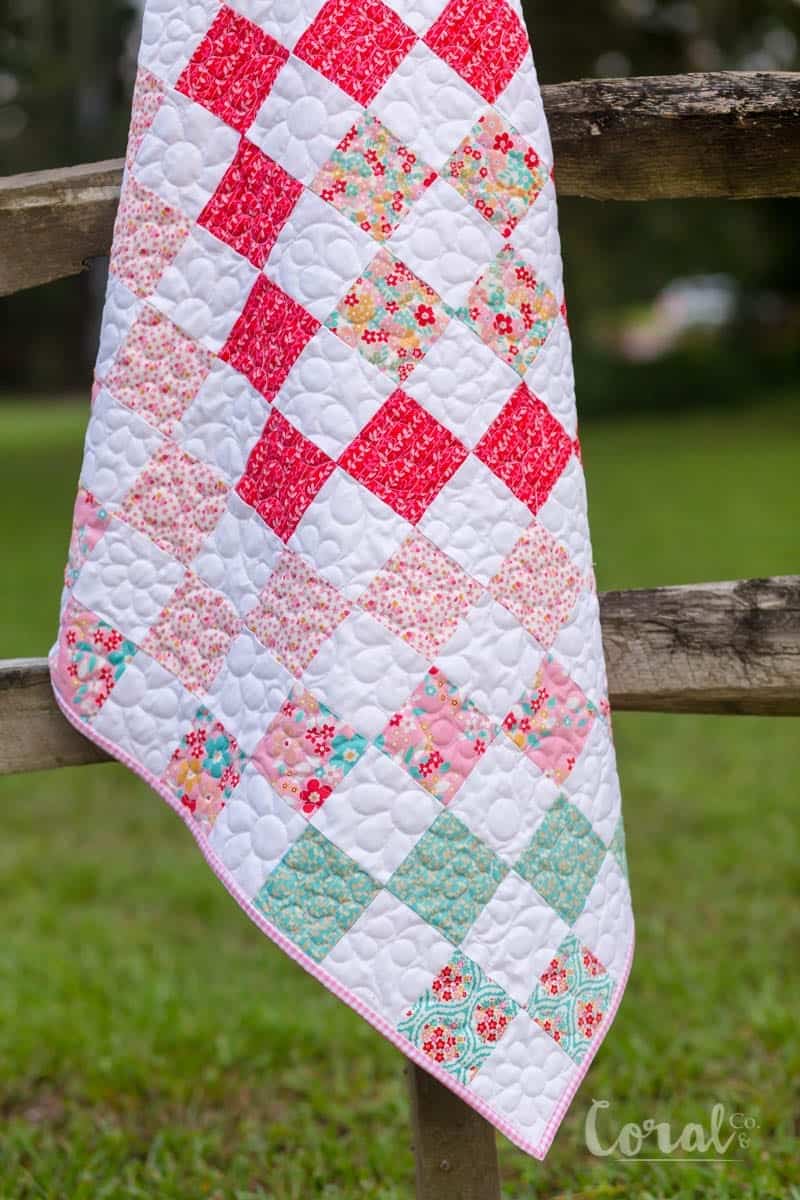
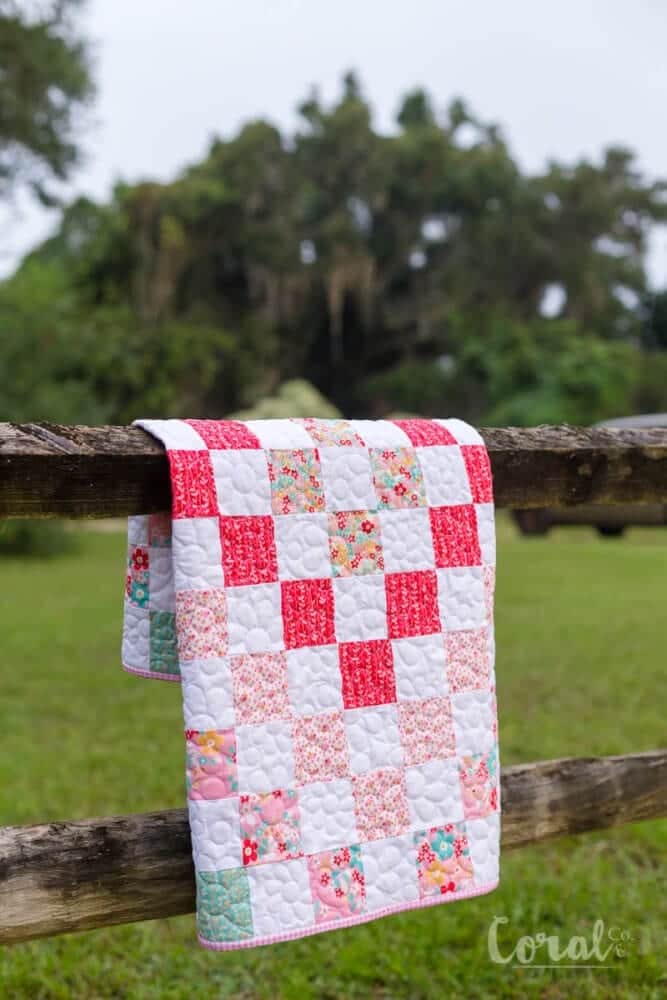
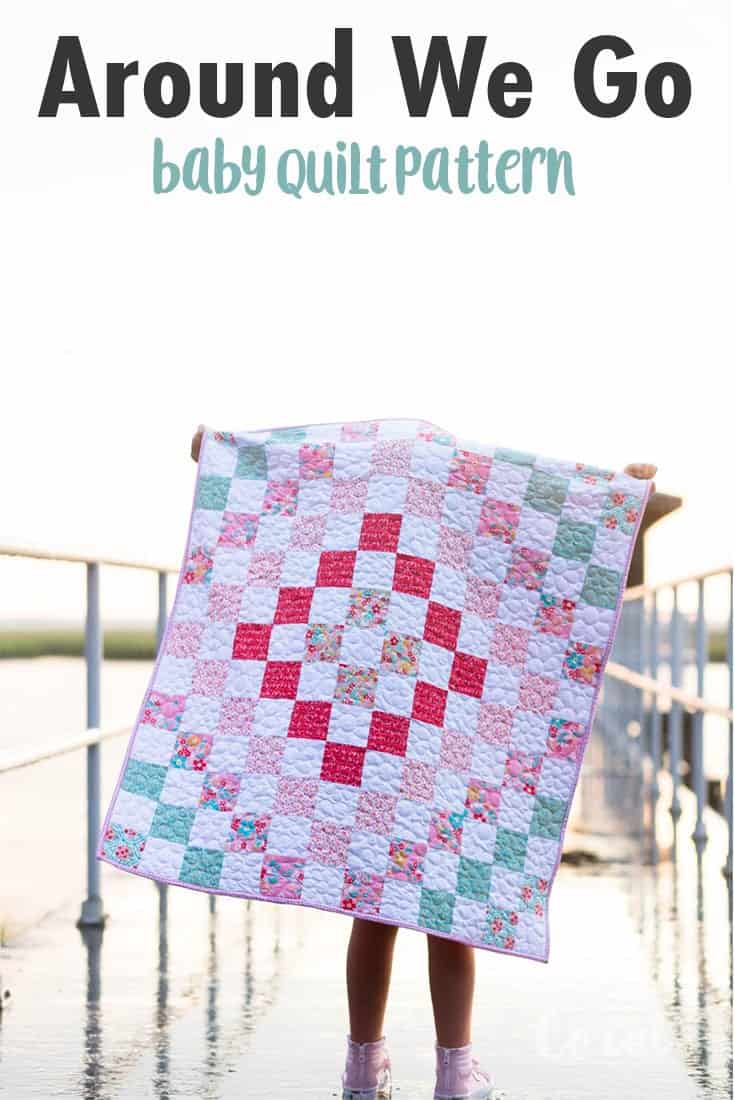
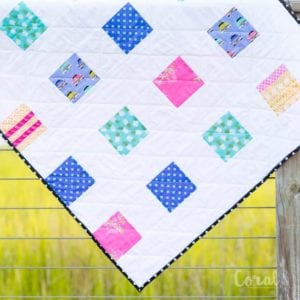
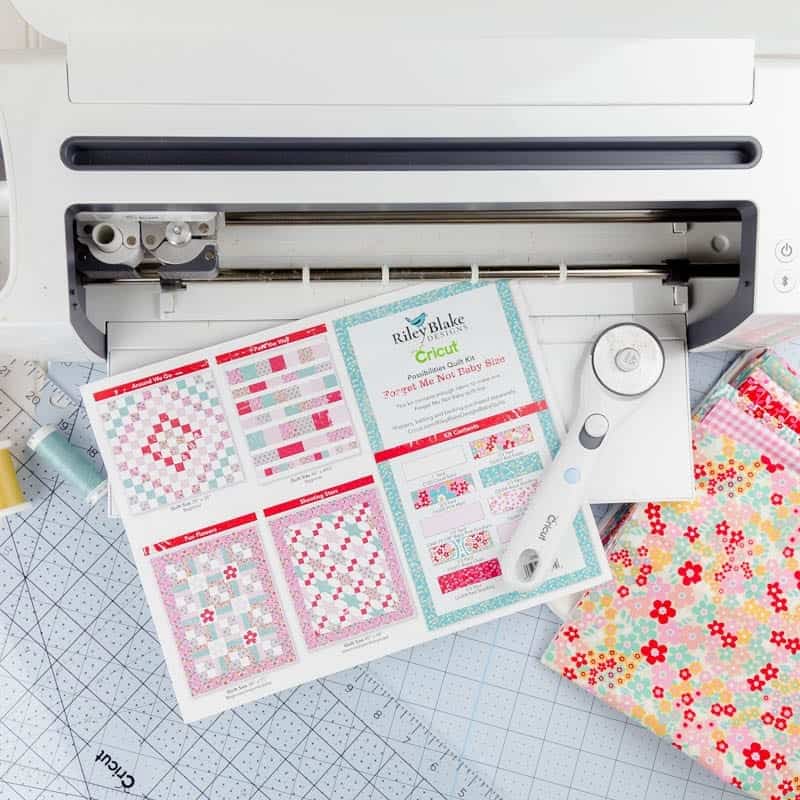
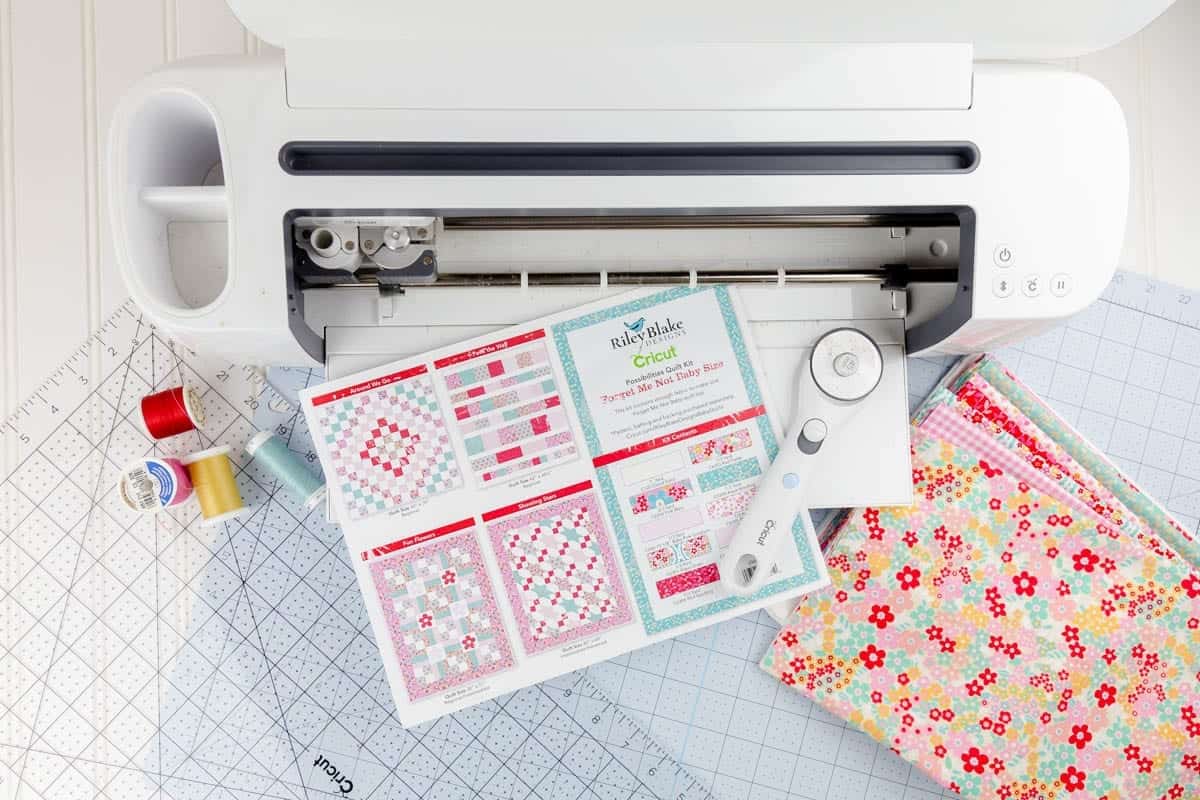
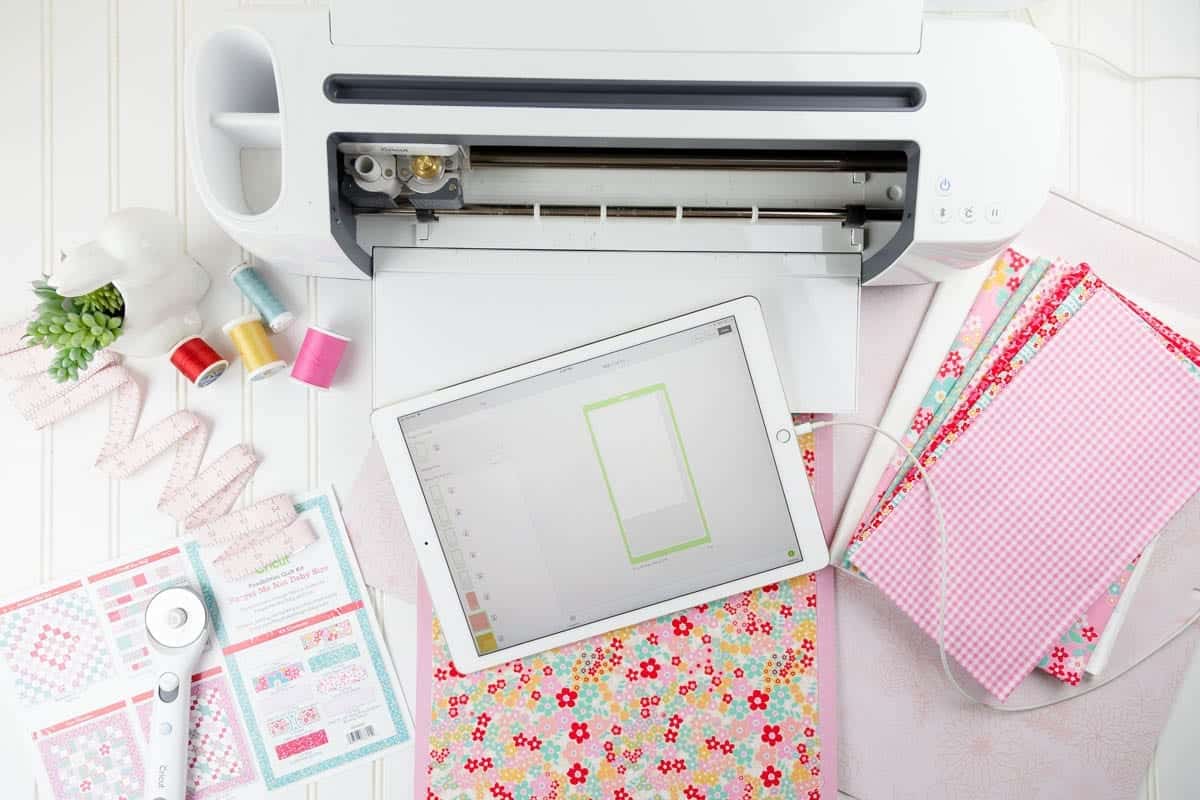
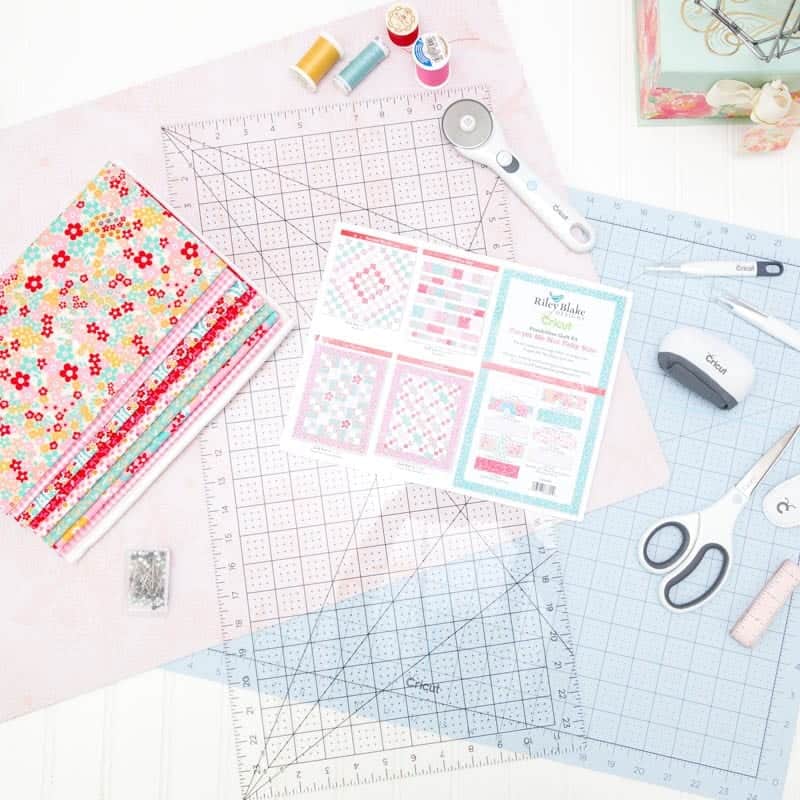
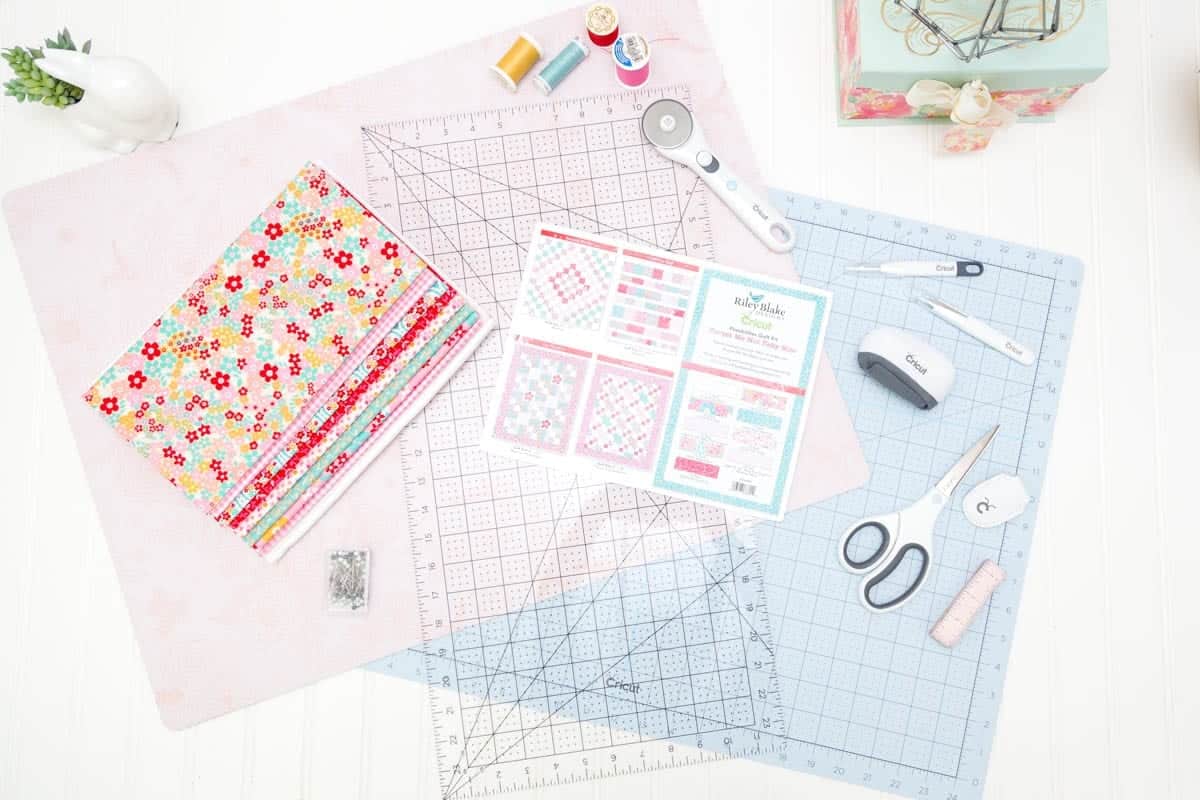
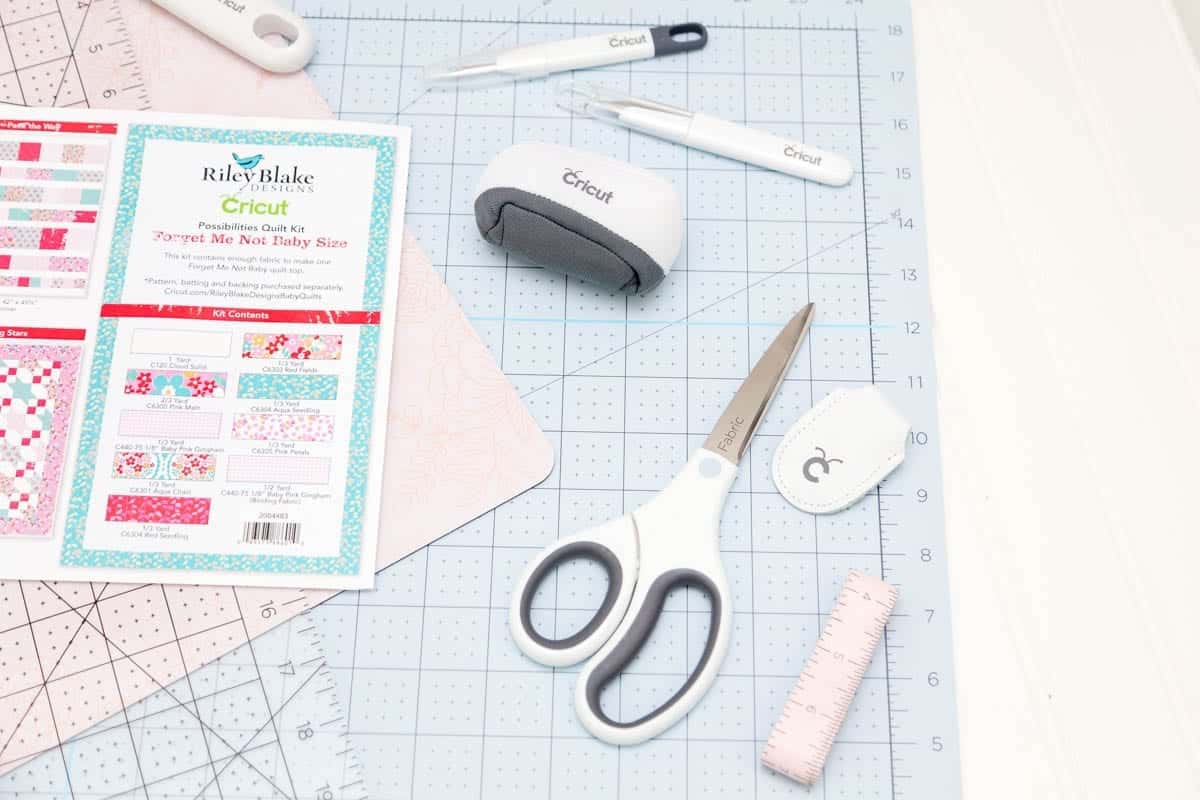
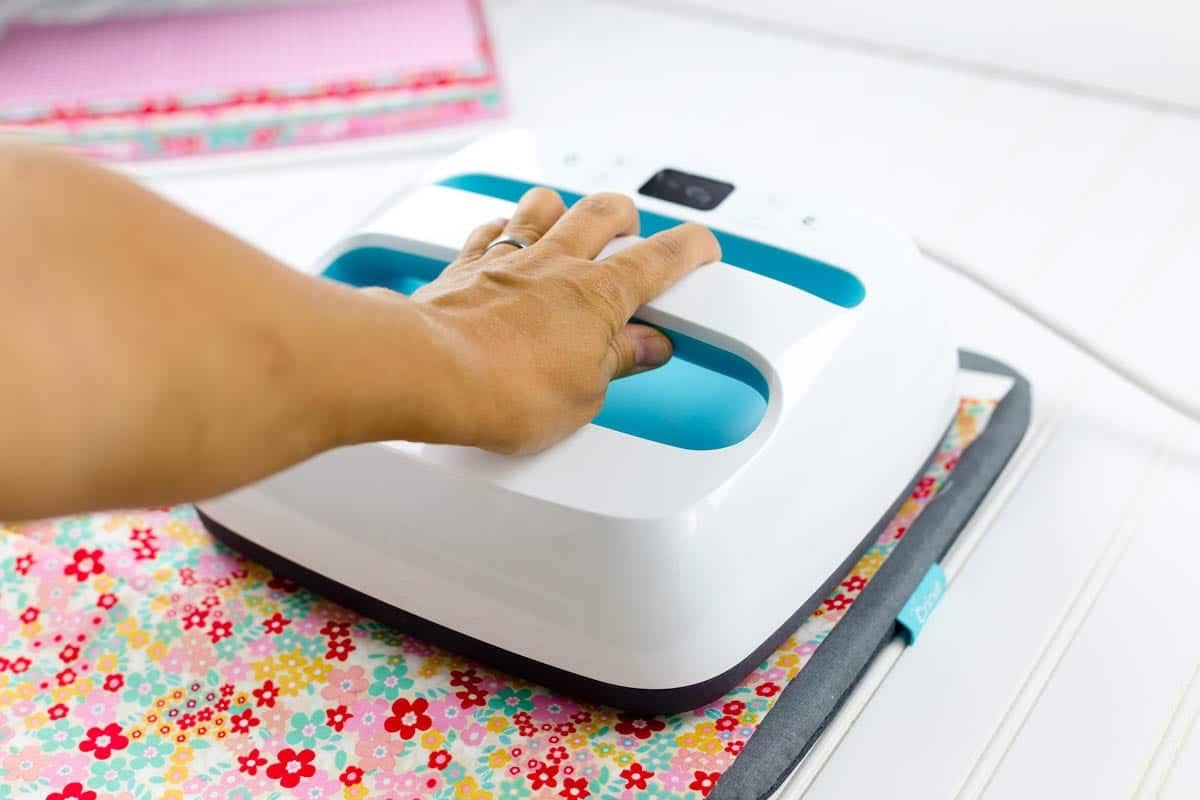
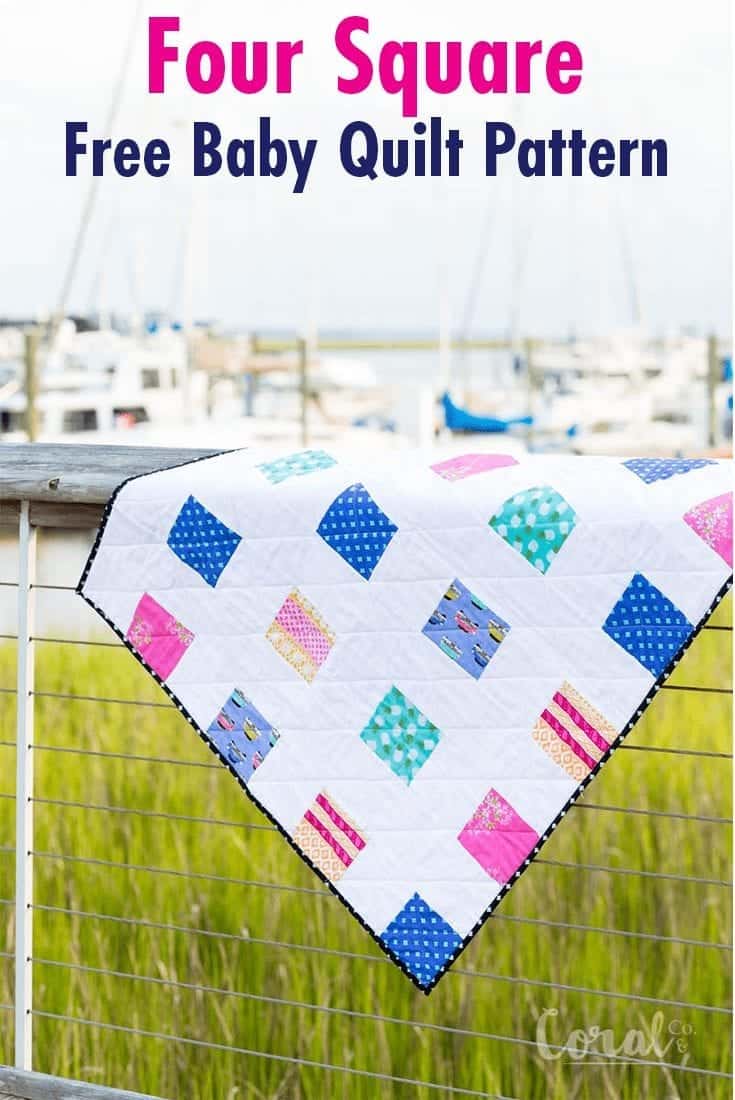
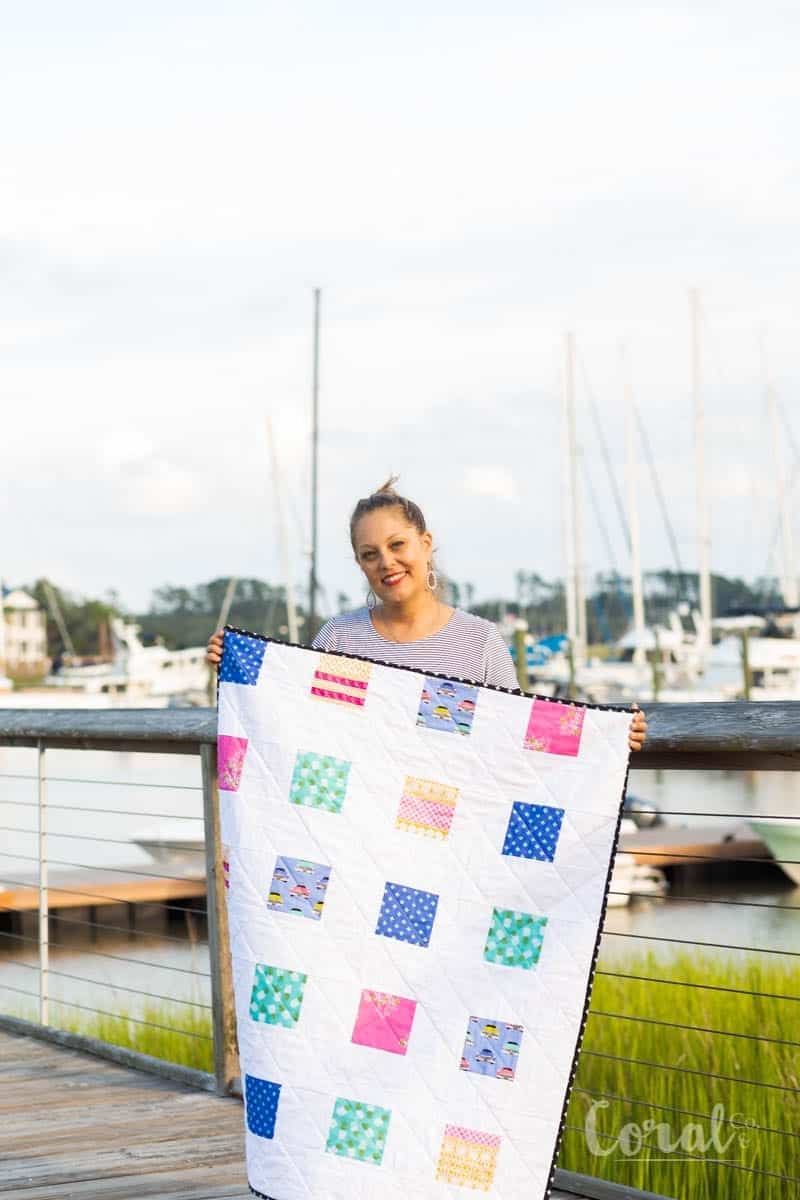
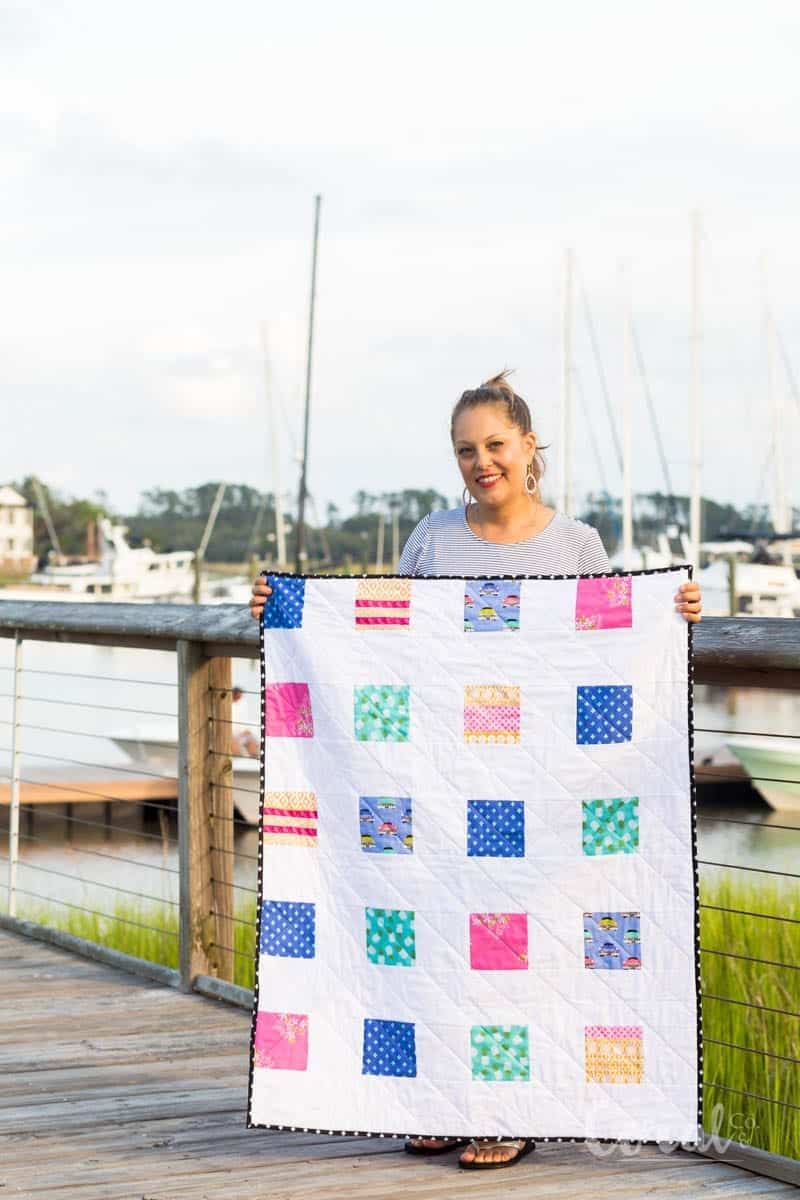
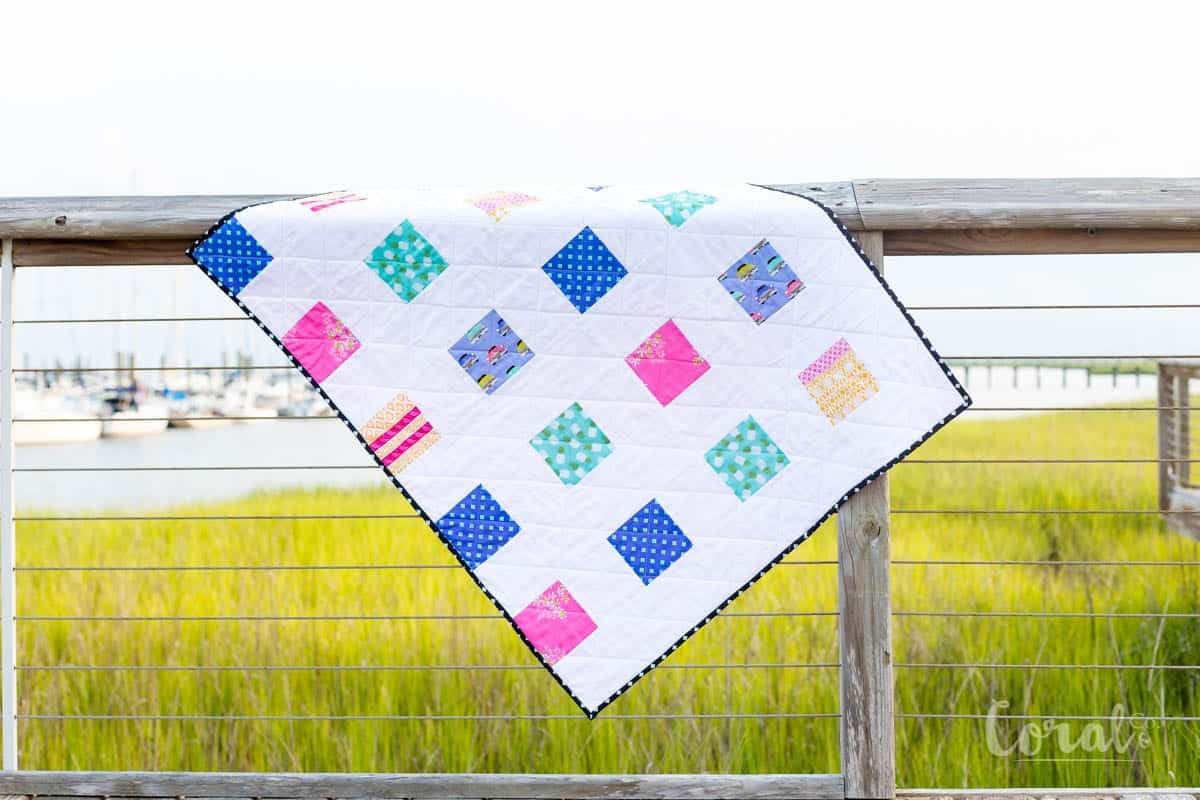
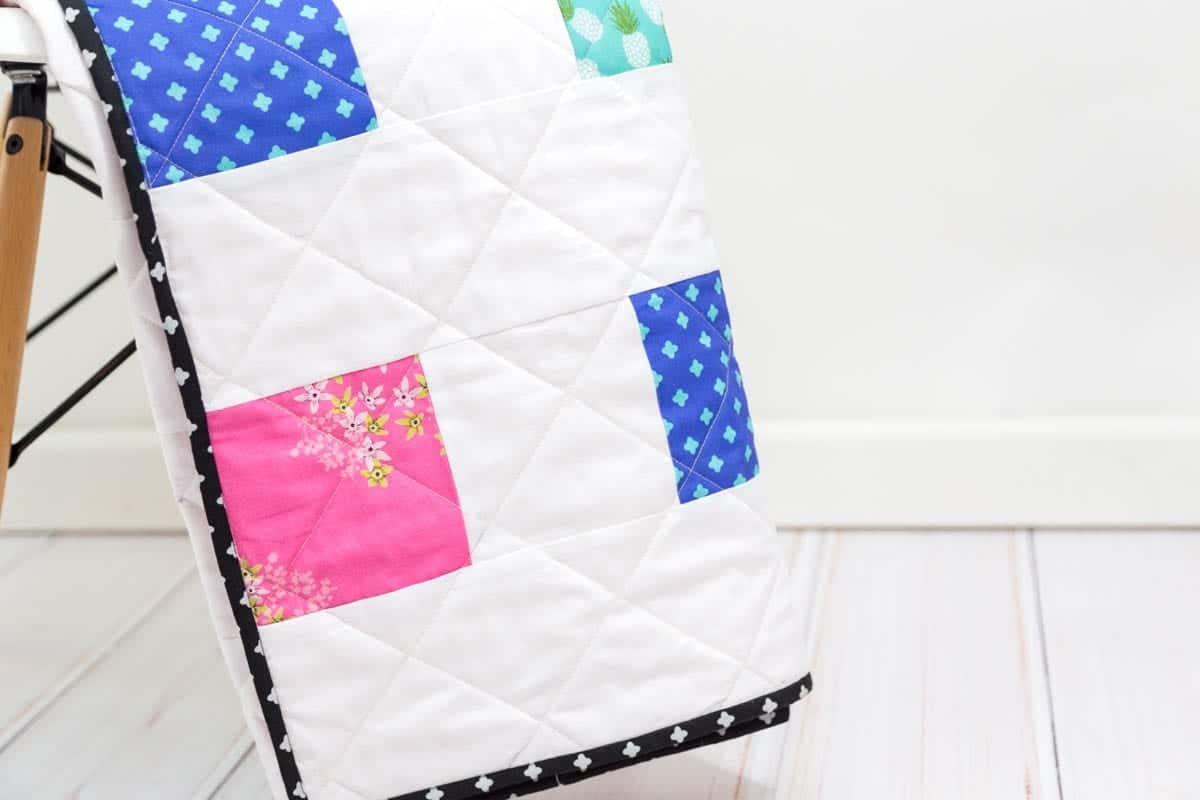
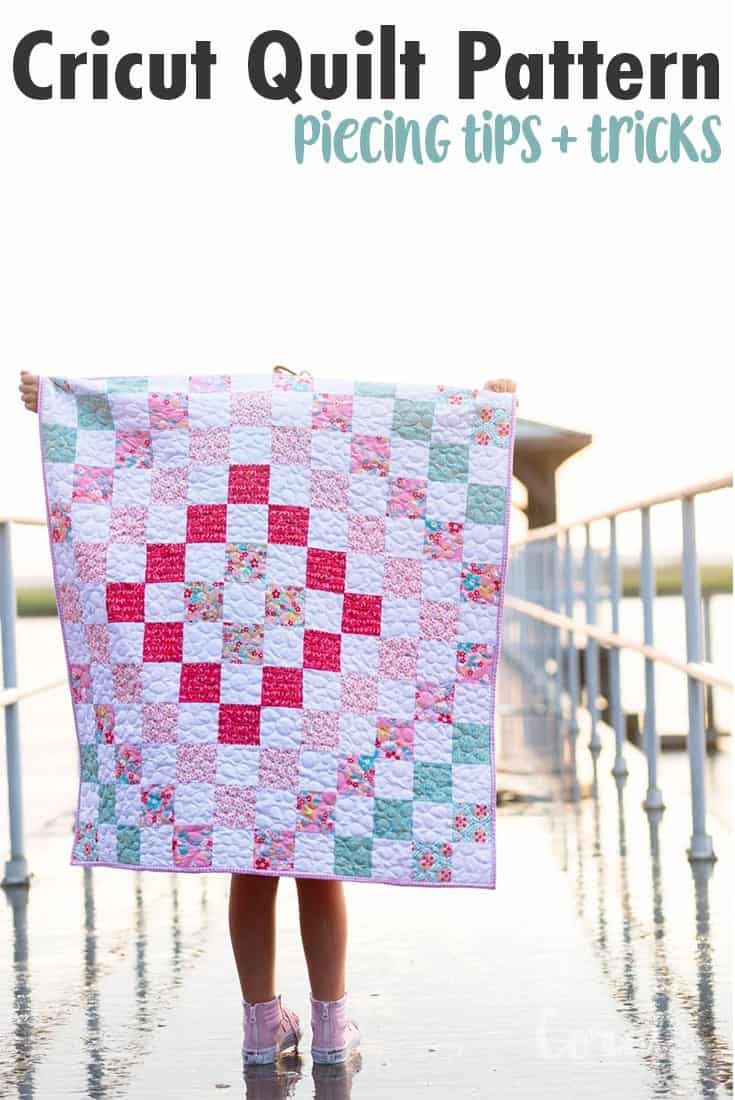 It’s an adorable quilt pattern that is truly simple enough for the beginner but the pattern has enough interest to appeal to an experienced quilter. The pattern uses simple squares cut by the Cricut Maker, which is a fabric cutting machine for quilts and includes all the instructions for how to sew it together. Because the pattern only uses the square shape it comes together incredibly quickly. You can read more about how the
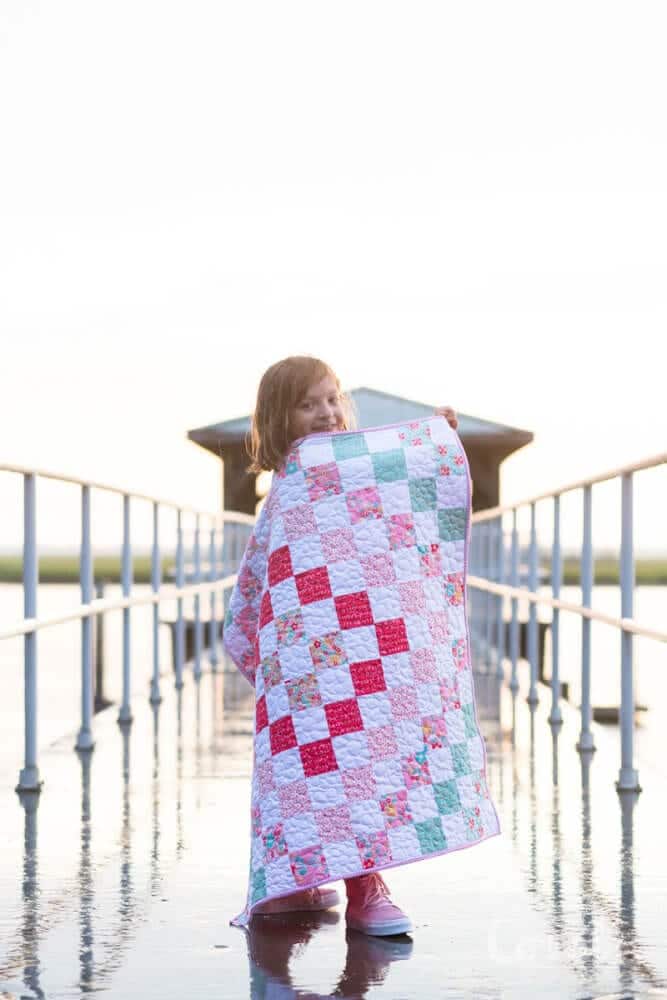

 This is a sponsored conversation written by me on behalf of Cricut. The opinions and text are all mine.


 And did I mention, that I made it with the ridiculously cute new
 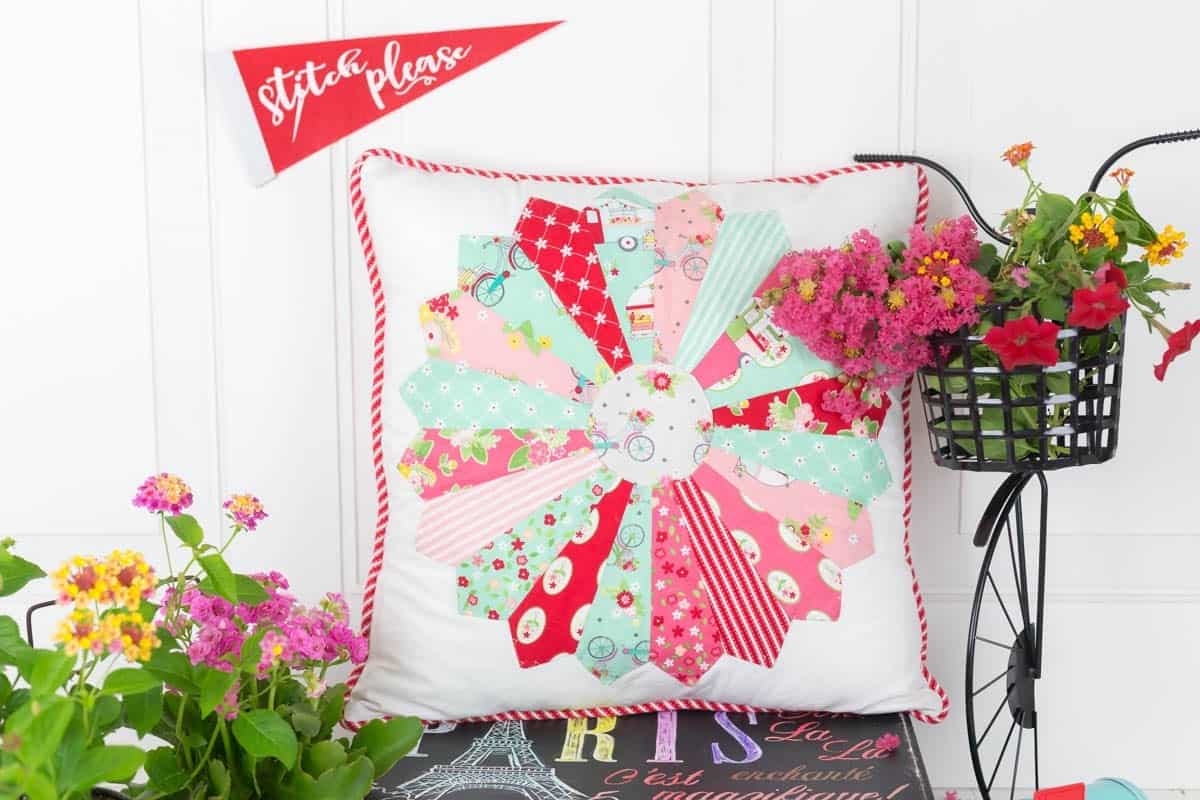 I was lucky enough to meet Bev in person at a conference earlier this year and take her hand embroidery class. If you watched my stories on
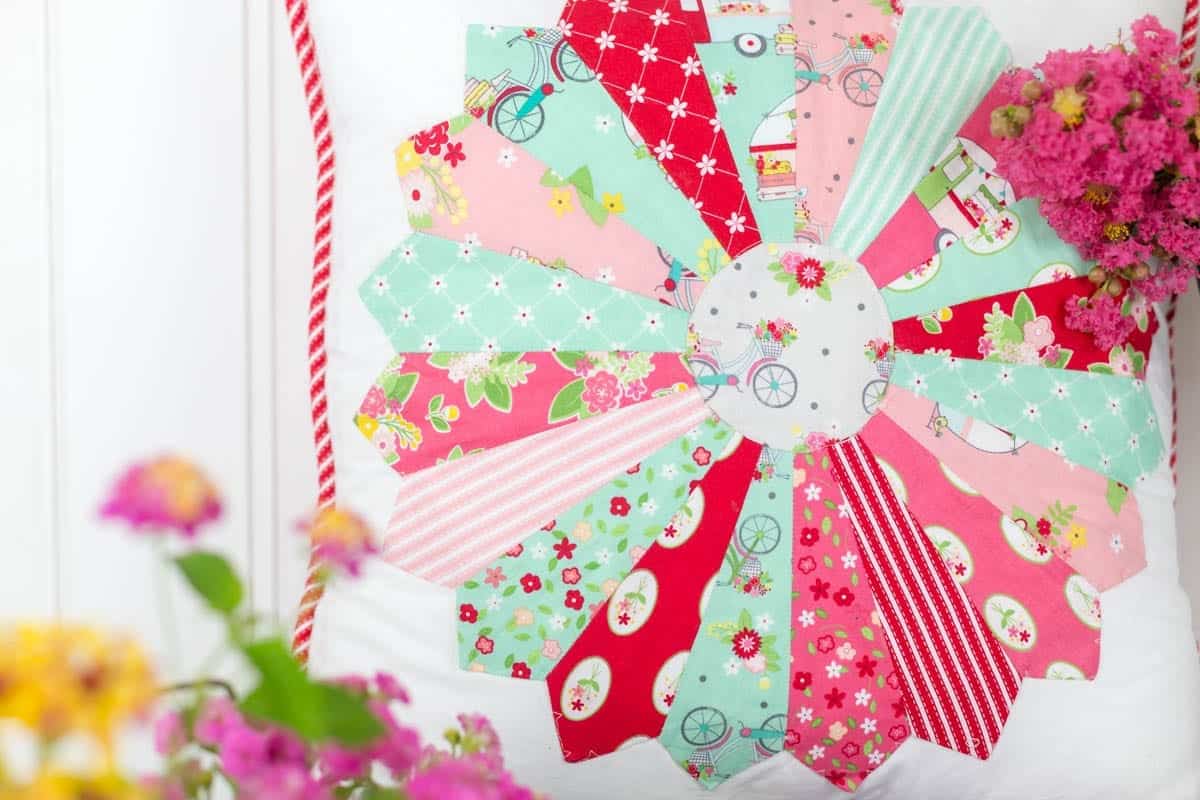


 Last week I wrote about how easy it is to find a
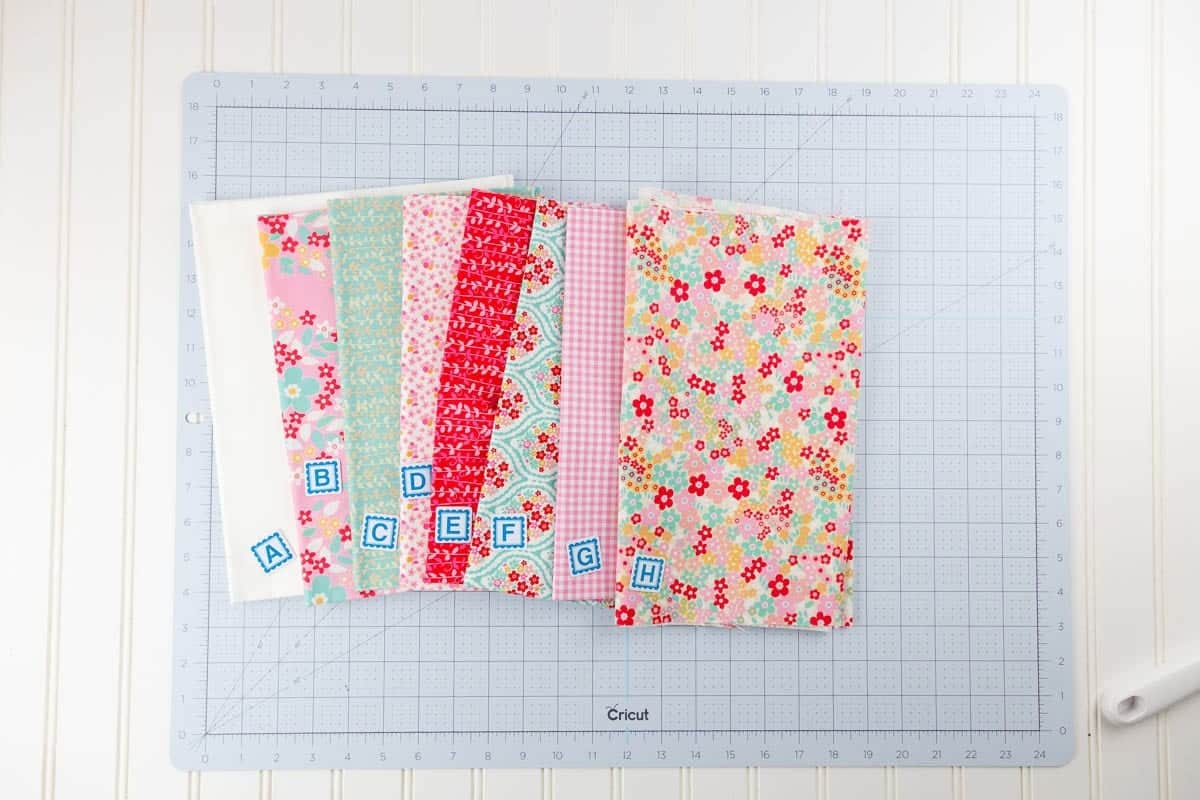
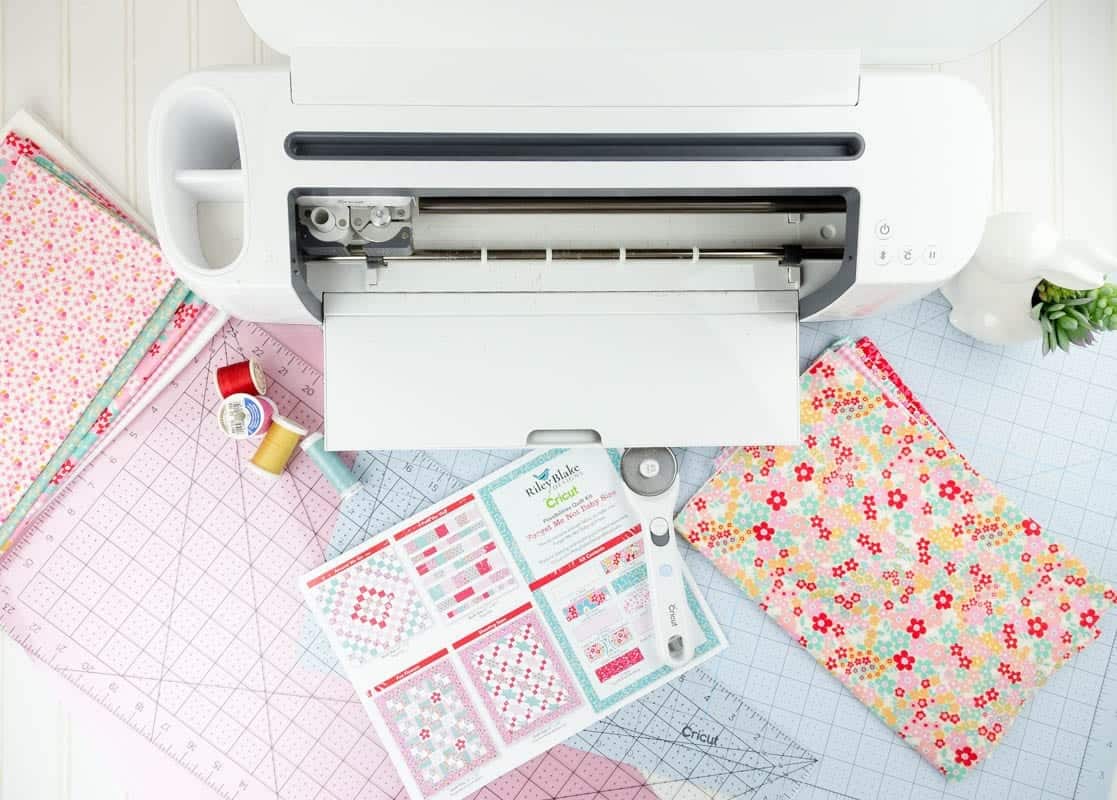
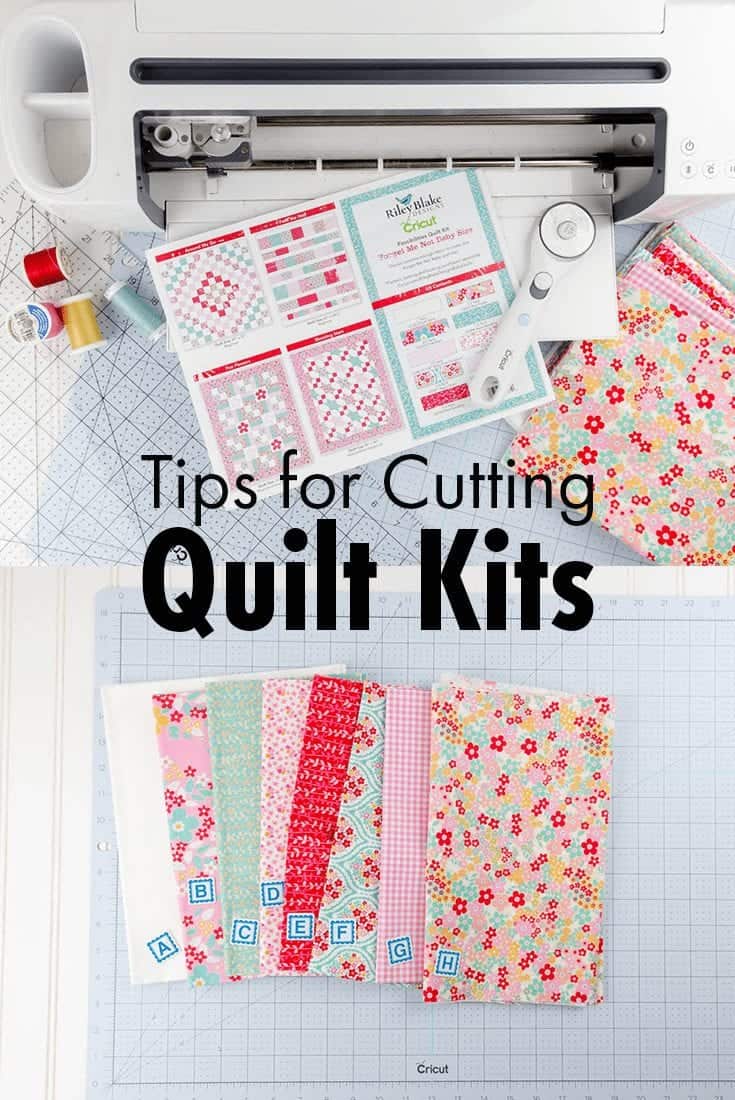
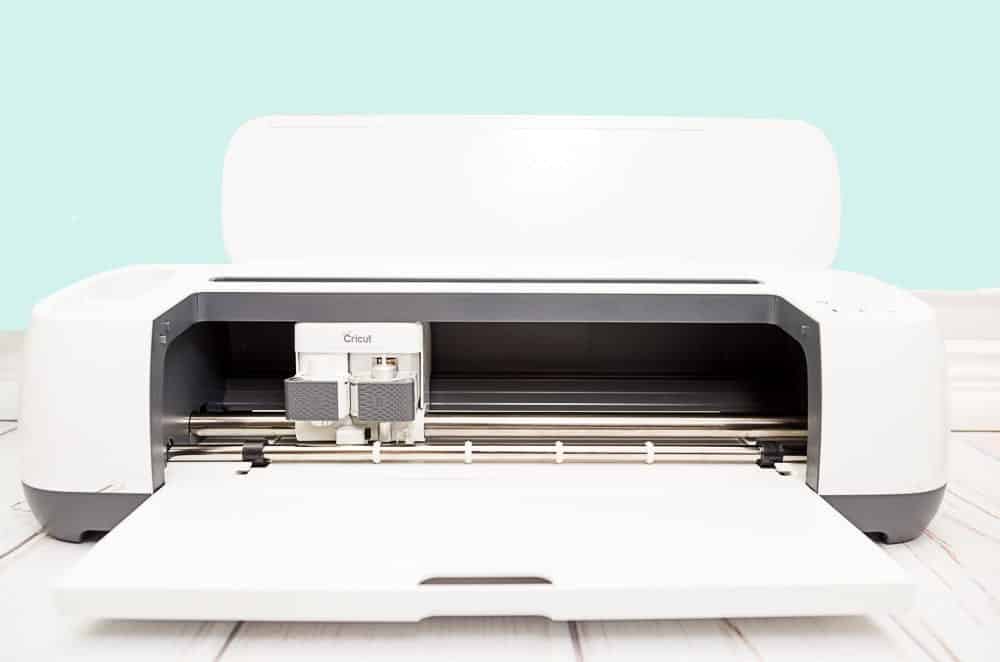
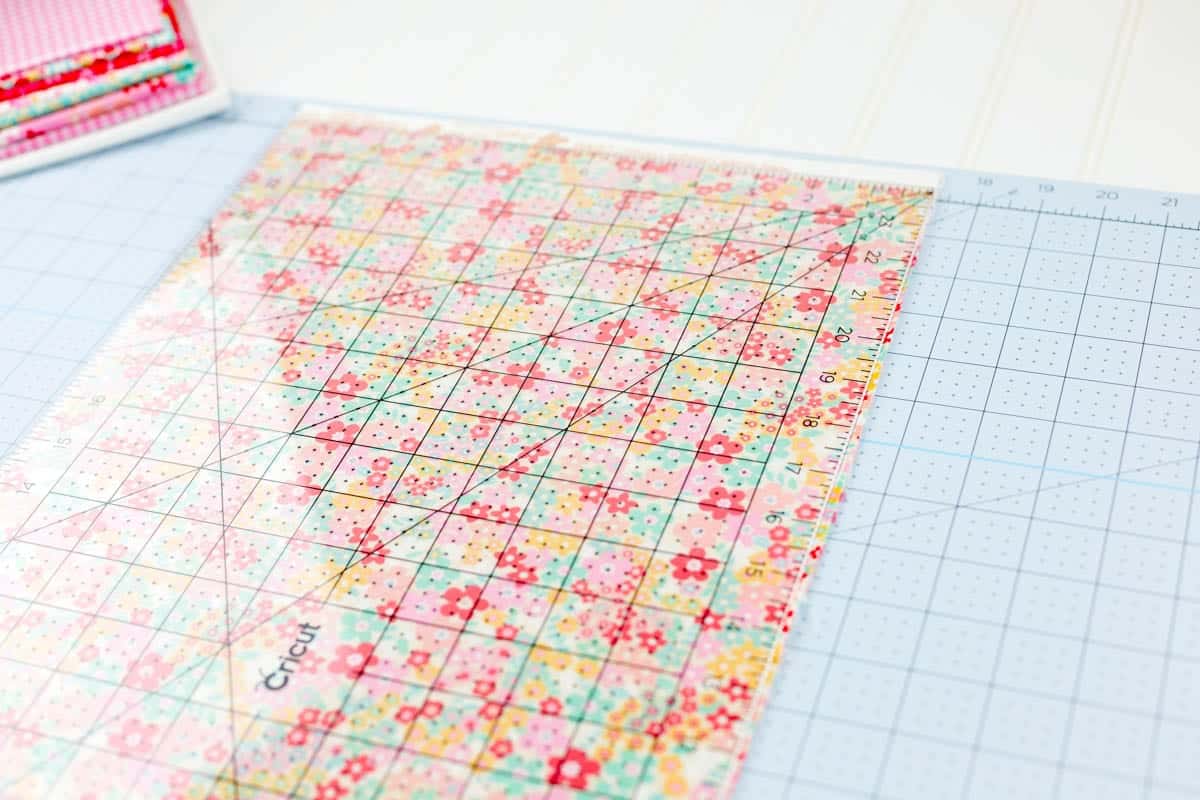
 The pattern will specify which color fabric to load and at which number it will be cut.
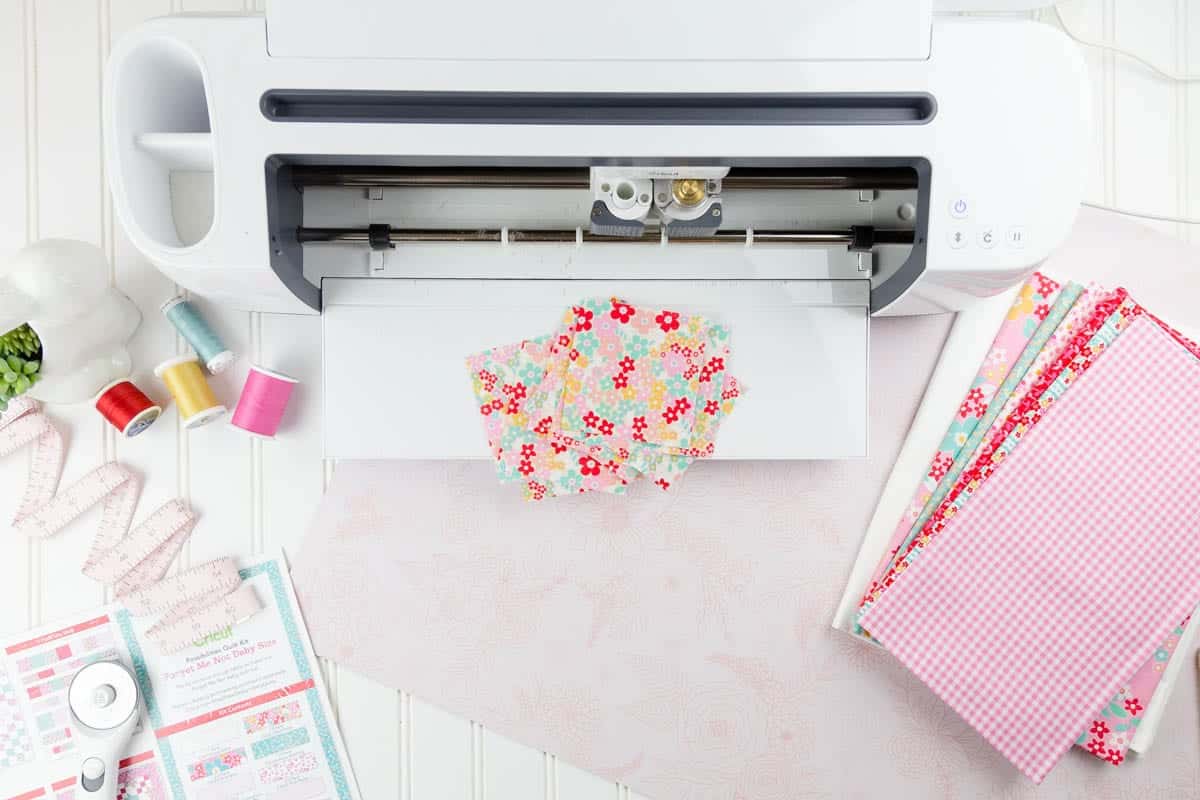

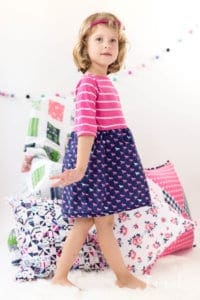
 To get into the summer mode, I made the Tiny Pocket Tank from Grainline Studios. I have had this pattern in my stash for awhile and used it once before. I really like the cute cut of it and that it has darts to fit my shape. Grainline is no longer selling this pattern, but the
  I had to shorten the straps a bit and should have lengthened the armholes but I thought it would be ok. It is a bit tighter on the armholes than I would like, but not so tight that I can’t wear it.
 I made it with this Chambray Rayon Blend from Robert Kaufman that I have been hoarding for eons. I absolutely love the drape of it and how soft it is. They are sold out but the
  I have a few yards of it left and might make a sundress out of it. Maybe even a version of the

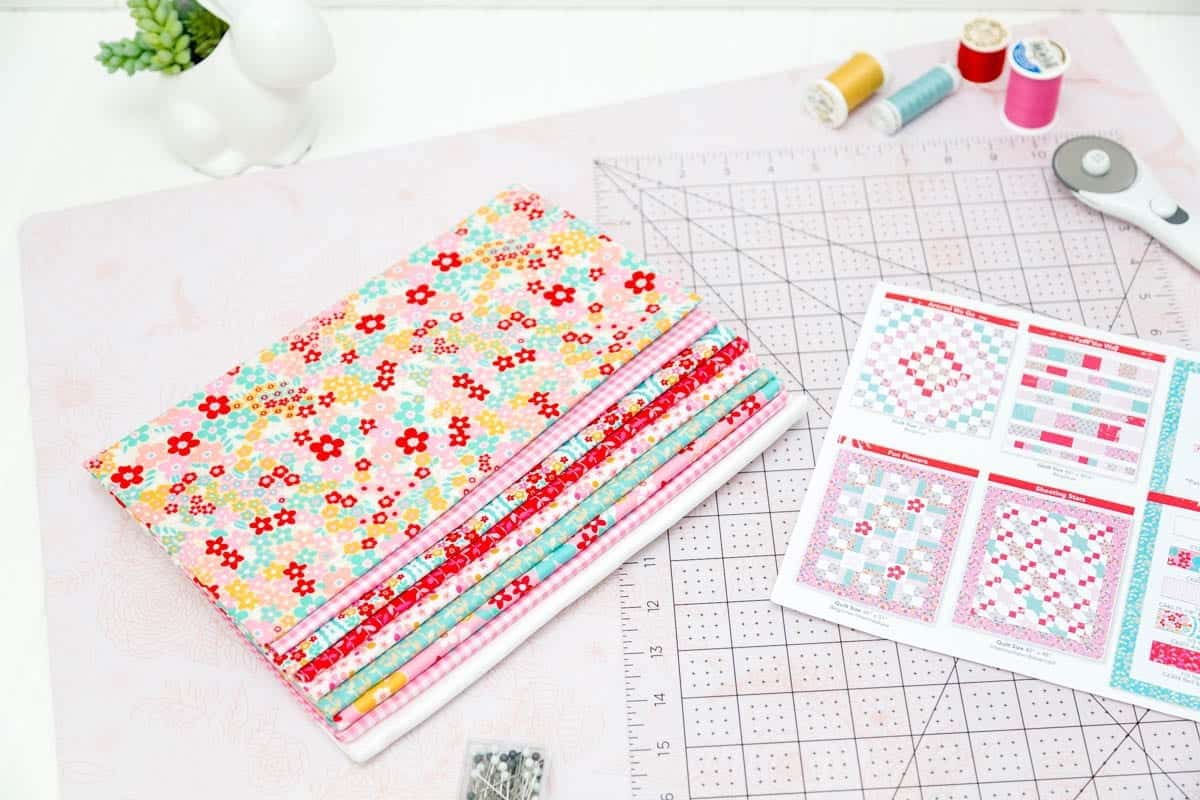


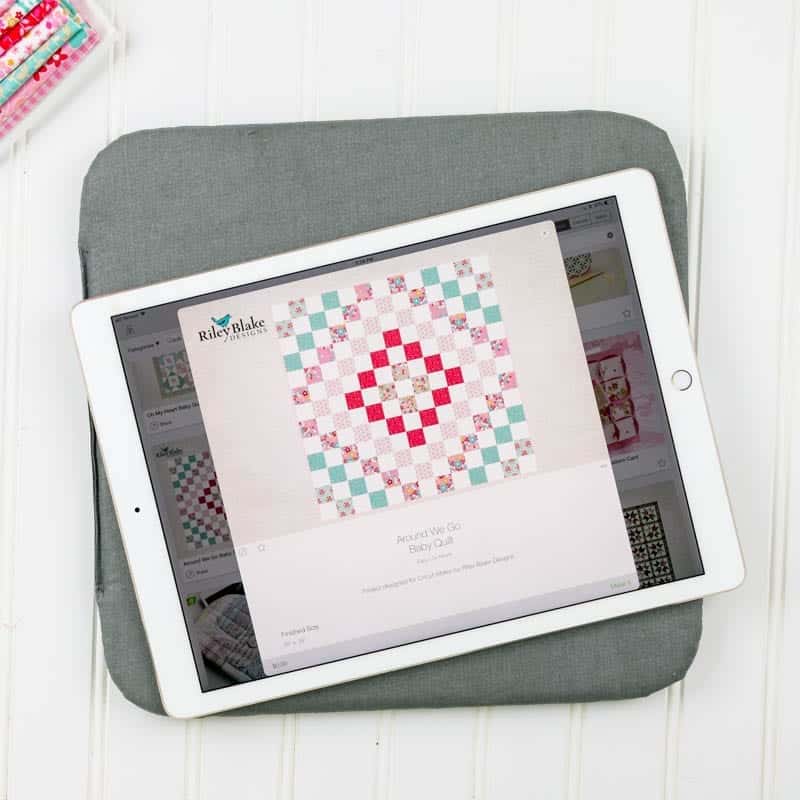
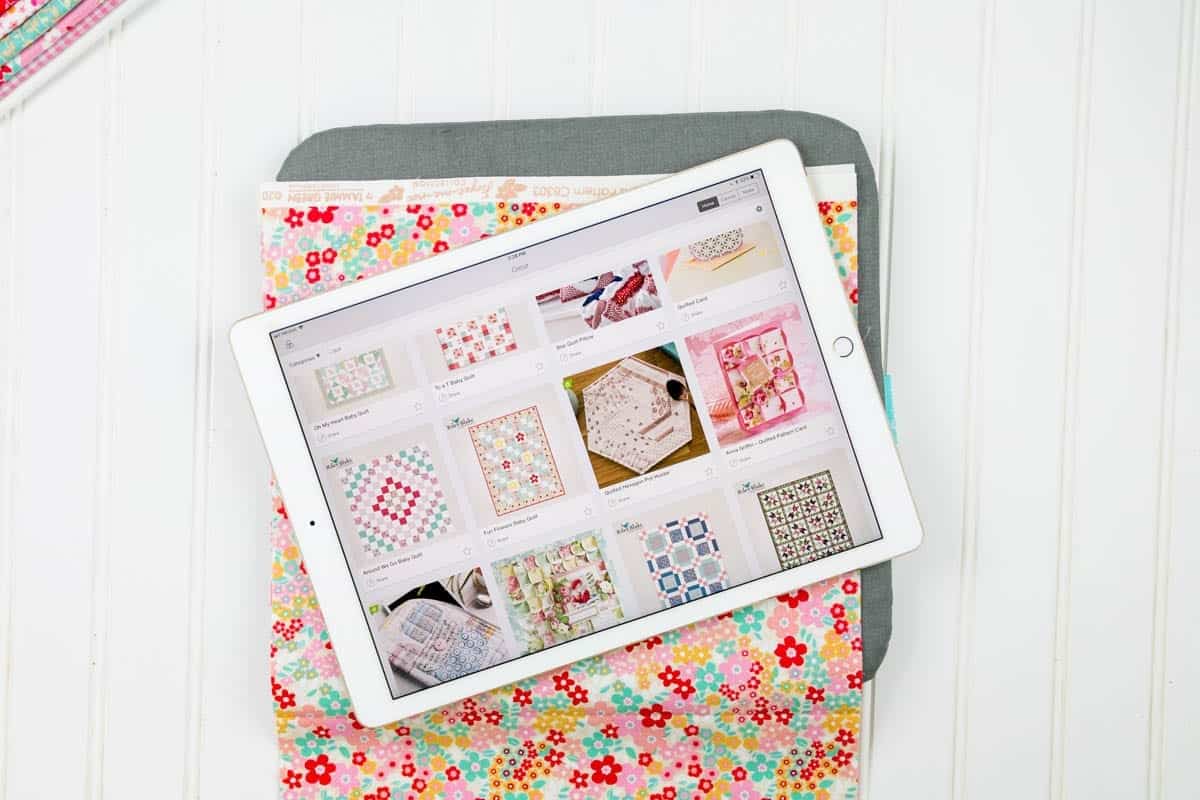 Once there select your chosen pattern and it will bring up the quilt pattern in a new screen. The pattern shown is
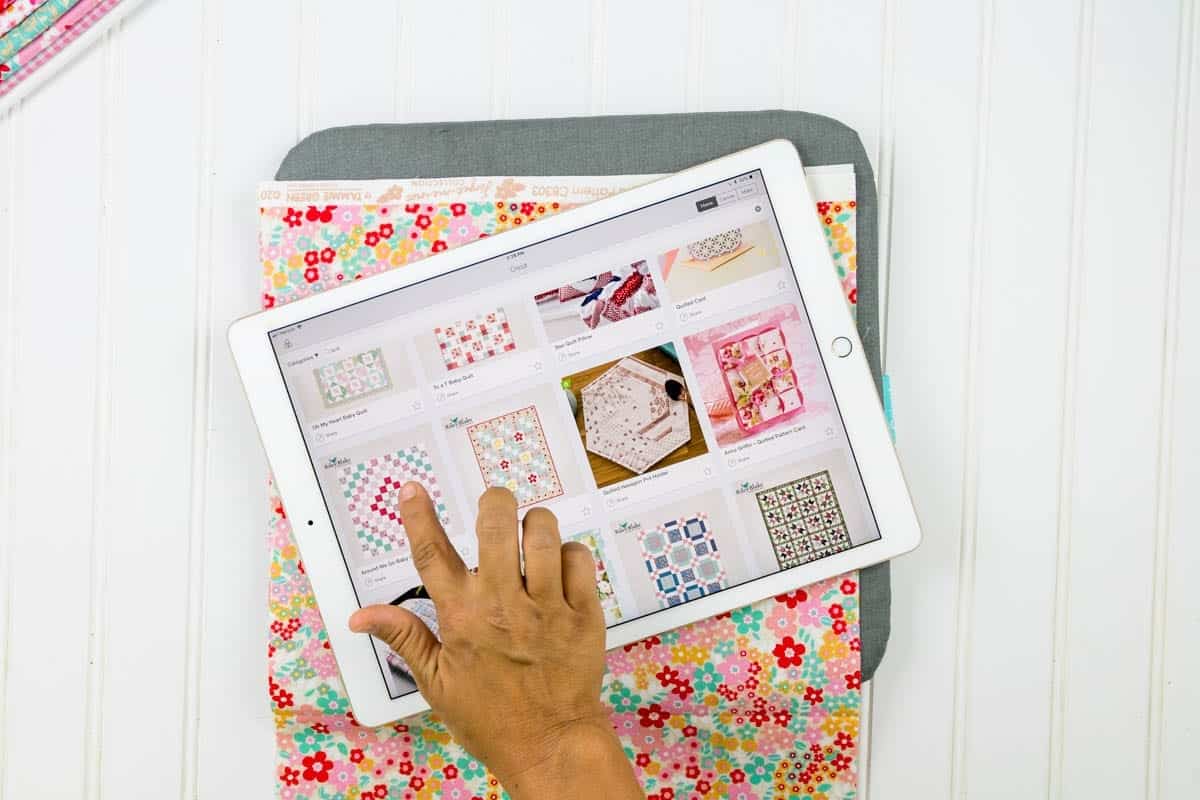


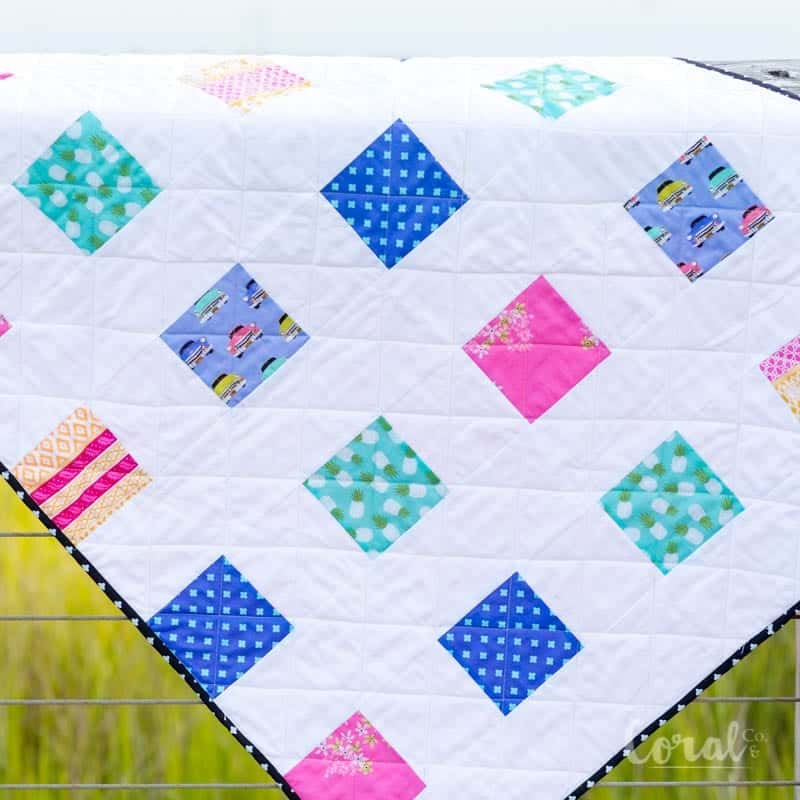

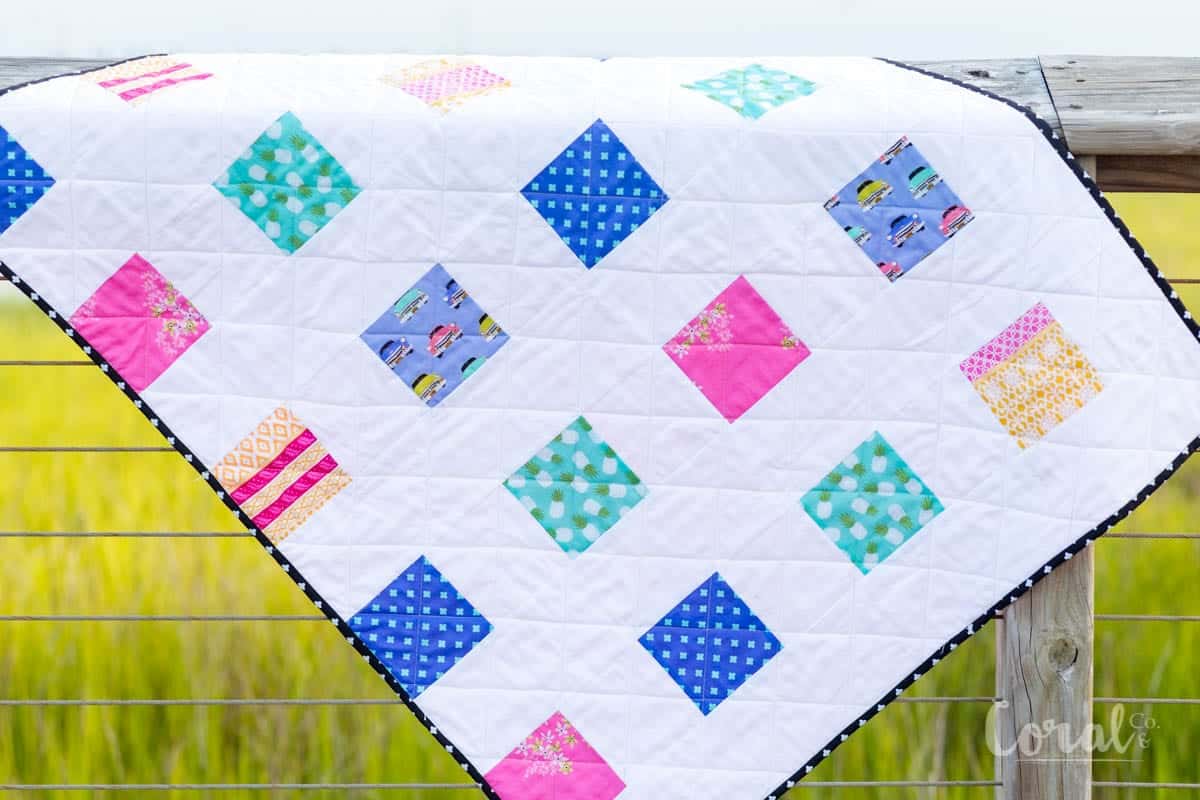
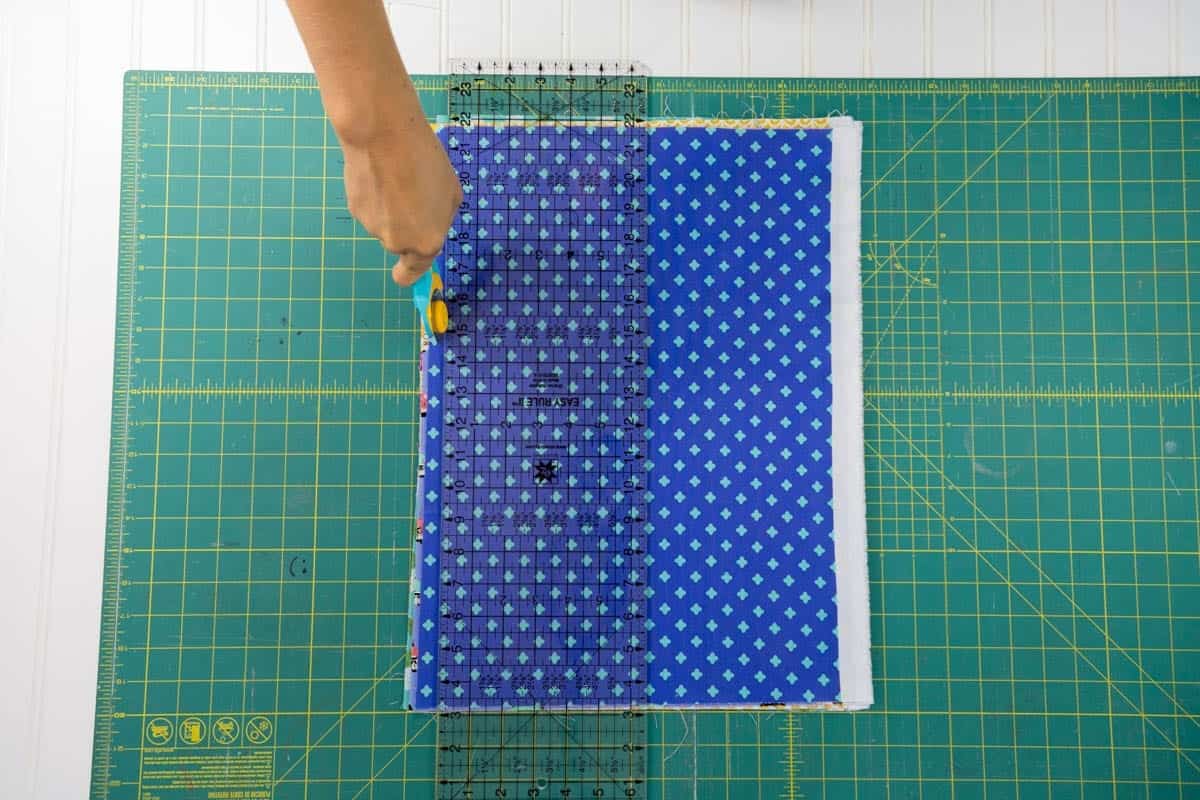

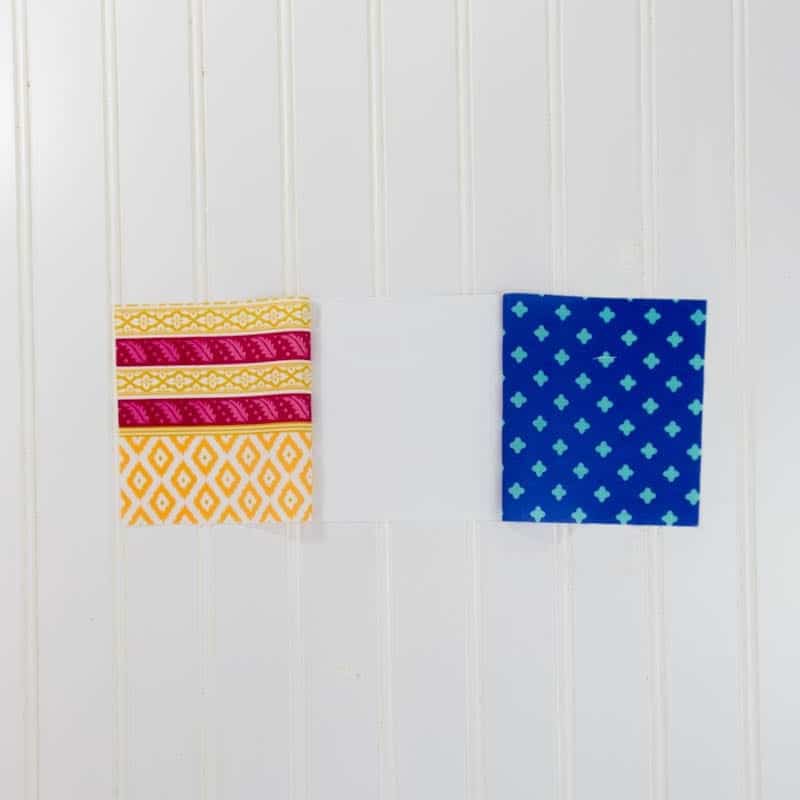
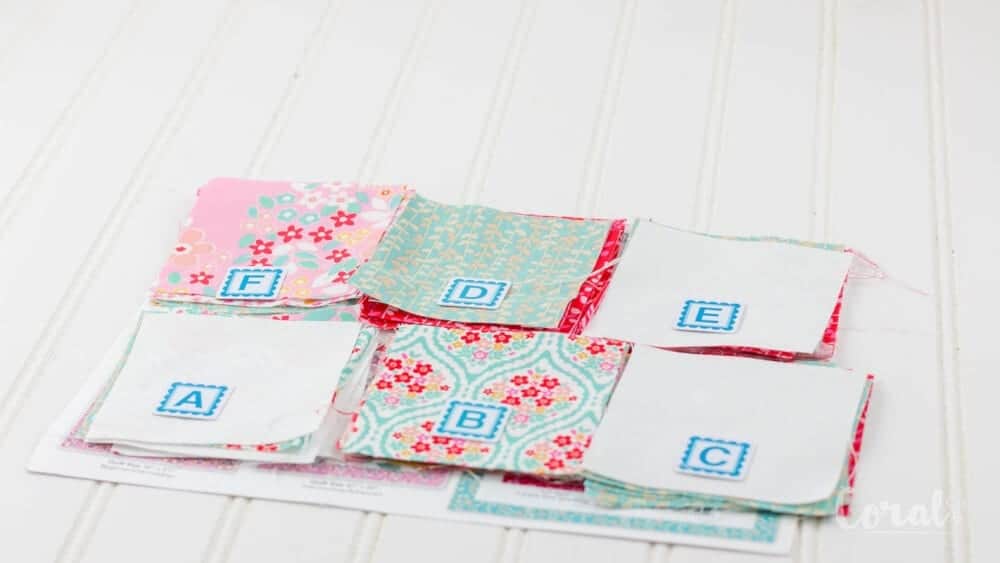
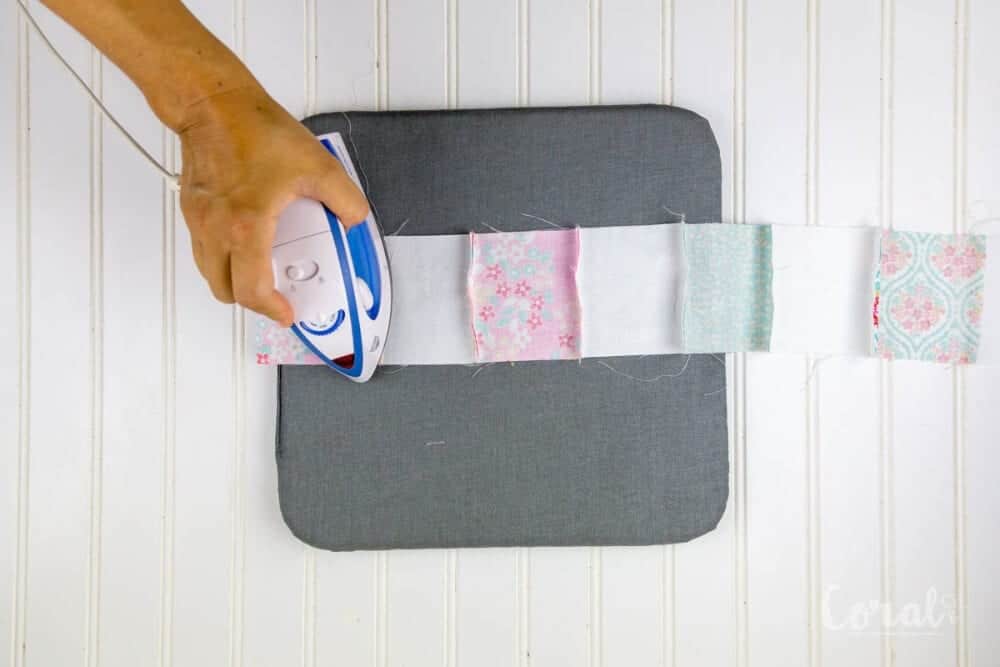
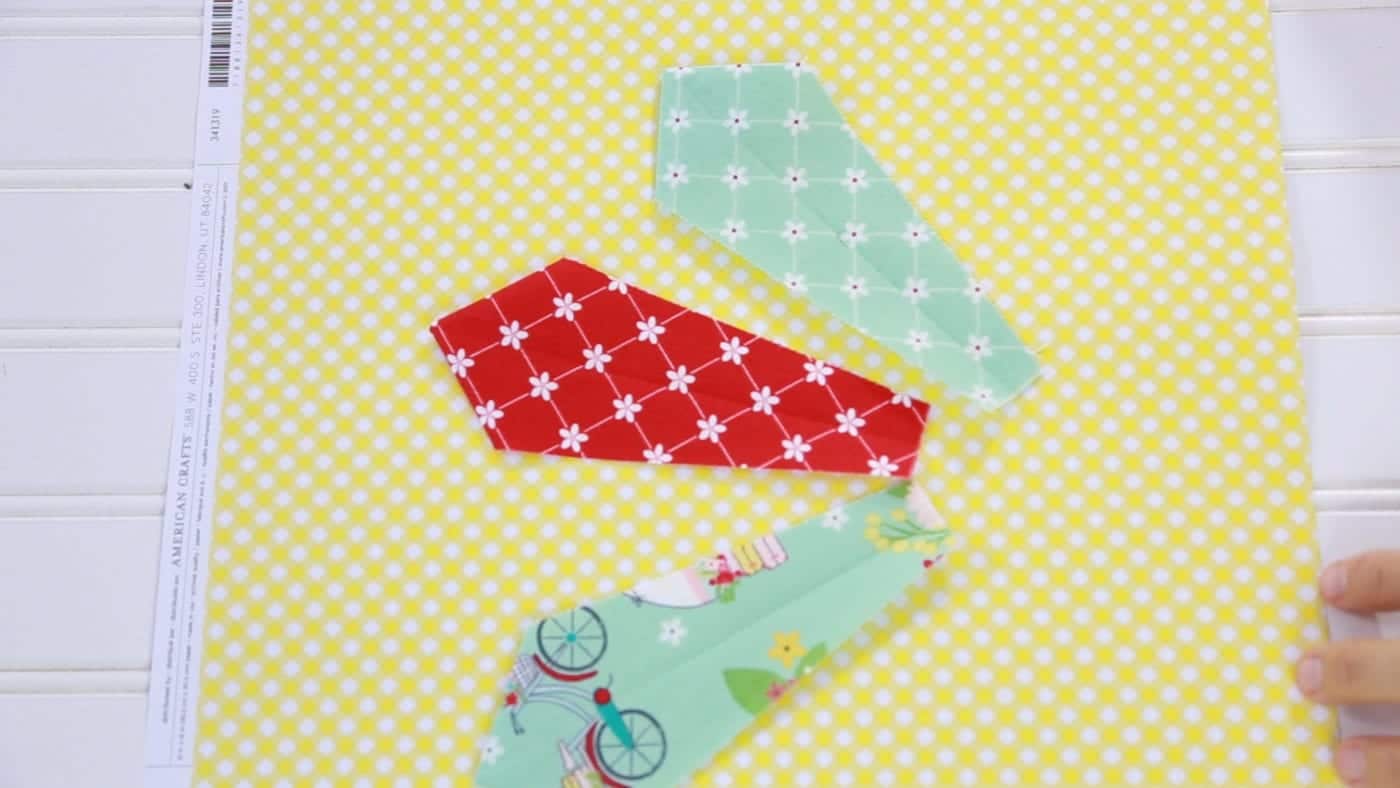
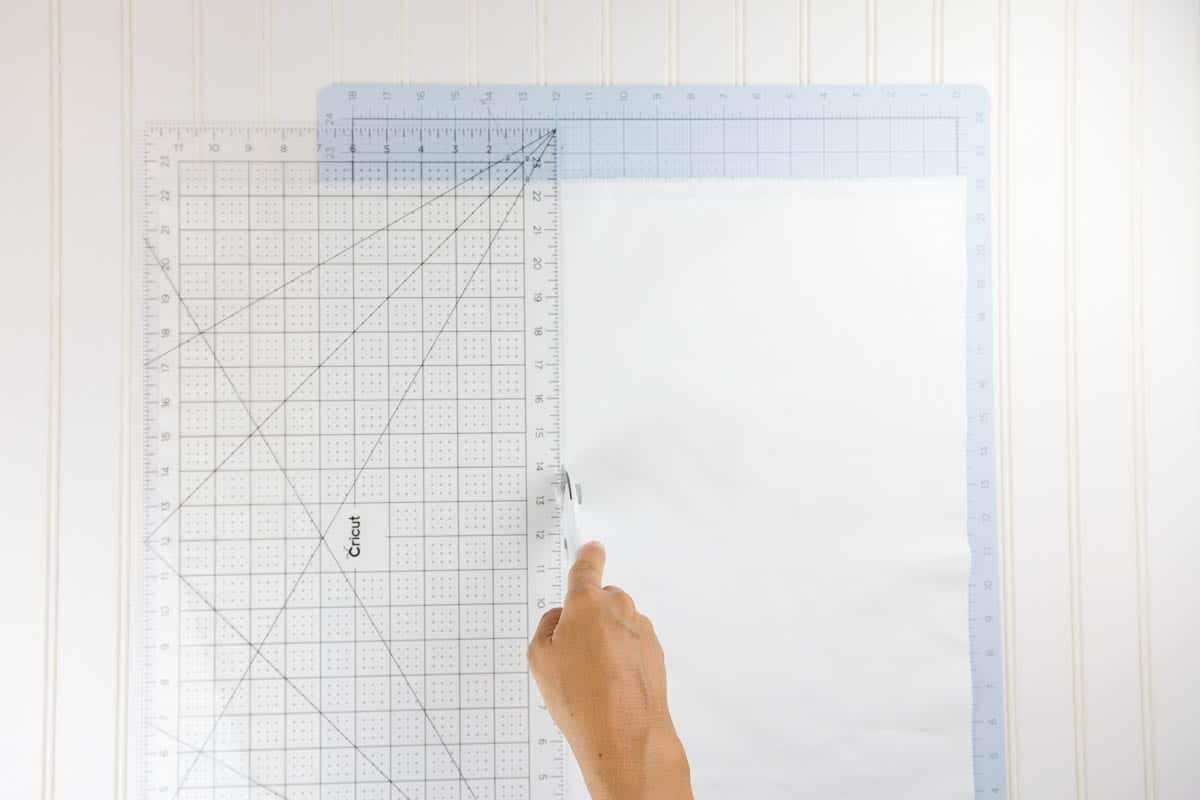
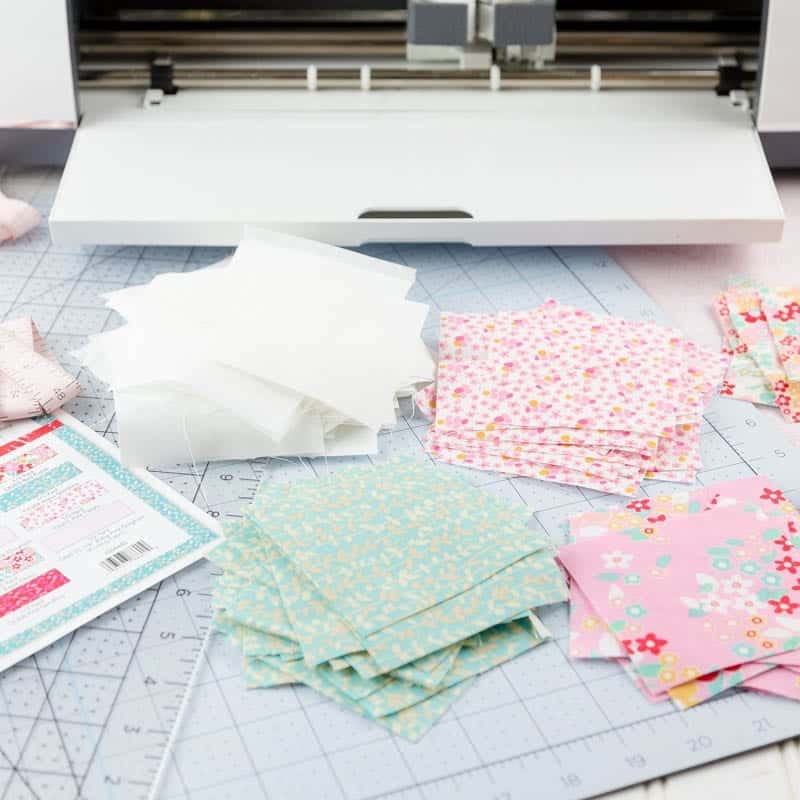
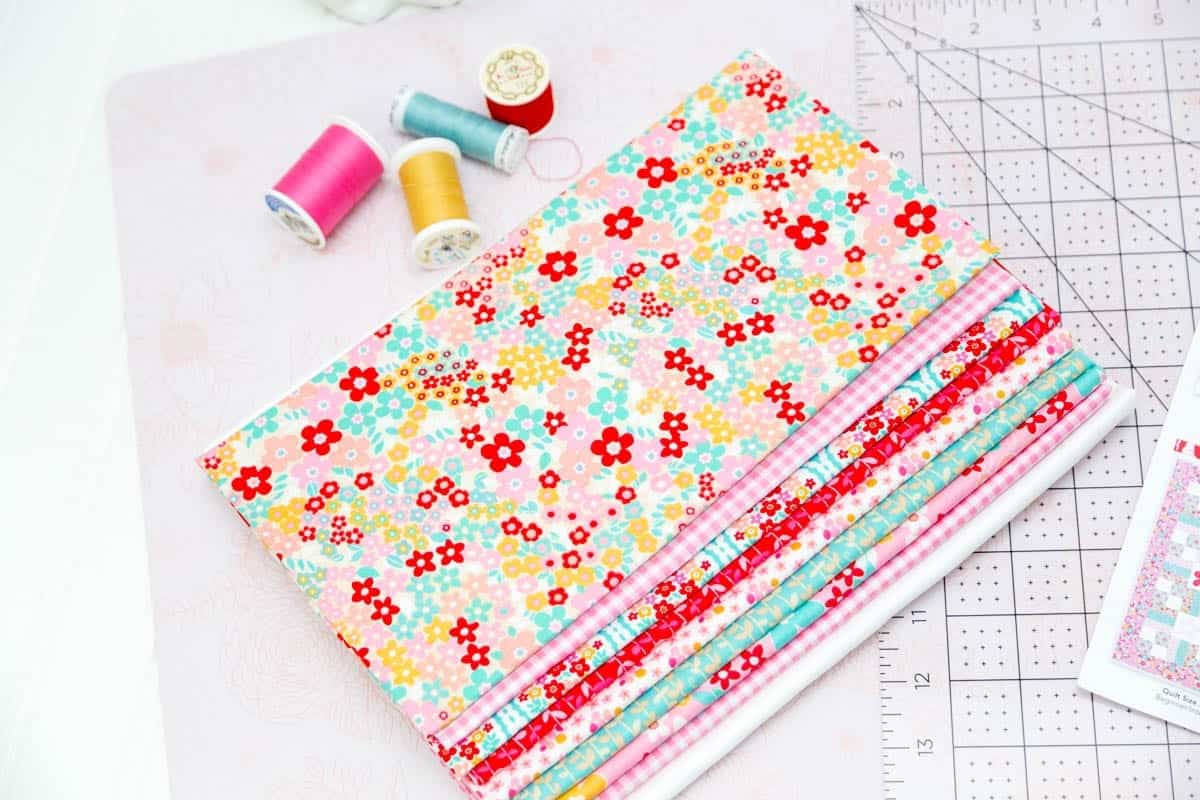
 Cut strips into 5-inch squares.
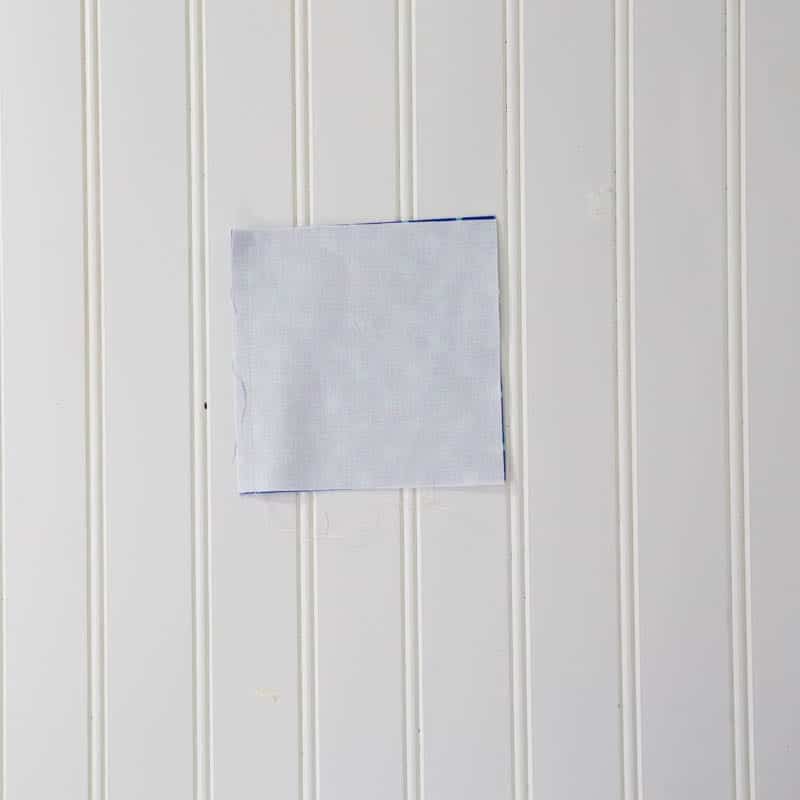
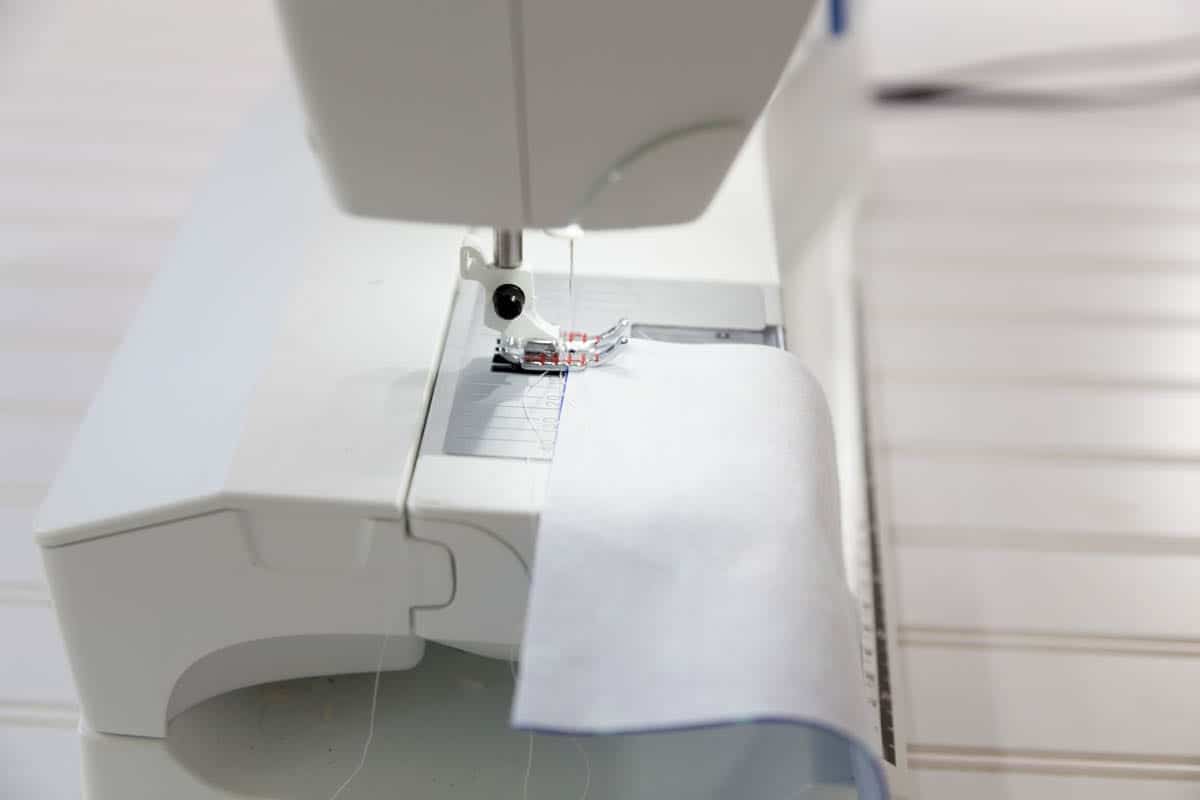
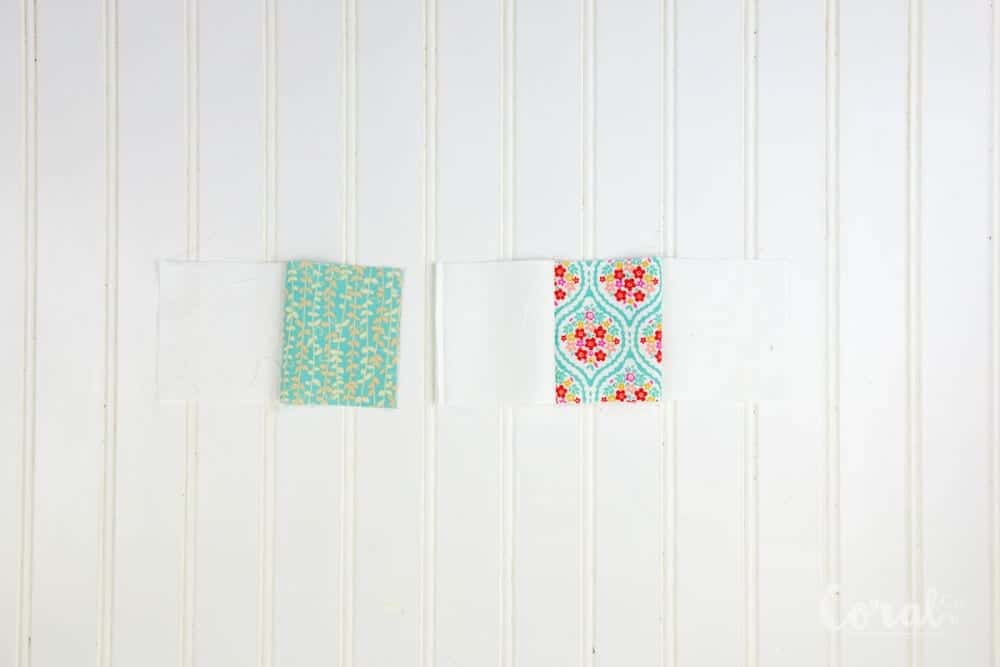
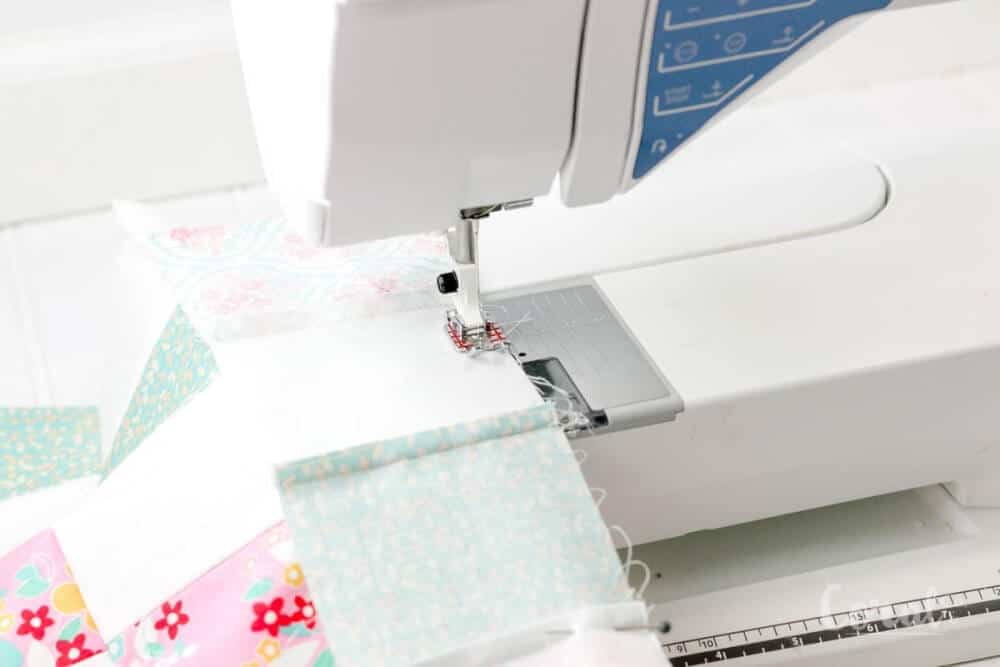
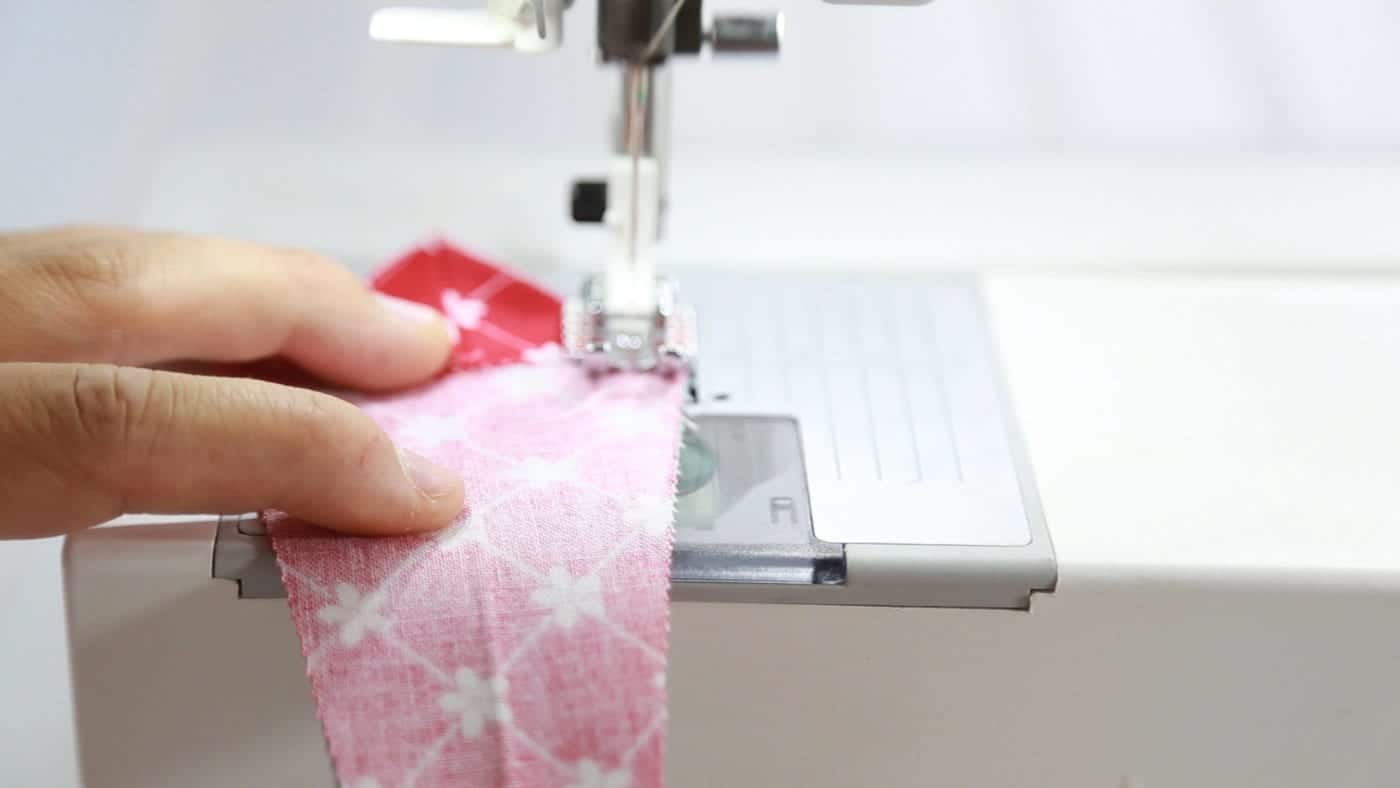
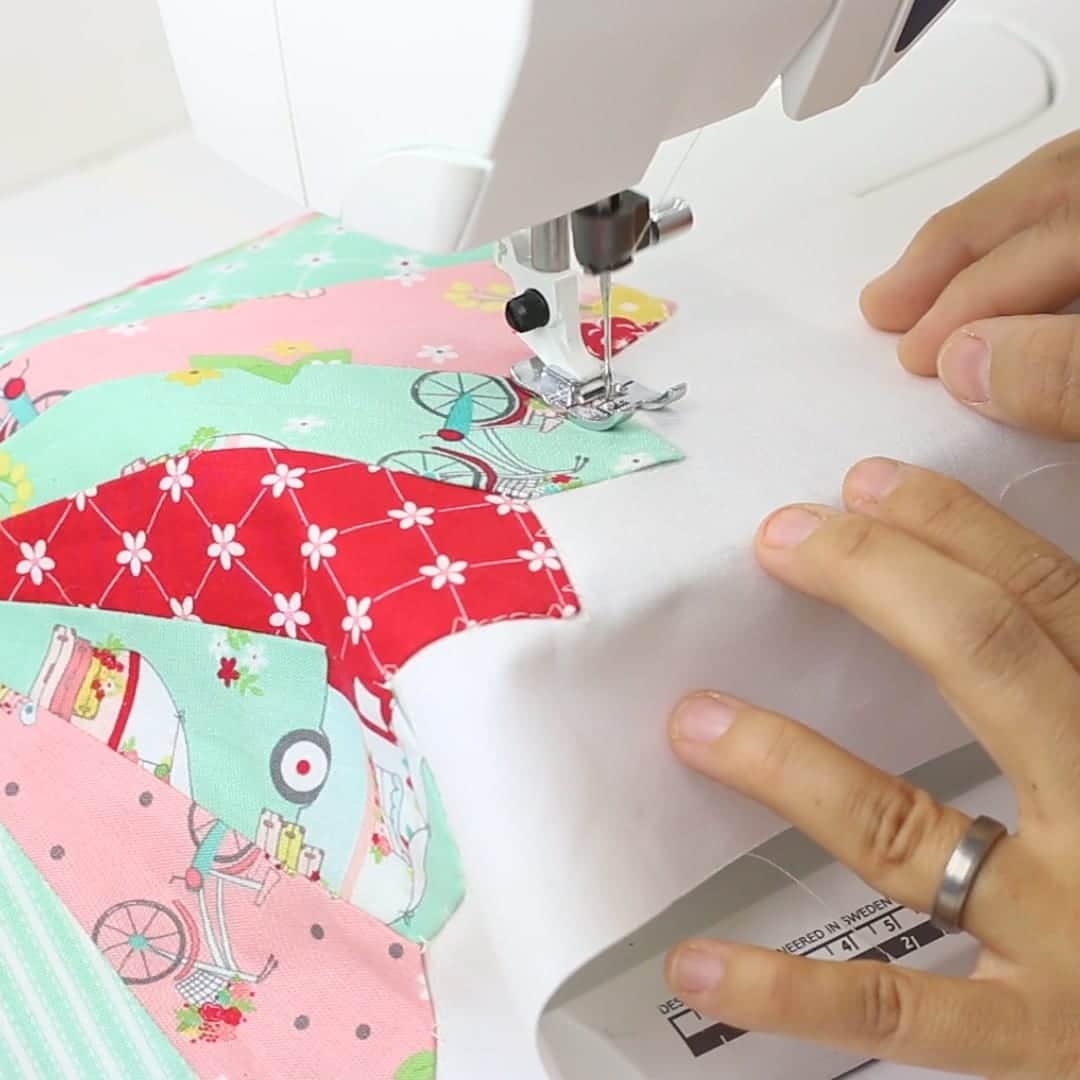
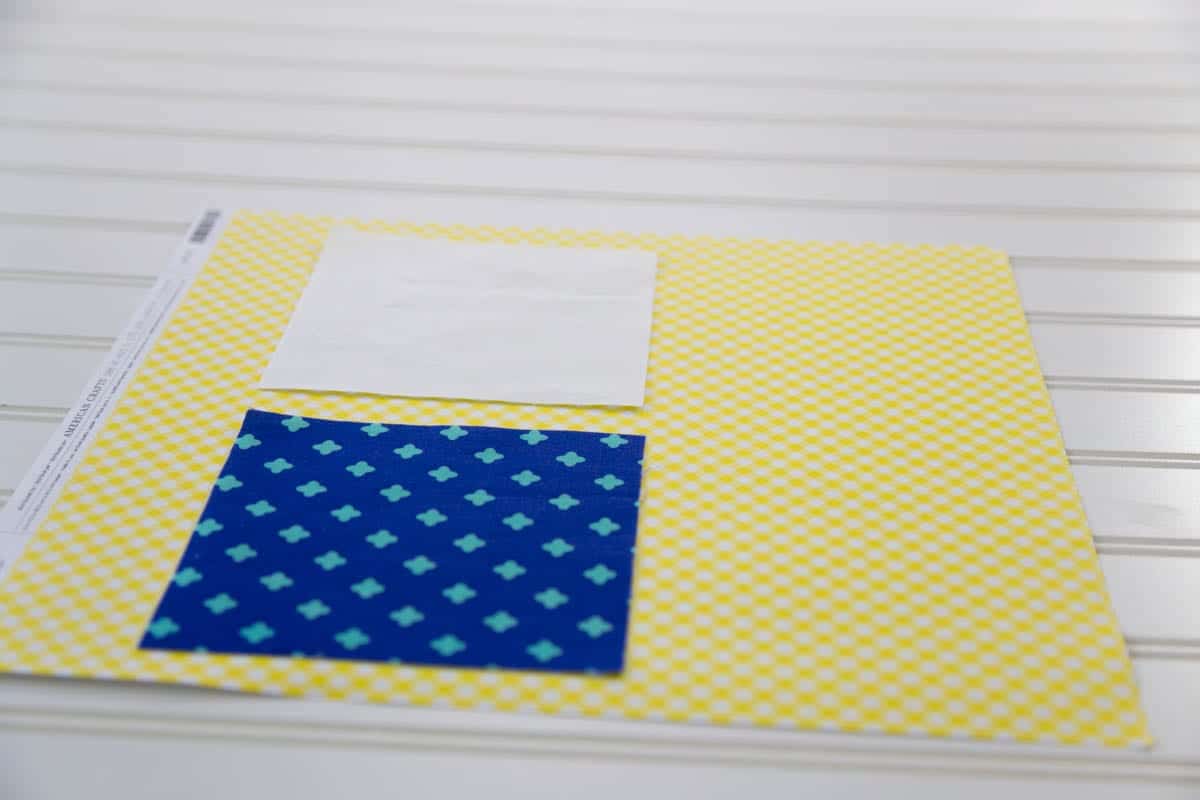
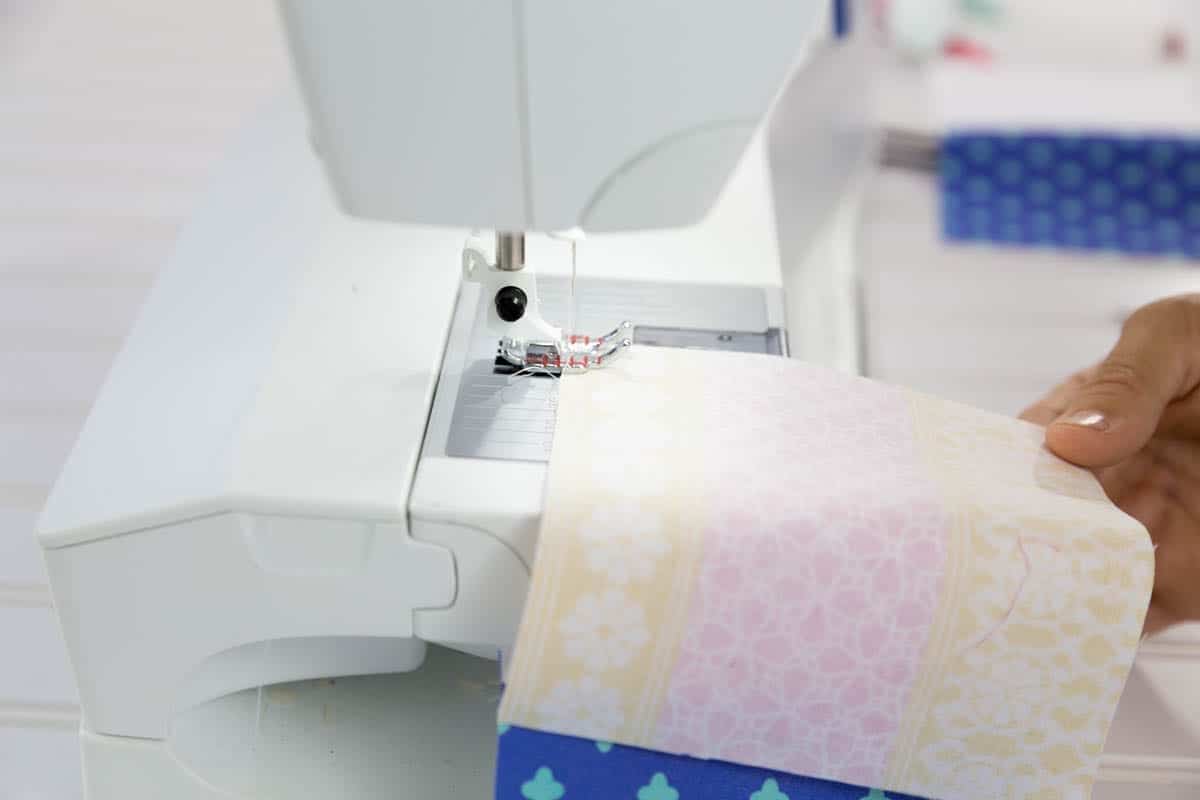 Sew 1/4″ down the right side.