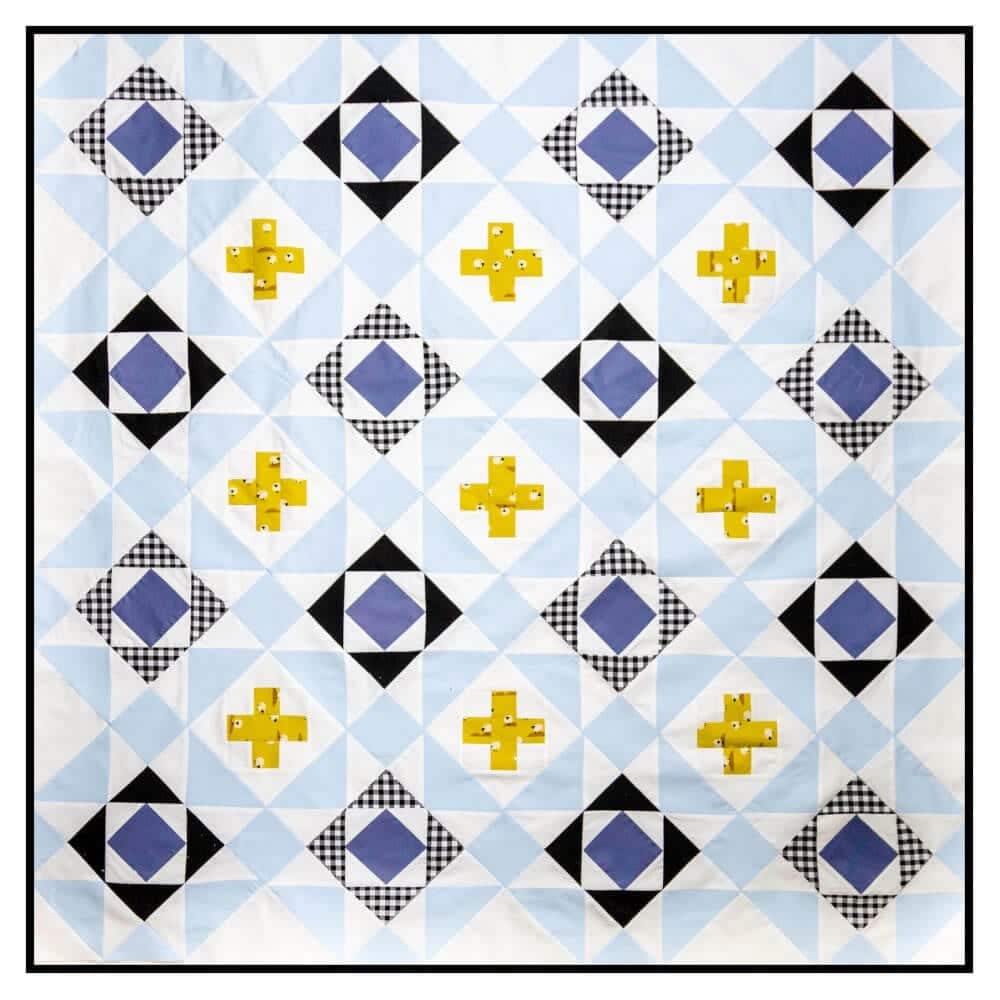
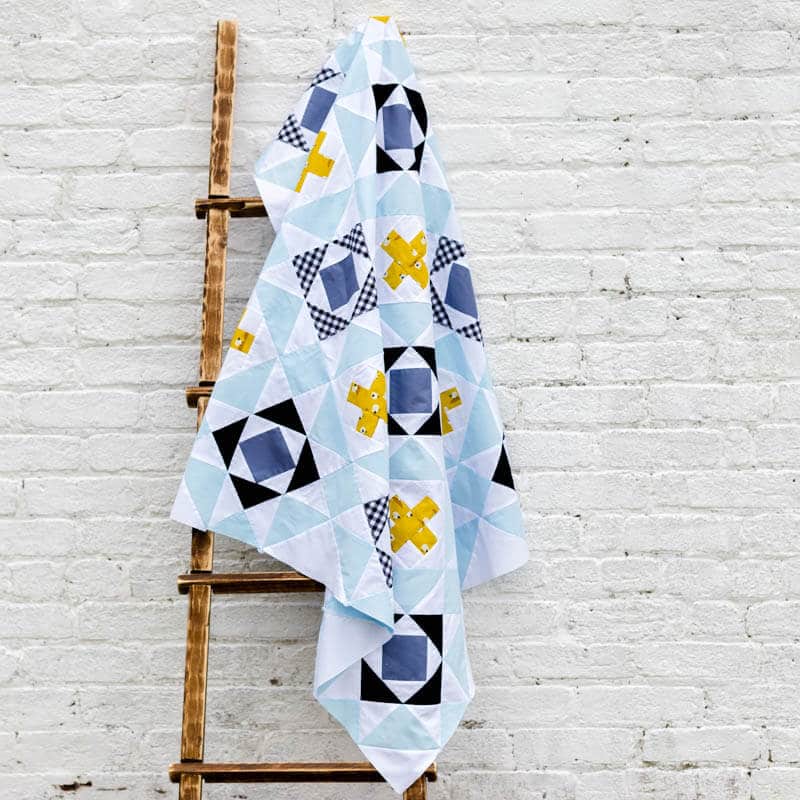
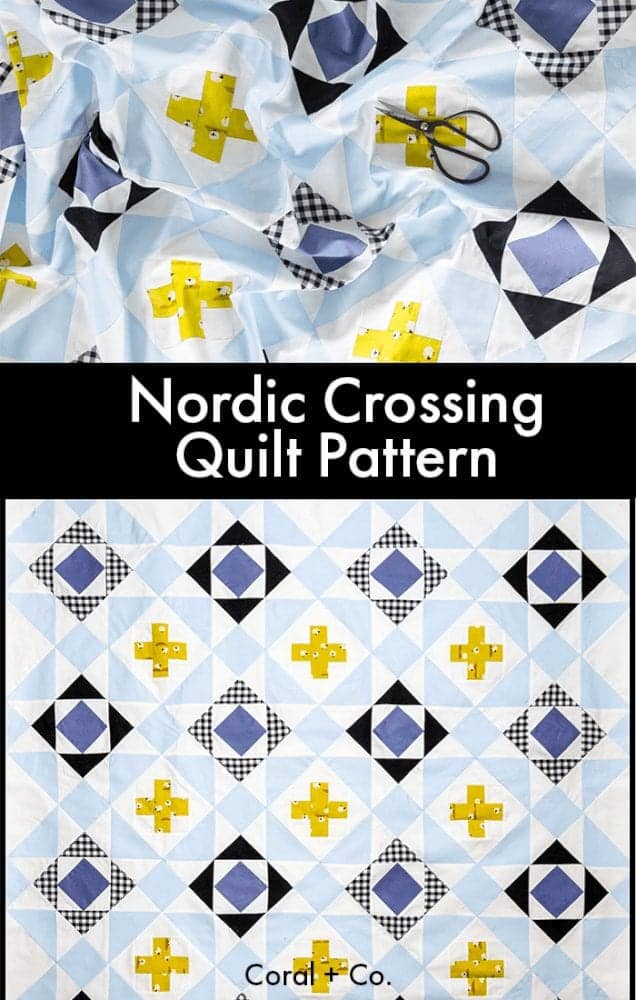
Today is the first day of the Nordic Crossing Quilt Along and it is going to be so much fun! This is actually my very first quilt along so I will have just as much fun joining you as we put together our Nordic Crossing Quilt. Yay!
So don’t get too worried about getting behind this first week, because guess what? This is the week where you get to make sure that you have all your fabrics in place and have considered your options for how you want the quilt to turn out.
You can sign up for the Nordic Crossing Quilt Along Emails so you don’t miss a thing if you still need to!
NORDIC CROSSING QUILT ALONG
Dates: January 8 – February 26
Duration: 8 Weeks
Quilt Size: 48″ x 48″ but you are welcome to make any size you would like
Get the Nordic Crossing Quilt Kit from Cottoneer Fabrics
SCHEDULE:
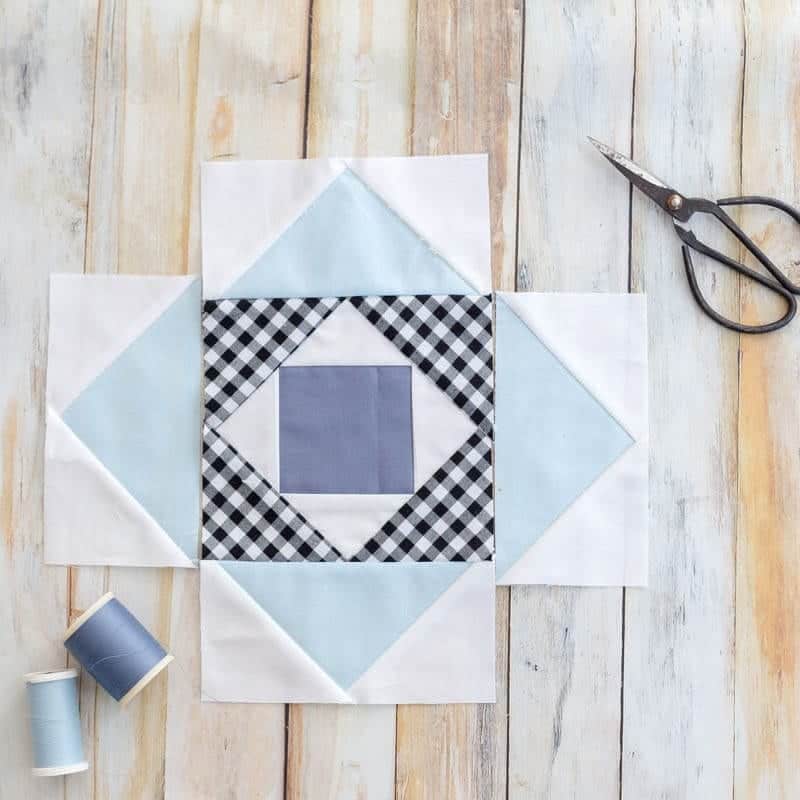
- Week One: Gather and cut fabrics, Make your first block or a test block
- Week Two: Make 8 Square in a Square Blocks
- Week Three: Make 8 Square in a Square Blocks
- Week Four: Make 9 Plus Blocks
- Week Five: Make 32 Flying Geese Blocks
- Week Six: Make 32 Flying Geese Blocks
- Week Seven: Piece blocks into rows.
- Week Eight: Sew together rows. Quilt or send out for quilting.
HOW TO FOLLOW ALONG:
- Follow along on Instagram using the hashtag #nordiccrossingquilt or join the facebook group.
- RSVP (below) for the Quilt Along
- A new blog post and video will be up each Monday of the quilt along.
[mailerlite_form form_id=12]
SUPPLIES NEEDED:
Nordic Crossing Quilt Kit or Fabric Requirements Below:
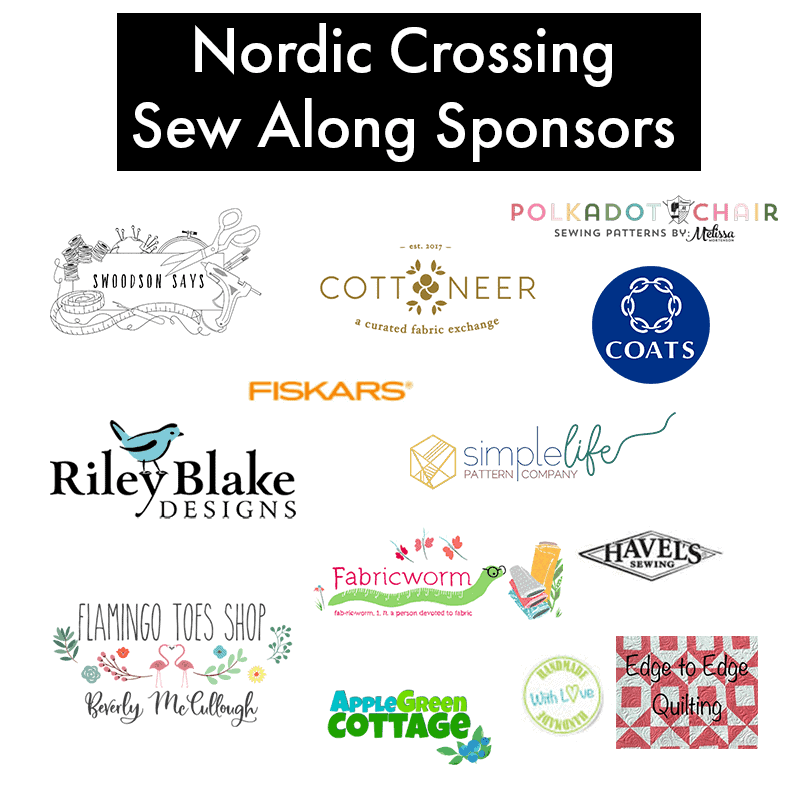
WEEKLY PRIZES
There will be some great weekly prizes totaling over a $500 value along the way for the participants who post to the #nordiccrossingquilt hashtag on Instagram. Be sure to check out the sponsors below!
WEEK ONE
- Introduce yourself on Instagram! Show us your face, show us your fabric 🙂 Remember to use the hashtag #nordiccrossingquilt
- Gather fabrics/ pattern and supplies
- Make a test block if that’s helpful for you!
- Cut your fabrics after making your test block. You can cut all at once this week or cut the blocks as you go each week.
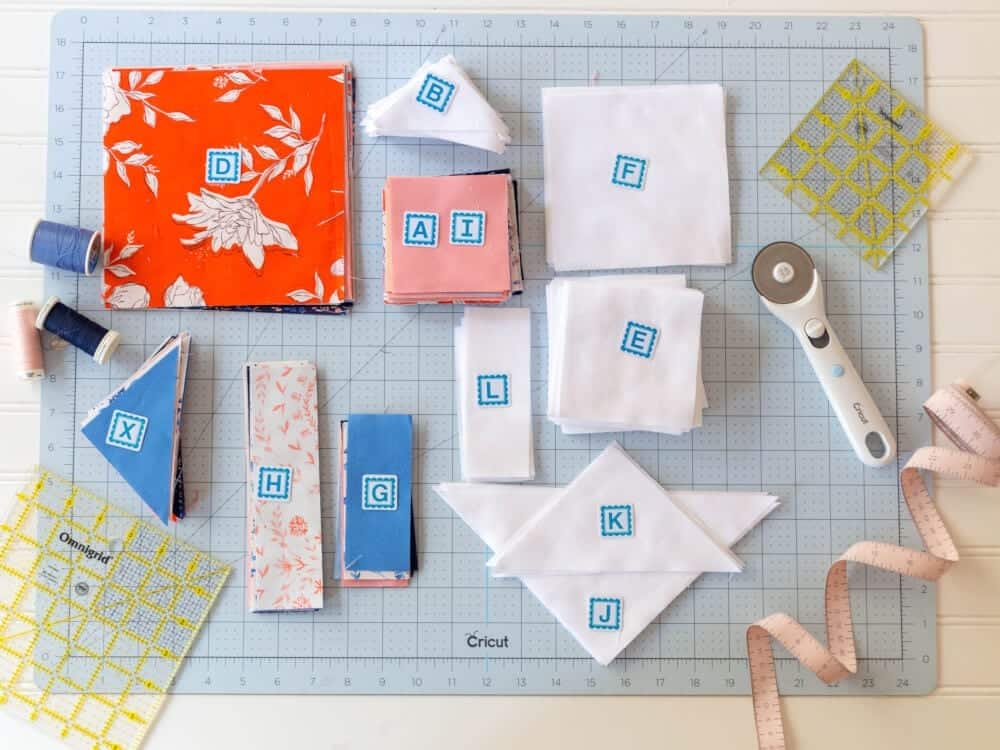
We will ease into this quilt along with a little prep and a little cutting.
GRAB THE PATTERN
If you don’t have the pattern already, grab your copy in the shop.
GATHER THE FABRICS
If you don’t have your fabric yet, don’t panic! Order them up so you are ready to go next week.
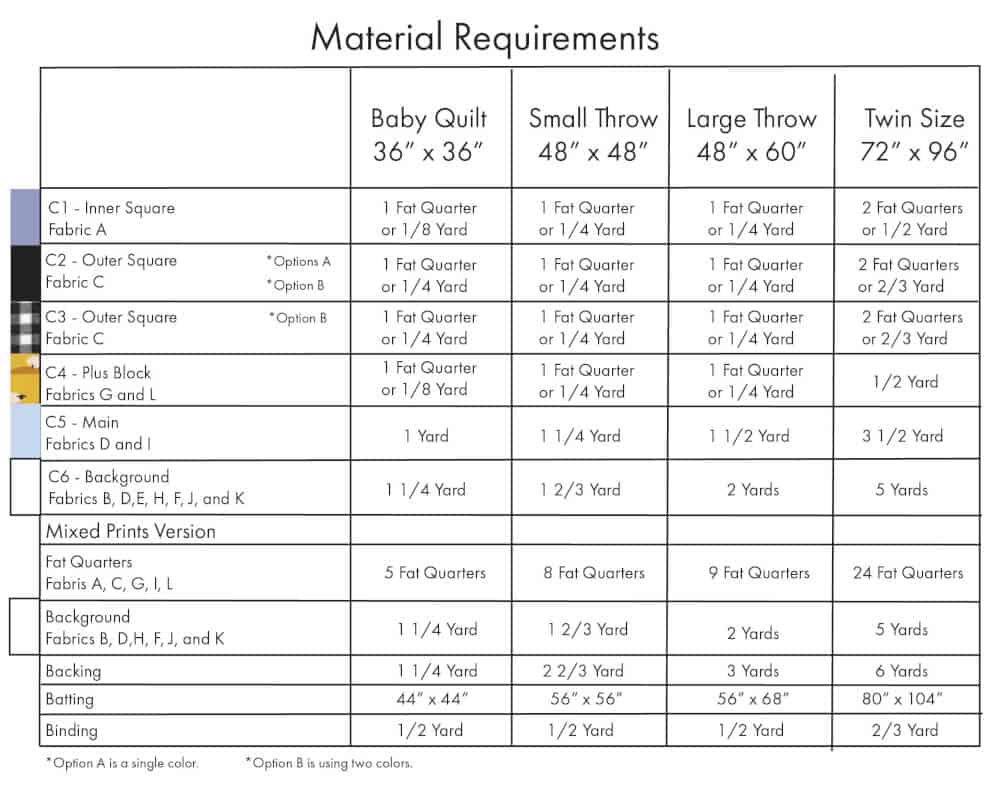
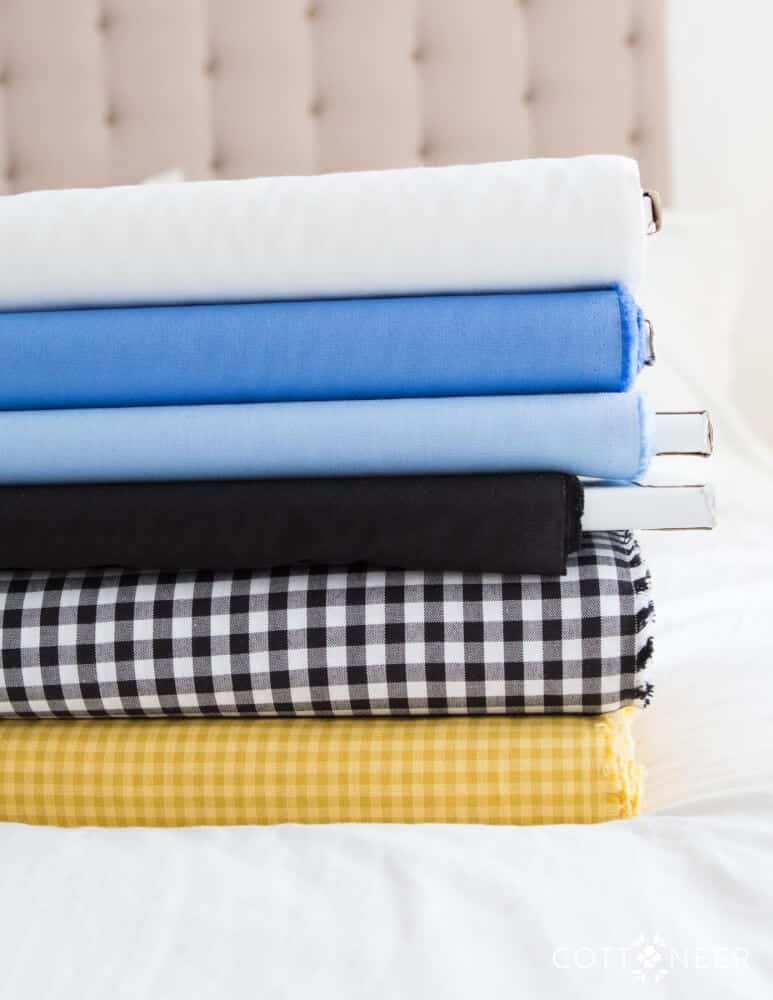
Fat Quarters: The small throw size of the Nordic Crossing quilt requires 8 fat quarters for the scrappy version (or more depending on how scrappy you would like it to look) or 1 1/4 of your main print for the main version.
Accent Fabric: You will also need 1 Fat quarter or 1/4 yards of each of the accent fabrics. Or skip the accent and add an extra yard of background.
Background Fabric: 1 2/3 yards of background fabric
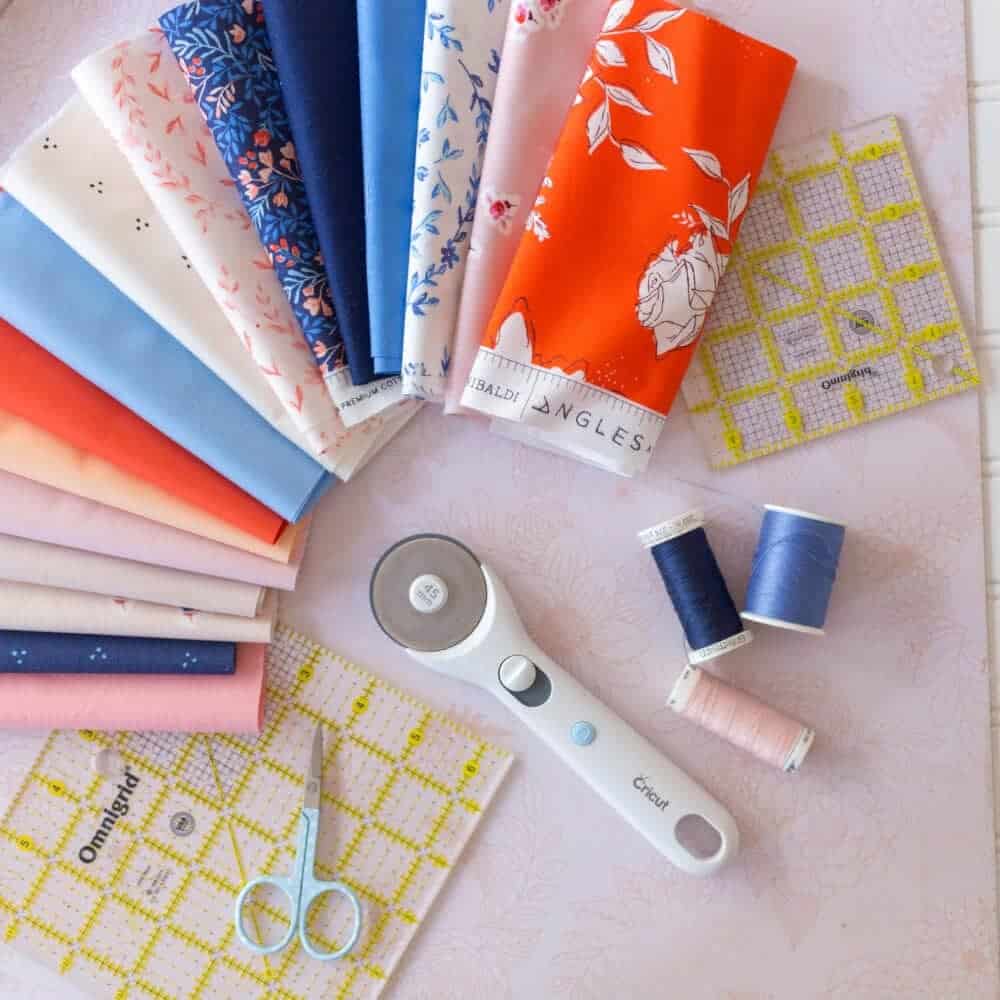
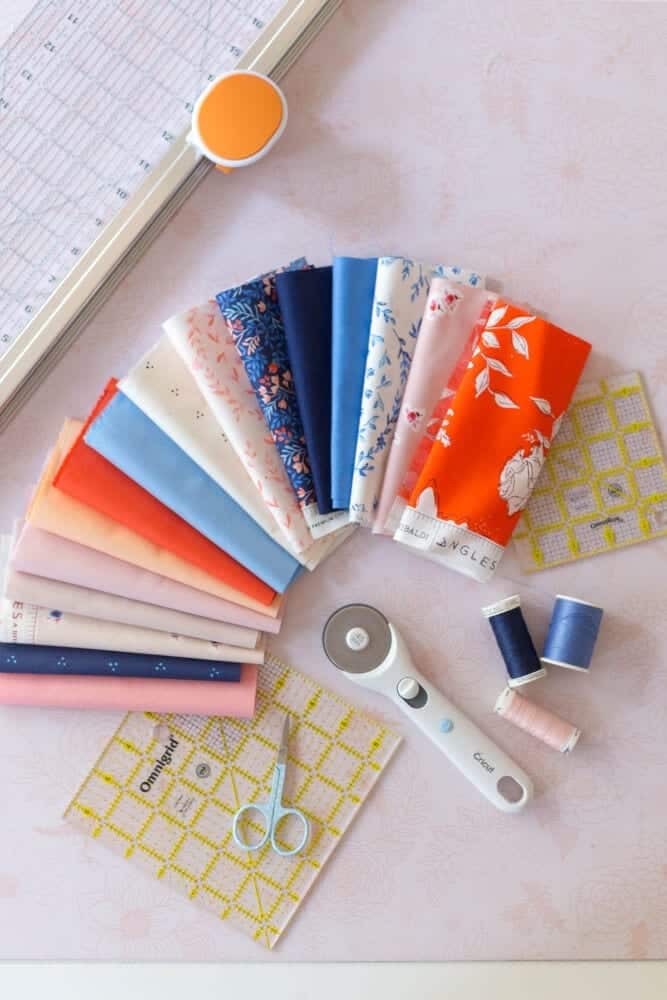
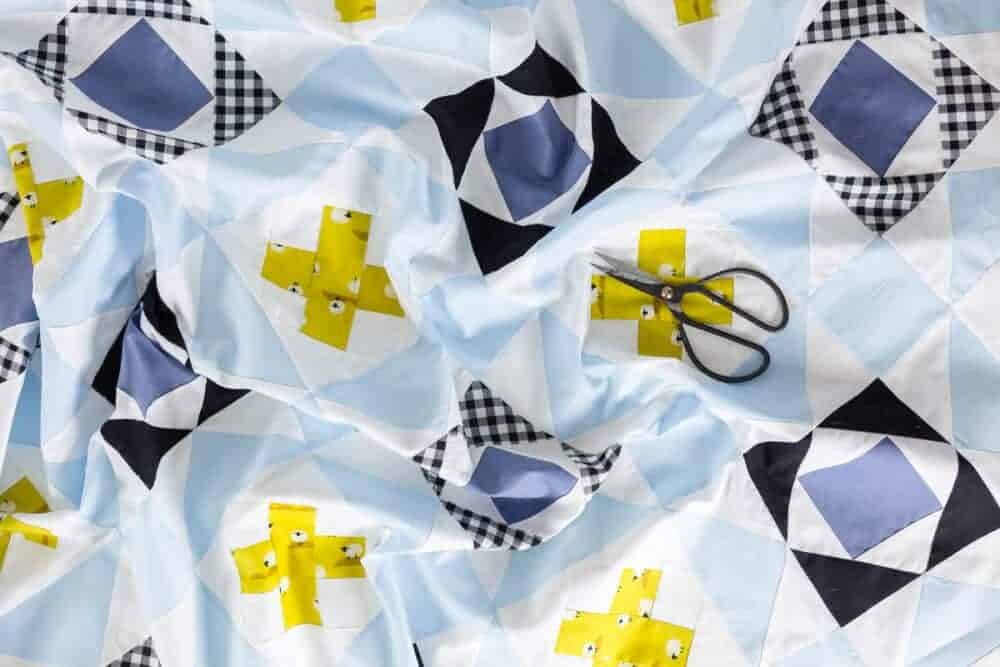
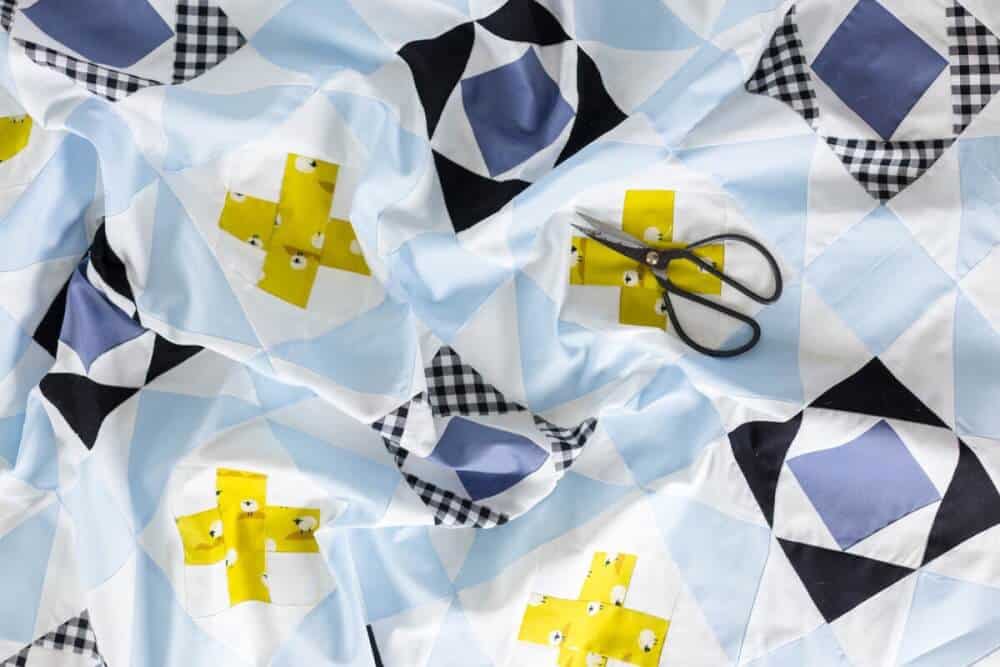
I’m using a bundle of Sonata fabrics for my Nordic Crossing quilt this time around to make a scrappy version with lots of pops of color that I picked up from Cottoneer Fabrics.
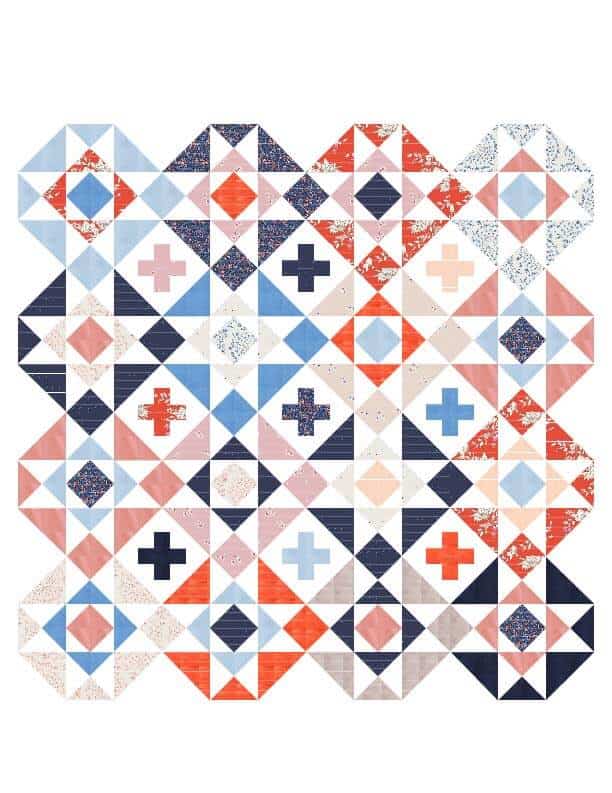
Scrappy Version Nordic Crossing Mockups
The first version is the one I will be making this week using Amy Sinabaldi’s Sonata and some solid fabrics from Cottoneer Fabrics.
 Ferngully Fabric Bundle From Cottoneer Fabrics
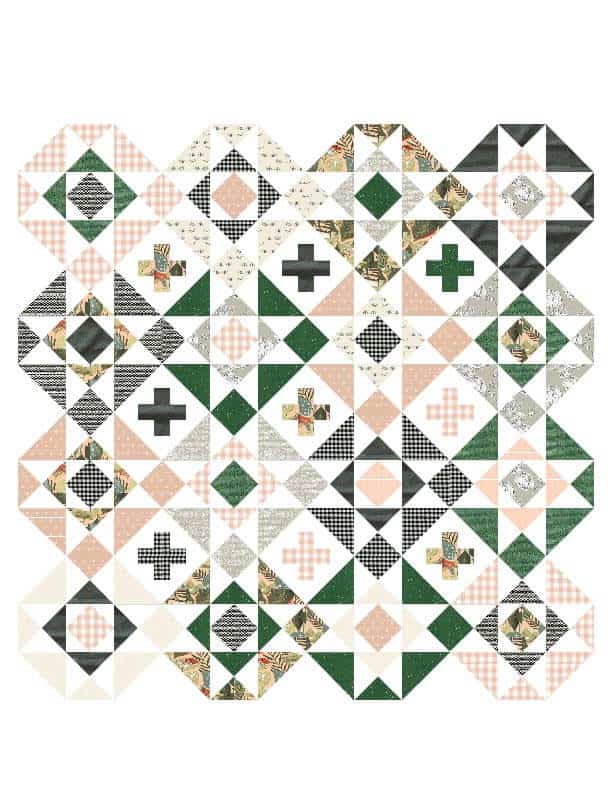
Forage from Anna Graham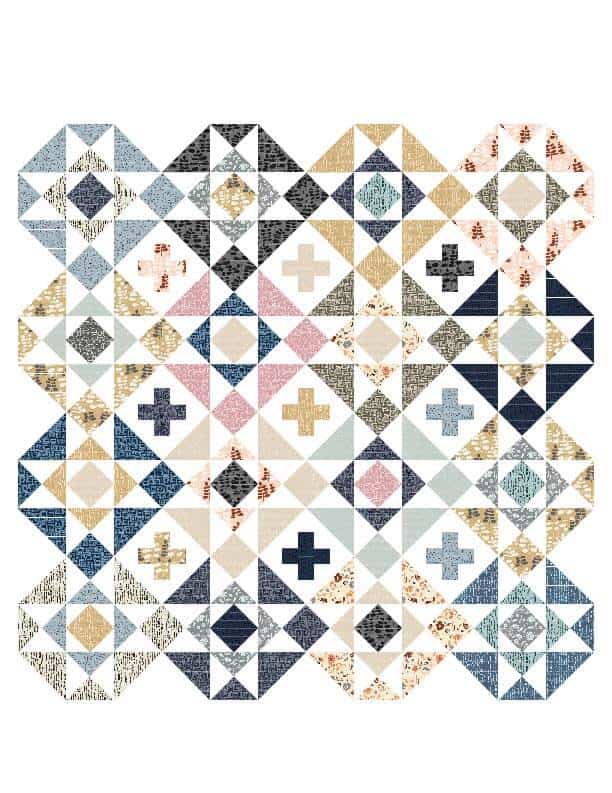 Download your coloring sheet to see what version you would like to make.
Thank you to this week’s sponsors Apple Green Cottage Sewing Patterns and Coats for supplying this weeks prizes!
![]()


 After you get your copy of the Nordic Crossing Quilt Pattern be sure to sign up for the Quilt Along that will be starting after the Holidays, you can get the
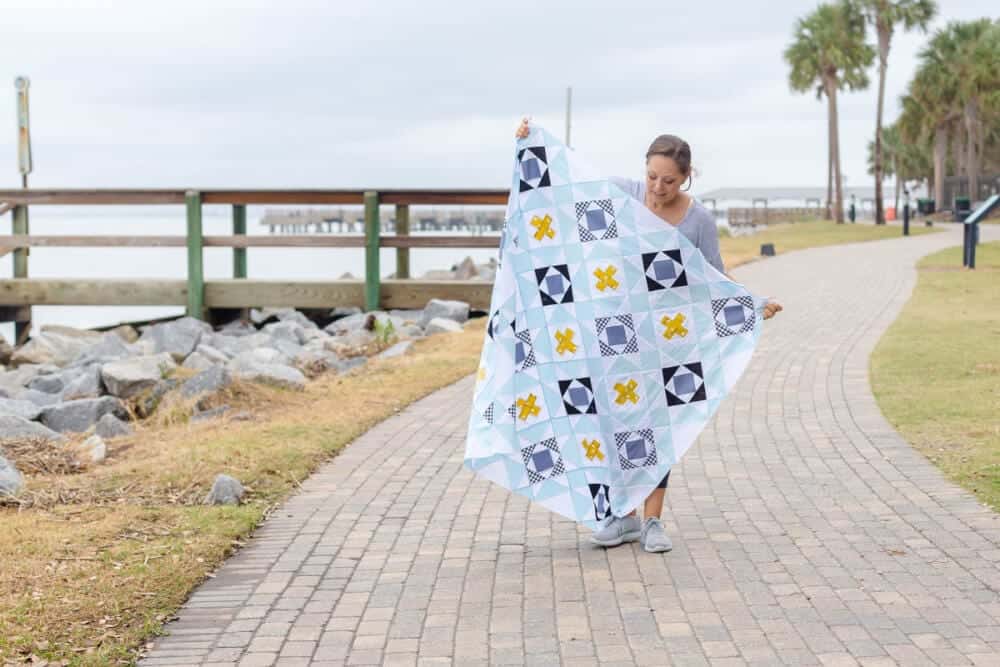
 I have provided the Material Requirments for all the quilt sizes so that you can easily reference them to get started.
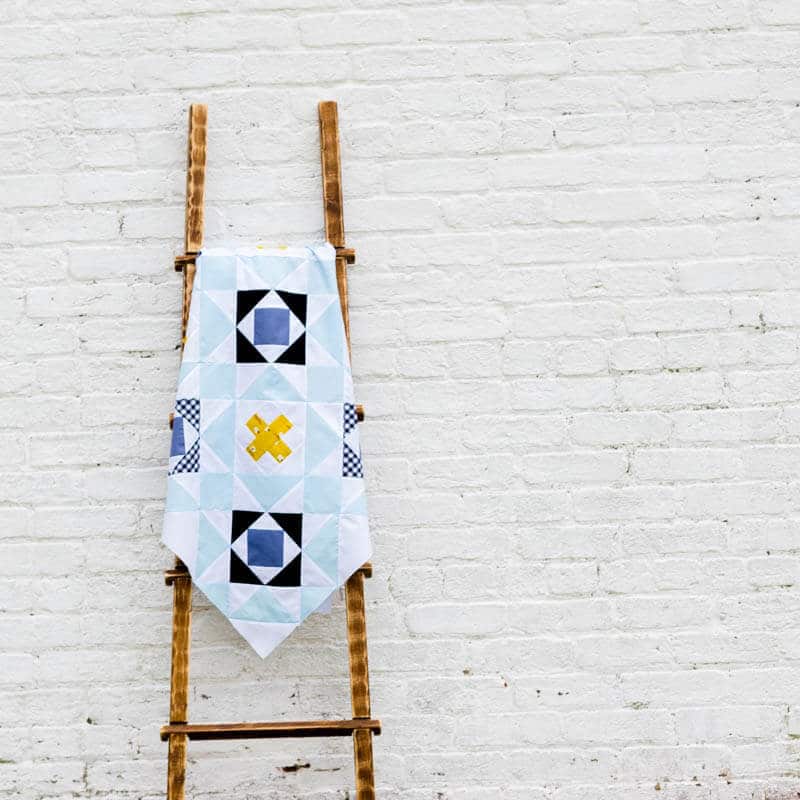


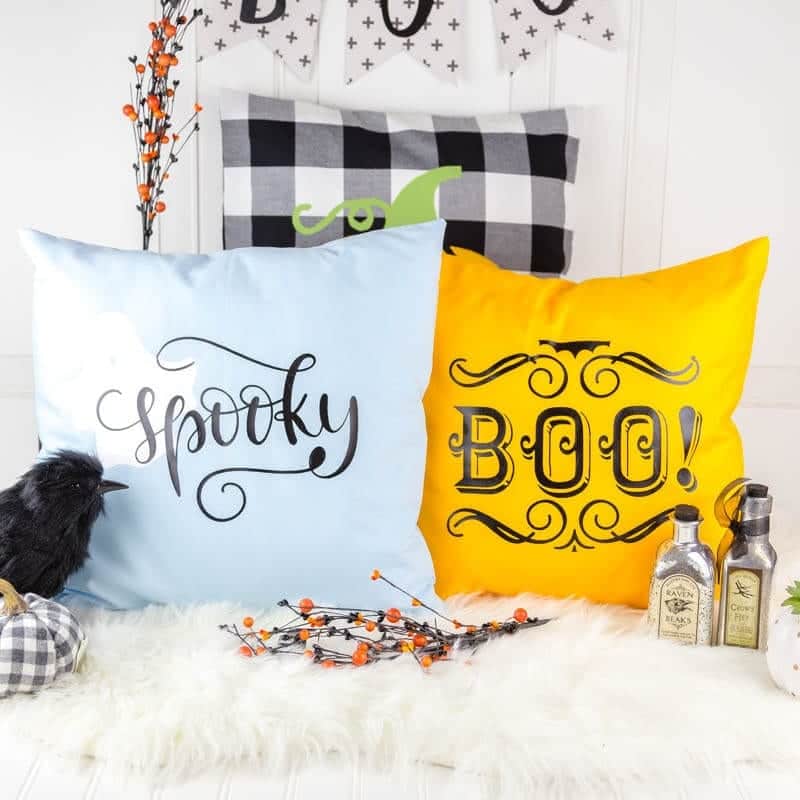
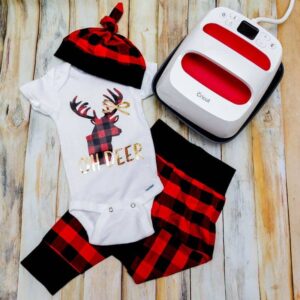
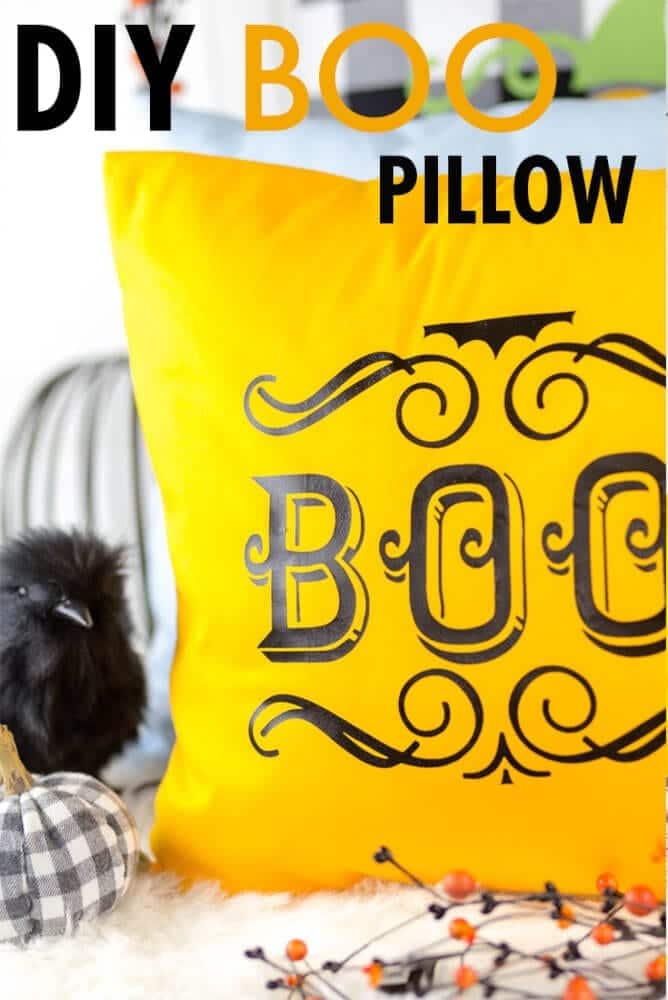
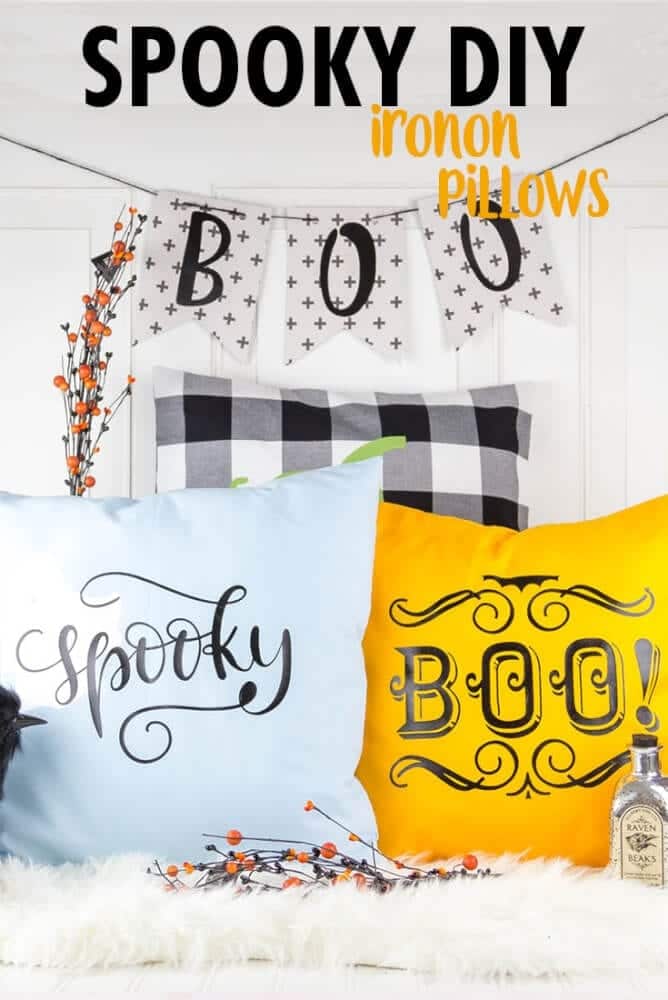 There are two different DIY Halloween Iron on Pillow Designs for you to choose from. There is a sweet spooky design with a ghost and a more serious Boo design. They are both really fun and look great together. You can also make them together with the
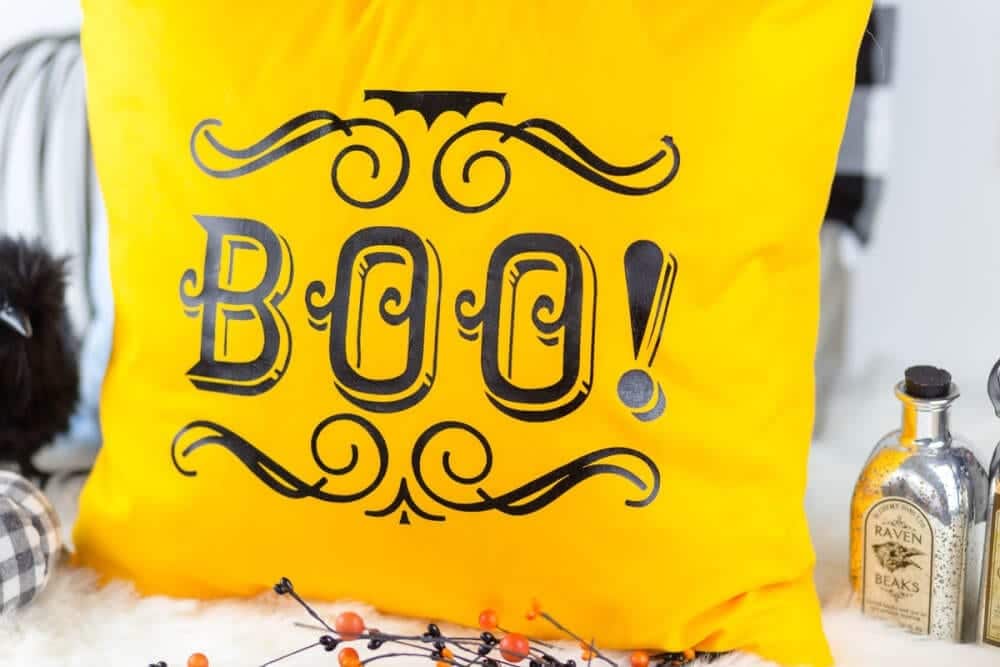
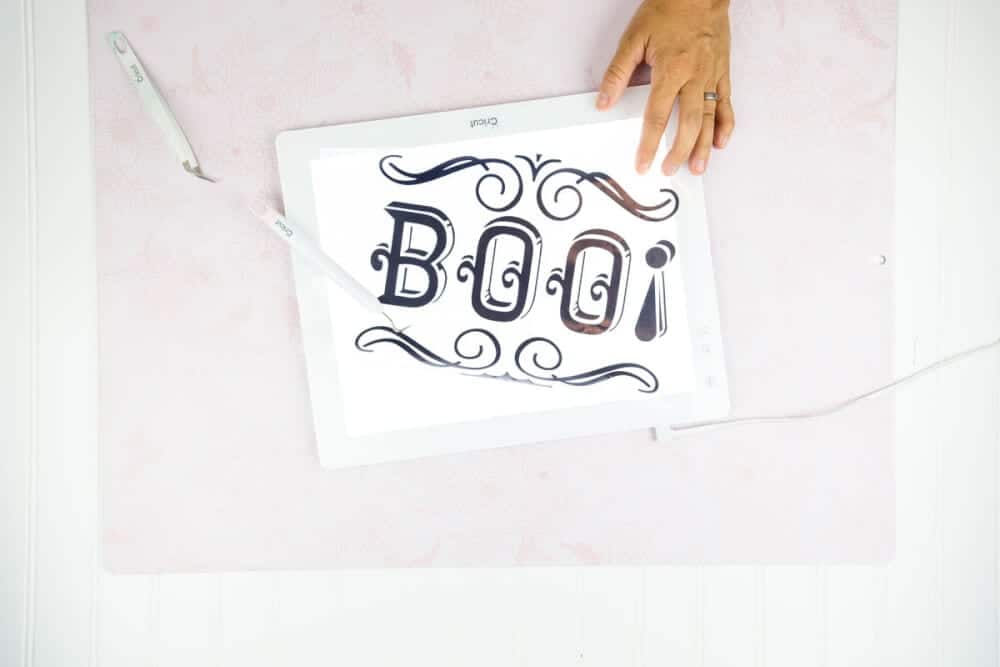
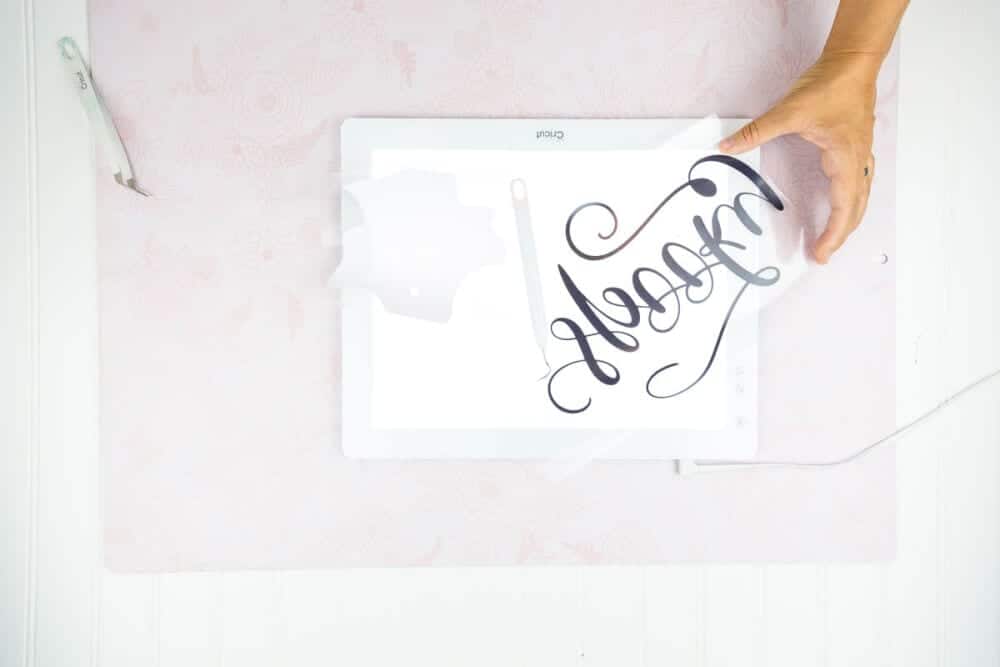
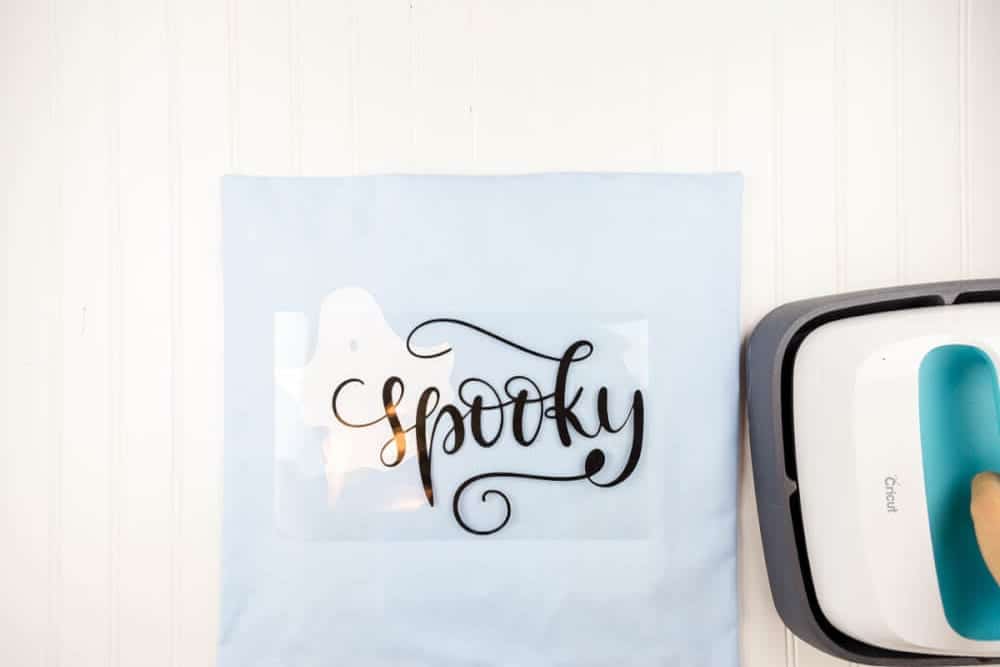
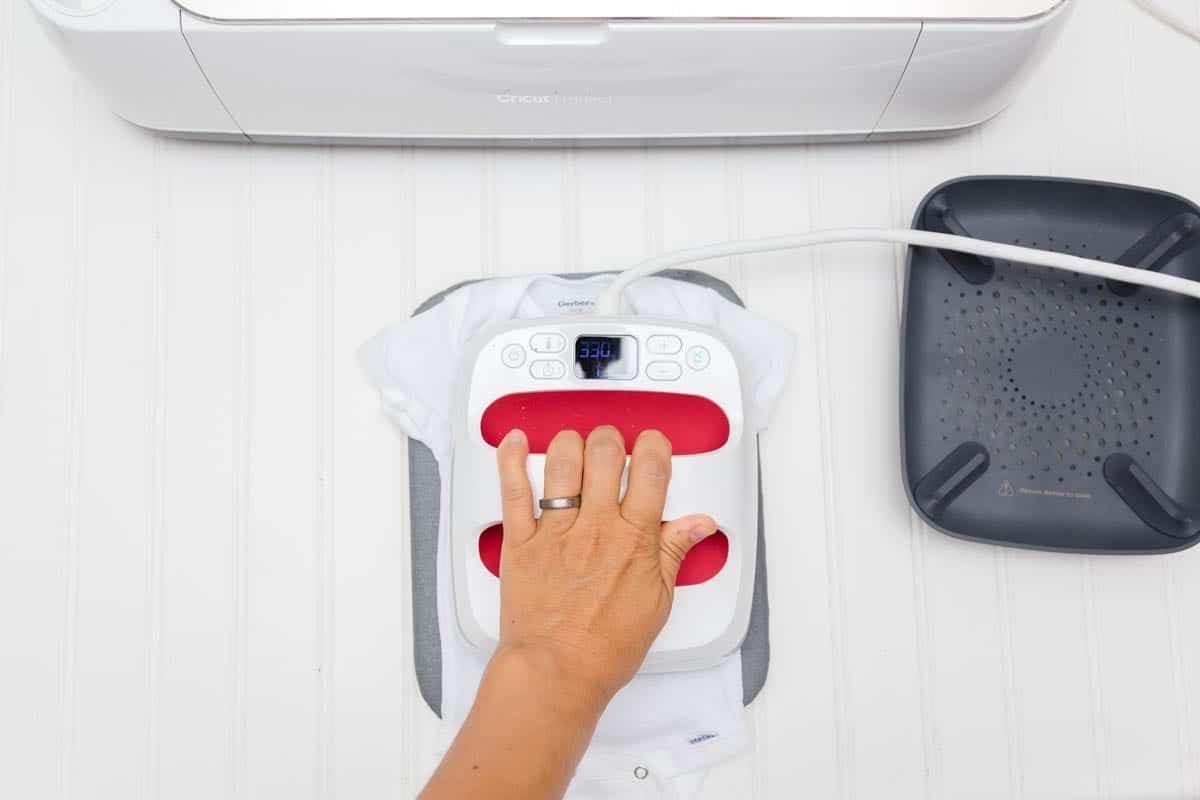
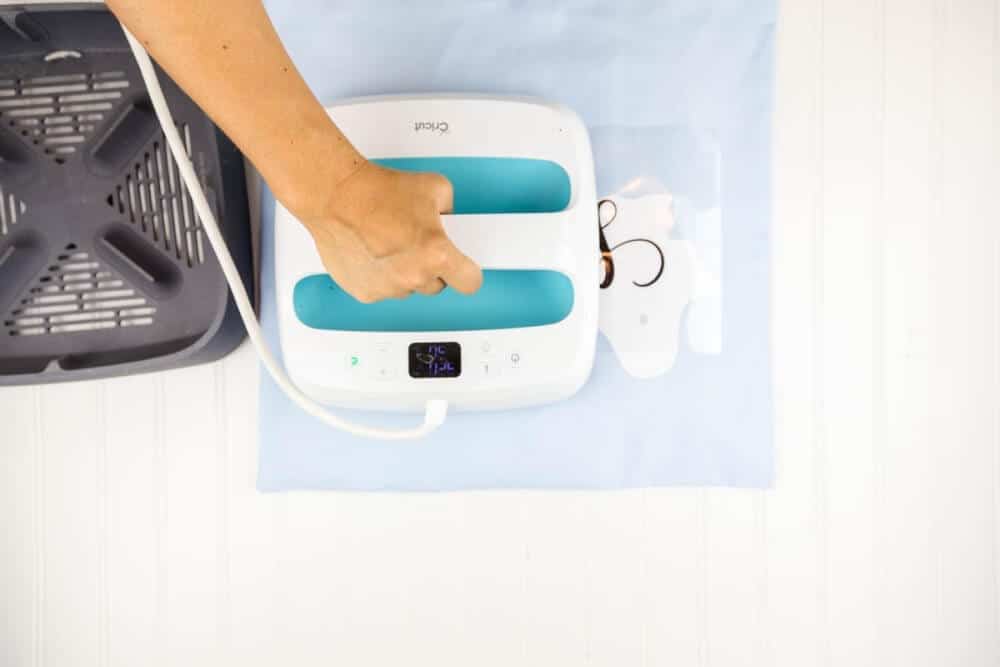 Then place the spooky word and iron it on according to the Cricut iron on settings guide.
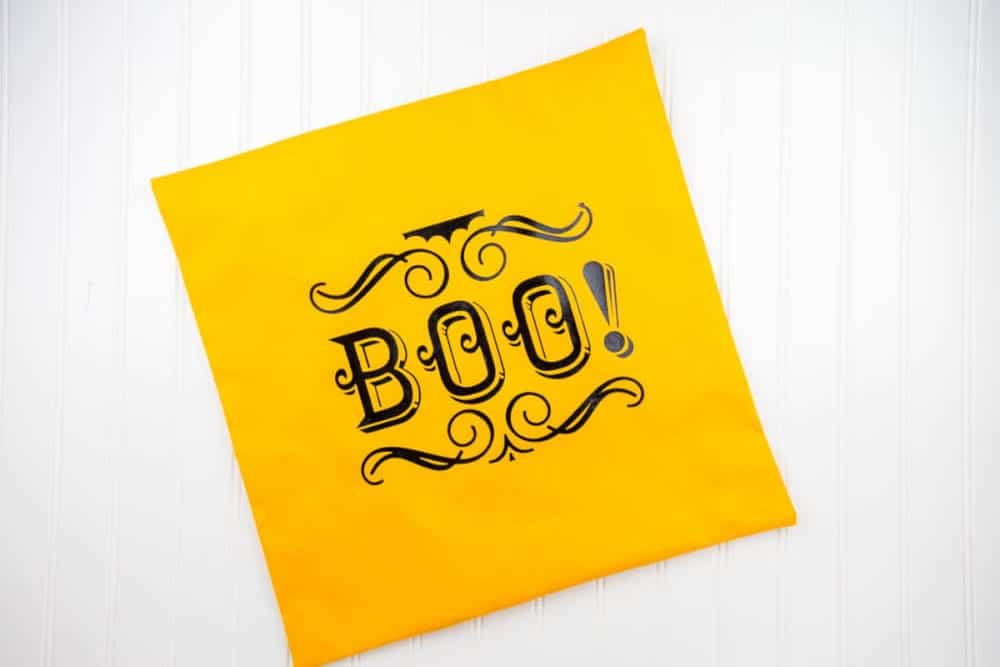
 This is a sponsored post written by me on behalf of JOANN. All opinions and text are my own.
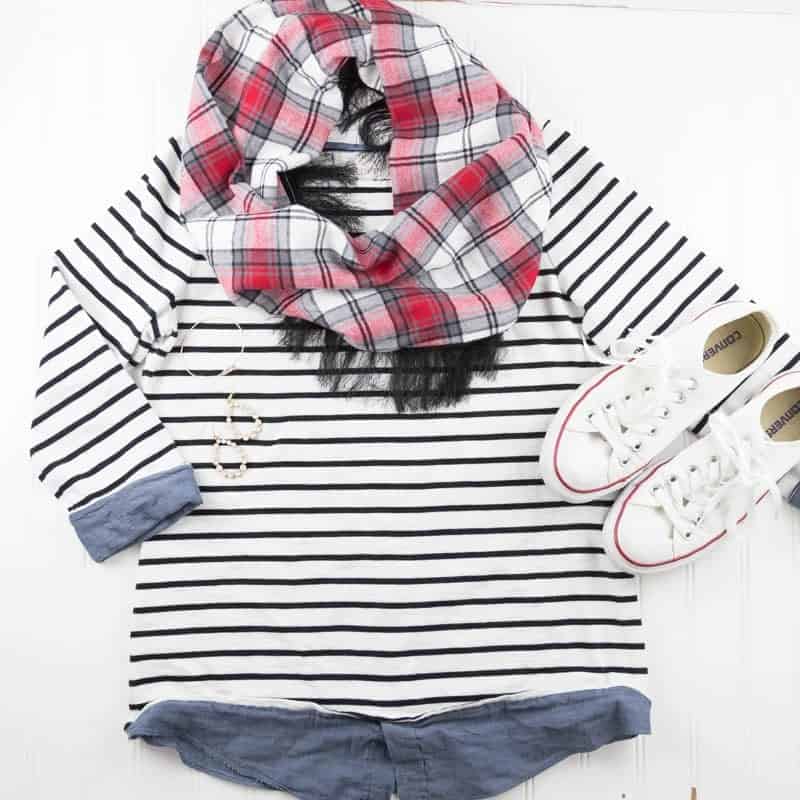
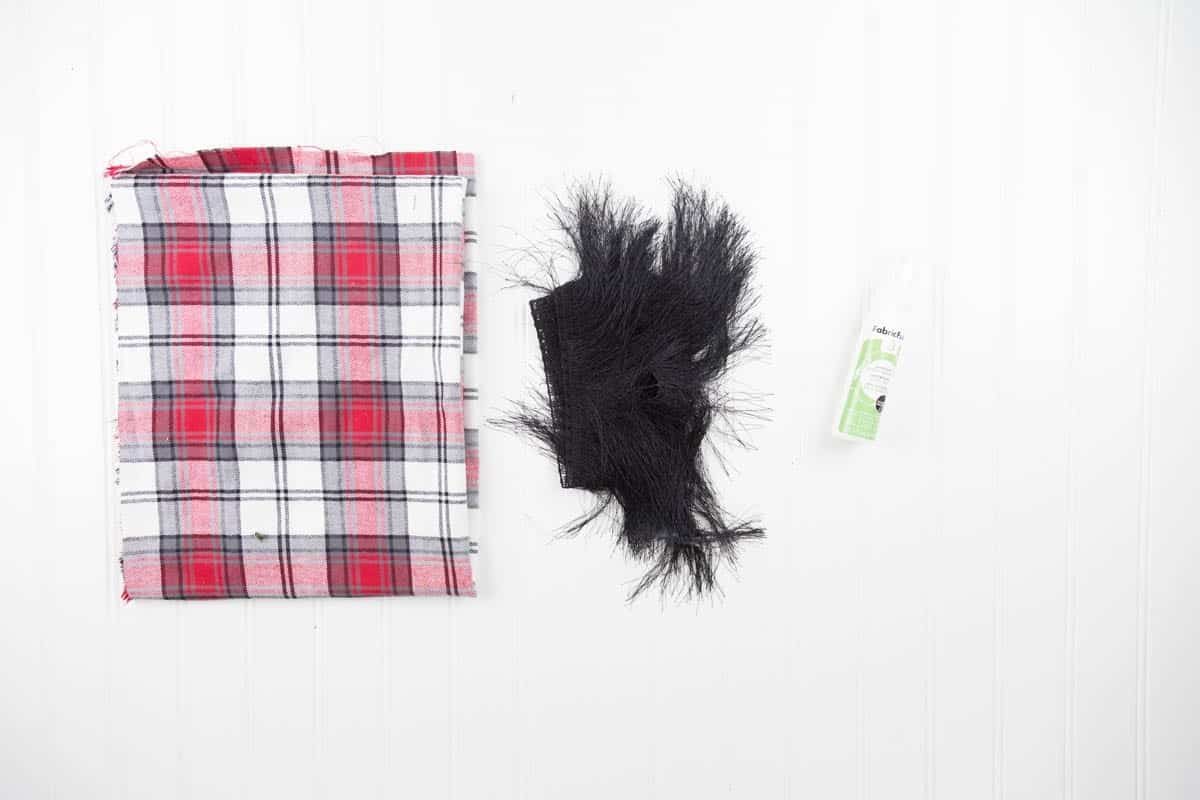
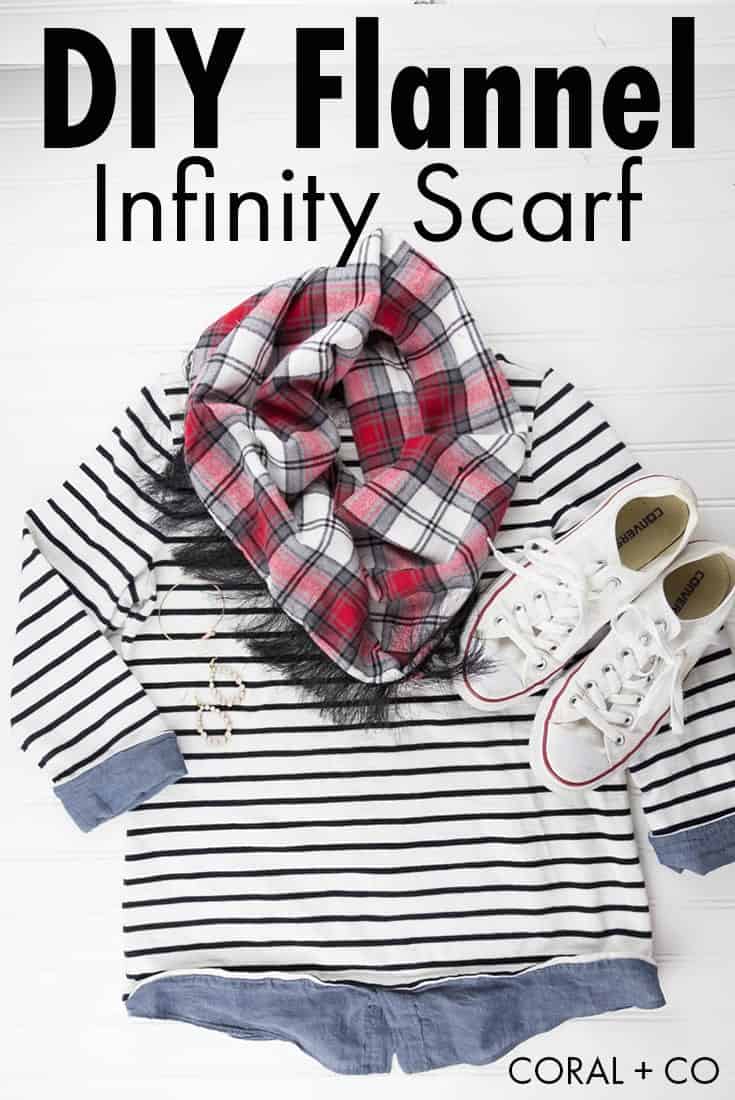
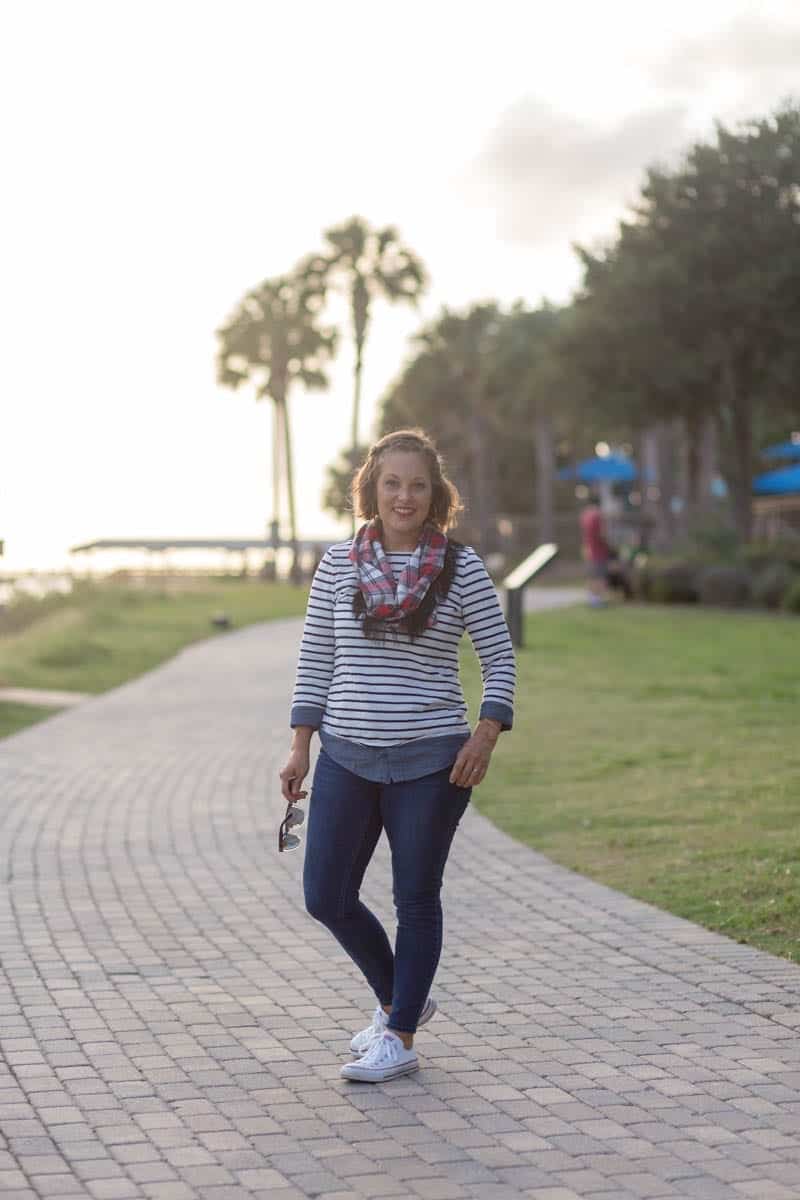 Infinity scarfs are the perfect fall and winter accessory and with all the trendy flannel fabrics at Joann, I just couldn’t pass up the opportunity to sew myself a new scarf. If you are loving the plaid trend you might like this
  In this tutorial, I will show you how to sew an infinity scarf and tips for adding trims or fringe to make it pop. I will also show you a variation so you can either make a longer looping infinity scarf or a shorter cowl style version.
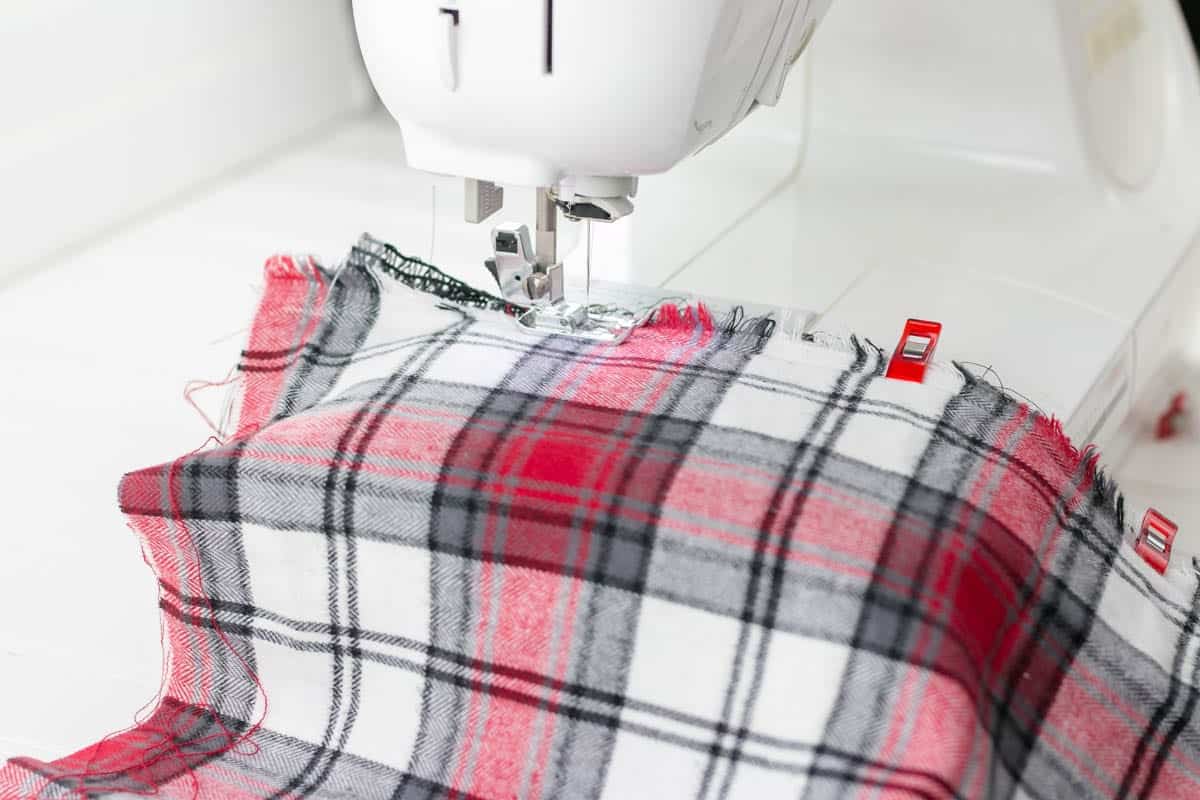
 Be sure to backstitch at both the beginning and end.
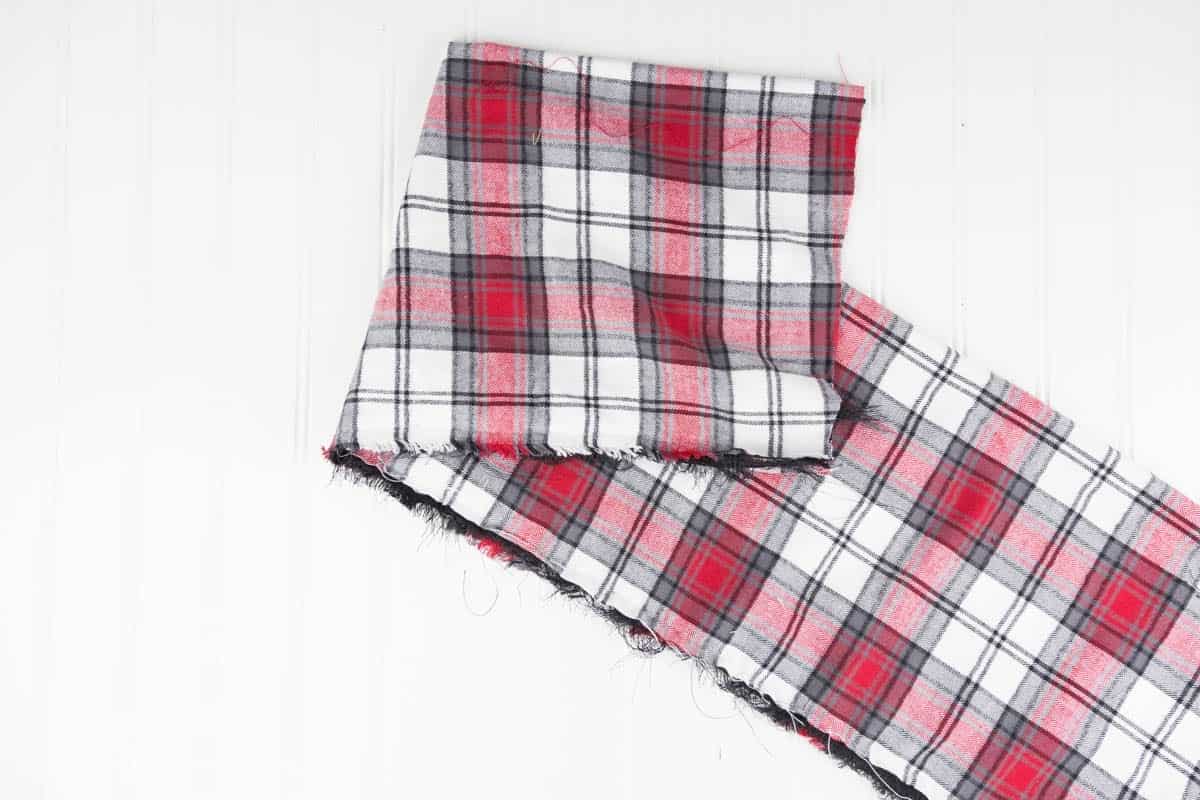
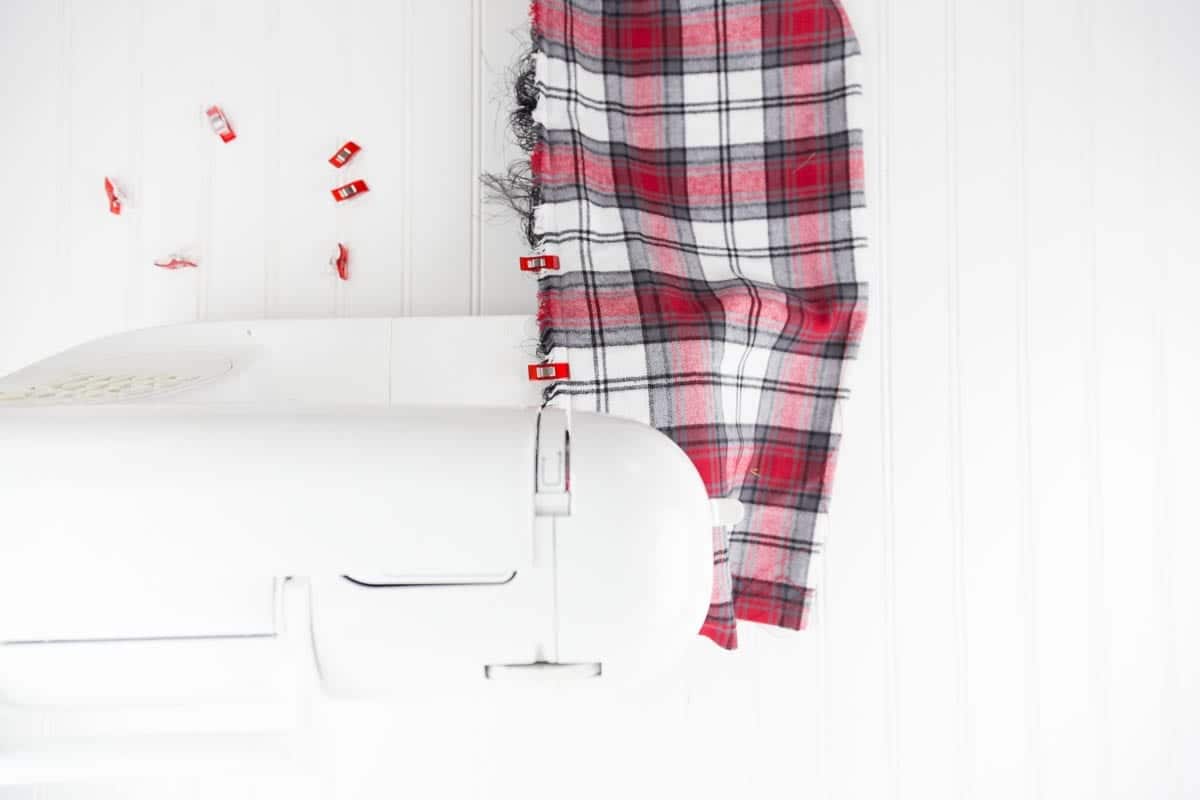
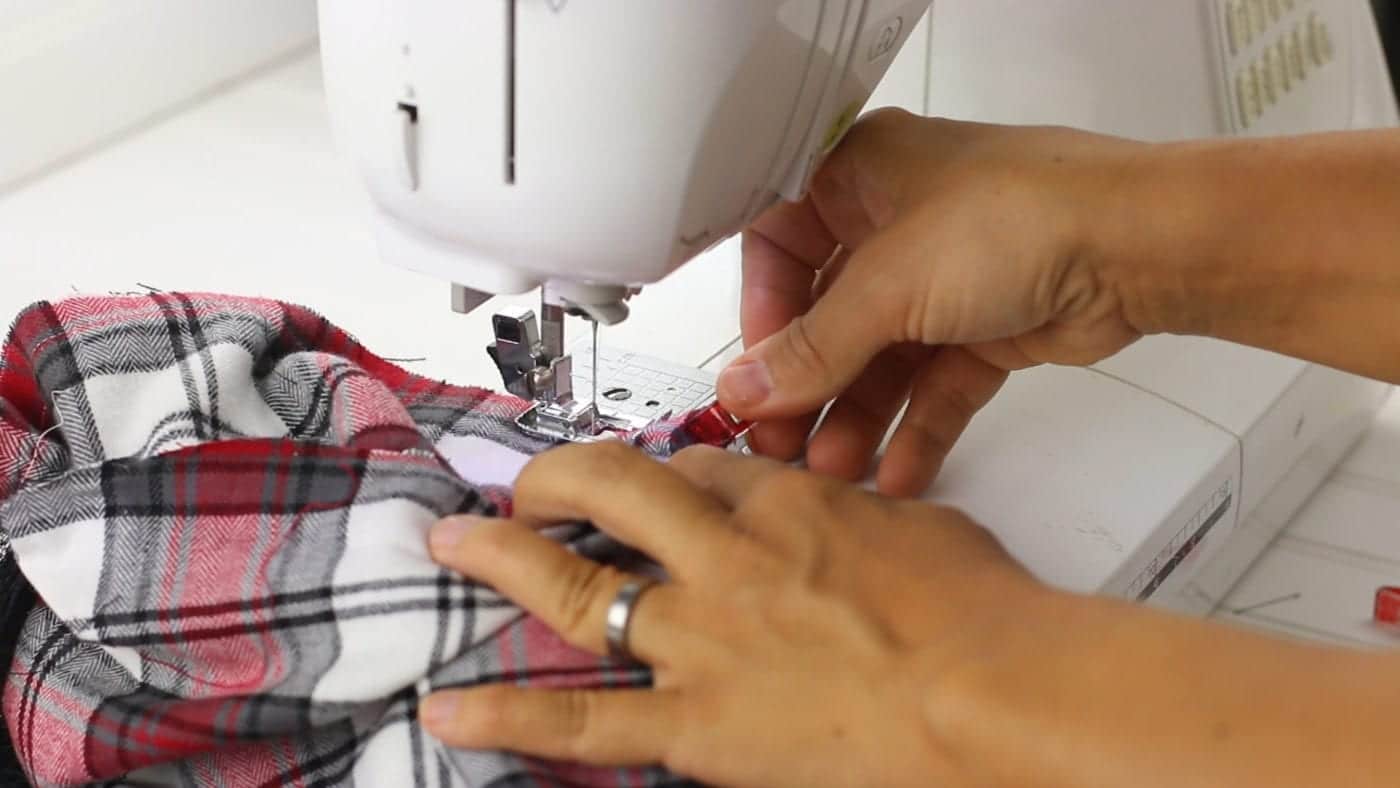 It will be a little awkward as you sew because you are sewing the inside seams from the outside. Sew as far as possible to join the ends. When you are no longer able to sew backstitch to secure.
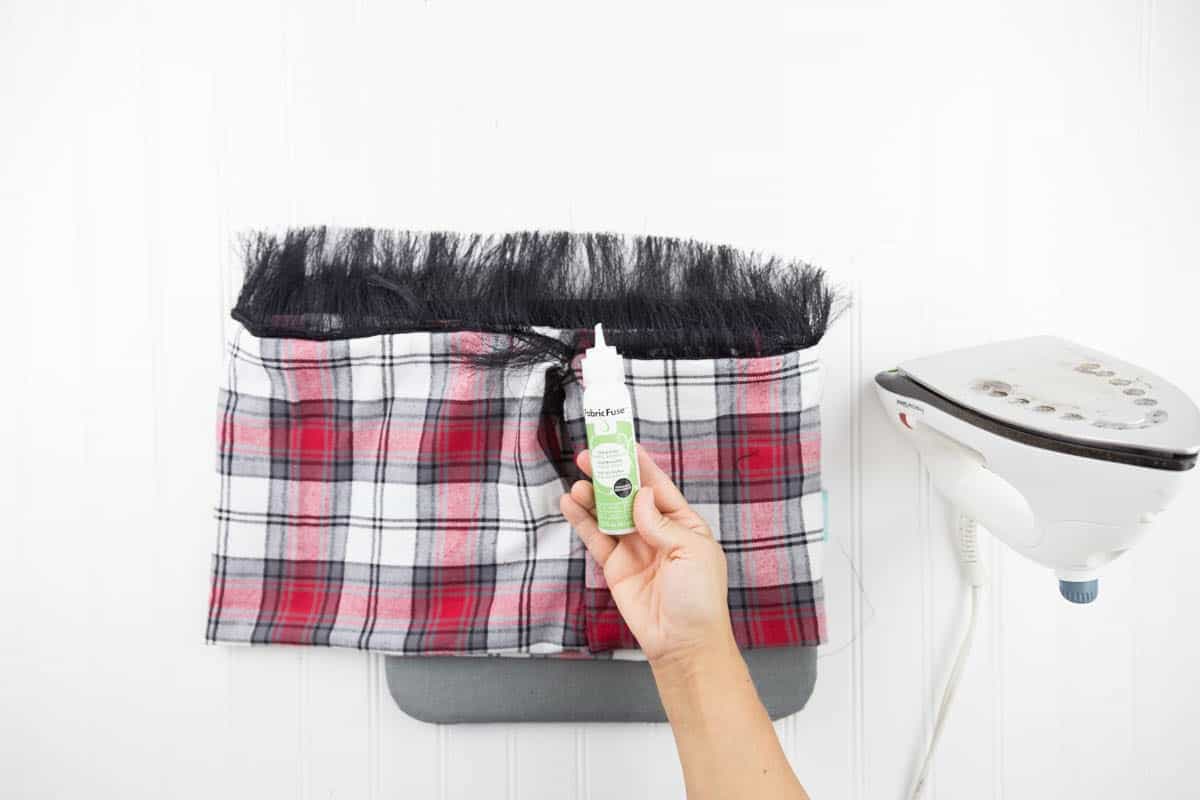
 Alternatively, you could hand stitch closed.
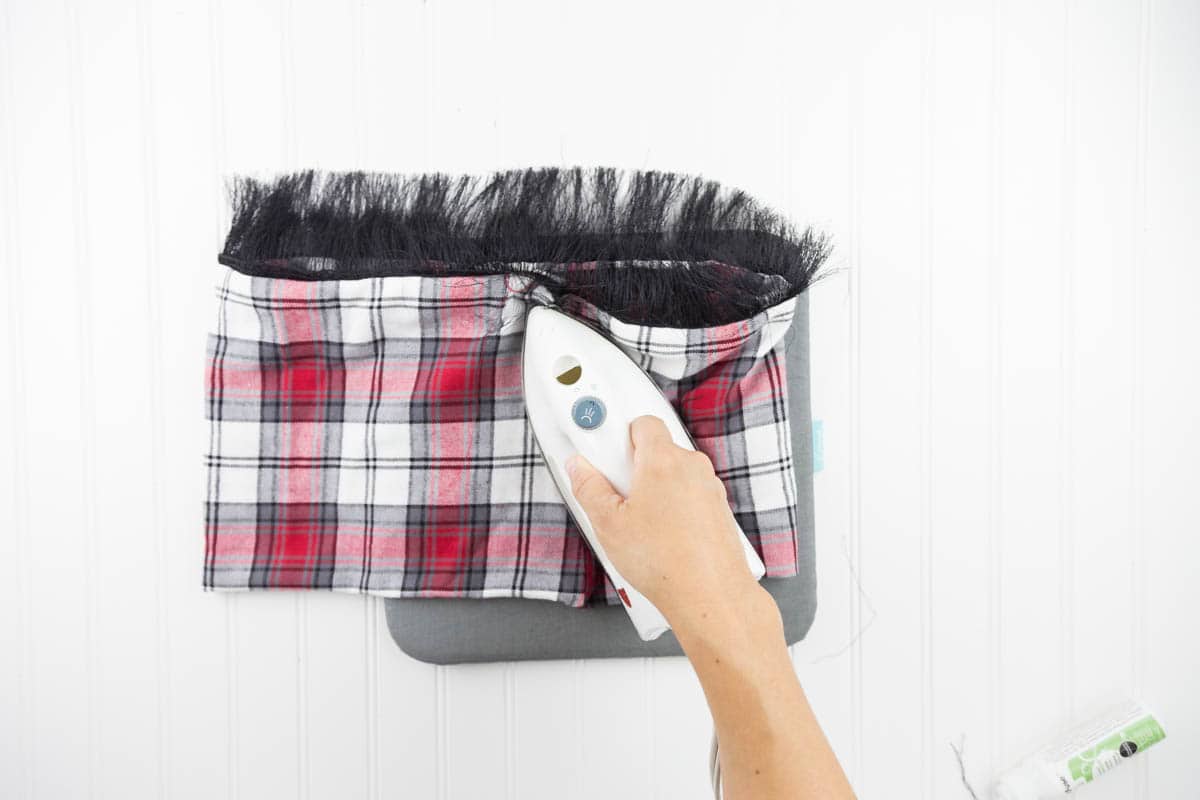


