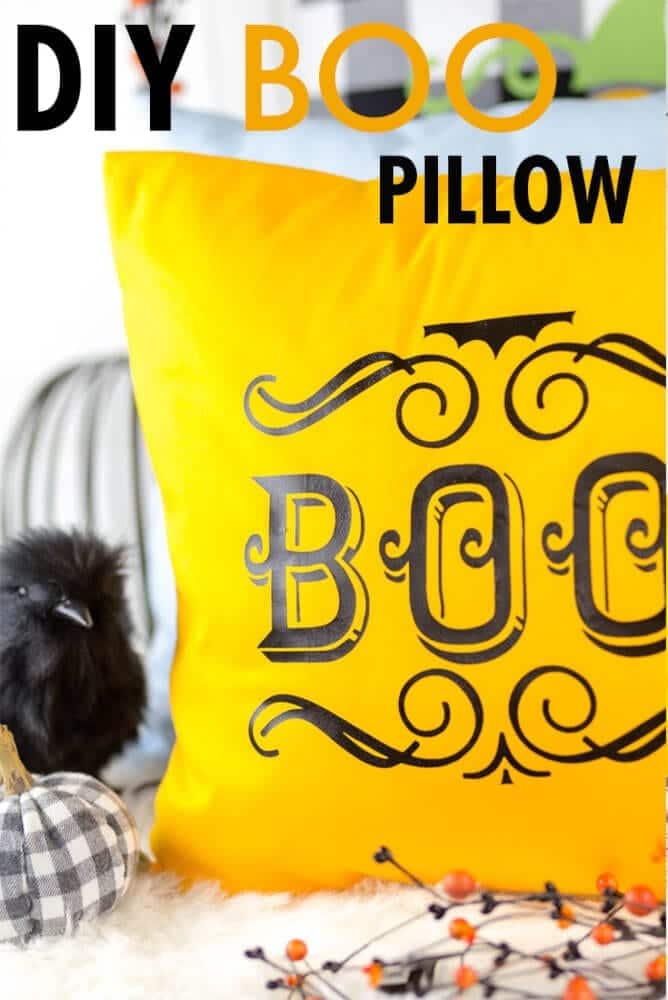
If you are looking for an easy or last-minute project to make for Halloween then check out these super cute DIY Halloween Iron on Pillows. These pillows can be made quickly and add a ton of fun to your Halloween decor.
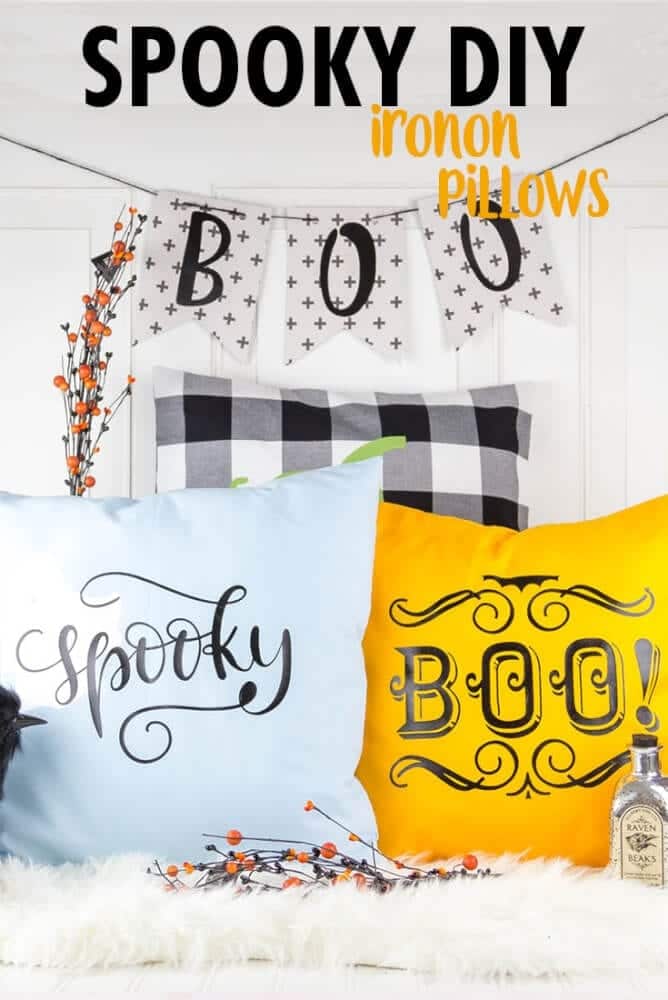 There are two different DIY Halloween Iron on Pillow Designs for you to choose from. There is a sweet spooky design with a ghost and a more serious Boo design. They are both really fun and look great together. You can also make them together with the DIY Pumpkin Applique Pillow Pattern, or make the pumpkin with iron on as well.
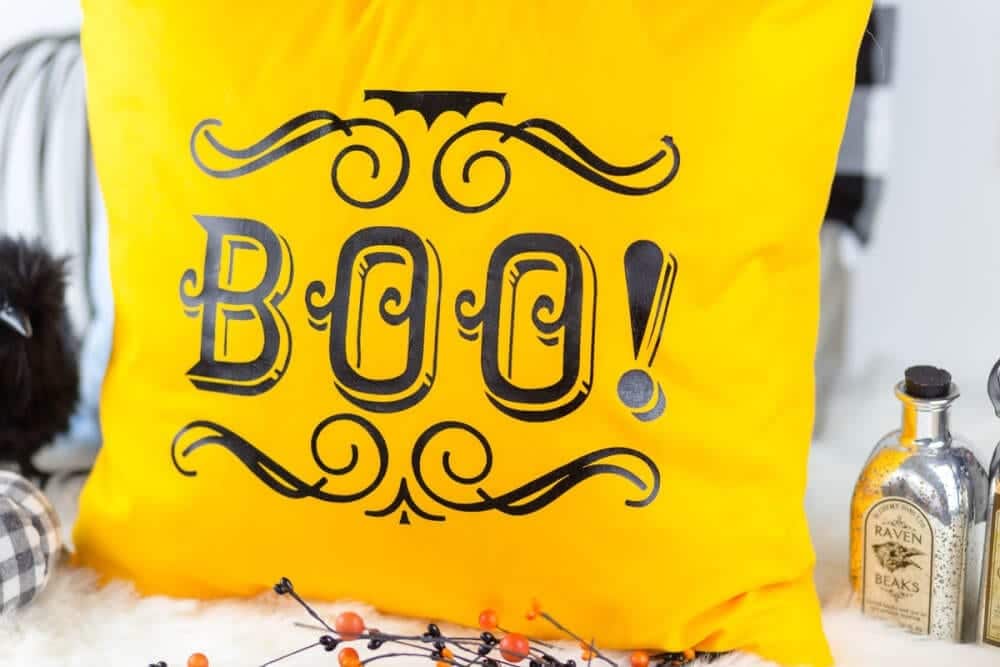
Easy DIY Iron on Halloween Pillows Supplies Needed
- Boo Design and Spooky Design
- 2 (Two) 18″ Pillows
- 2 Pillowcase covers – Here is a tutorial on how to make a pillow with a zipper.
- Black Iron on
- White Iron on
- Cricut Maker or Explore Air 2
- Cricut Cutting Mat
- Cricut Easypress 2
- Cricut Brightpad
Easy DIY Iron on Halloween Pillows Tutorial
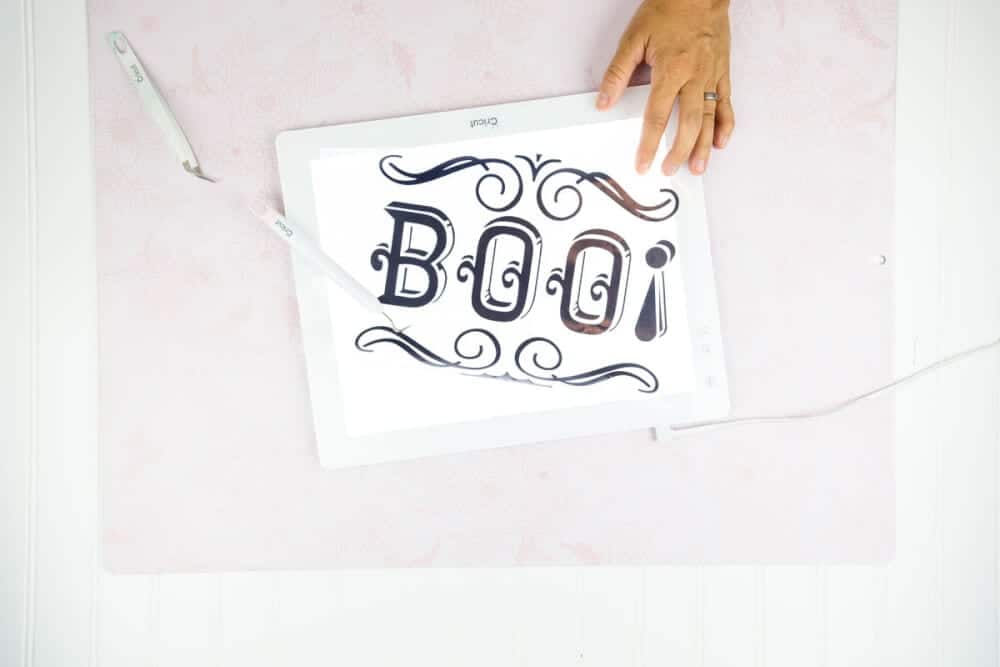
- Load your iron on vinyl on your Cricut cutting mat. Peel off and place on the Brightpad to weed.
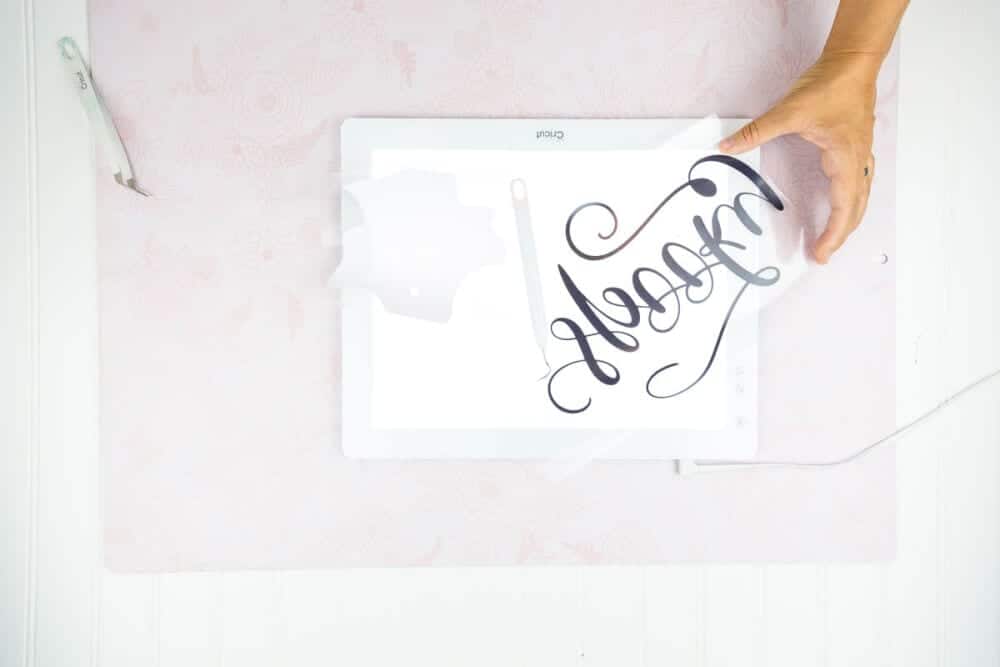
- Weed both the Boo Design and the Spooky Design.
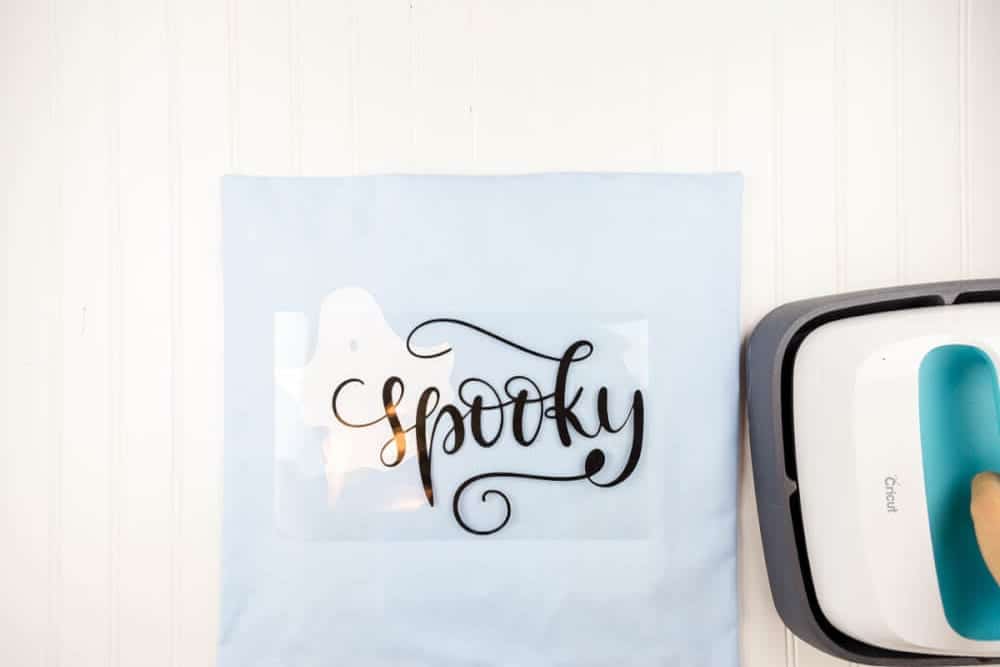
- For the spooky design, you will place the ghost on the pillowcase first and then use your Easypress to iron it on.
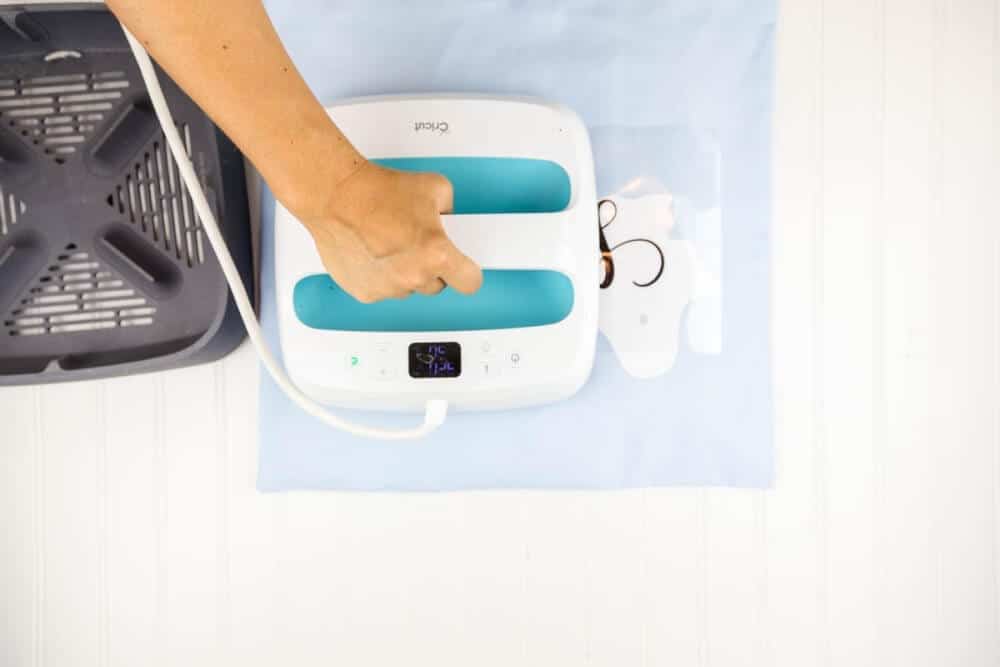 Then place the spooky word and iron it on according to the Cricut iron on settings guide.
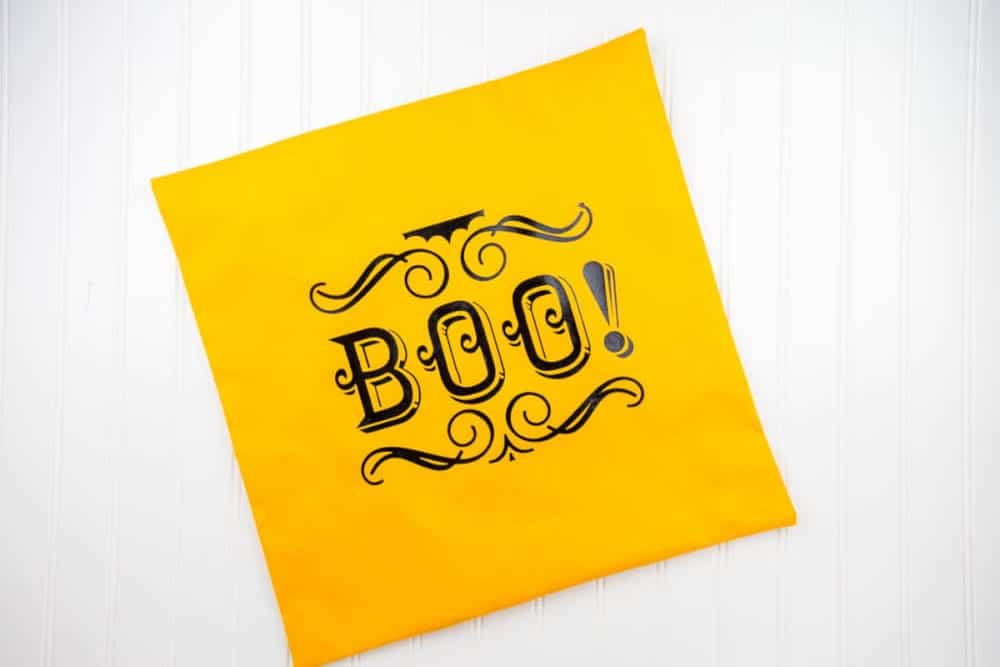
- For the Boo design, you will place the whole design on the pillow and iron it on according to the Cricut iron on settings guide.
- Then stuff your pillows into your pillowcases and add to your decor!
Can I download this and use it on my silhouette?
I’m not sure. Can you use a png file in the software?
do you know what the font is for the word spooky?