
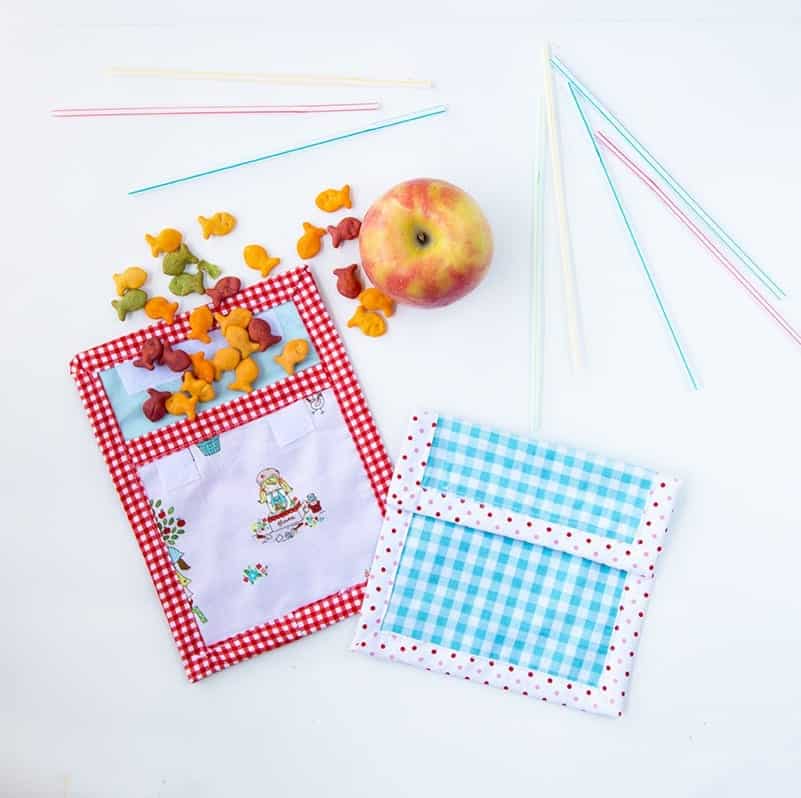
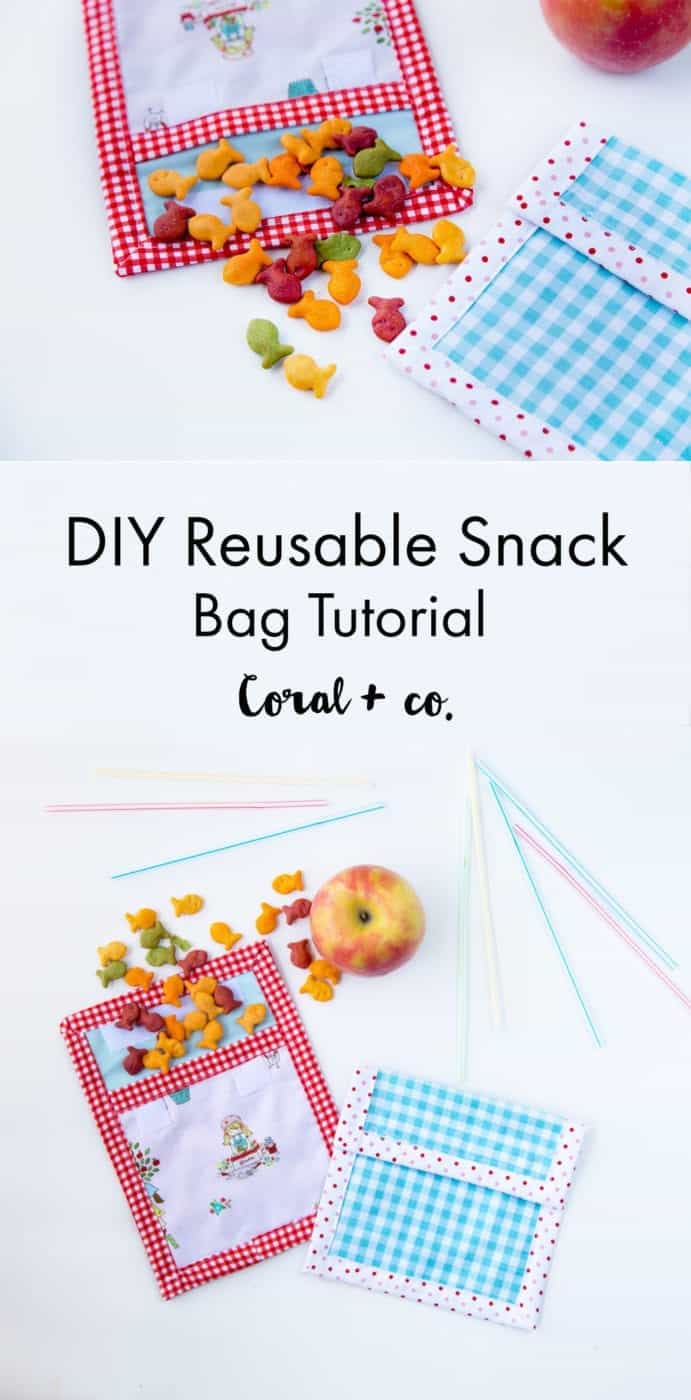
To celebrate Earth Day this year, I made some DIY Reusable Snack Bags and a tutorial (for you), that can be washed and reused for my kids snacks at lunch. I feel guilty each day when I pack their lunches and I use plastic bags. All I can think of is all the plastic clogging the landfills so I decided that reusable snack bags were needed stat.
And, I also joined in on the Earth Day Blog Hop hosted by Lulu & Celeste. It gave me a nudge to finally make some snack bags. You can find the rest of the blog hop at the end of the post.

To make the snack bags I used some scraps of cotton by Tasha Noel and for the outside pieces and waterproof nylon for the lining so things don't get too yucky if grapes get smushed or sat on. Bleck. But hey, they are washable! For the trim I used one strip I had left over from a jelly roll which came out to be 2.5" x 42". I didn't have quite enough to finish the binding the correct way so I just sewed a straight seam down the middle at the bottom. Which totally works for me since they will get dirty anyways.
DIY Reusable Snack Bag Tutorial with Pattern Template
Bag finished measurements are 5.5" x 9".
- Cut 1 outside piece and 1 lining piece for both the front and back pieces. If you prefer not to waste paper the front template measurement is 5.5" x 5.5" and the back piece is 5.5" x 9"
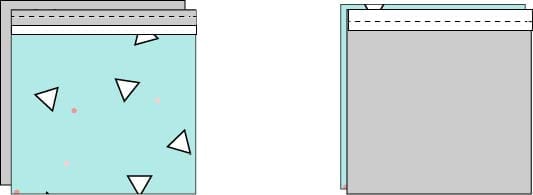
- Stack the front pieces Wrong Sides Together (I used wondertape, which I pretty much swear by to keep the nylon from slipping). Clip or pin and sew the inside raw edge of a 5.5" piece of bias tape to the right side of fabric. Then fold the tape over to the back side so the outside of the tape is on top and sew along the edge. I like this tutorial for learning how to make and sew bias tape.
- Stack the back piece with the Wrong Side facing up and the nylon on top with the waterproof or Right Side facing up. Stack the front piece on top with the Right Side facing up.
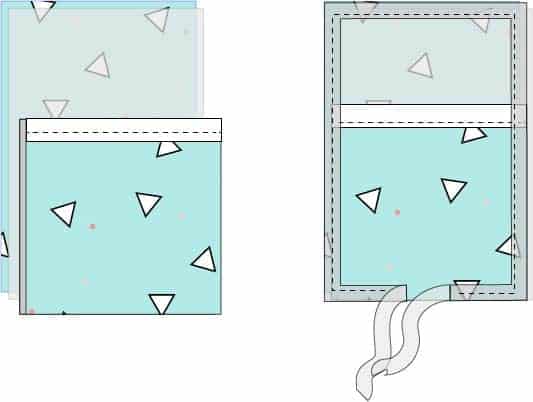
- Starting at the bottom middle attach the bias tape and sew to the first corner, stopping at 1/4" before the end. Make a mitered corner and continue to the next corner. Repeat until you reach the bottom middle. Leave a 3" gap to be able connect the binding. I like this easy method here.

- After joining the two ends, fold the binding over to the back side so the right side is of the binding is face up and stitch along the inner edge.
- Then attach velcro on the front and inside top.
- You can find the bag template at the end of the post. To print you will click actual size. Do Not fit to page.
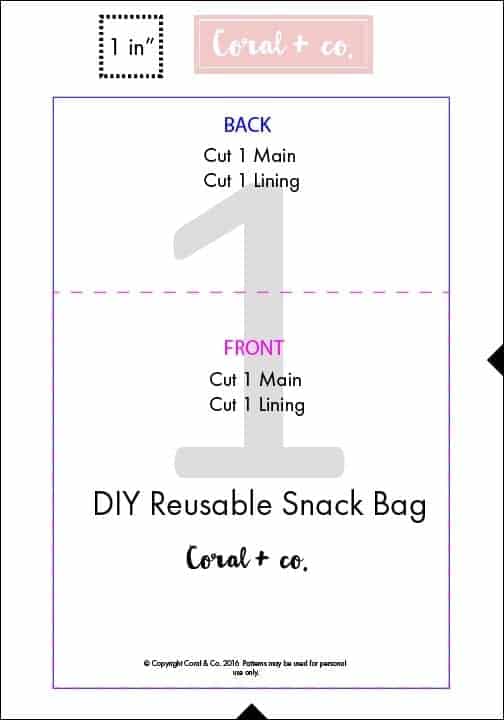
DIY Reusable Snack Bag Pattern Template Can Be Found in the Resource Library

Pin it to make later!
Check out all the stops on the Earth Day Blog hop round up:
April 18:
Vicky Myers Creations - Coral and Co.
April 19:
Seam of My Pants
April 20:
EYMM - Create 3.5
April 21:
PenSeb&Rox - Candice Ayala
April 22:
Lulu & Celeste (Round Up post)
Great idea but there are so many ads throughout the tutorial, it makes it messy to follow and easy to miss steps, and there's no print function. Keep the ads to the side and out of the tutorial.
I’m so glad you like the tutorial. This is not printable but a graphic demonstrating how to make it. Unfortunately ads are a part of the internet these days and how I am able to provide free patterns and tutorials for you. Thank you for stopping by!