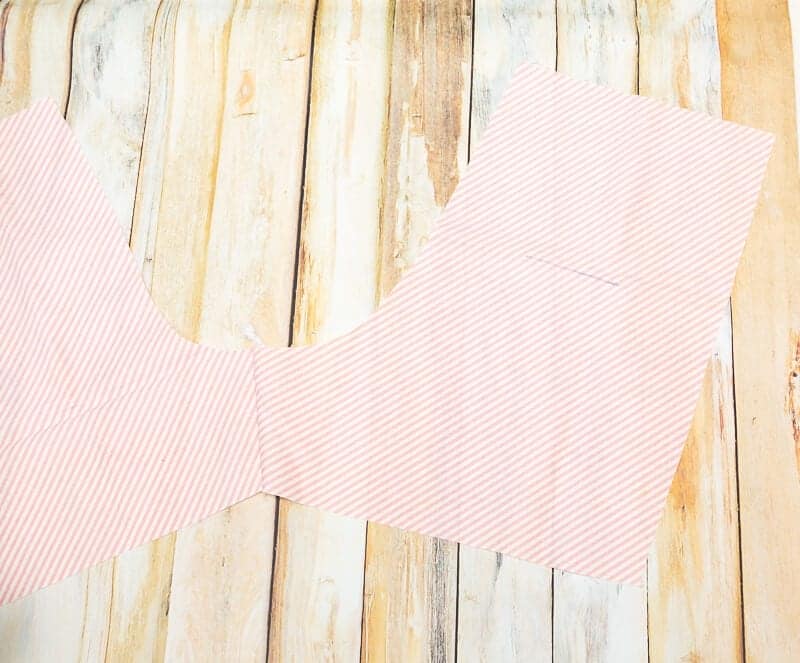
Welcome to this years Halloween Make-a-Palooza! Where I host a full week of Halloween related sewing tutorials from some of your favorite bloggers. I always love seeing what these crafty ladies come up with! Last year I hosted the Halloween Bag-a-Palooza where I shared an Easy DIY Drawstring Bag Tutorial plus 10 Halloween Trick or Treat Bag Tutorials from some great friends. It was a ton of fun, so I decided to do it again this year, but make it anything Halloween related!
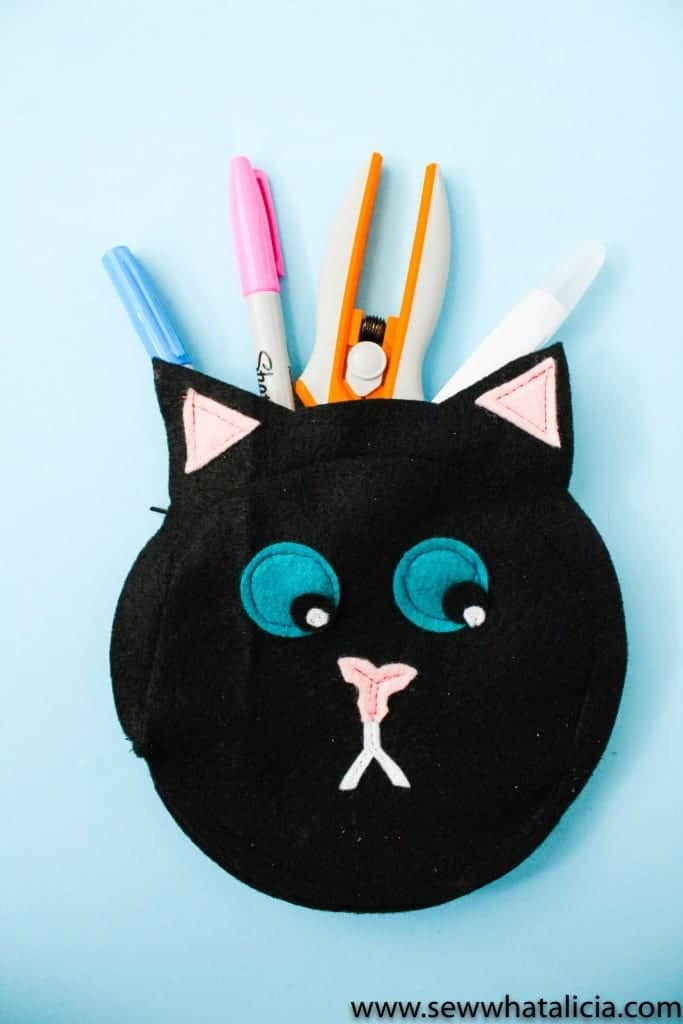
Today Alicia from Sew What Alicia made an adorable Black Cat Small Pouch Tutorial. I love that it is felt and a perfect little Halloween pouch for the kiddos. Hop on over to check out more details on the Black Cat Small Pouch Tutorial.
Halloween Make-a-Palooza
Monday 9/18 Sew What Alicia
Tuesday 9/19 The Sweet Red Poppy
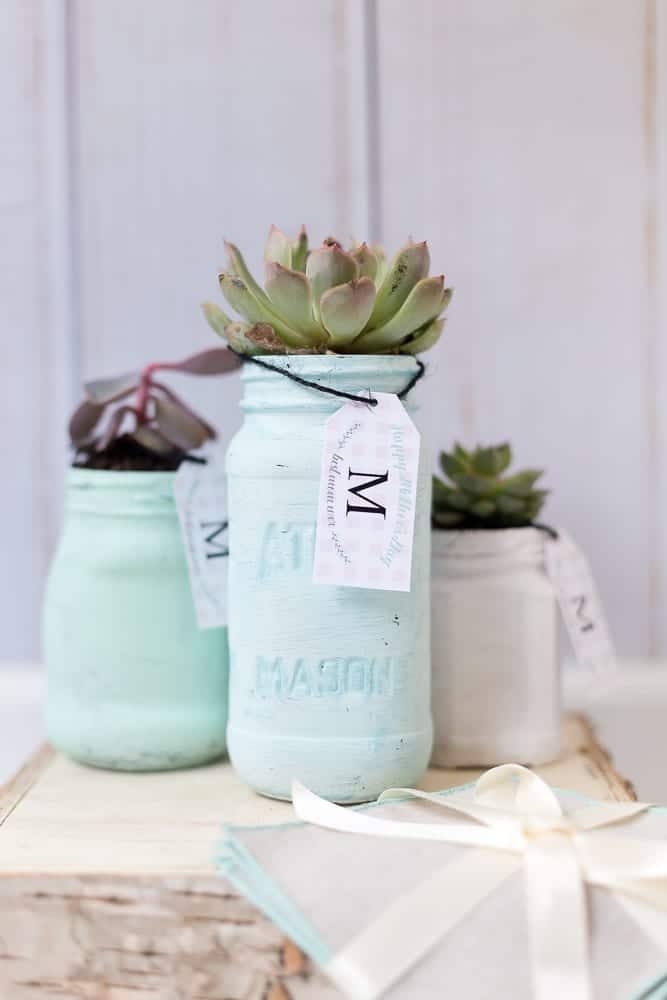
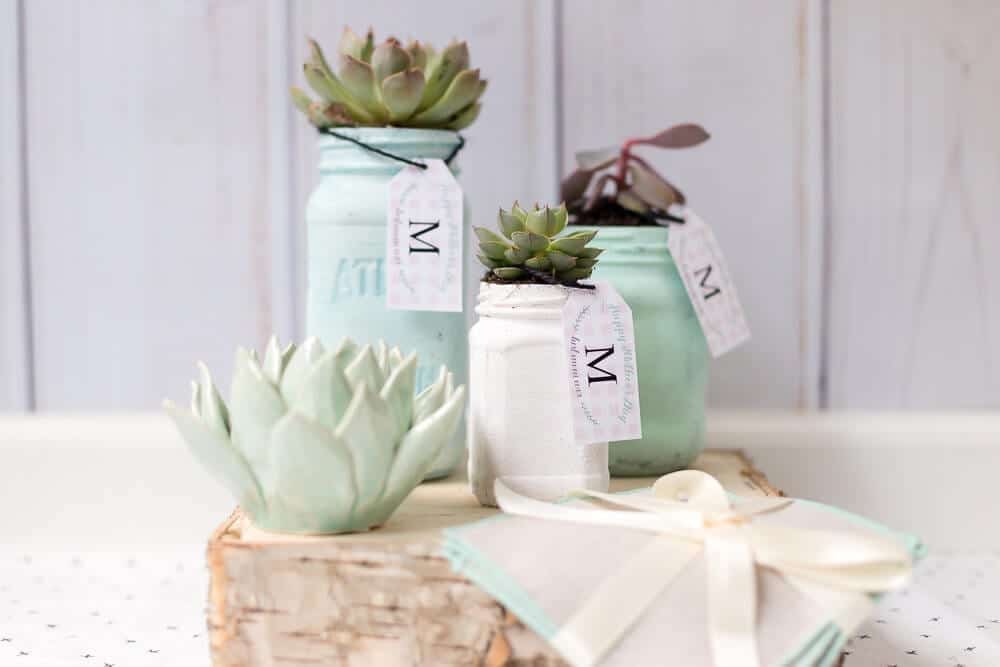
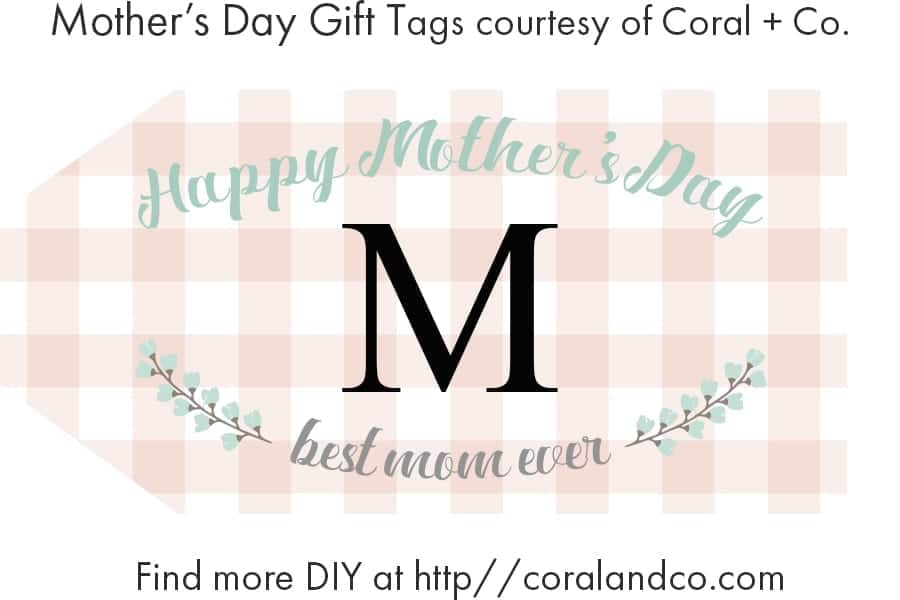
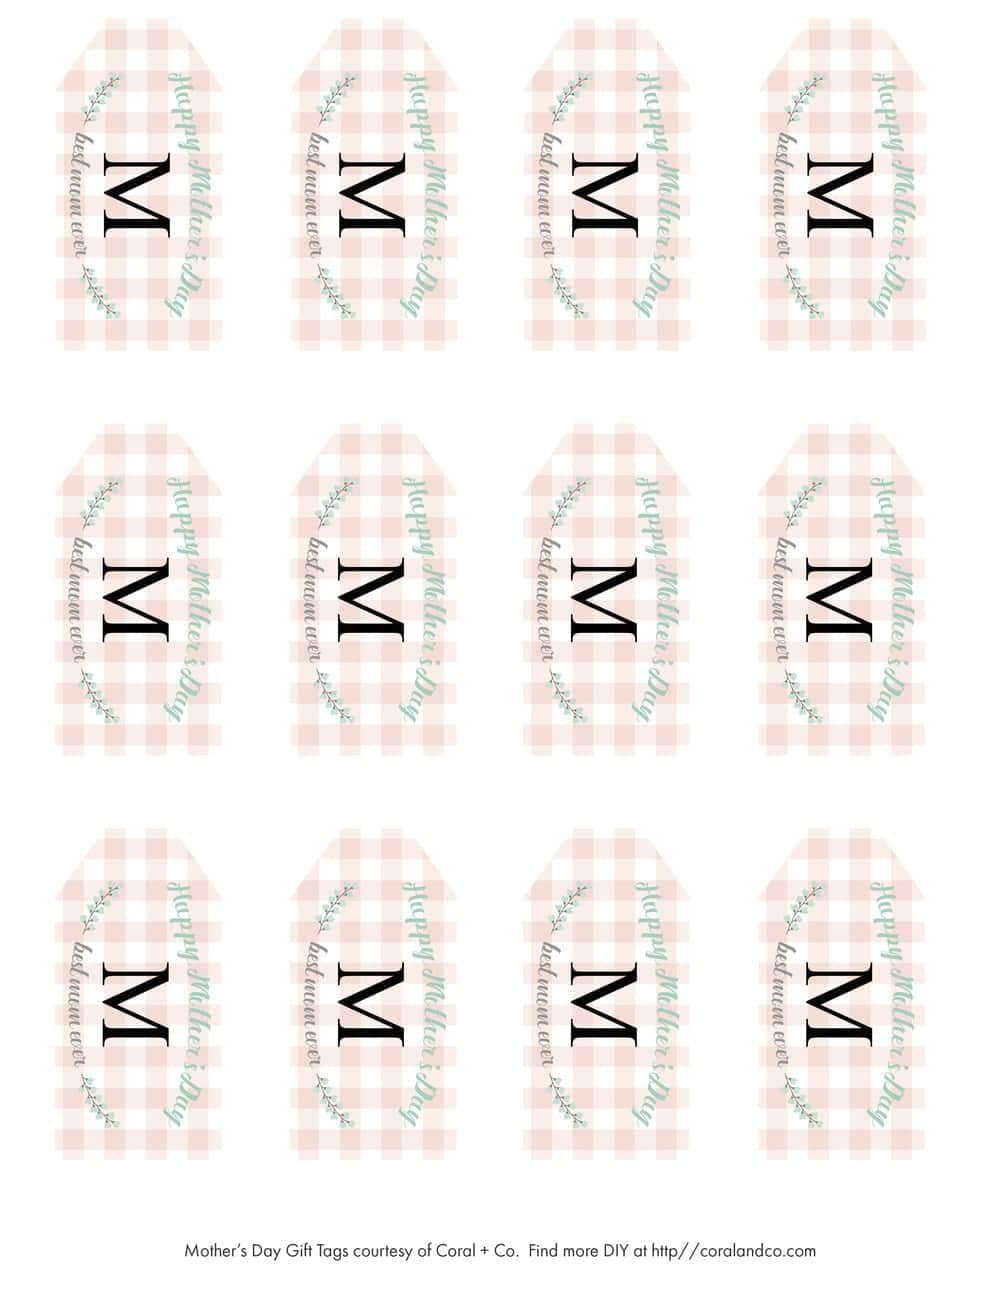
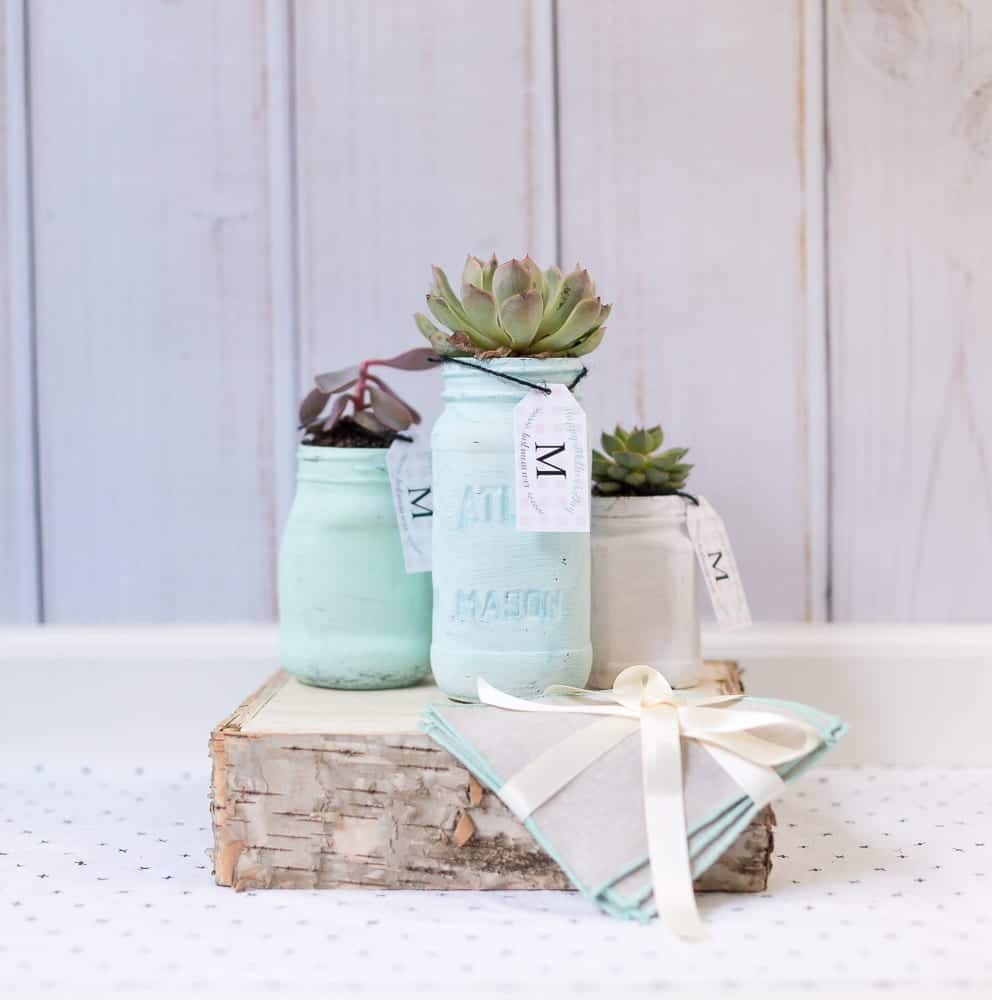
Wednesday 9/20 Coral + Co.
Thursday 9/21 Beatnik Kids
Friday 9/22 Swoodson Says
Friday 9/22 Paisley Roots
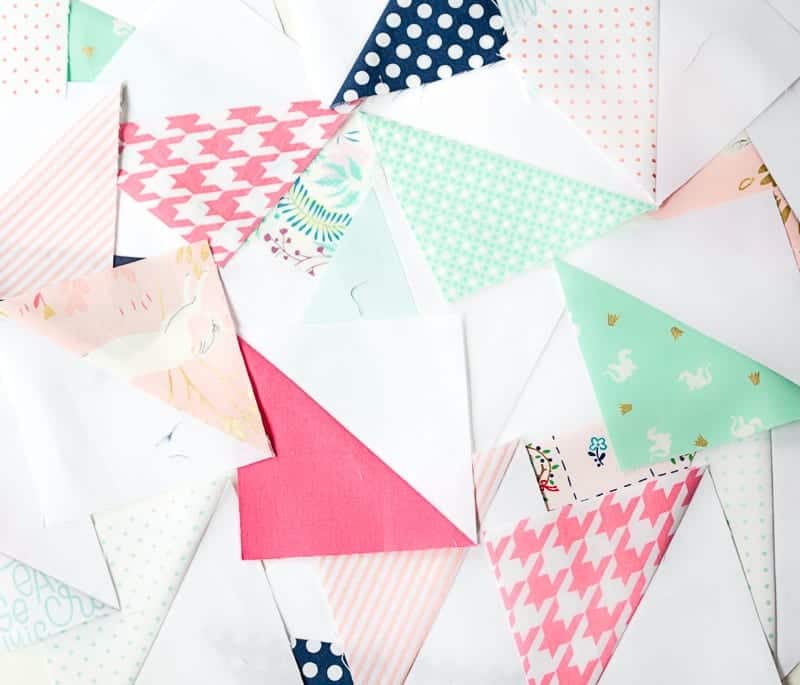
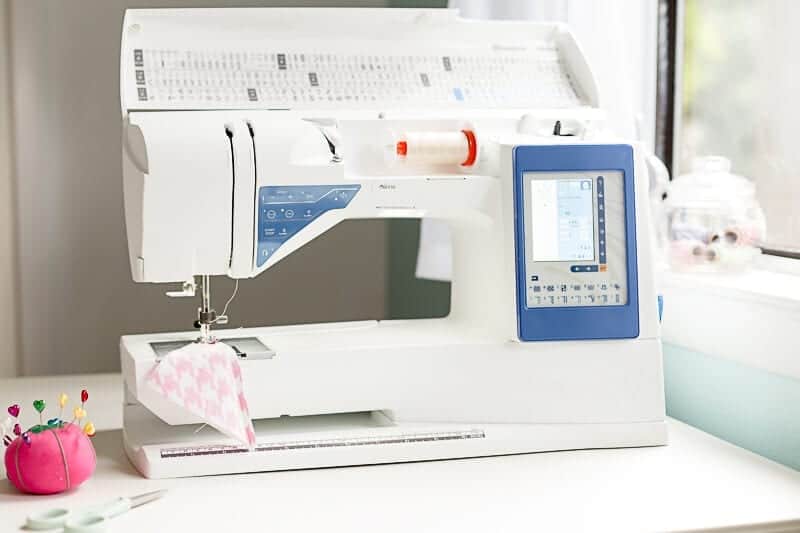
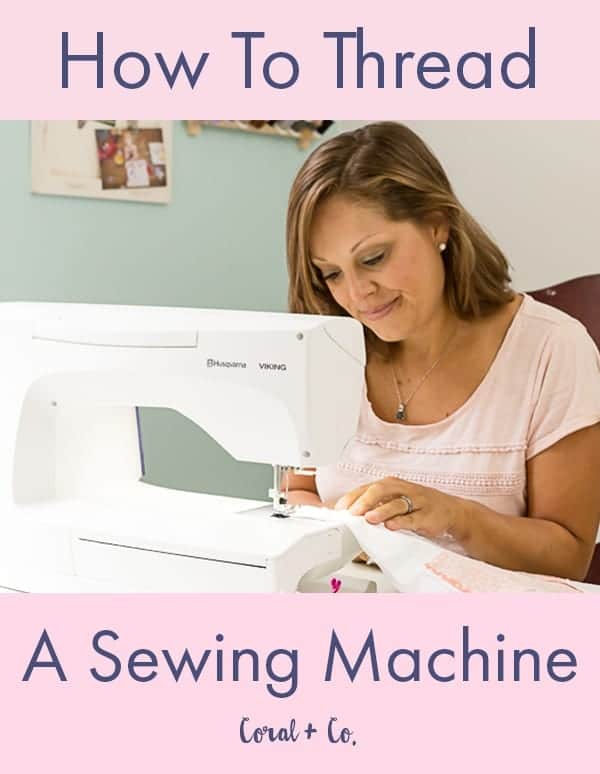
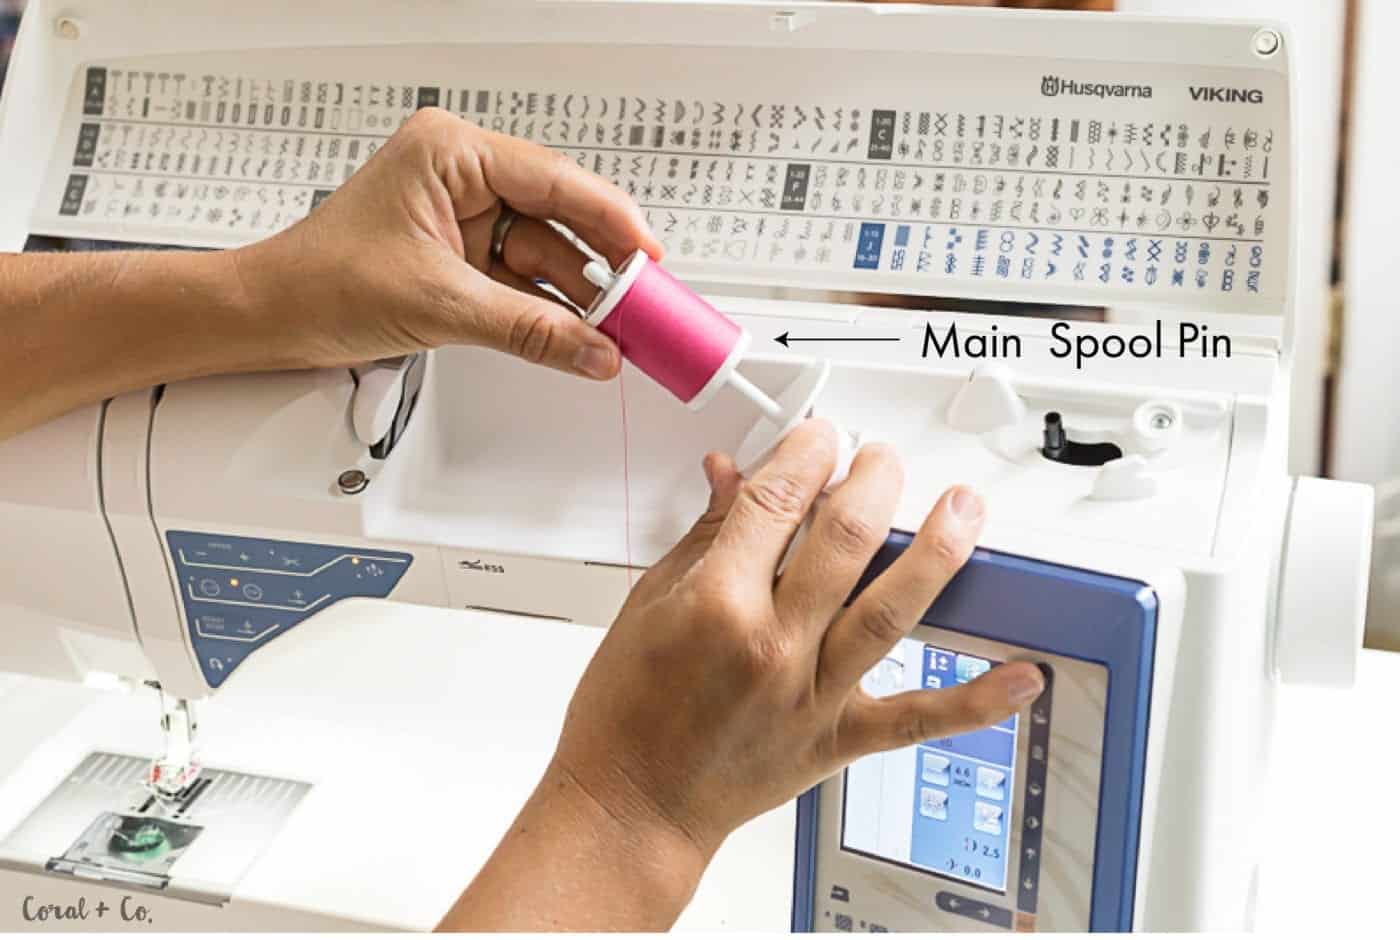
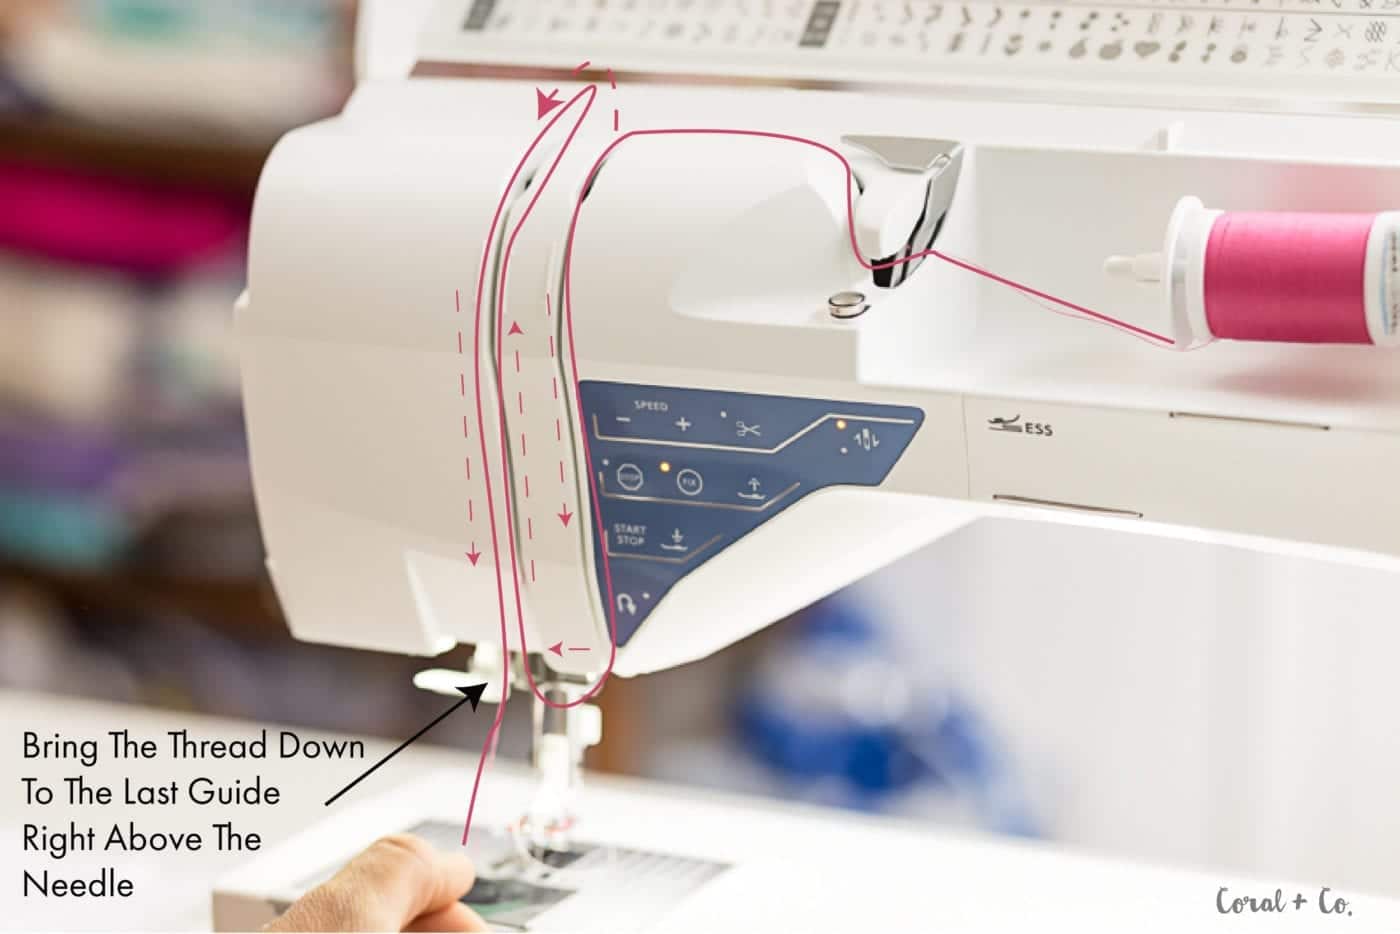
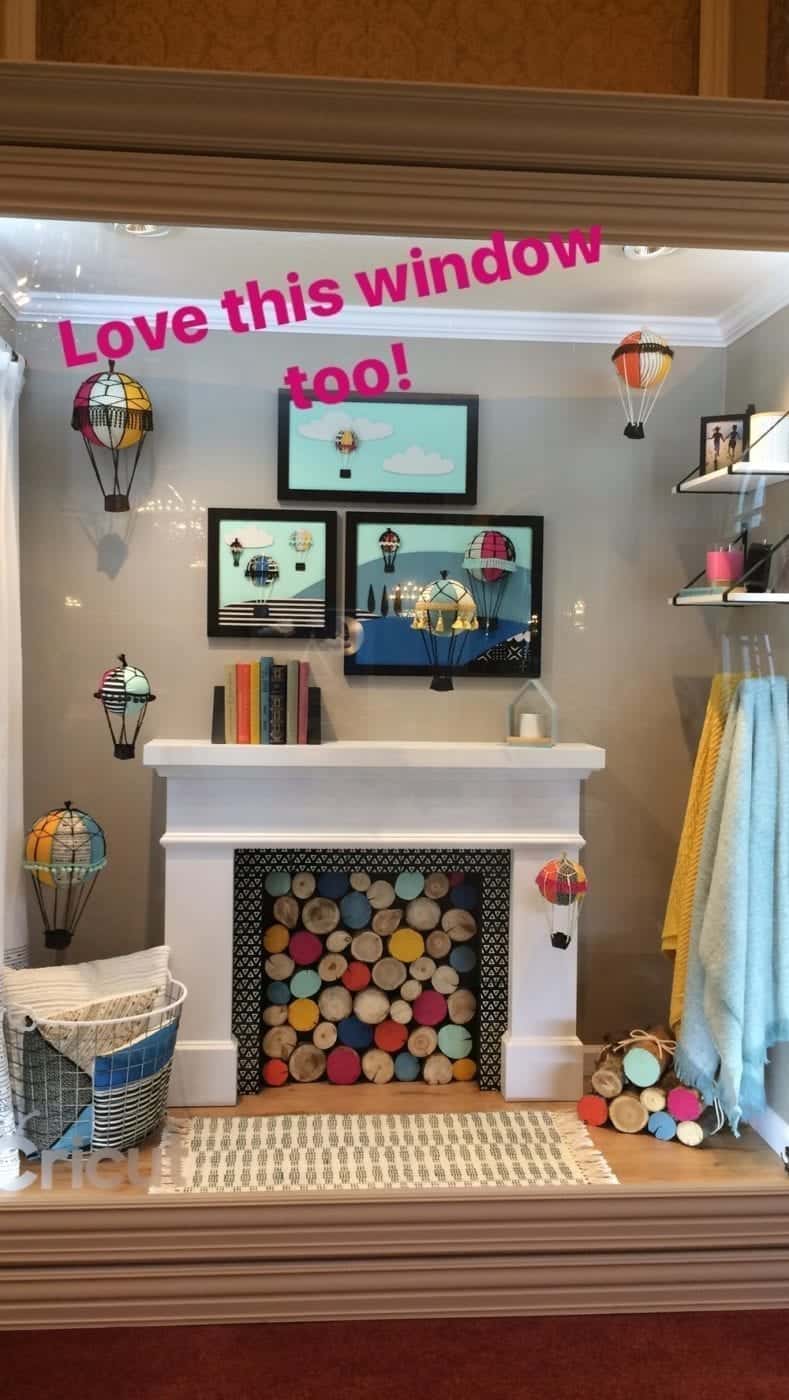
 Photo courtesy of Viking Husqvarna
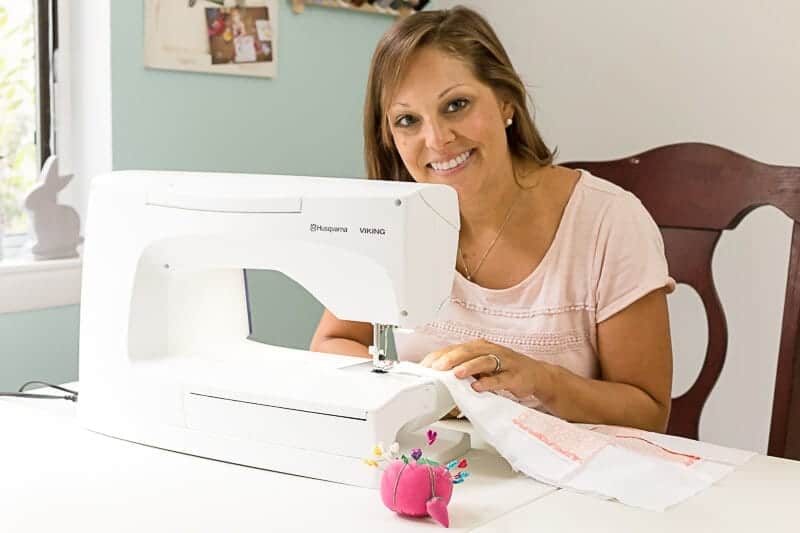
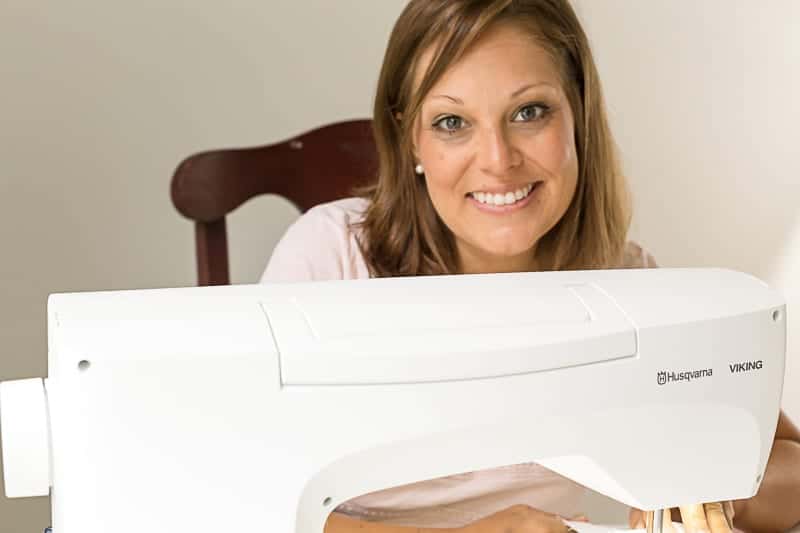
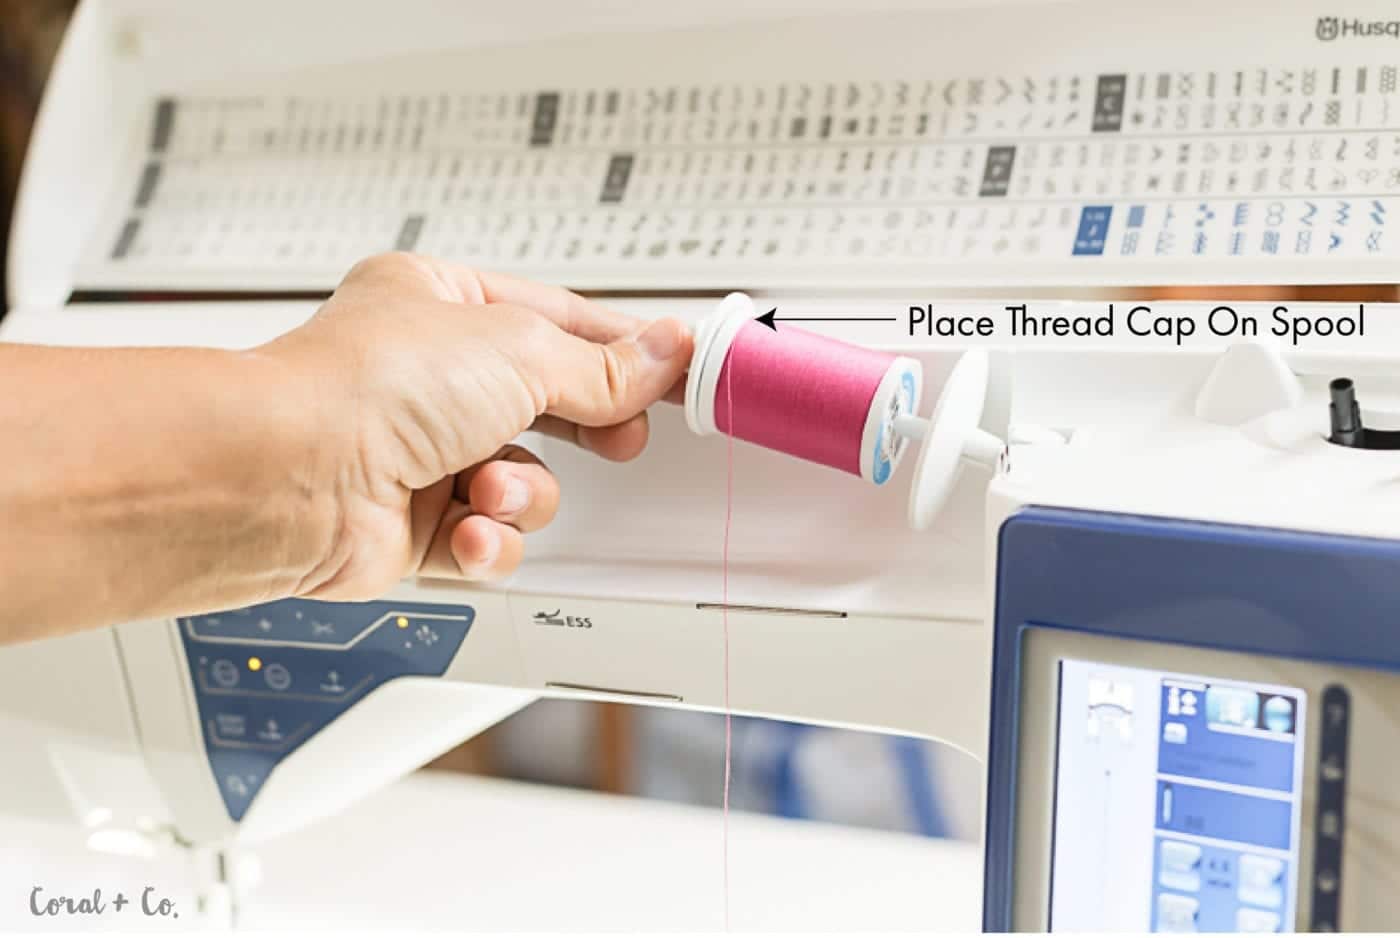
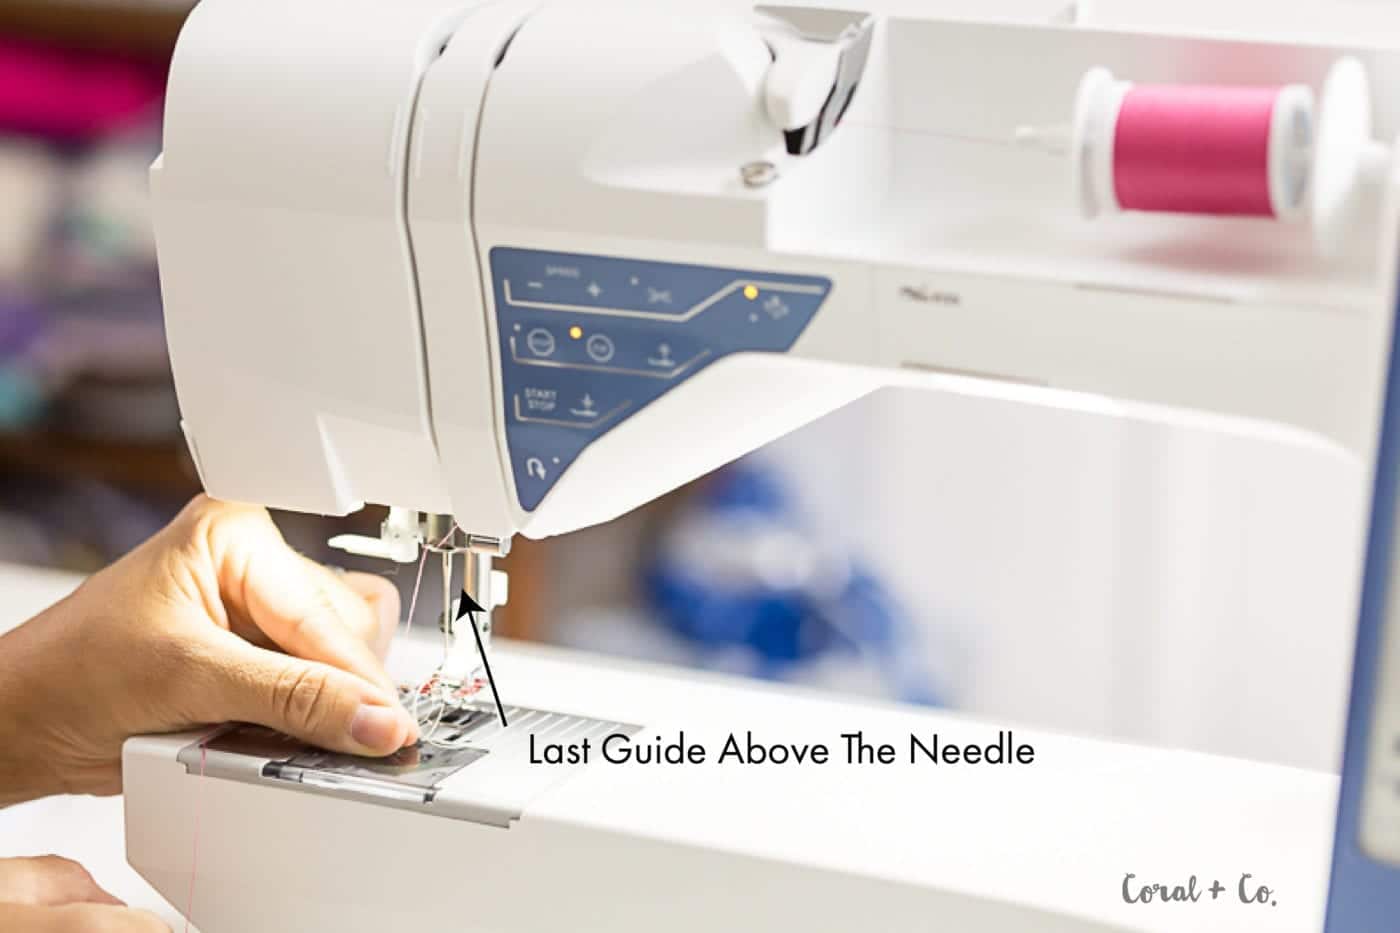
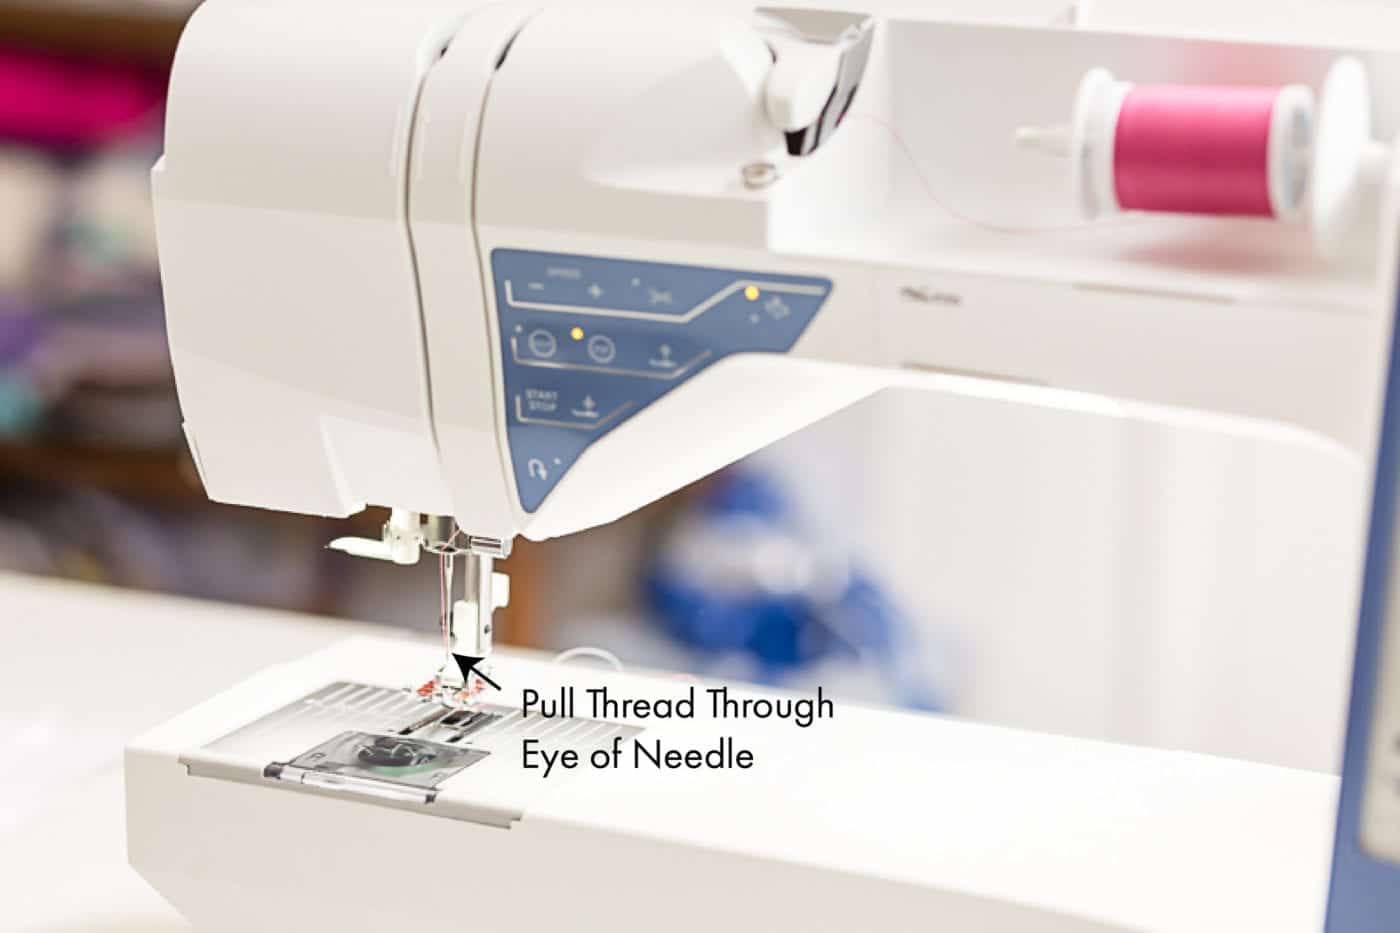
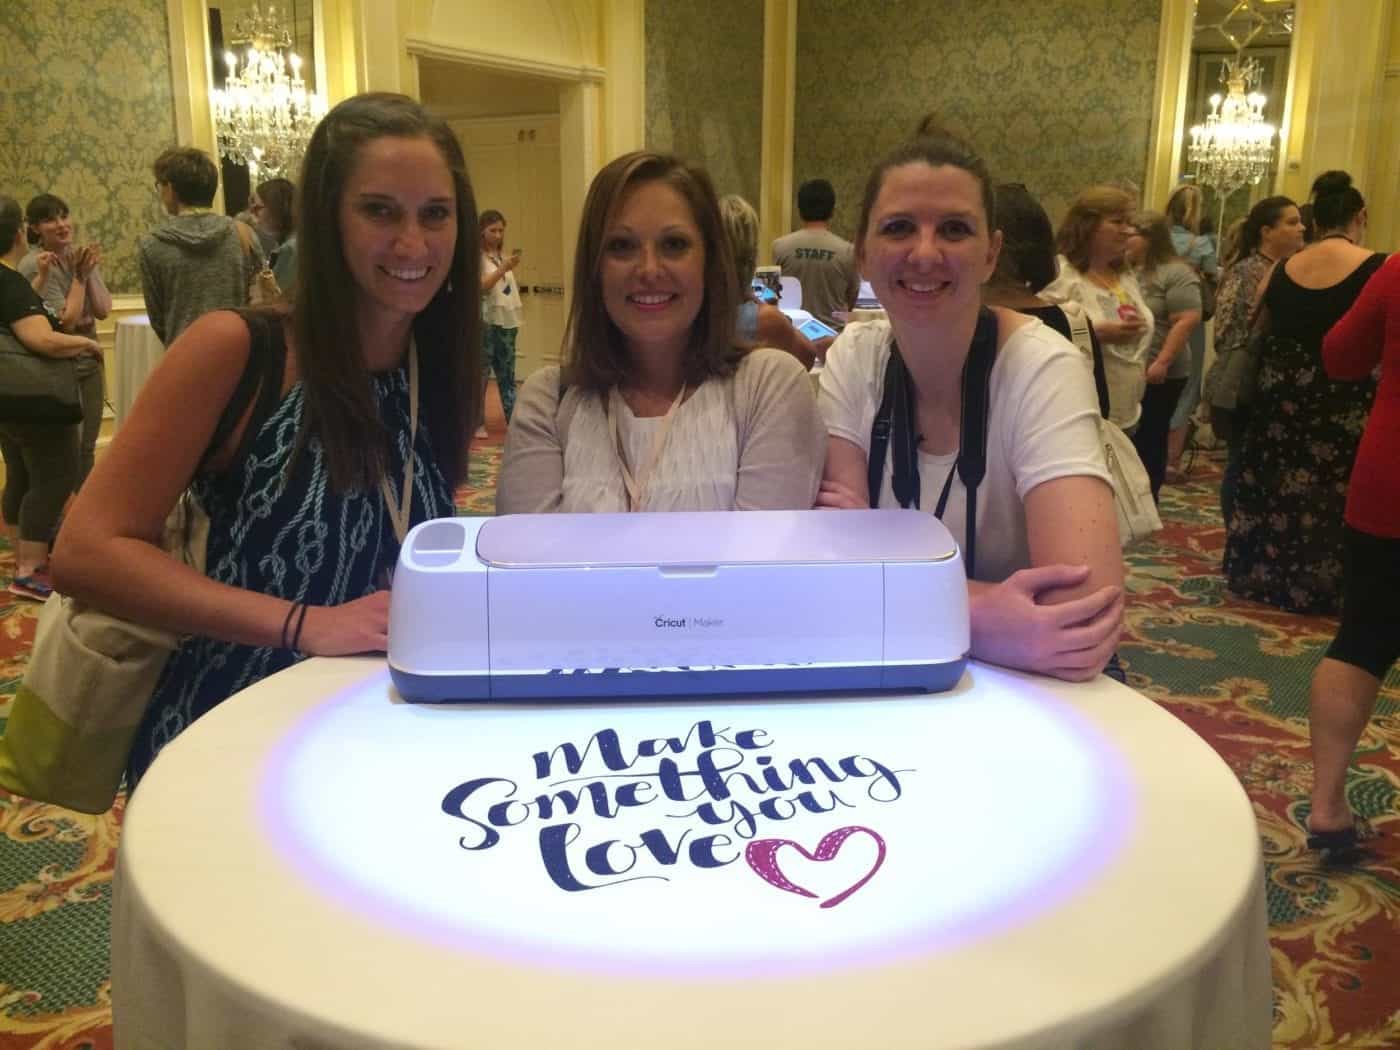
 Kelley from Coastal Kelder, Me, and Karly from Paisley Roots
 And getting to attend the Cricut Mountain Makeathon was truly amazing. There were so many exciting things that happened (if you follow on


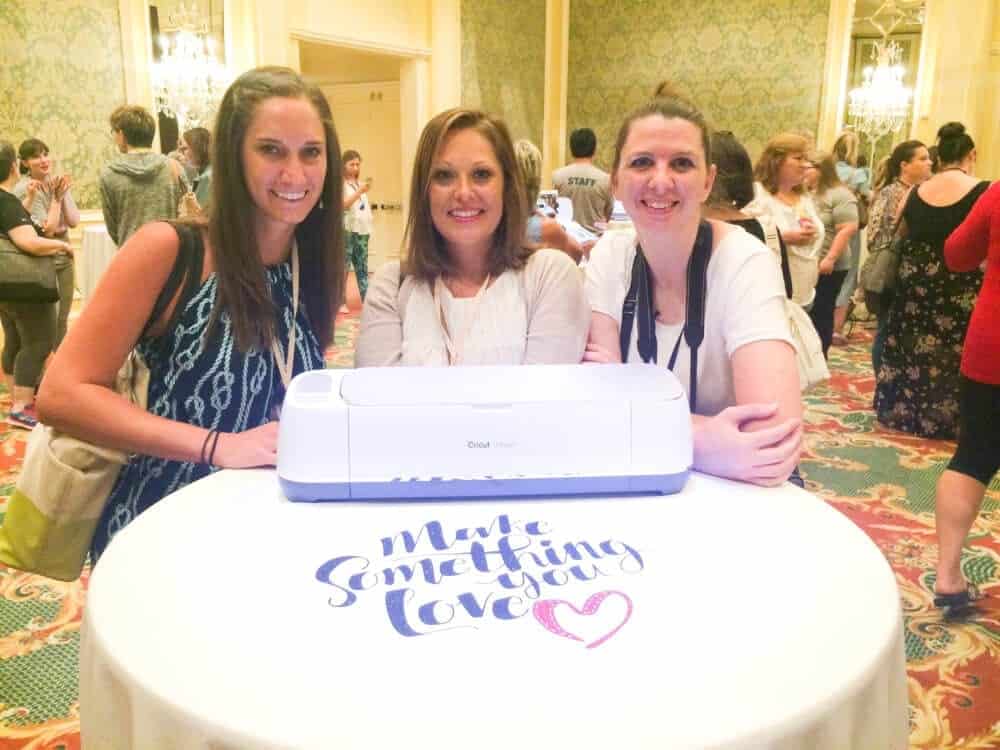
 Kate from See Kate Sew, Sara from Riley Blake Designs, Karly from Paisley Roots, Melissa from The Polka Dot Chair, and Me.
 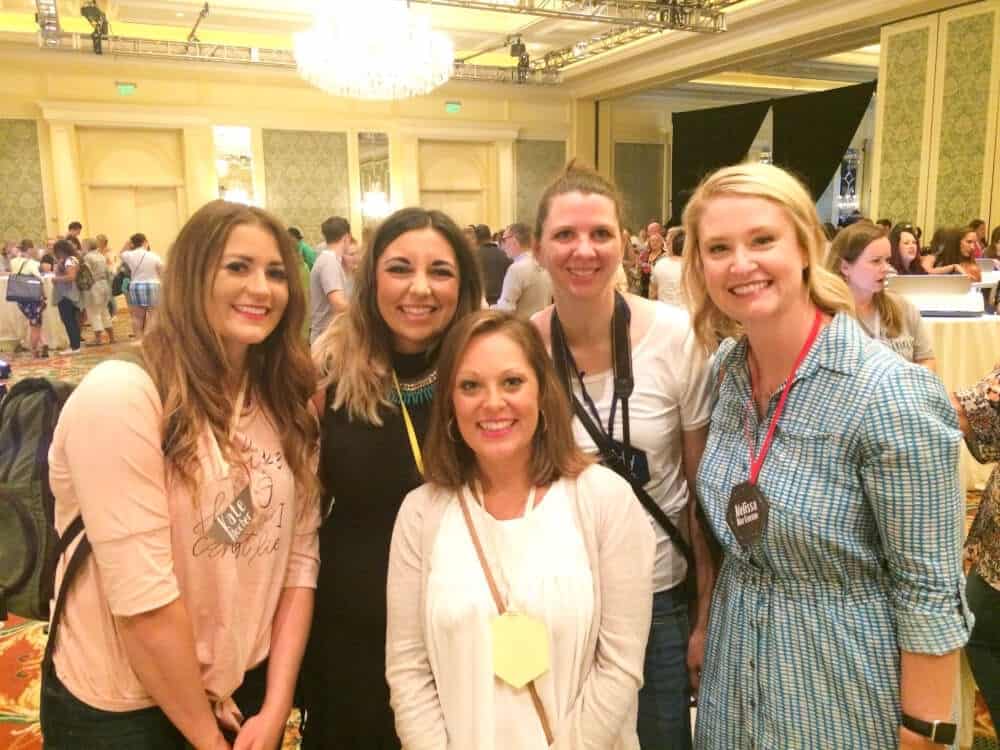 I finally got to meet Kim from Sweet Red Poppy in person which was awesome because she truly is as sweet as she is adorable.
 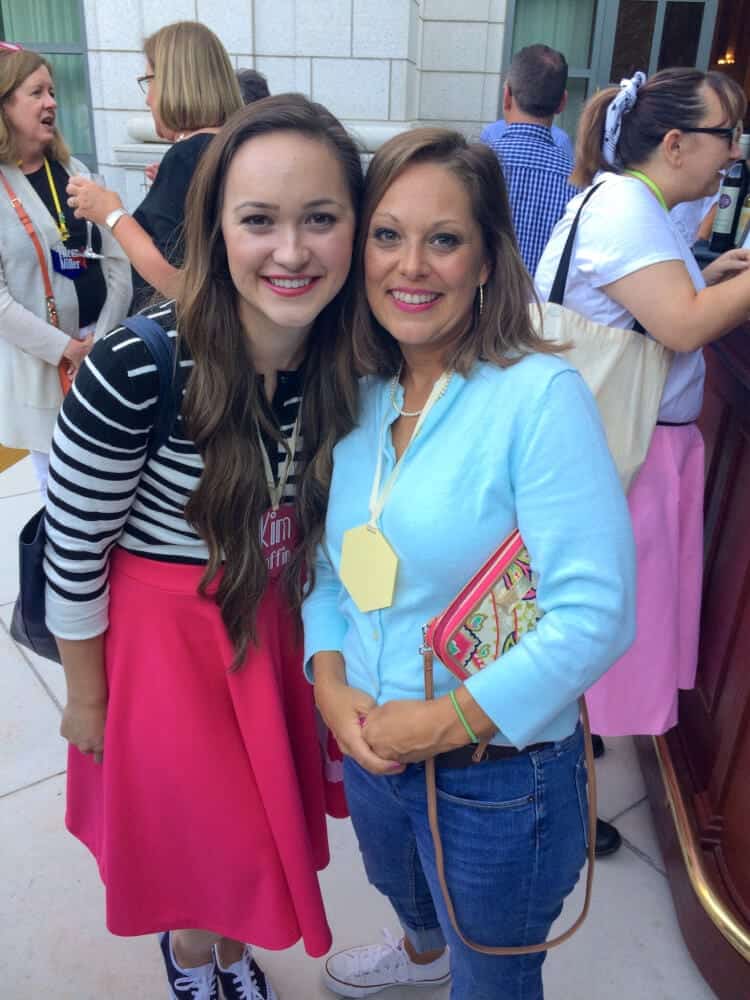 Katie from Simple Life Pattern Company
  Angel from Fleece Fun
 The amazing Melissa Allen from Cricut who truly made this experience outstanding!