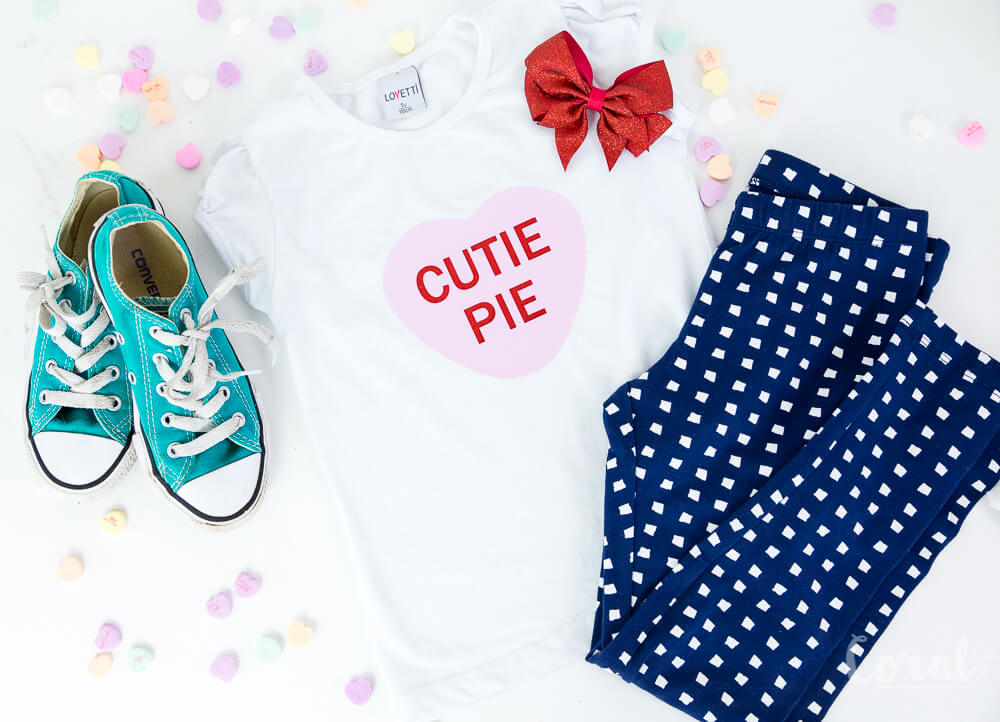
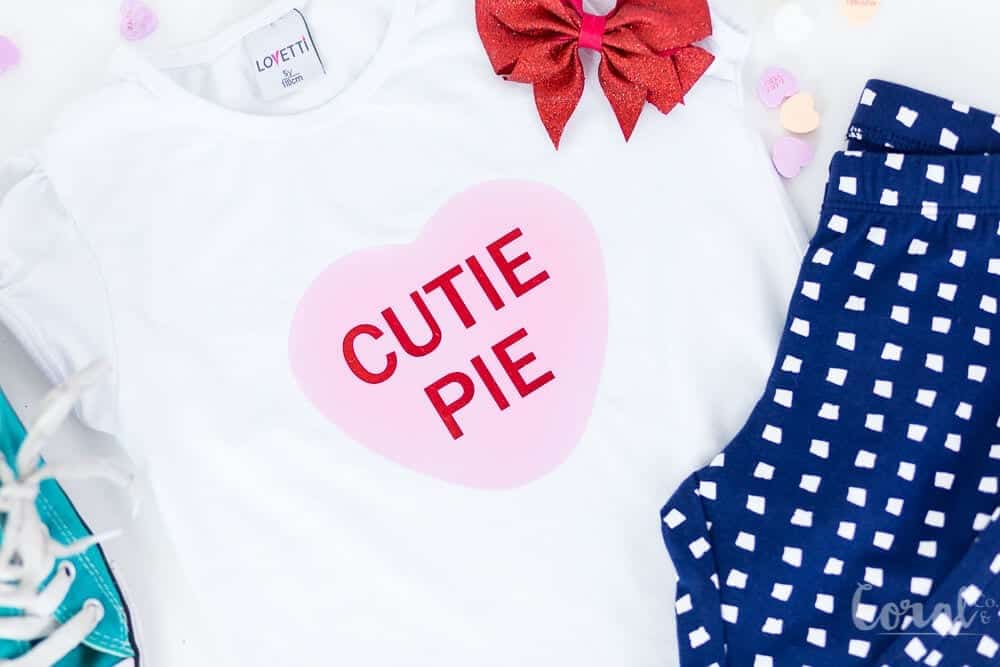
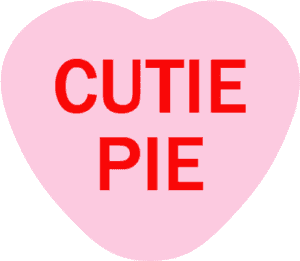
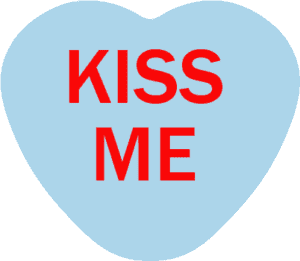
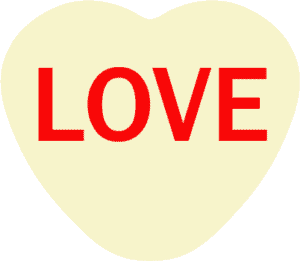
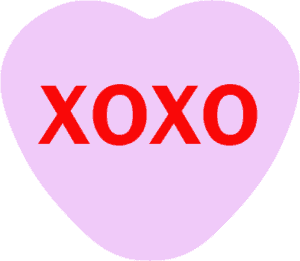
I love all the sayings on Candy Hearts or conversation hearts, whichever one you like call them so I made a free Candy Heart SVG cutting file for y’all!
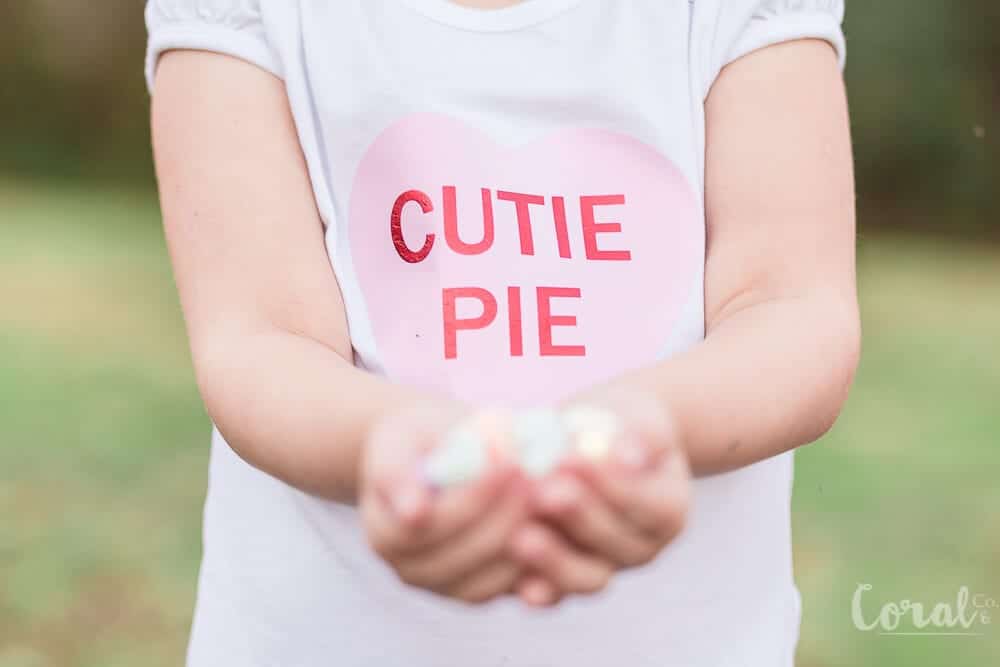
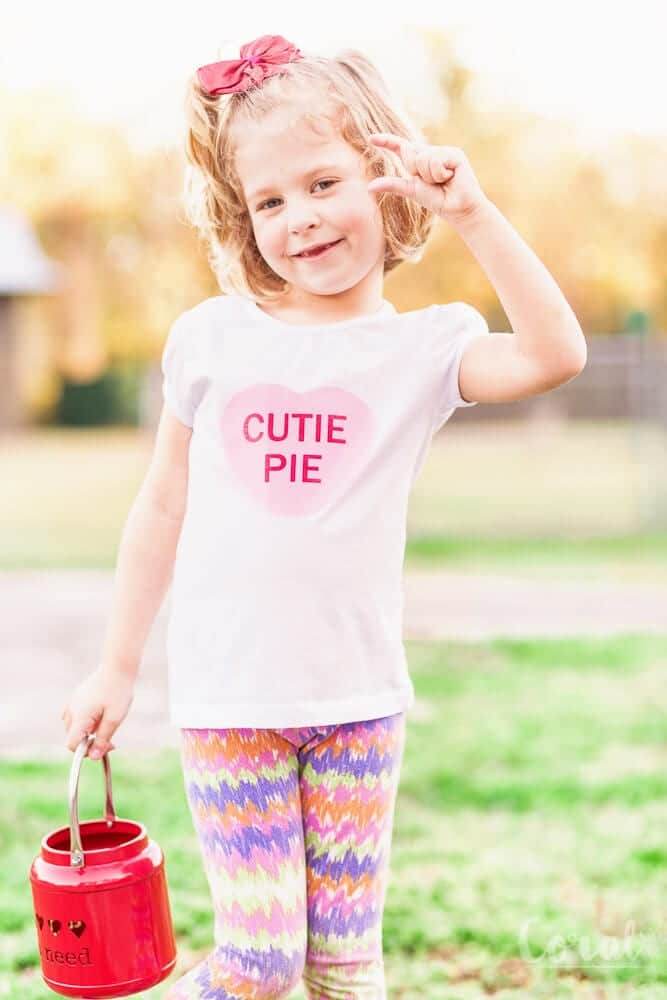
They are so fun and the colors make me want to eat them, even though I really like chocolate better (umm, who doesn’t?)! So I thought some t-shirts with the little candy heart svg were in order for the kiddos for Valentine’s Day!
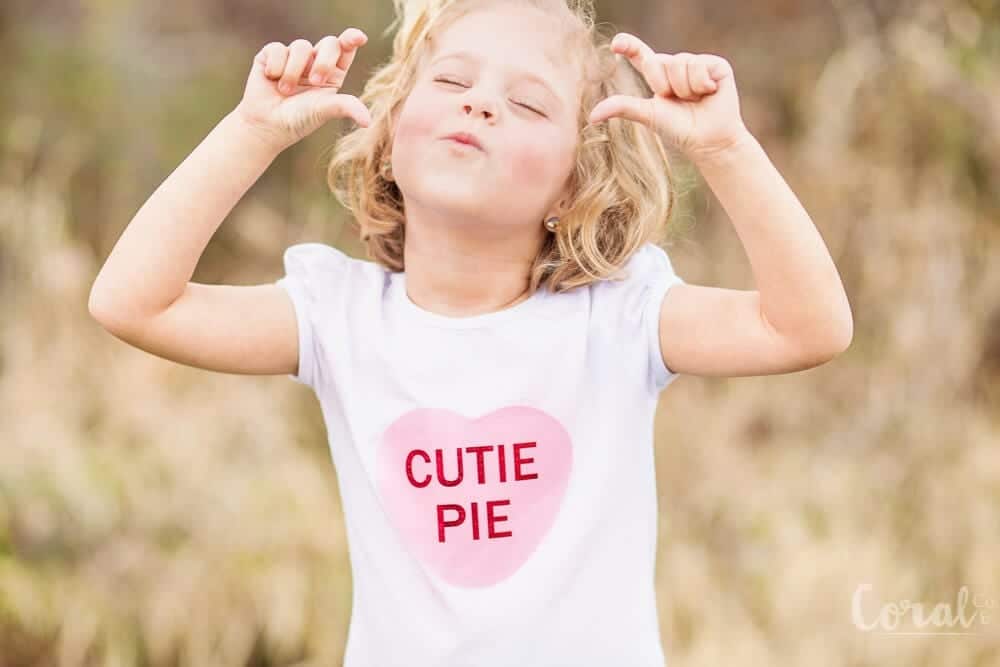
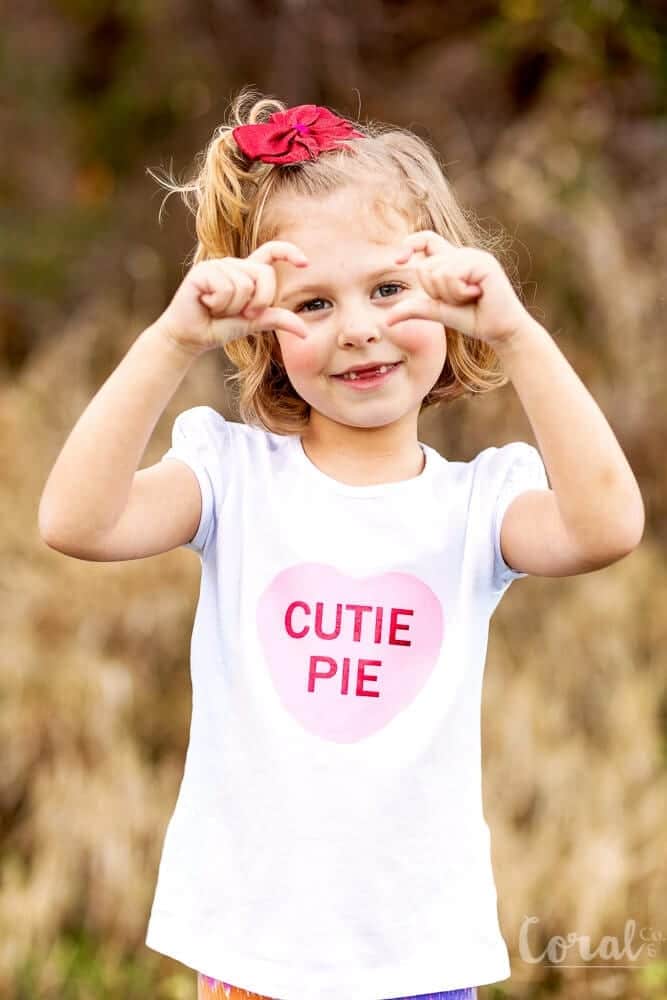
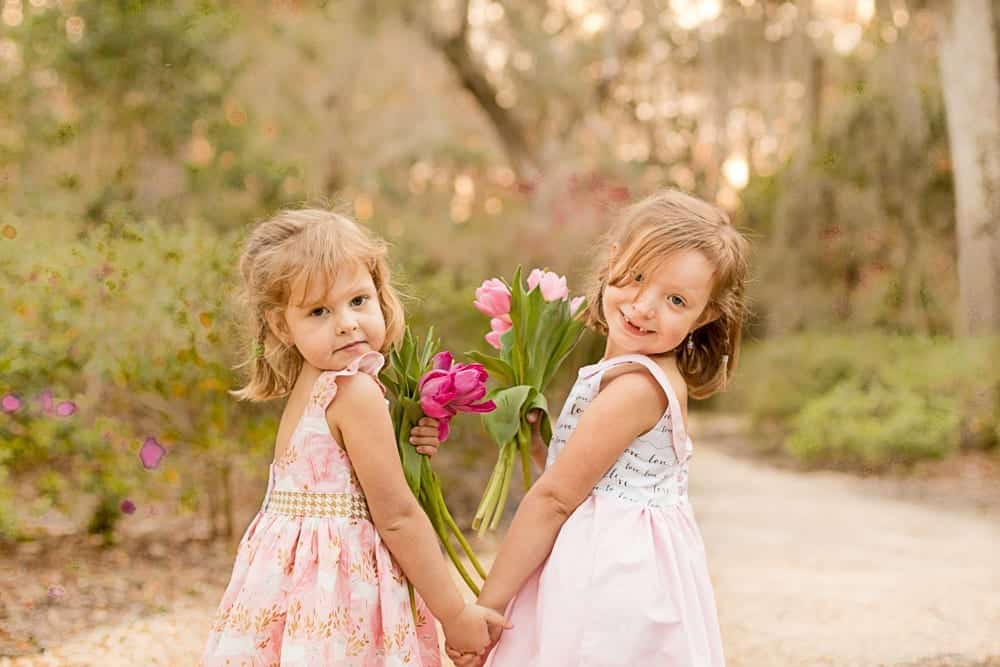
Ava had a fun time deciding which poses she thought were suitable for Valentines Day. Apparently with candy hearts, a heart symbol with her hands was called for. My kids always crack me up when I ask them to pose for pictures. When they were little they used to get so tired of me chasing them around with the camera, but as they have gotten older and watched those ridiculous videos on Youtube, they love to get in front of the camera and have their celebrity moment. Except of course when the gnats come out and are biting them all over the place. Which was totally the case in these pictures, which is why I only got about five pictures in before she called it quits. Oh, the divas of show business! Ok, I jest. At least they aren’t asking for green rooms yet with only purple skittles. Ha!
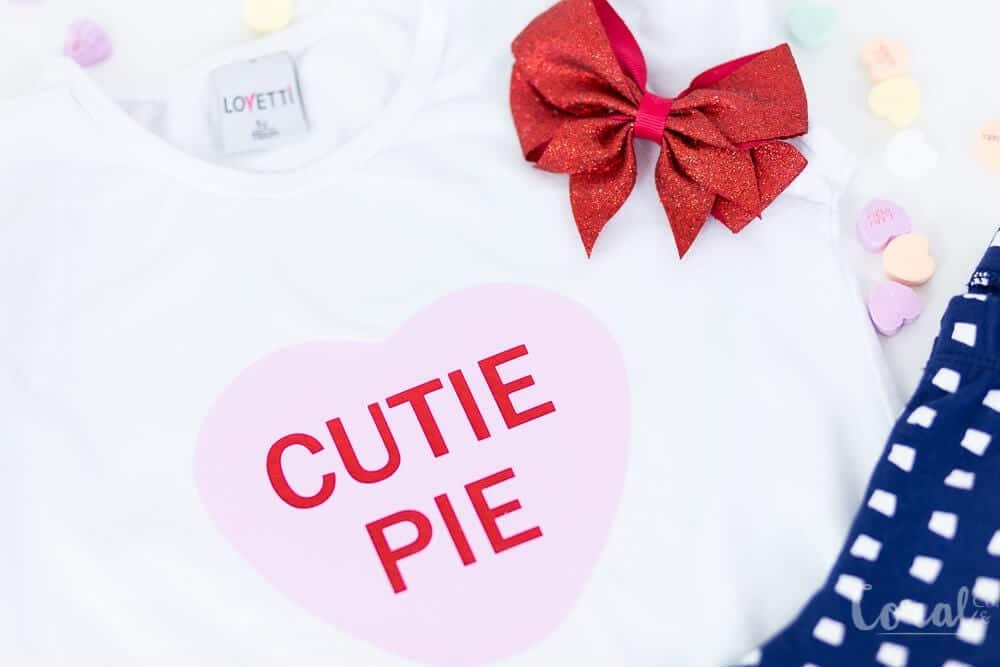
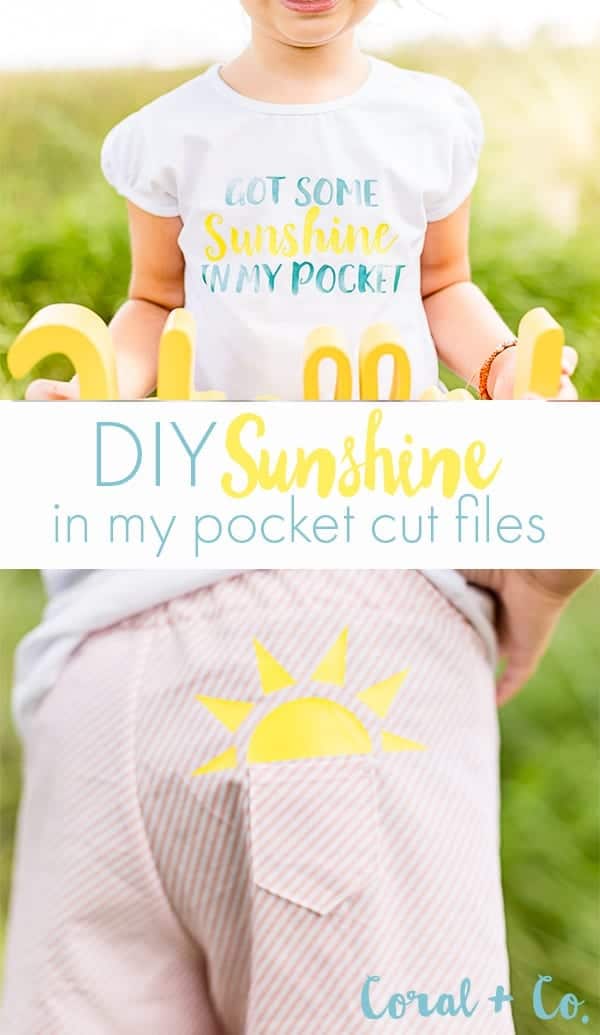
My favorite thing to make for most every holiday is a t-shirt! They are about the quickest thing to make and with a Cricut there are so many cute designs its hard to stop at only one.
I keep a stock of these blank t-shirts in my stash, so I can whip one up last minute if I need to . I like the feminine touch of the puffed sleeves, and it fits them better than a regular hanes type t-shirt.
Candy Heart SVG for Shirt Supplies
- Candy Heart SVG (Located in the Resource Library)
- Pink Iron on
- Red Foil Iron on
- White T-Shirt
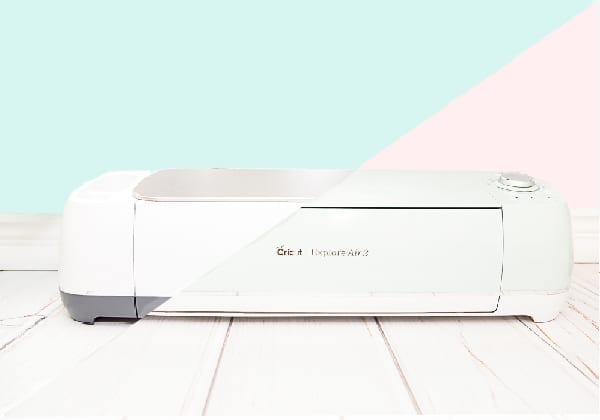
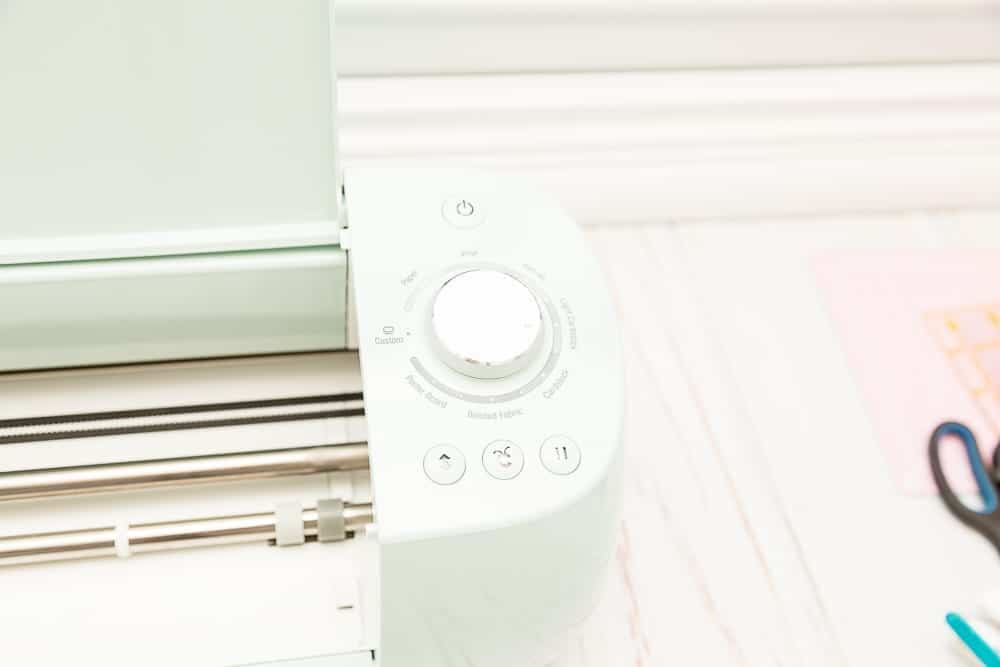
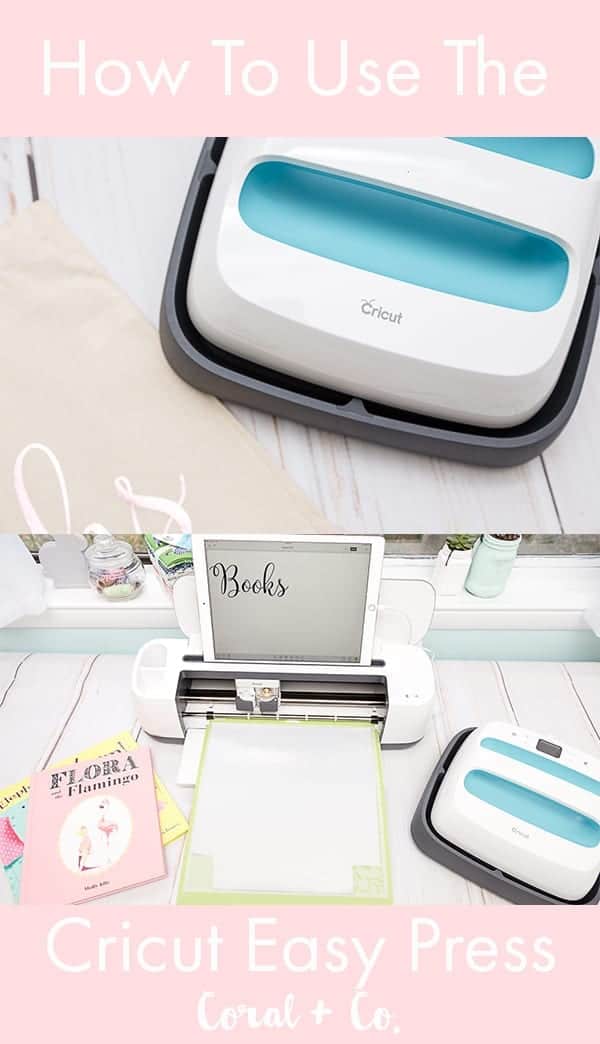
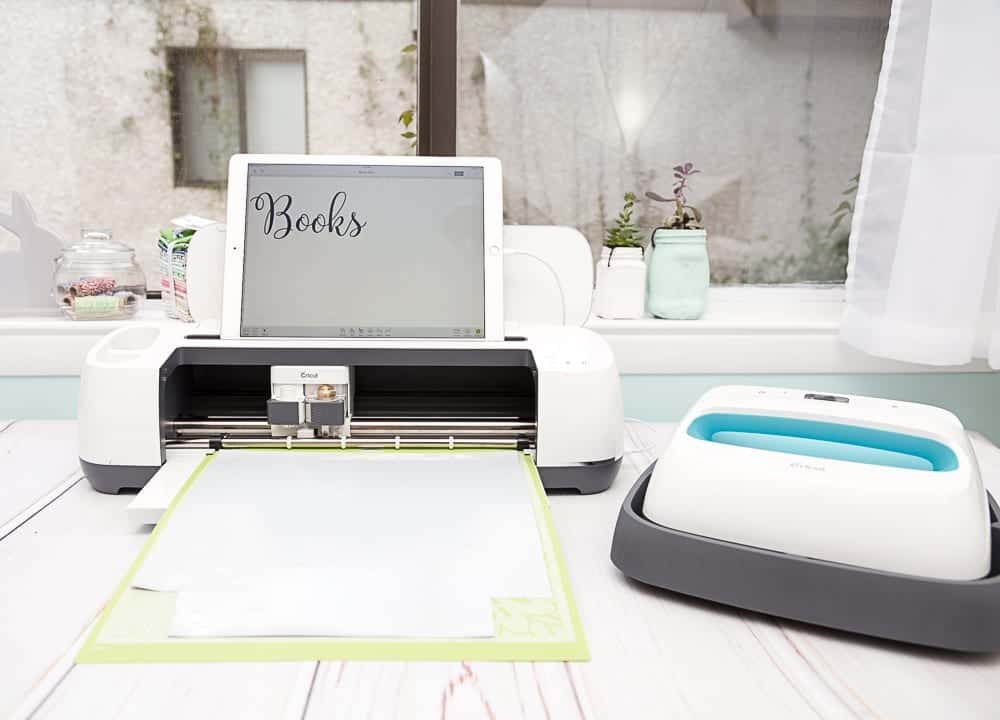
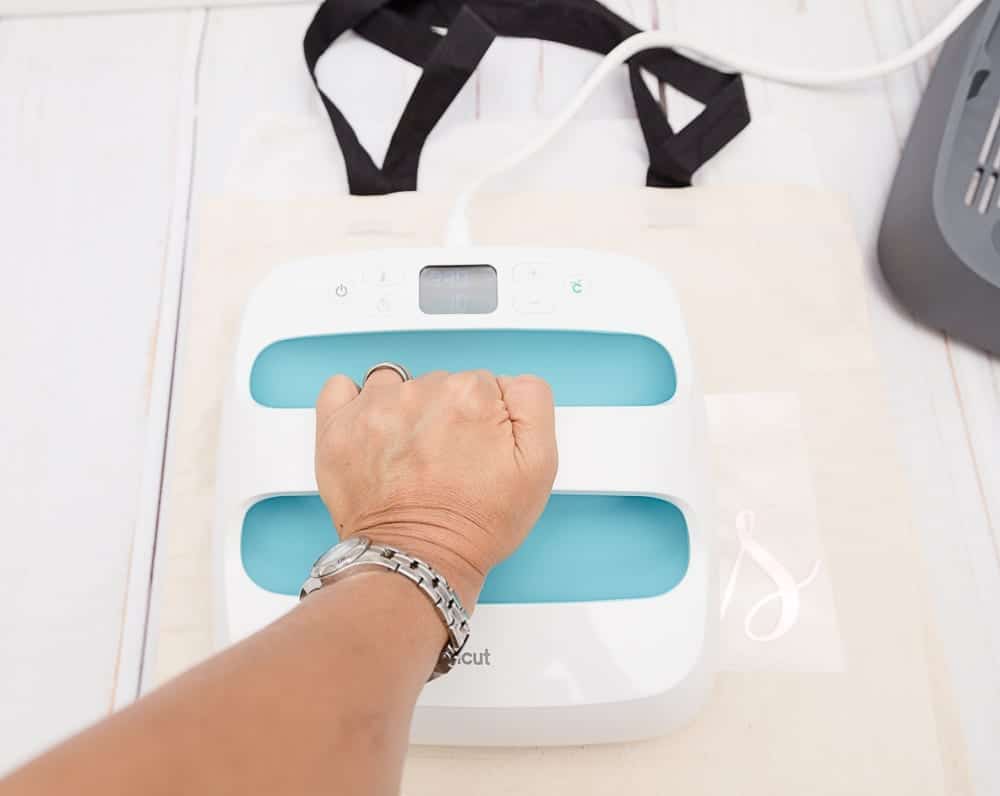
- Cricut EasyPress
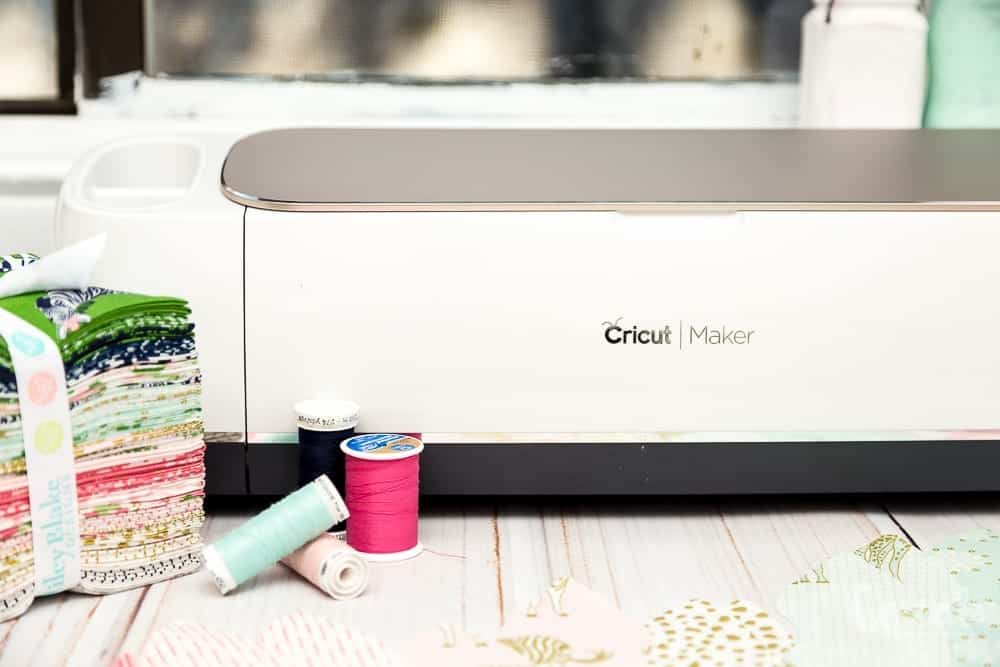
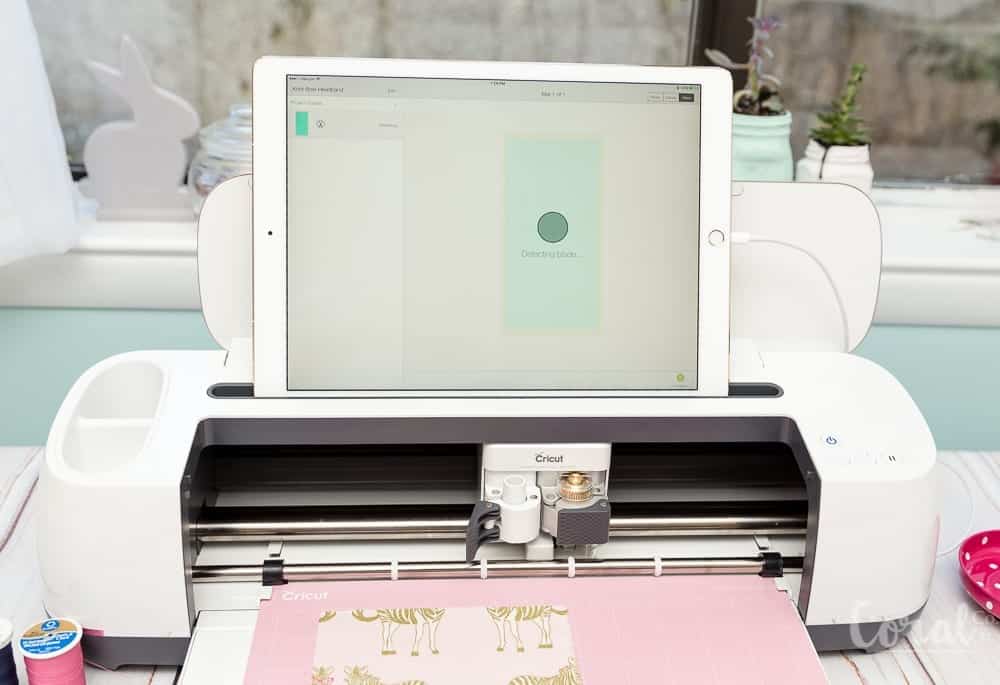
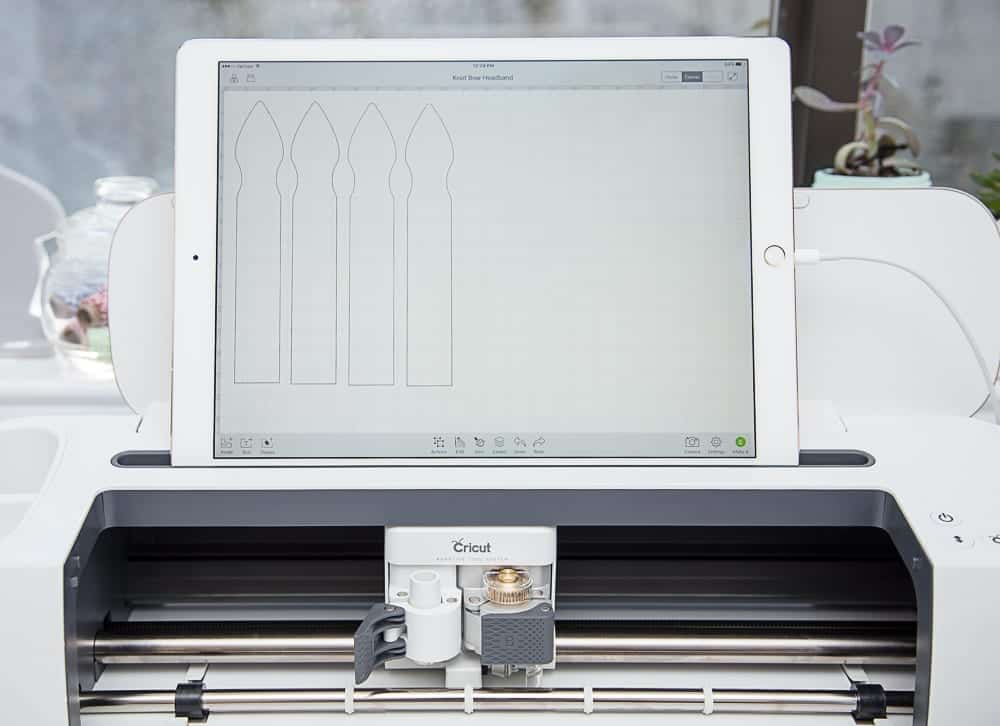
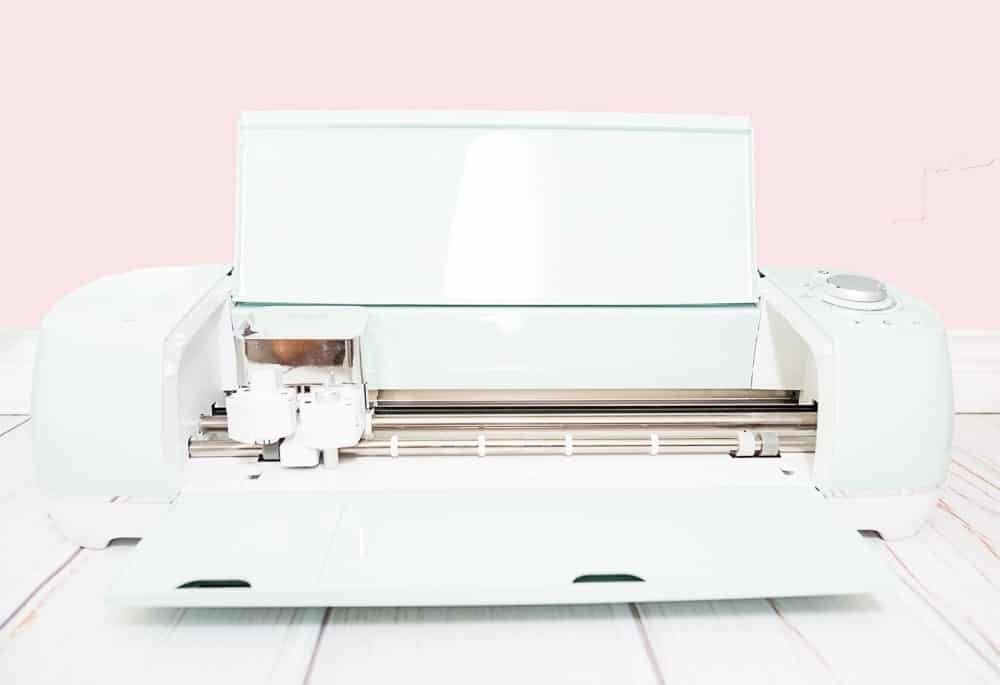
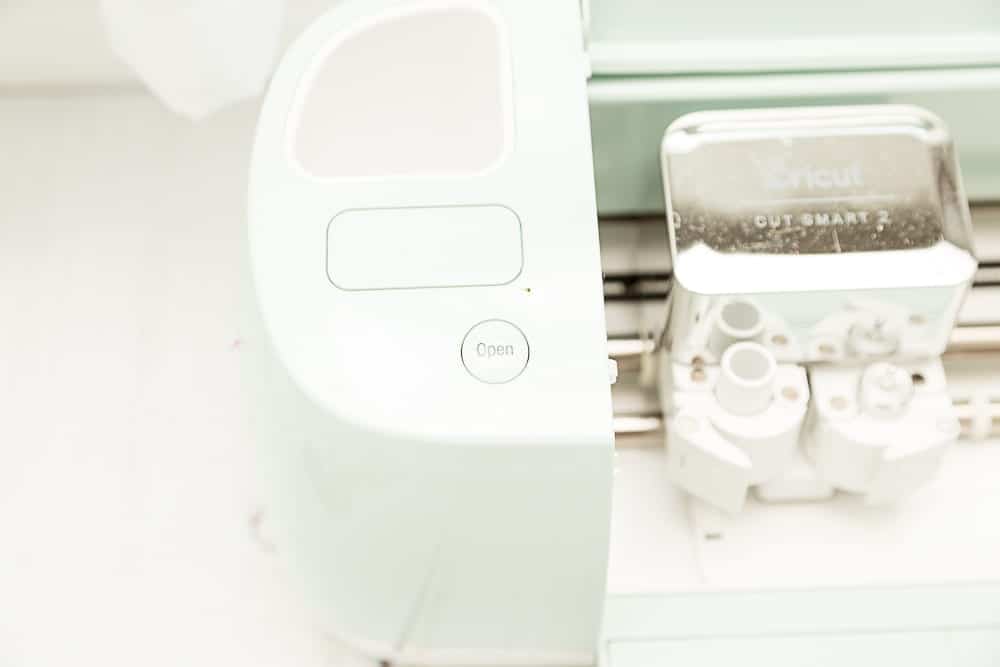
- Cricut Cutting Machine
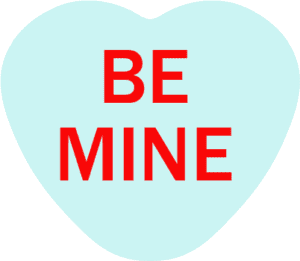
You can download any of the Candy Heart SVG files pictured below in the Resource Library.


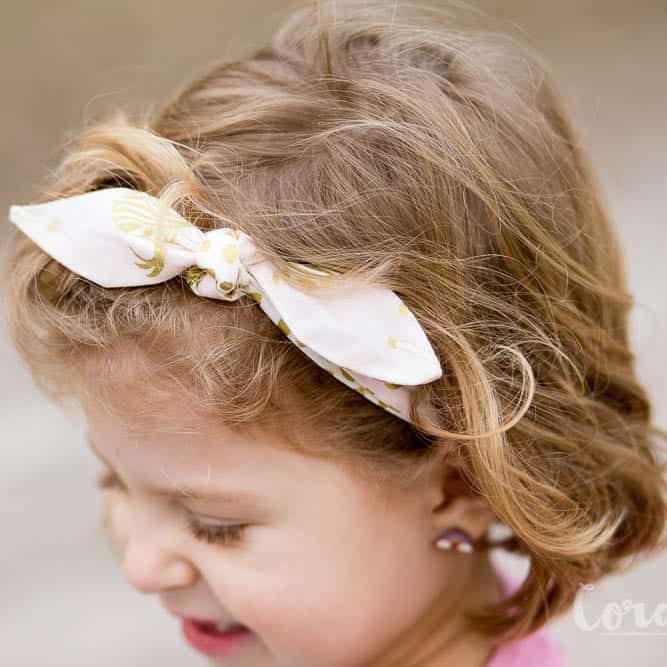


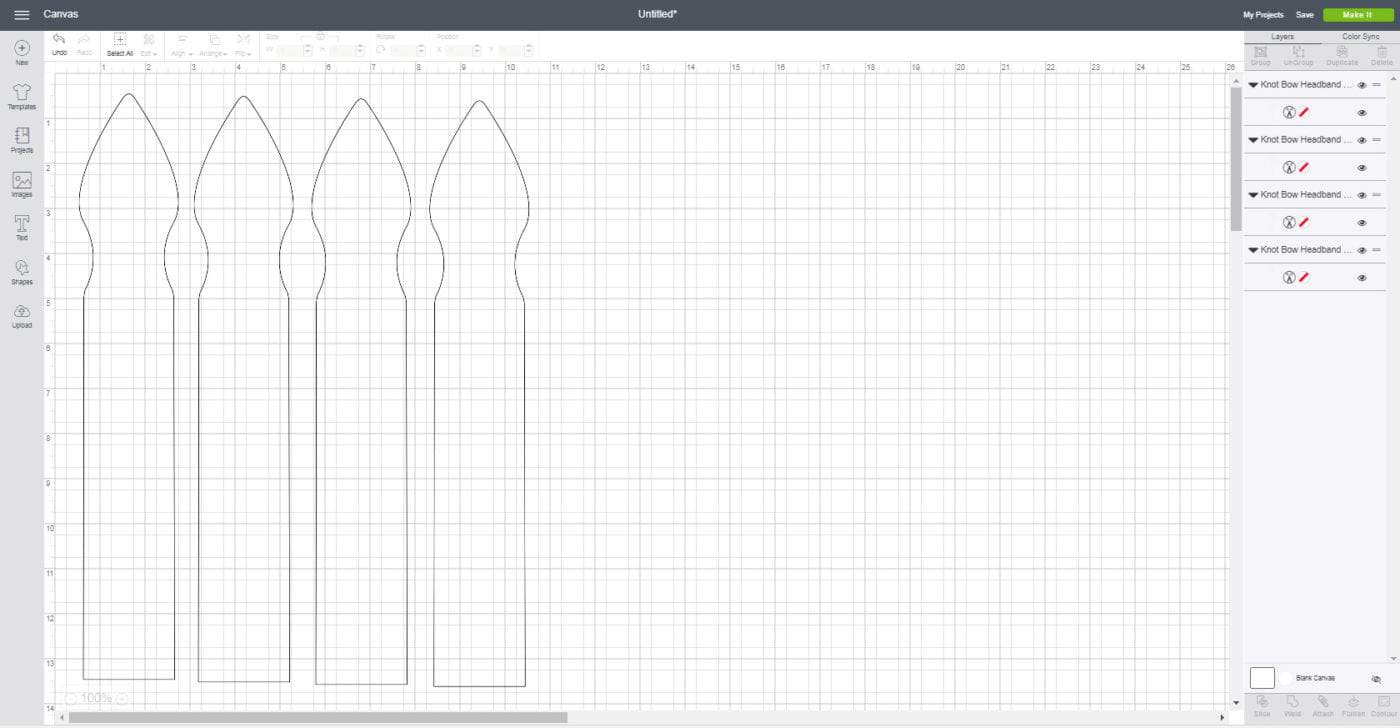
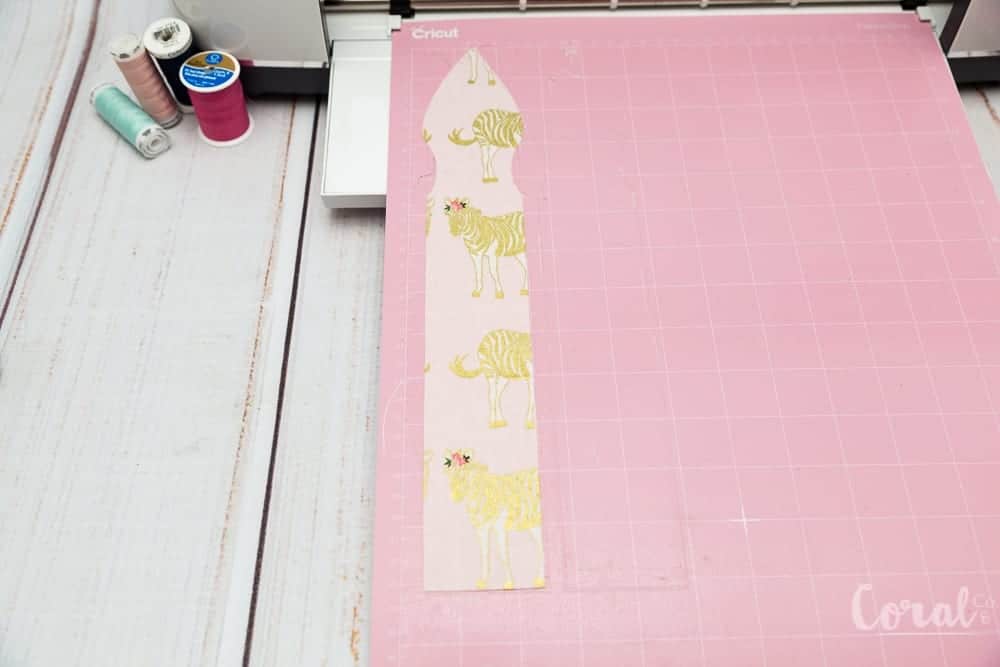


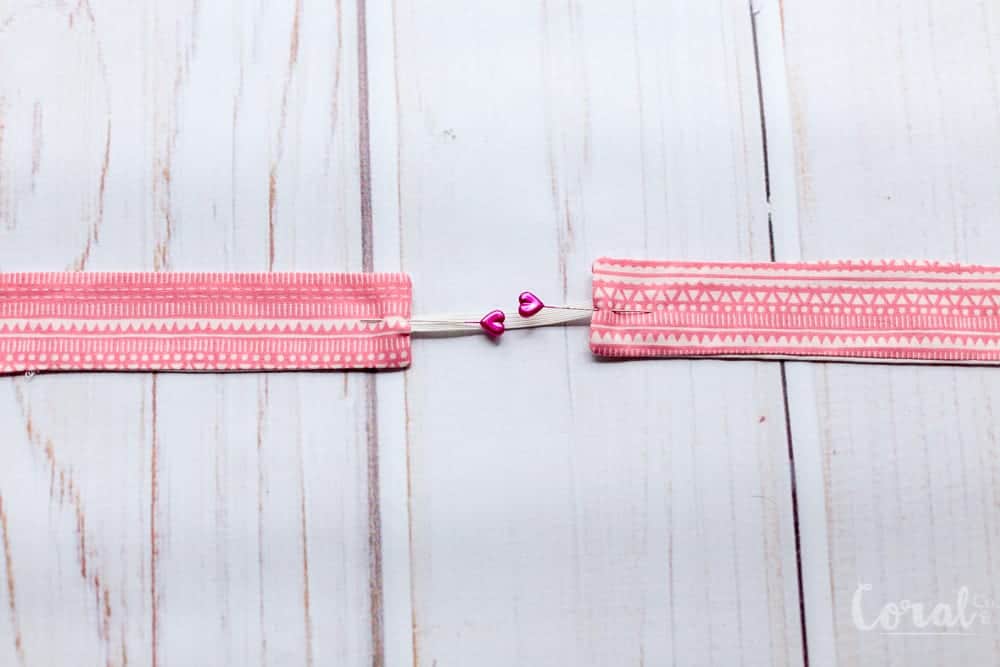
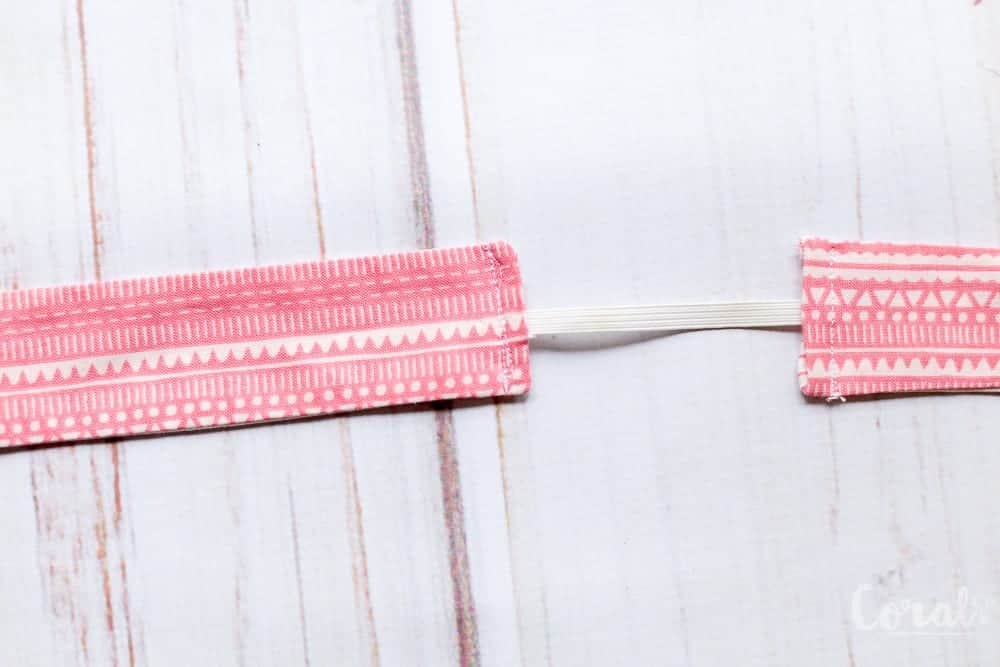
 Step 1. Place both Knot Bow Headband Pattern pieces right sides together (RST). Pin to hold together.
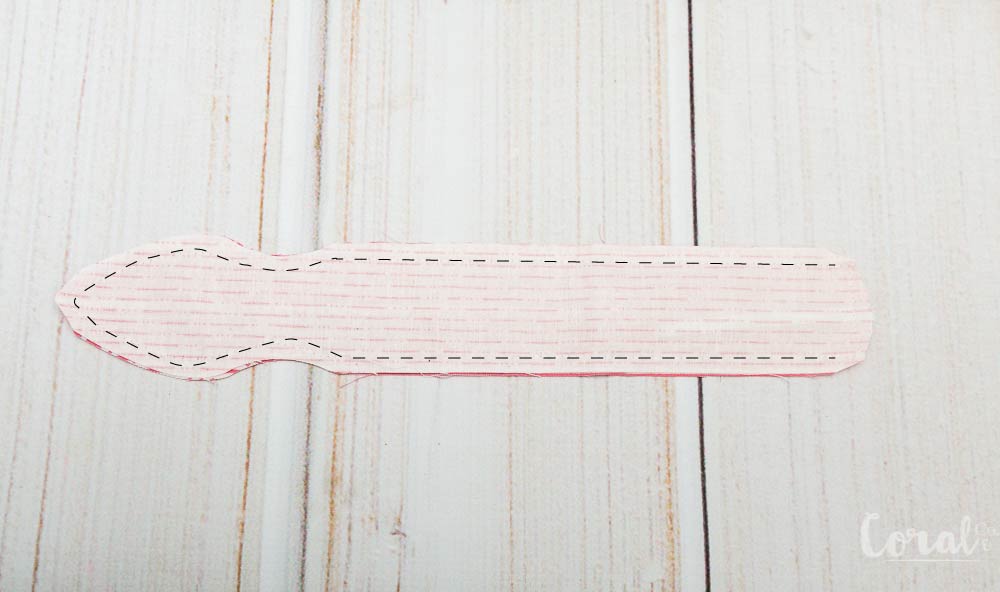


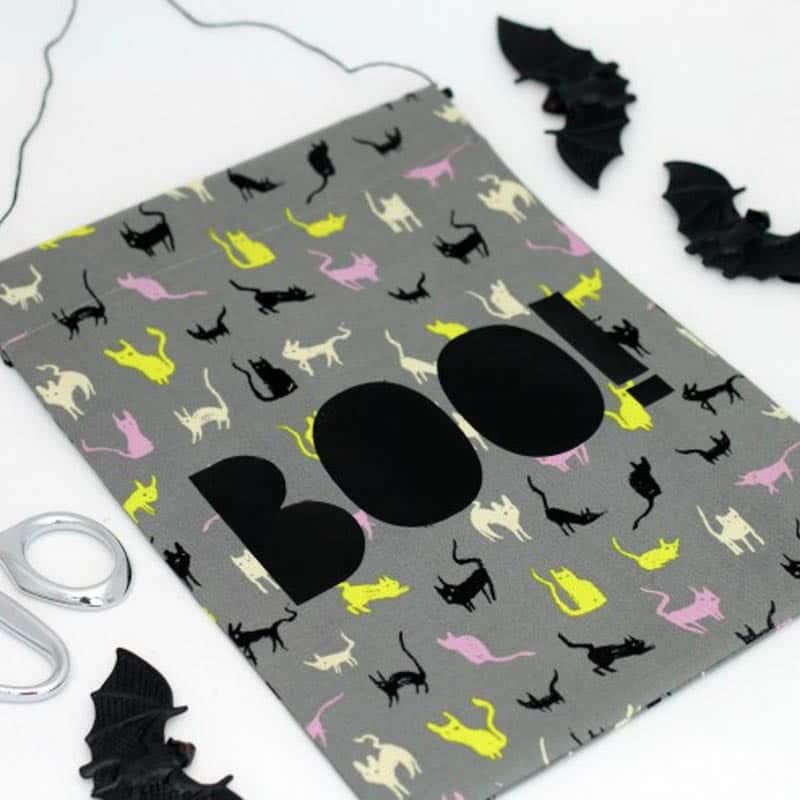

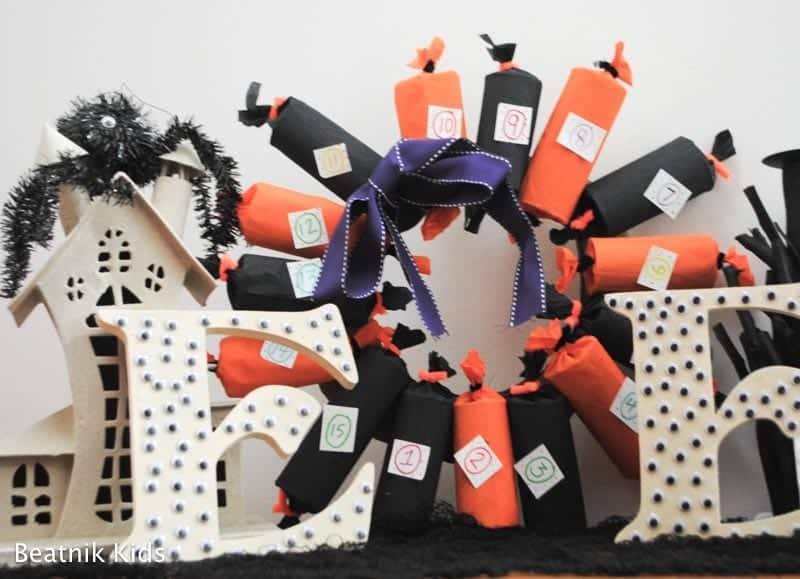
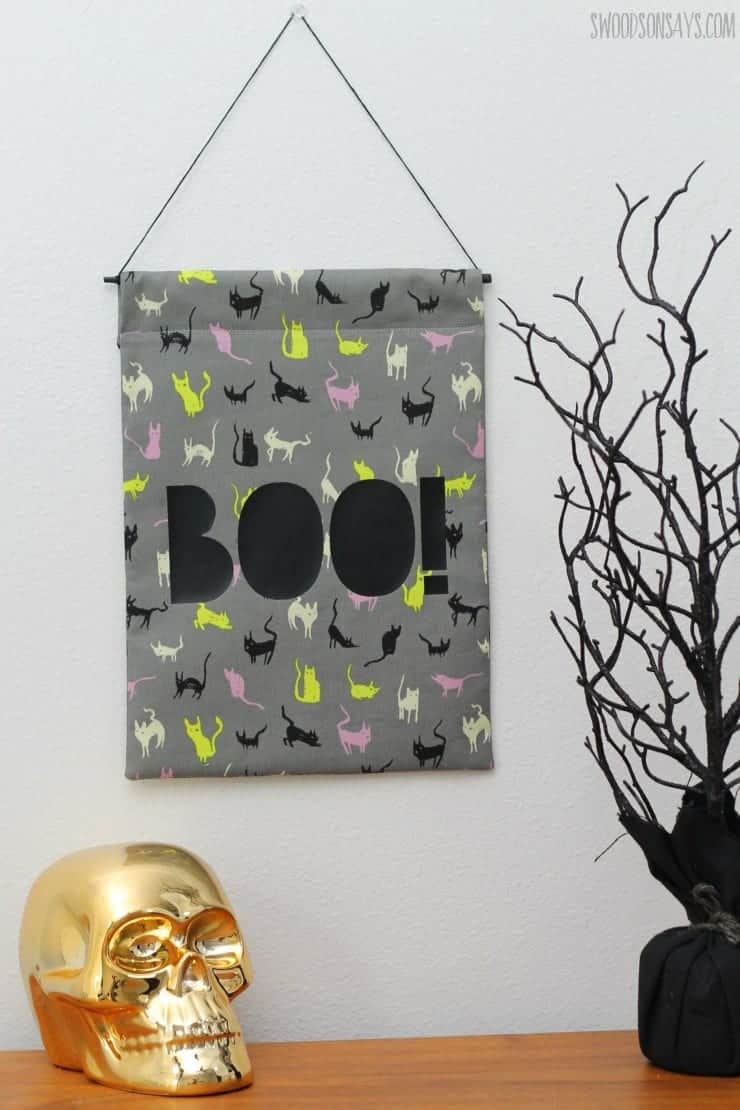 It’s the last day of the Halloween Make-a-Palooza and my friend Stephanie from Swoodson Says has a super simple tutorial to make an adorable DIY Banner to hang on your front door or wherever you like to decorate for Halloween. How cute is the cat fabric?!!! She includes the free SVG cut files so you can make one for yourself! Check out the