
What can you sew and make using your Cricut Explorer Air 2? How about this totally fun DIY Trolls Sunshine In My Pocket T-shirt and Shorts! I will show you how using an existing pattern and Iron On from Cricut!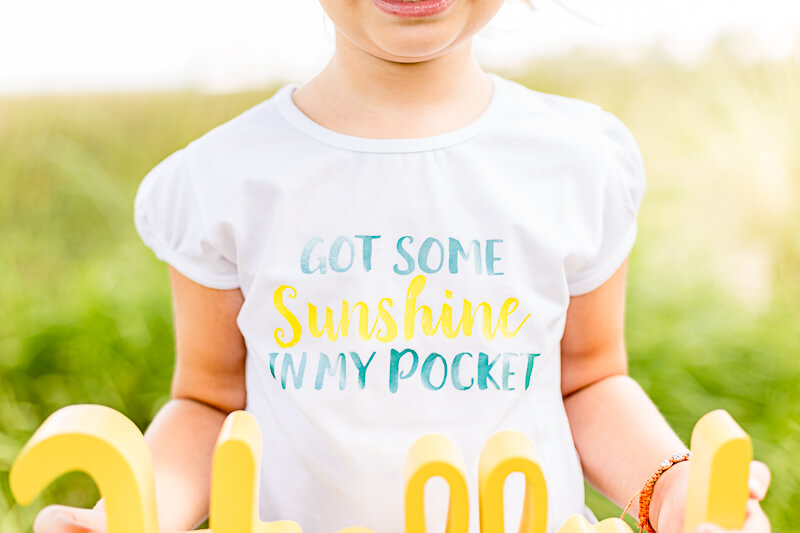
I am beyond super excited to be part of the Cricut Sewing Blogger tour where a group of fantastic sewing bloggers are sharing what they can make with Cricut Explore Air 2. When I was asked if I would be interested in participating on this tour it was a resounding YES! Getting a Cricut has been on my to do list for awhile and getting the chance to work with the latest model Cricut was a no-brainer.

DIY Trolls Shirt and Shorts Sunshine In My Pocket Cut Files with Cricut Tutorial


What you will need -
- T-shirt
- Shorts Pattern of your choice (I used the shorts from the Oliver + S Badminton Skort Pattern, but the Kids Shorts would be a good one as well.)
- Got Some Sunshine In My Pocket SVG Cut File
- Pocket Template
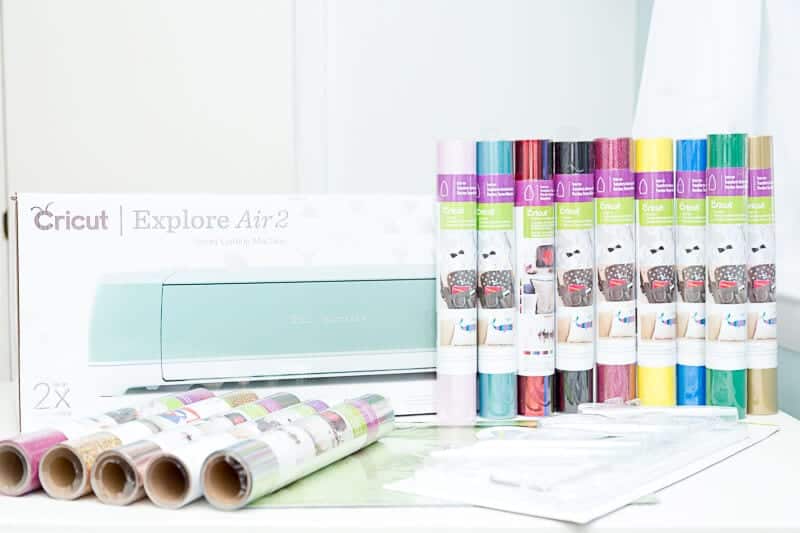
- Cricut Machine
- Iron On (I used Aqua and Yellow).
New to Cricut? Here is a great intro class to show you the basics.
In Design Space -
Upload the Got Some Sunshine In My Pocket SVG Cut File. Choose Basic, and Save. Resize image if needed. I choose mine to fit a size 7 girls T-shirt and the 2.25-inch pocket.

Select the entire Image and click Ungroup (circled in red).

Select the sun image.

And click Weld (circled in red), this will allow the image to be cut as one object.

The sun layers will now look like this below (circled in red).

Select the entire text and click Ungroup.

Select Sunshine and weld.

Select Got Some text and weld.

Select In My Pocket text and weld.

The layers panel should now look like this. If you would like the text to be 3 different colors simply change the color of the text group below and it will make a third color cut. Select Make It.

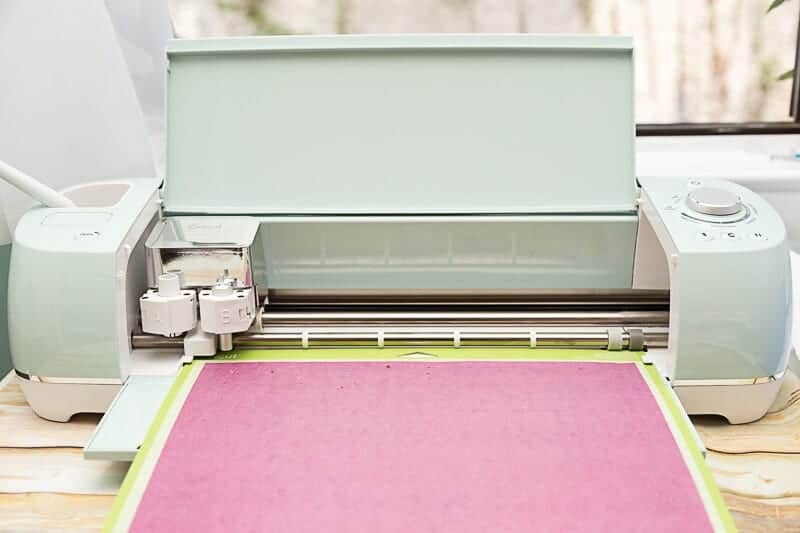
To Cut -
- Unroll and place vinyl on cutting mat.
- Select cutting material on the cricut machine (iron on was my setting).
- Make sure to select MIRROR Image so that the image will be facing the correct direction when you iron it on.
- Load the mat and press the flashing cricut button to start cutting.

Repeat above for cut two.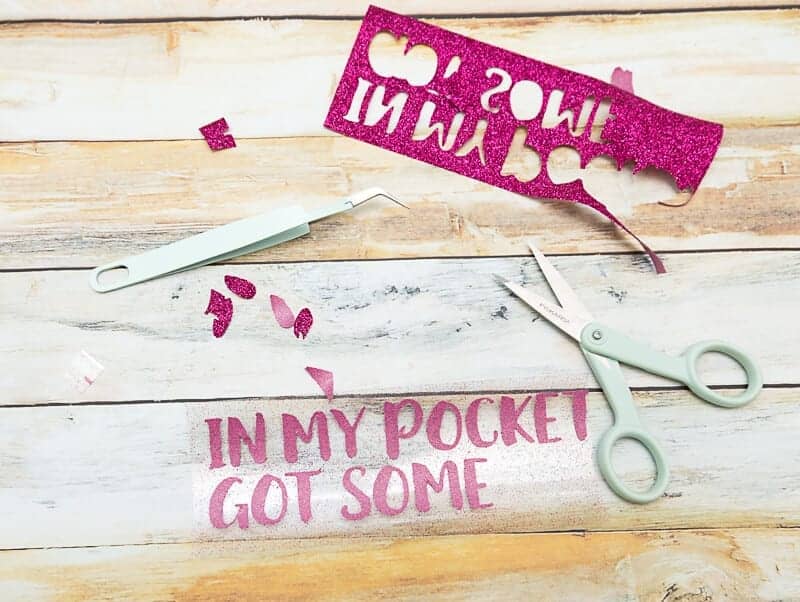

When finished press load button to unload. Proceed to weed your iron on. Katie has a good tutorial here on how to weed intricate designs.
Sunshine Shorts Tutorial


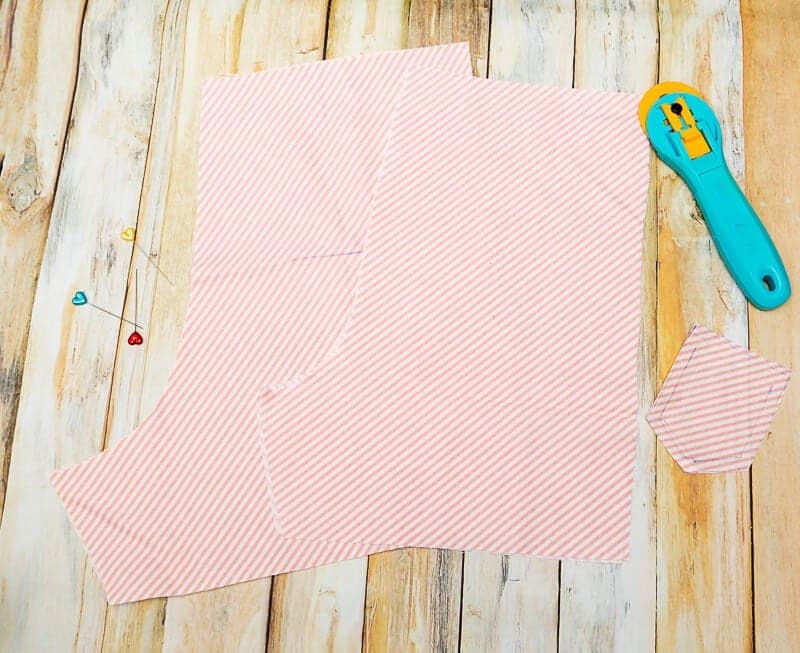
Cut your shorts pattern pieces and pocket template. I drew on my pocket where you will want to fold using an iron away pen. Also, draw a 2.25in line across the left back shorts piece where you will want to place your pocket.

Fold top raw edge over 1/4in and iron. Starch will help keep the folds stay.


Fold over 1/4in once more and stitch into place using a 1/8in seam allowance.

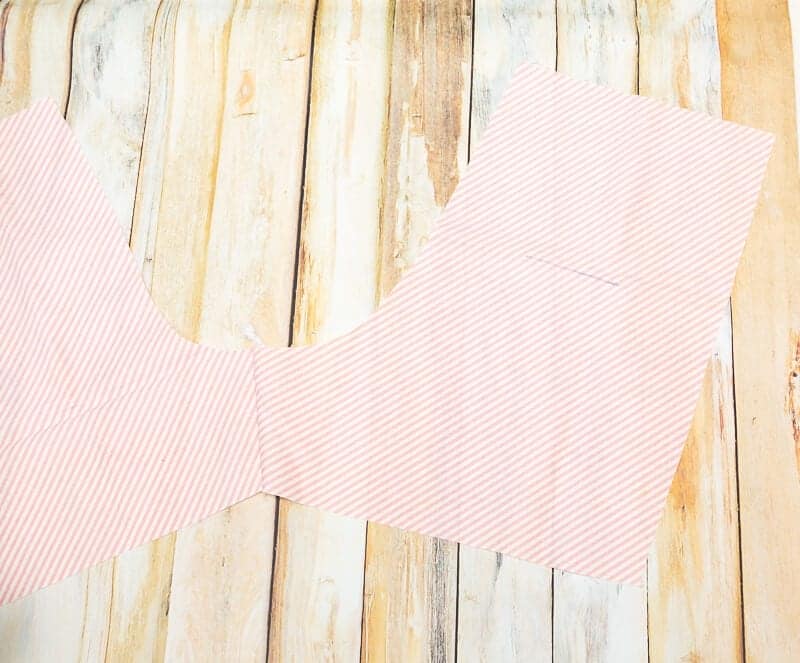
Fold the sides and bottom raw edges as pictured below and press.

You can choose to sew the front piece leg seam together now or wait until after you have made the pocket. Just be sure you have made a 2.25in mark to place your iron on.
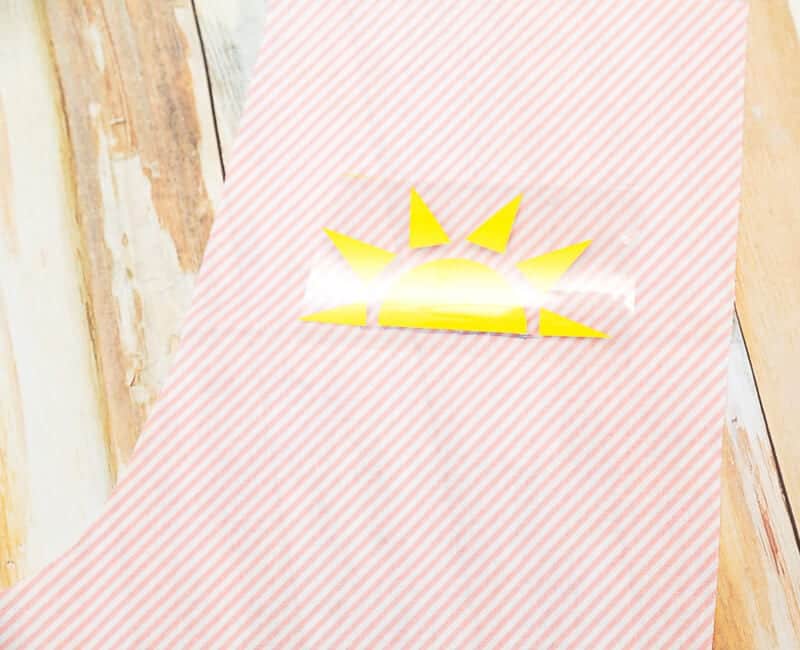

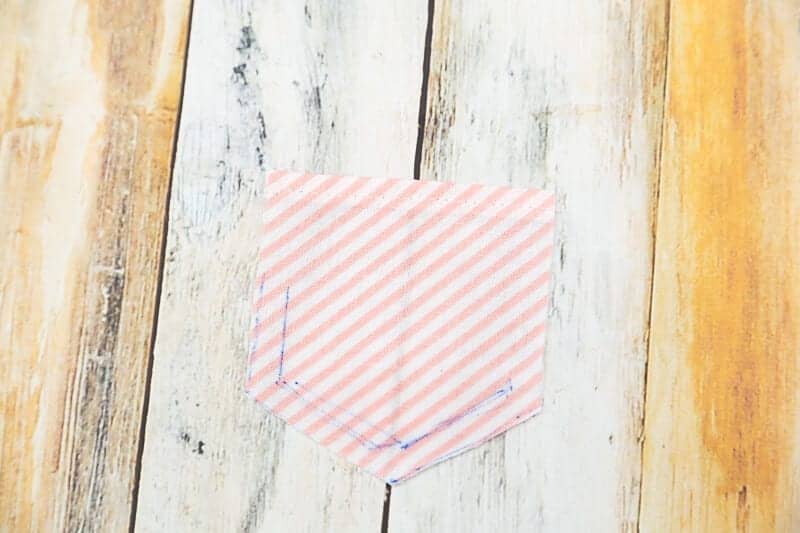
Prepare fabric according to the materials instructions. Then place sunshine on pocket guide and press with iron using the guidelines given on your iron on the packaging.
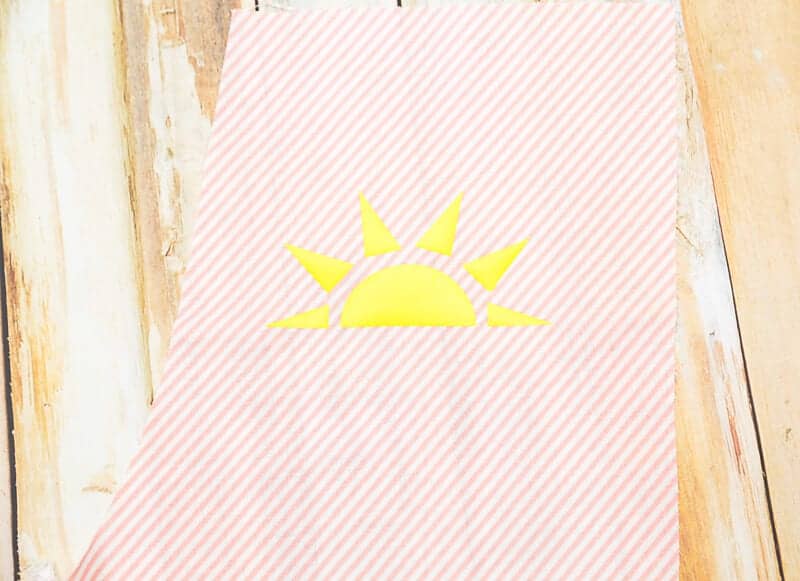

The sun will now look like this.
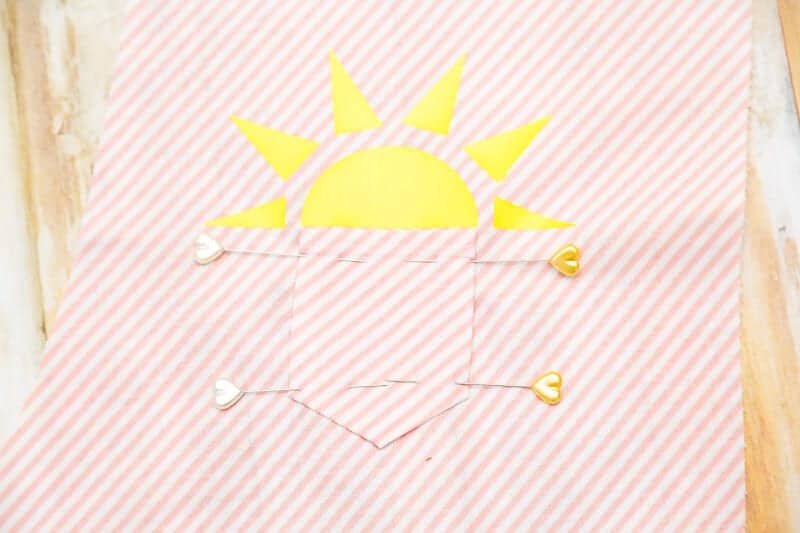

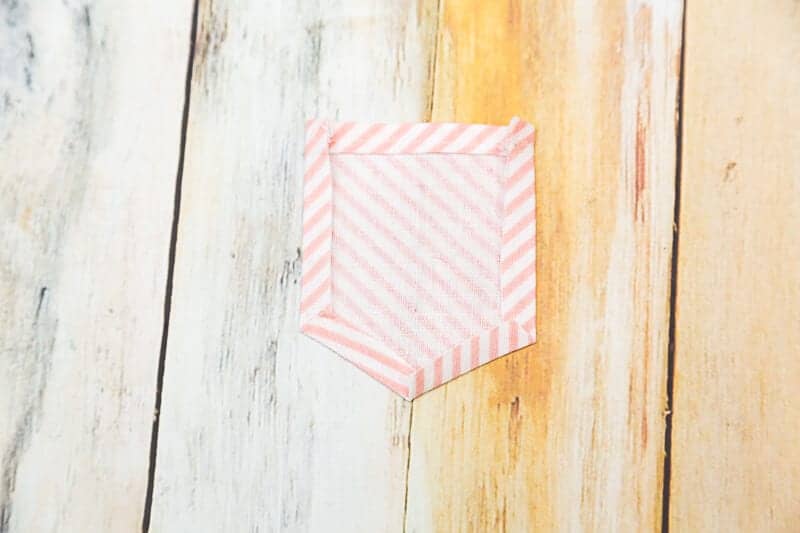
Pin your pocket below the sunshine.


Sew the pocket into place using a 1/8in seam allowance.

Sunshine In My Pocket T-Shirt Instructions

Place the Sunshine text first and then iron on according to instructions.

Then arrange the rest of the text above and below sunshine and press. And now you are ready to rock some sunshine in your pocket!

AND THERE IS A GIVEAWAY!
You can win a Cricut Explore Air 2 of your own! Woohoo!
Enter to Win a Cricut Explore Air 2 HERE
Week One: July 19th
Week Two: July 26th
I was invited to participate in the Cricut Party Blogger Program Kickoff.
This experience is based strictly on my opinion. Others may have a different opinion or experience with the product listed above. I was provided the sample free of charge by the company or PR agency and I have given my honest opinion.
This is a sponsored conversation written by me on behalf of Cricut. The opinions and text are all mine.
[inlinkz_linkup id=780380 mode=1]