
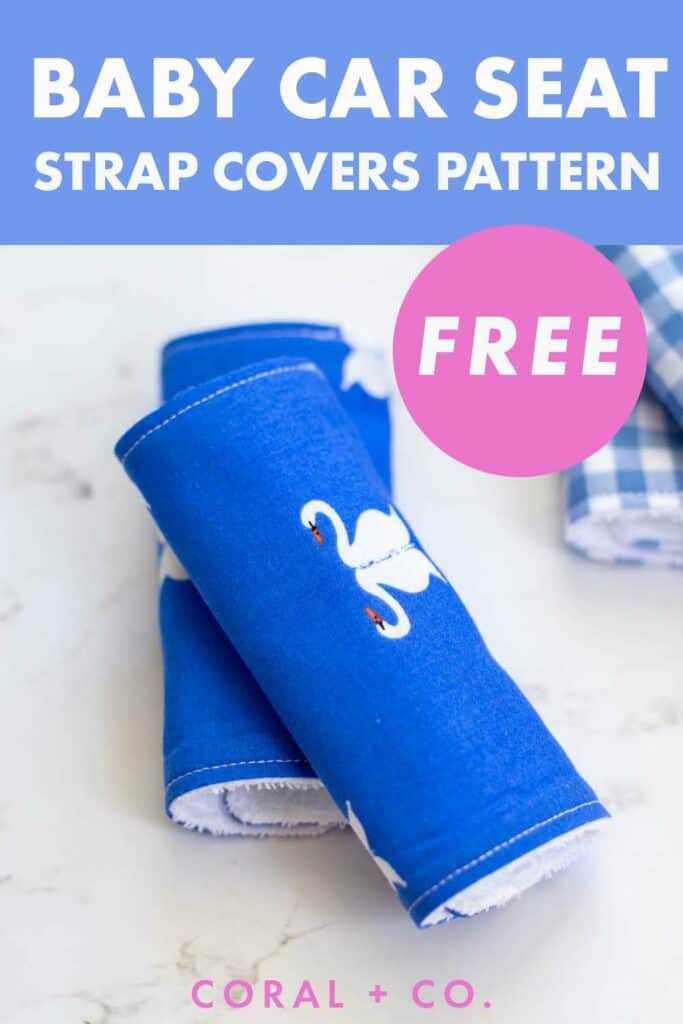
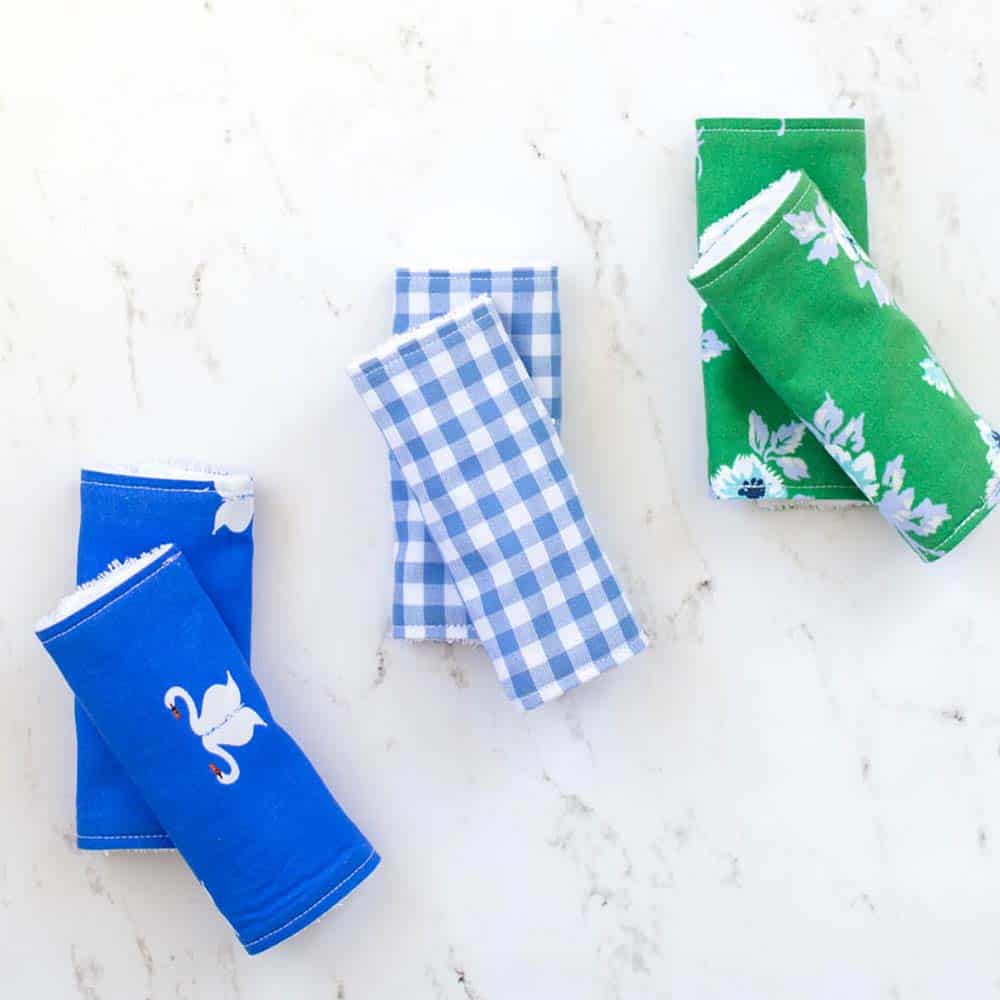
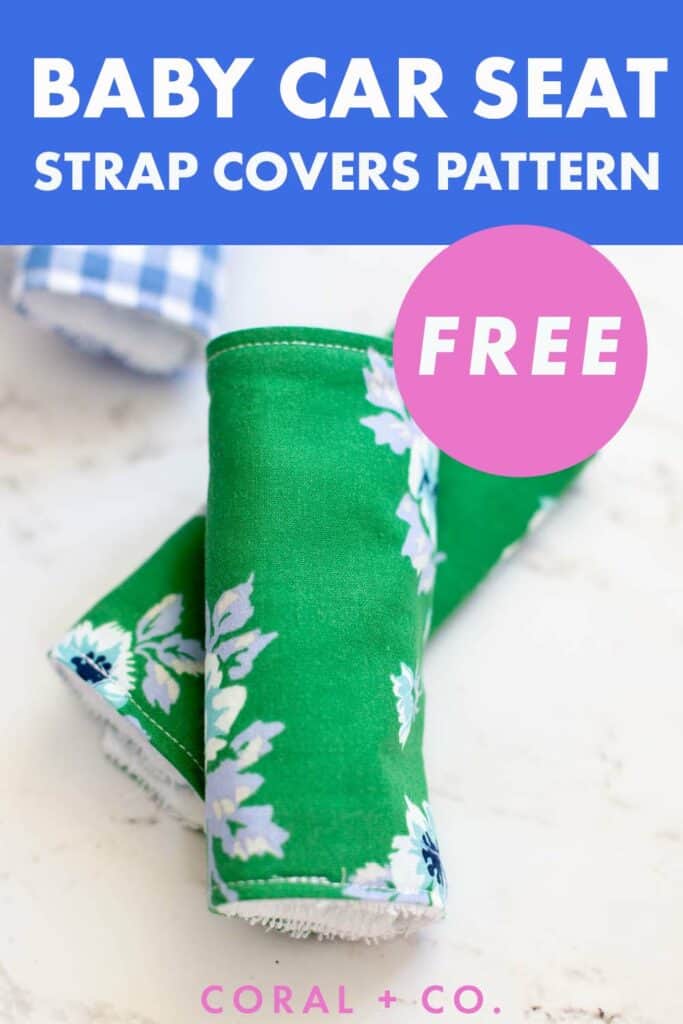
FREE DIY Baby Car Seat Strap Covers Pattern! Learn how to make Baby Car Seat Strap Covers with this easy pattern and tutorial. The car seat strap covers can be made with Terry cloth, flannel, quilting cotton, or minky fabric. Car seat strap covers will keep the baby nice and comfortable while in the car seat. They also make a fantastic baby shower gift for any new mother and can be made to coordinate with both the Baby Bib and Burp Cloth Patterns for a much loved gift.
The simple tutorial will show you step by step how to sew the easy car seat strap covers in 15 minutes.
MORE BABY SEWING PATTERNS AND TUTORIALS
- 50+ Cutest Baby Sewing Projects
- Baby Bib Pattern in 4 Sizes
- FREE Top Knot Baby Hat Sewing Pattern
- FREE Basic Baby Hat Sewing Pattern
- How to Make a Sherpa Fleece Baby Blanket
- Minky Crib Sheet Tutorial
- Knot Bow Headband Pattern
- Easy Newborn Baby Swaddle Blanket
- Simple Squares Baby Quilt Pattern
Be sure to sign up for the Blog Freebie Resource Library to access the baby car seat strap covers pattern.
Baby Car Seat Strap Covers Supplies List:
- 2 Scraps or Fat Quarters of Cotton, Flannel, Terry Cloth, or Minky Fabric
- Baby Car Seat Strap Covers Template (Available in the Resource Library - Sign up to Access)
- Velcro
- Pins or Wonderclips
- Sewing Machine Needle
- Thread
- Scissors or Rotary Blade and Cutting Mat

Baby Car Seat Strap Cover Instructions
Time needed: 20 minutes.
How to Sew a Baby Burp Cloth with FREE Pattern
- PRINT OUT THE PATTERN TEMPLATE
Print out the pattern template. To print the file: Save File to Computer. Then open the file up and print. DO NOT check fit to page. You will want to print the actual size.
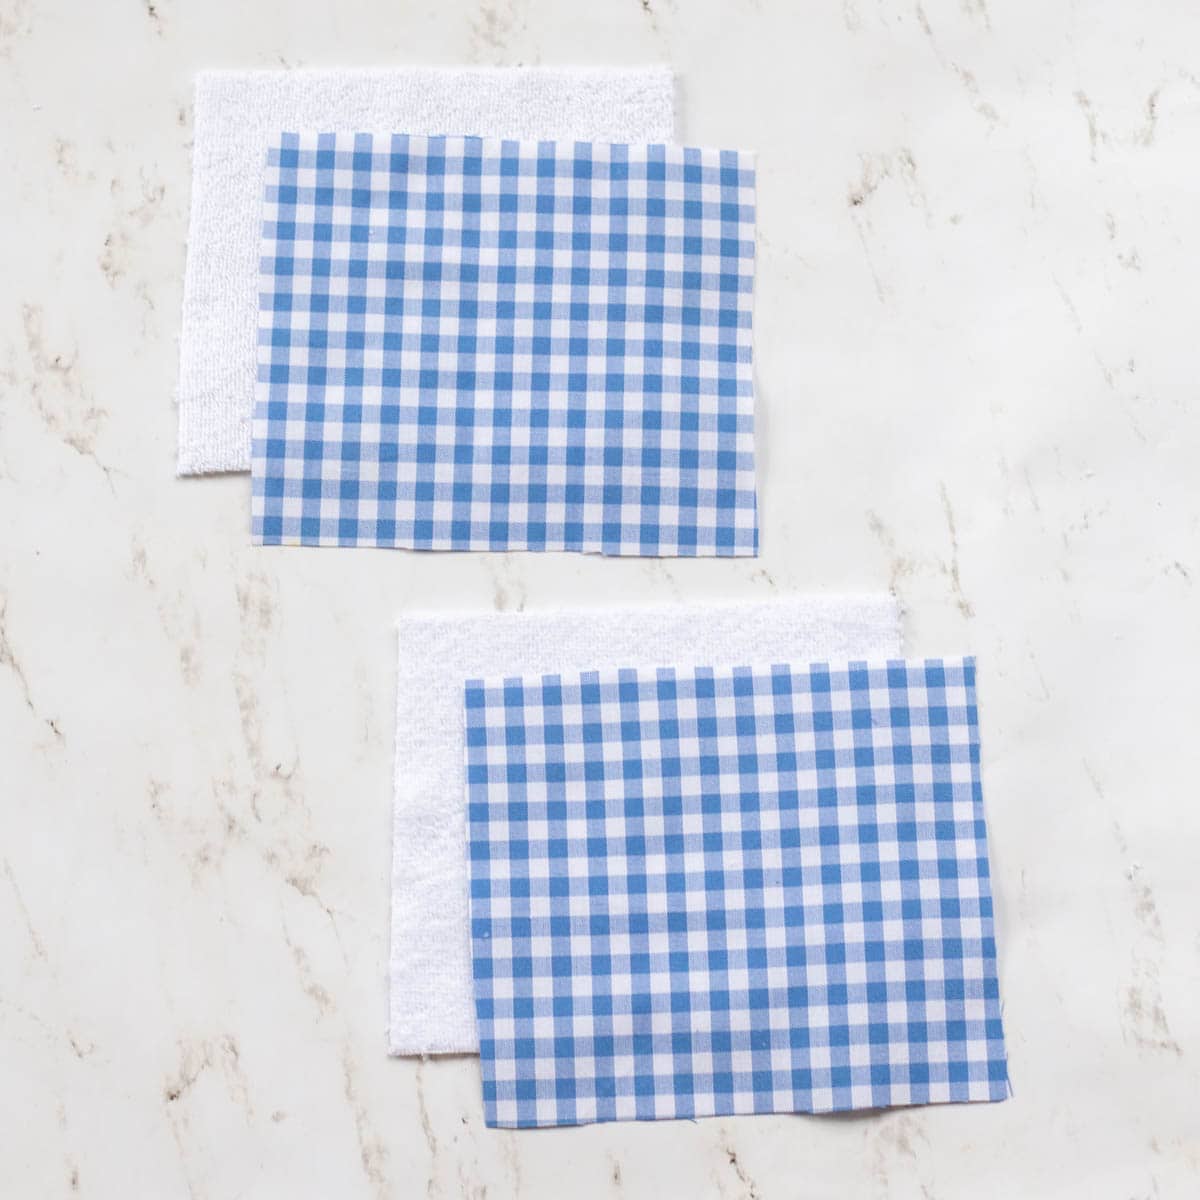
- CUT OUT STRAP COVERS FROM FABRIC
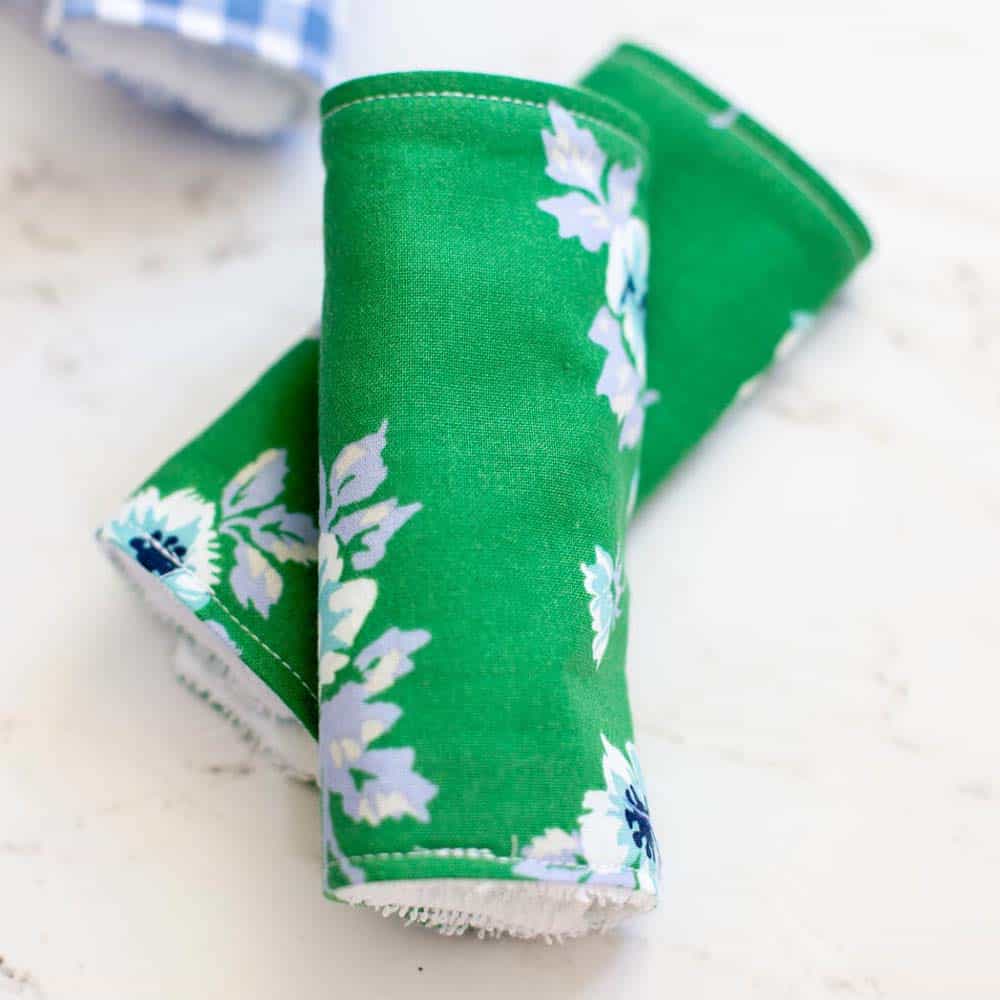
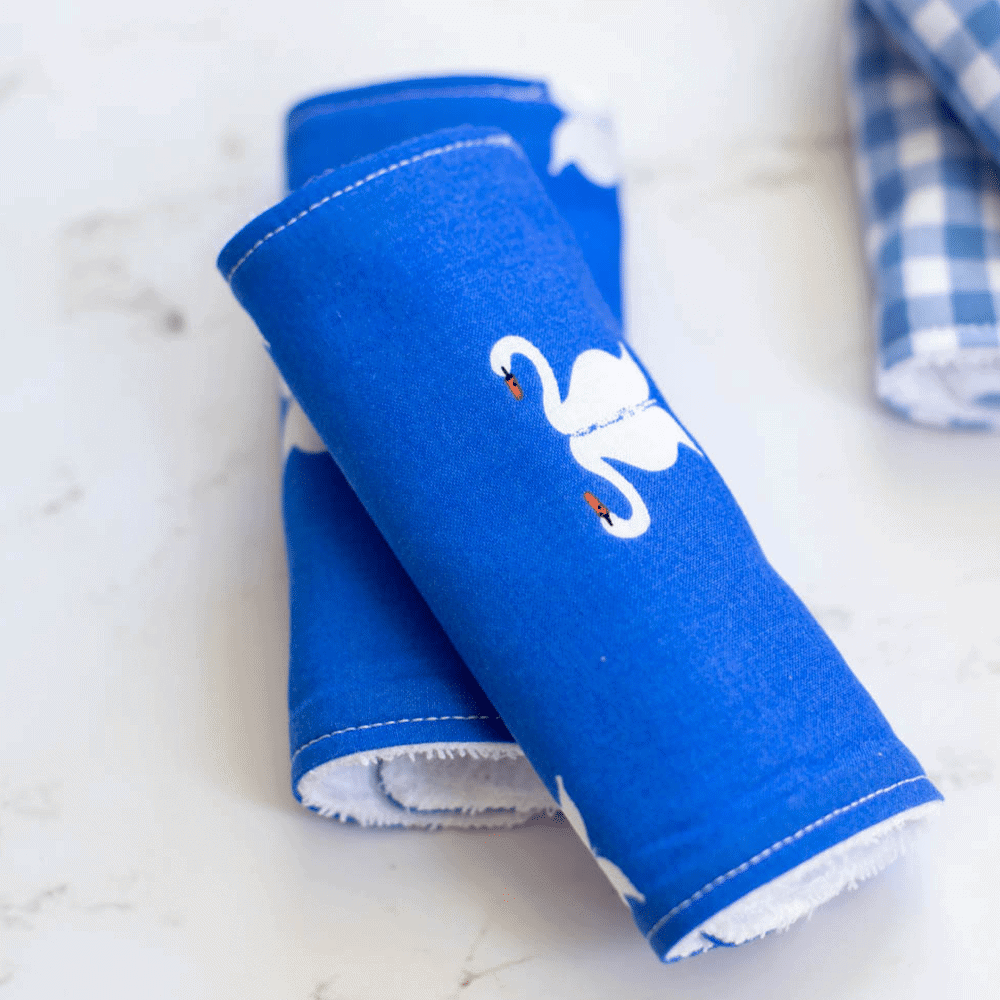
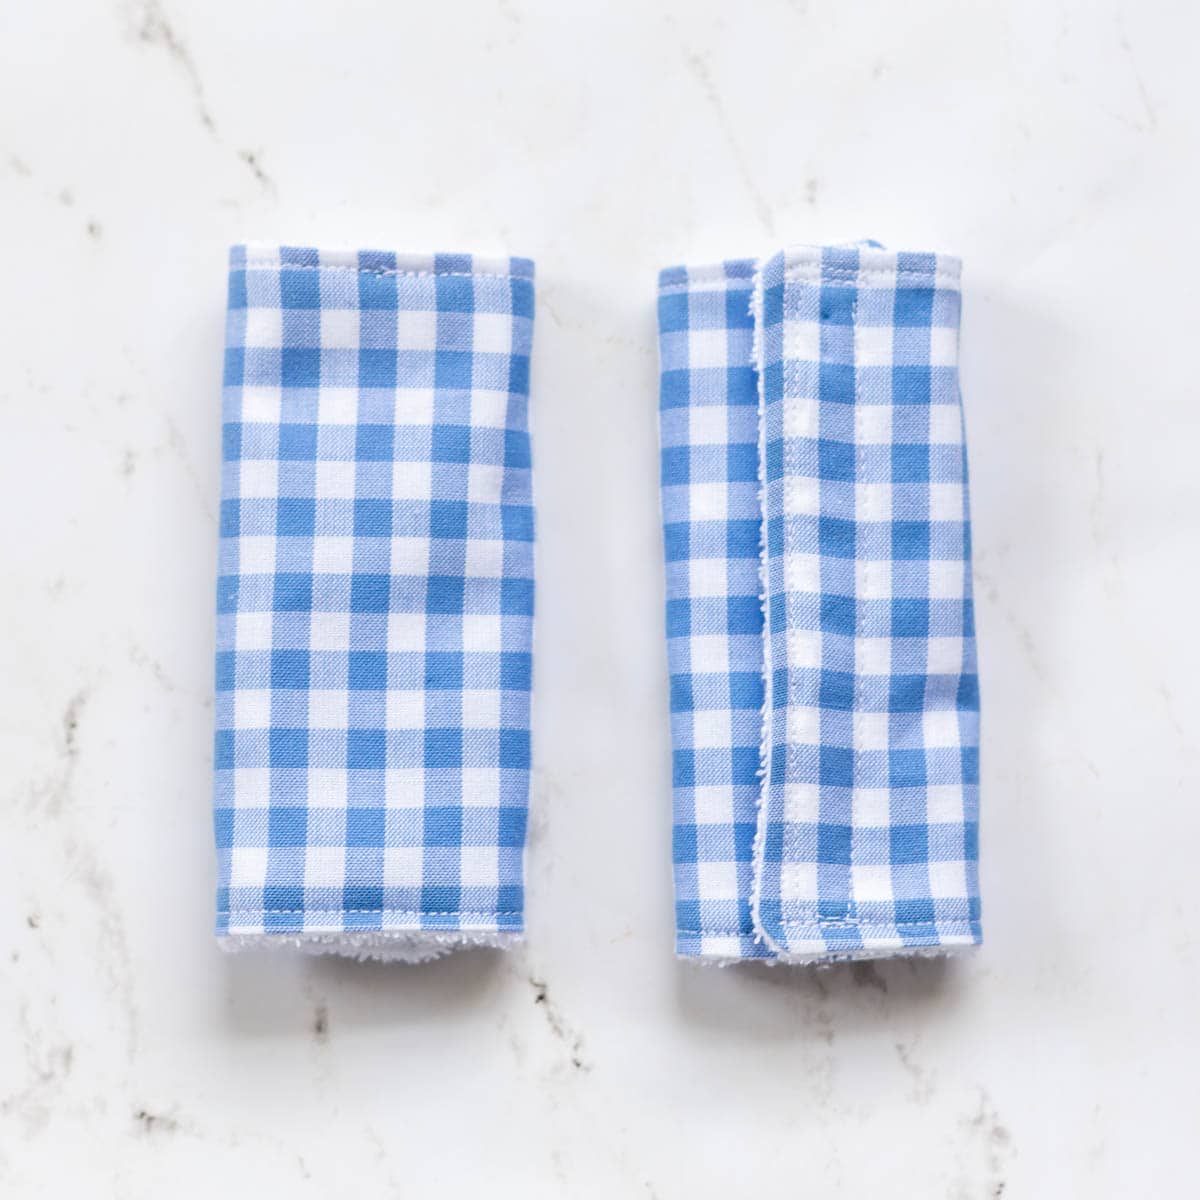
Using the car seat strap covers pattern template as a guide, cut out two rectangular pieces. You can use coordinating fabrics for both the front and back or cotton on the front and a soft and absorbent Terry cloth on the back as shown above.
- PLACE STRAP COVER PIECES RIGHT SIDES TOGETHER
Place the strap cover front and back pieces right sides together (RST) and pin or clip carefully in place. With the pins mark a 2 - 3 inch opening along the bottom. This will be where you pull it through to turn it right side out.
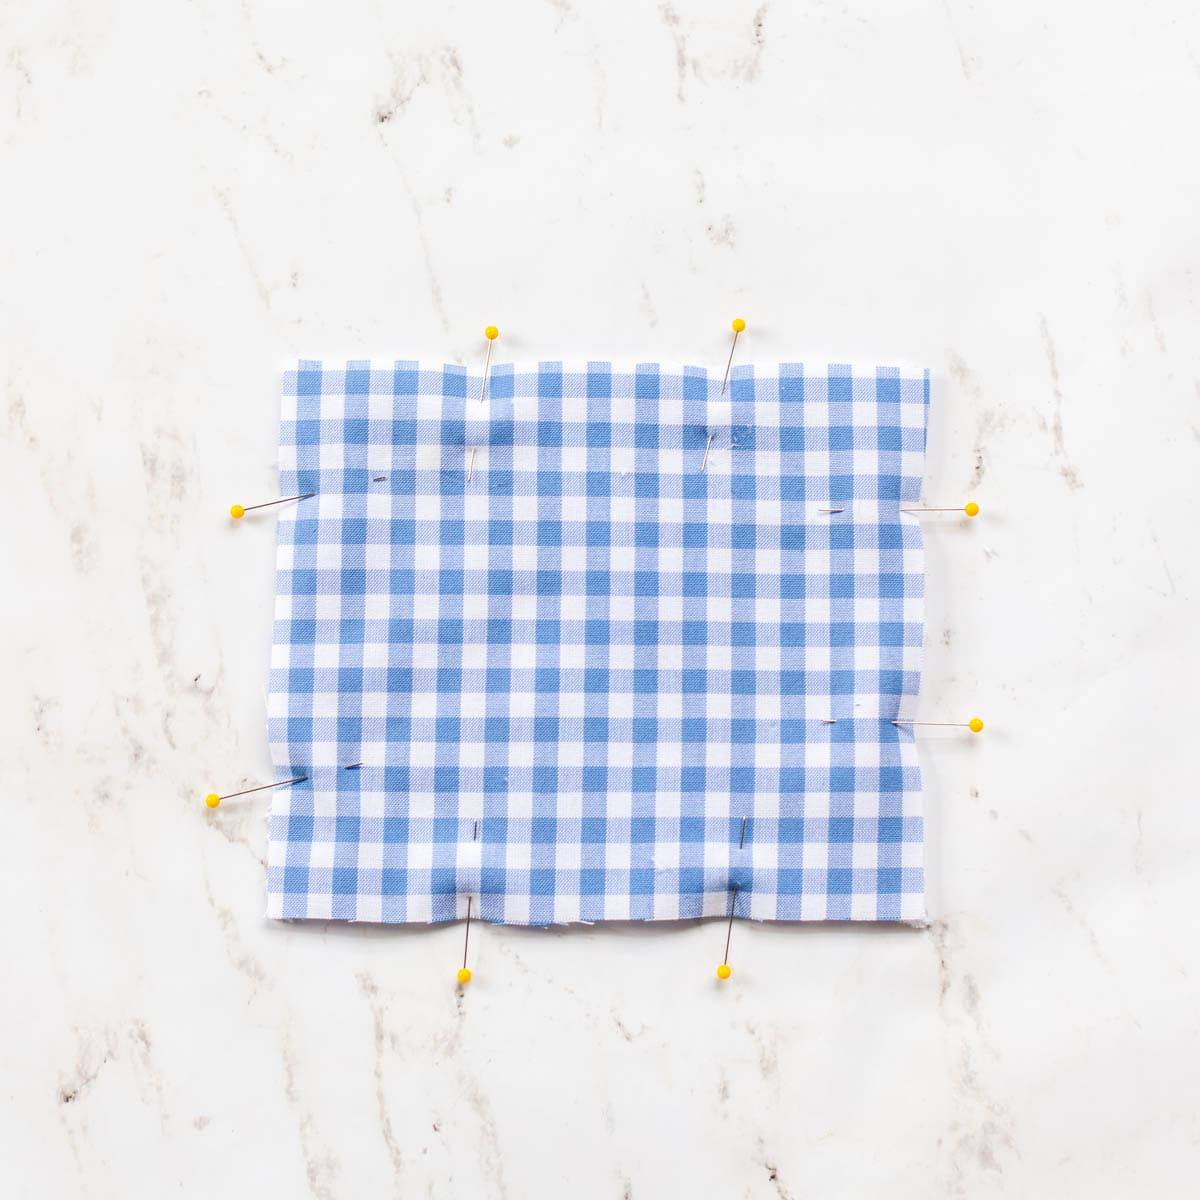
- SEW AROUND THE CAR SEAT STRAP COVERS RECTANGLE
Using a 1/2" seam allowance sew all the way around the raw edge of the rectangle, starting at the first pin marking the opening and ending at the pin marking the other side of the opening. Backstitch in place at both the beginning and end.
- CLIP THE CORNERS
Clip the outer corners of fabric being sure not to clip the thread. This will help the strap covers to sit better when it is turned right side out.

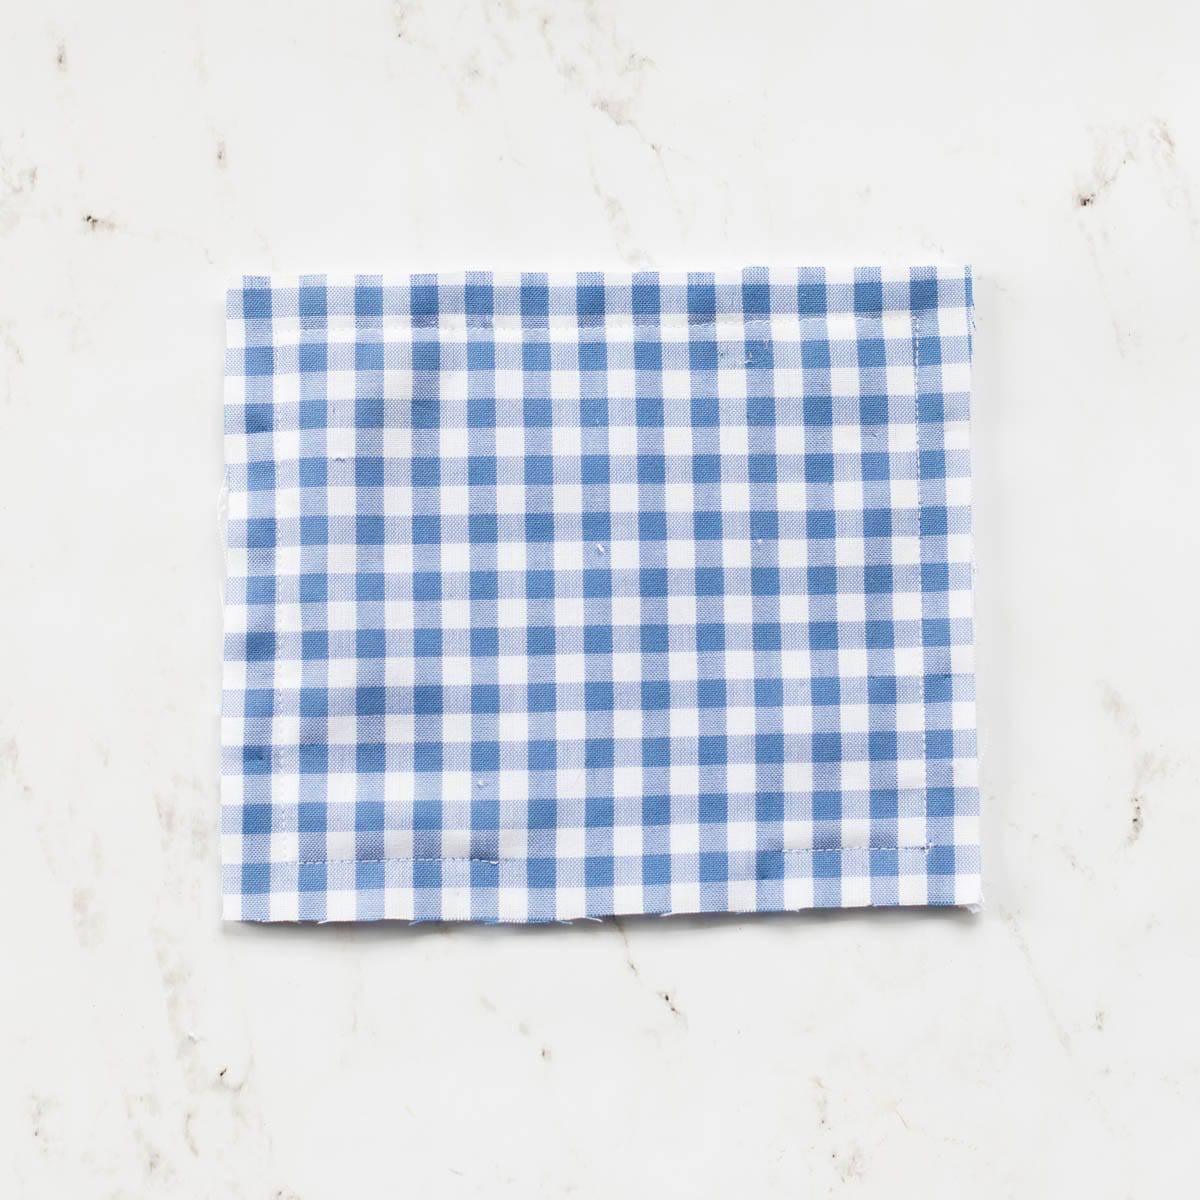
- TURN RIGTH SIDE OUT
Turn the rectangle right side out. Use your fingers to roll the seams flat and press.
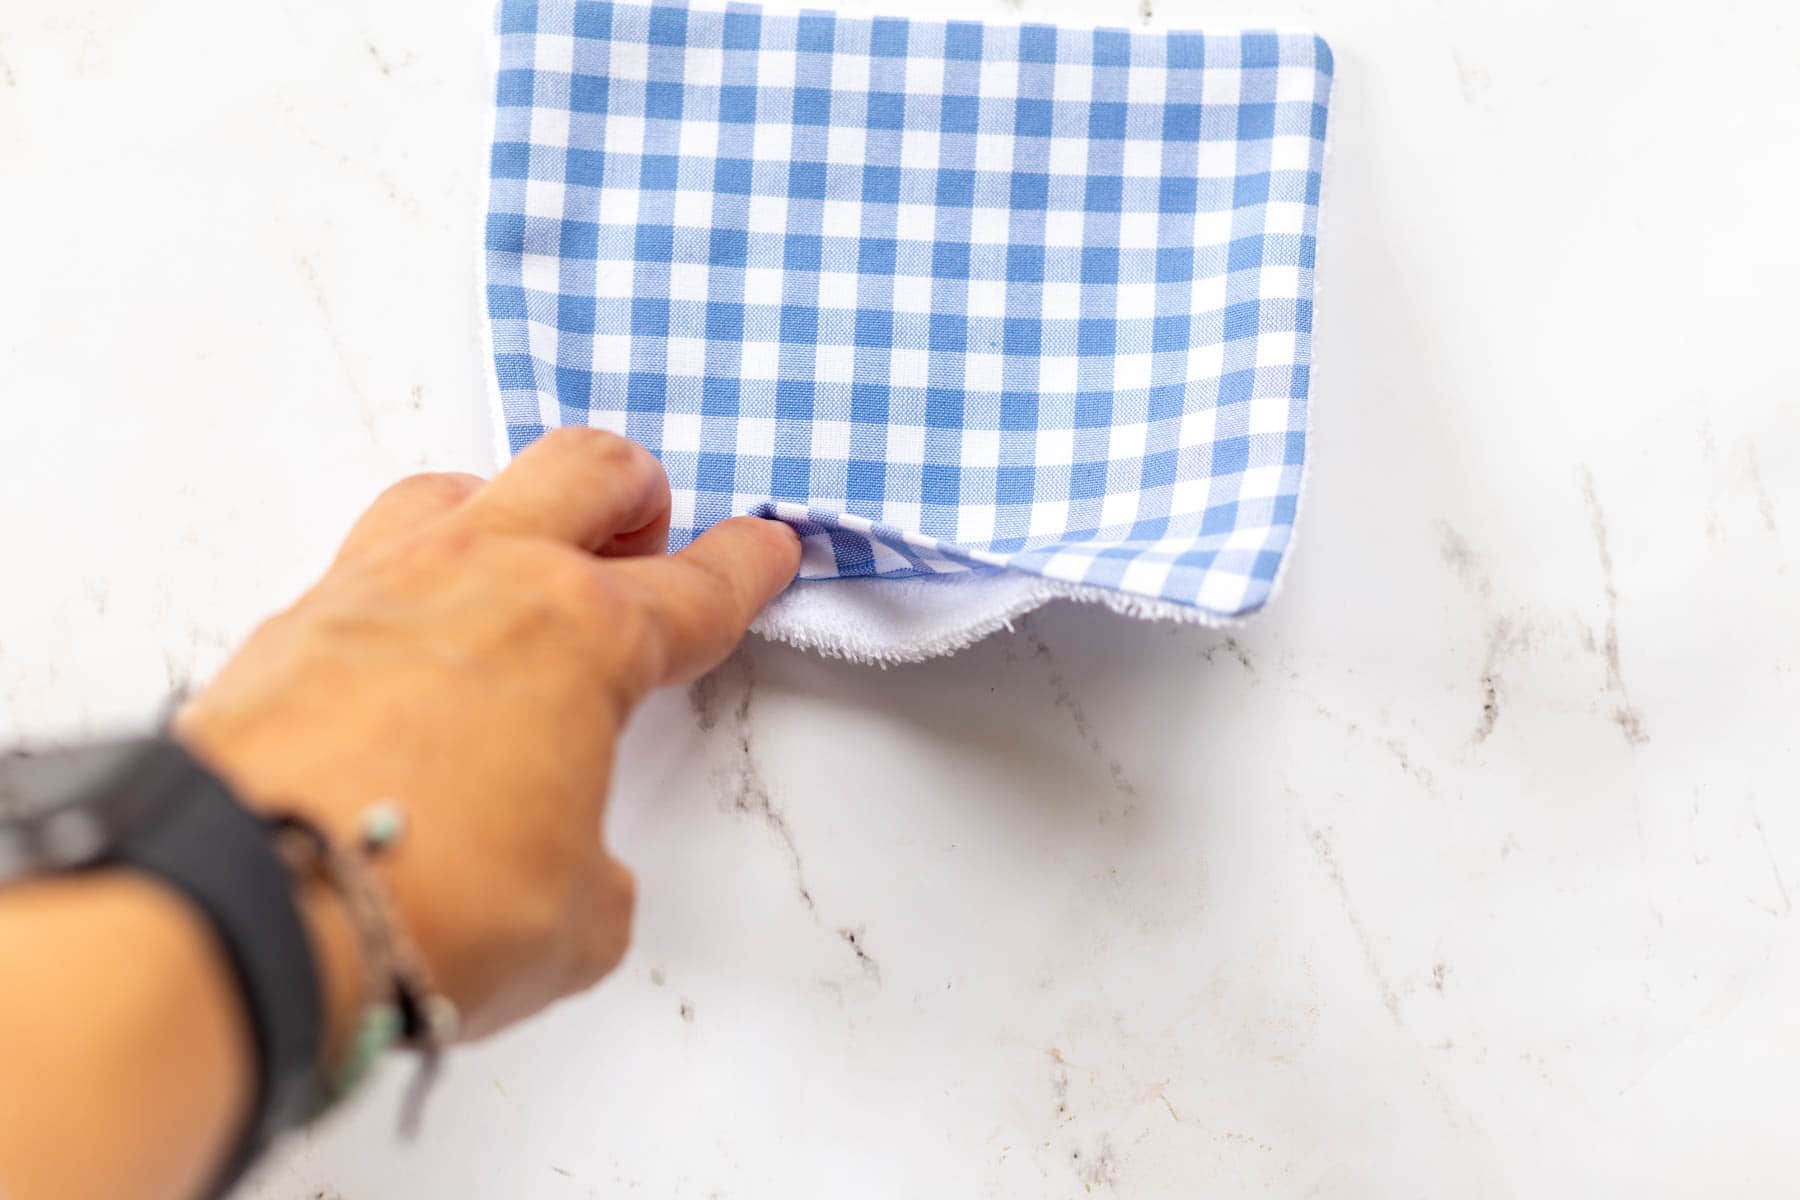
- TUCK THE OPENING UNDER
Fold and tuck the fabric in the opening under and press. Pin in place.
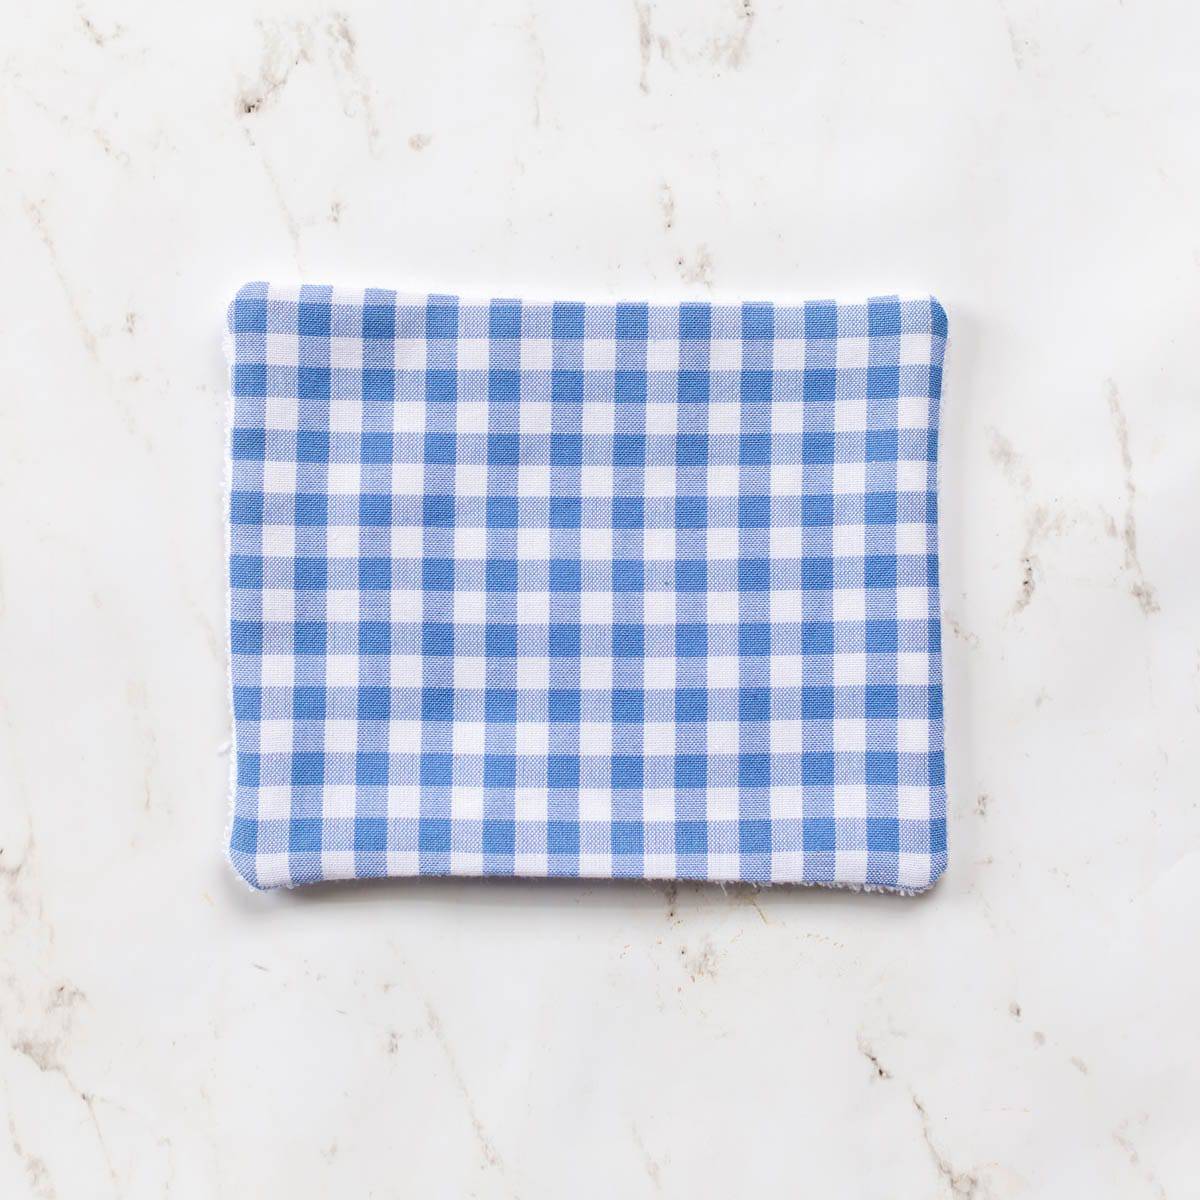
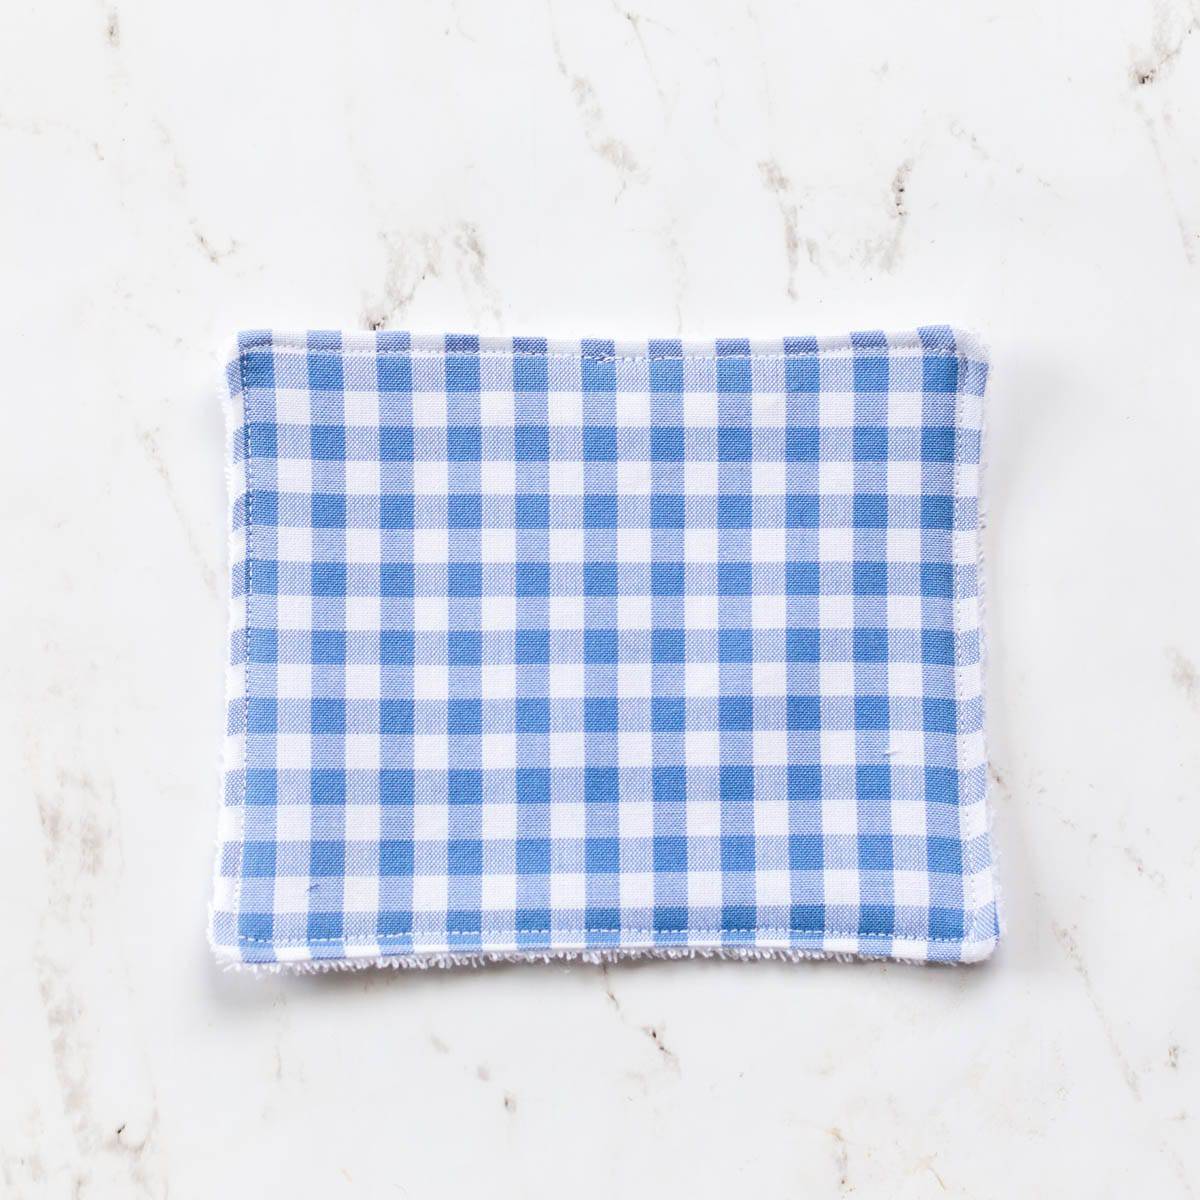
- TOPSTITCH AROUND THE STRAP COVERS
Topstitch around the outside edge of the rectangle including over the opening. Top stitching should be about 1/8" from the edge so that the fold in the opening is stitched close. Press the rectangle again to give it a nice finish.
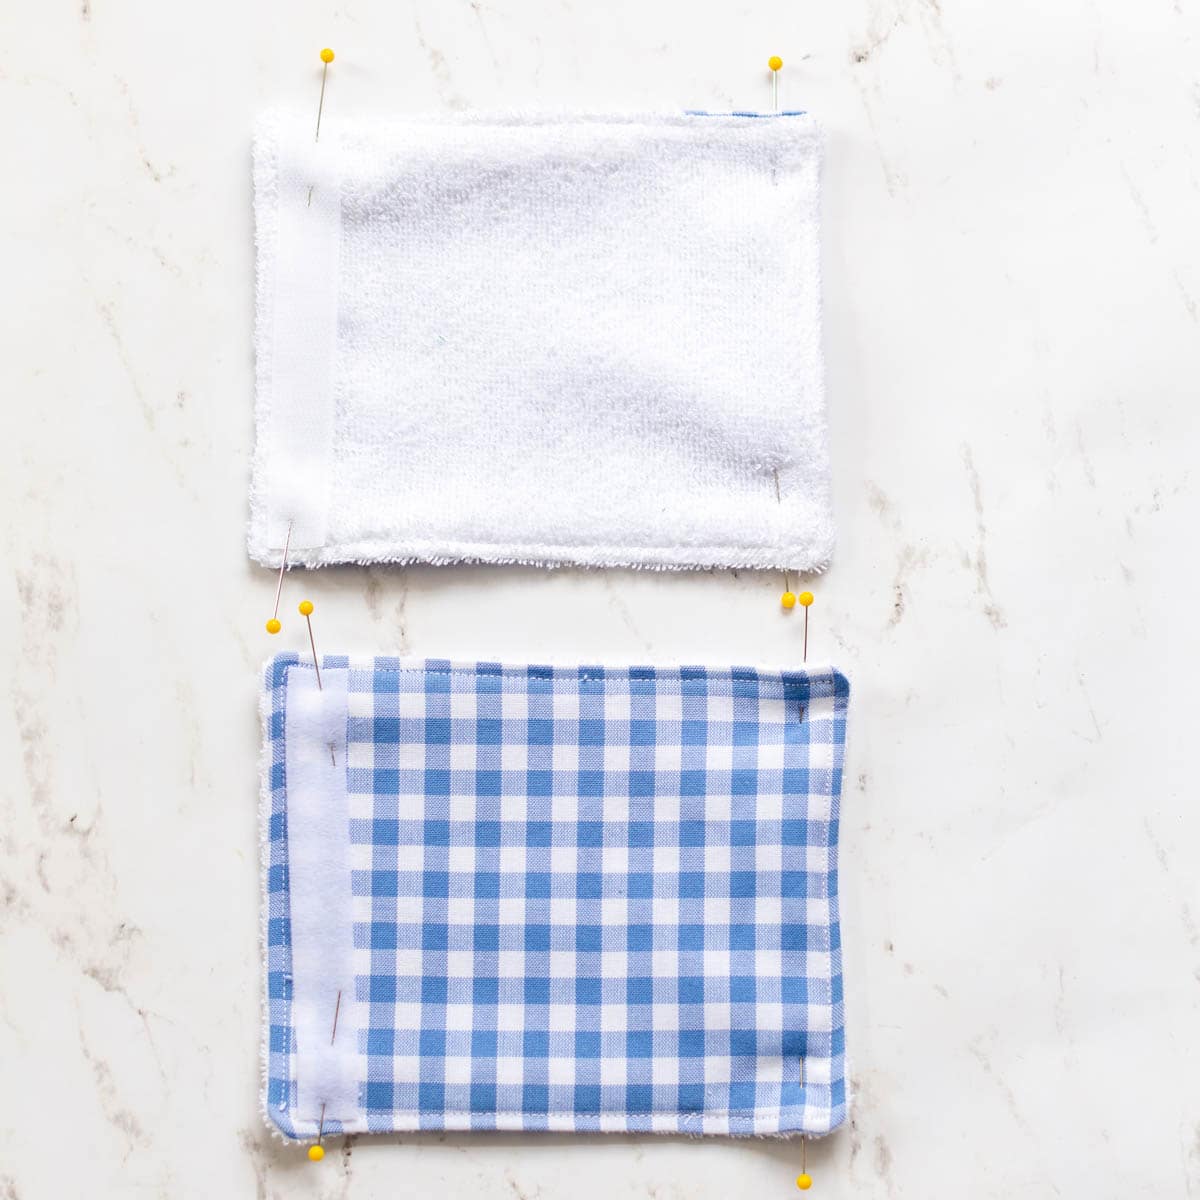
- ADD VELCRO TO MAKE CLOSURE
Place a strip of velcro on the outside front of the rectangle and pin in place. Place the other half of the velcro strip on the back of the opposite side of the rectangle and pin, so when it is folded closed the velcro meets up.
- SEW THE VELCRO IN PLACE
Sew the velcro in place sewing along the outer edge of the velcro along the entire velcro rectangle. Do this for both velcro pieces.
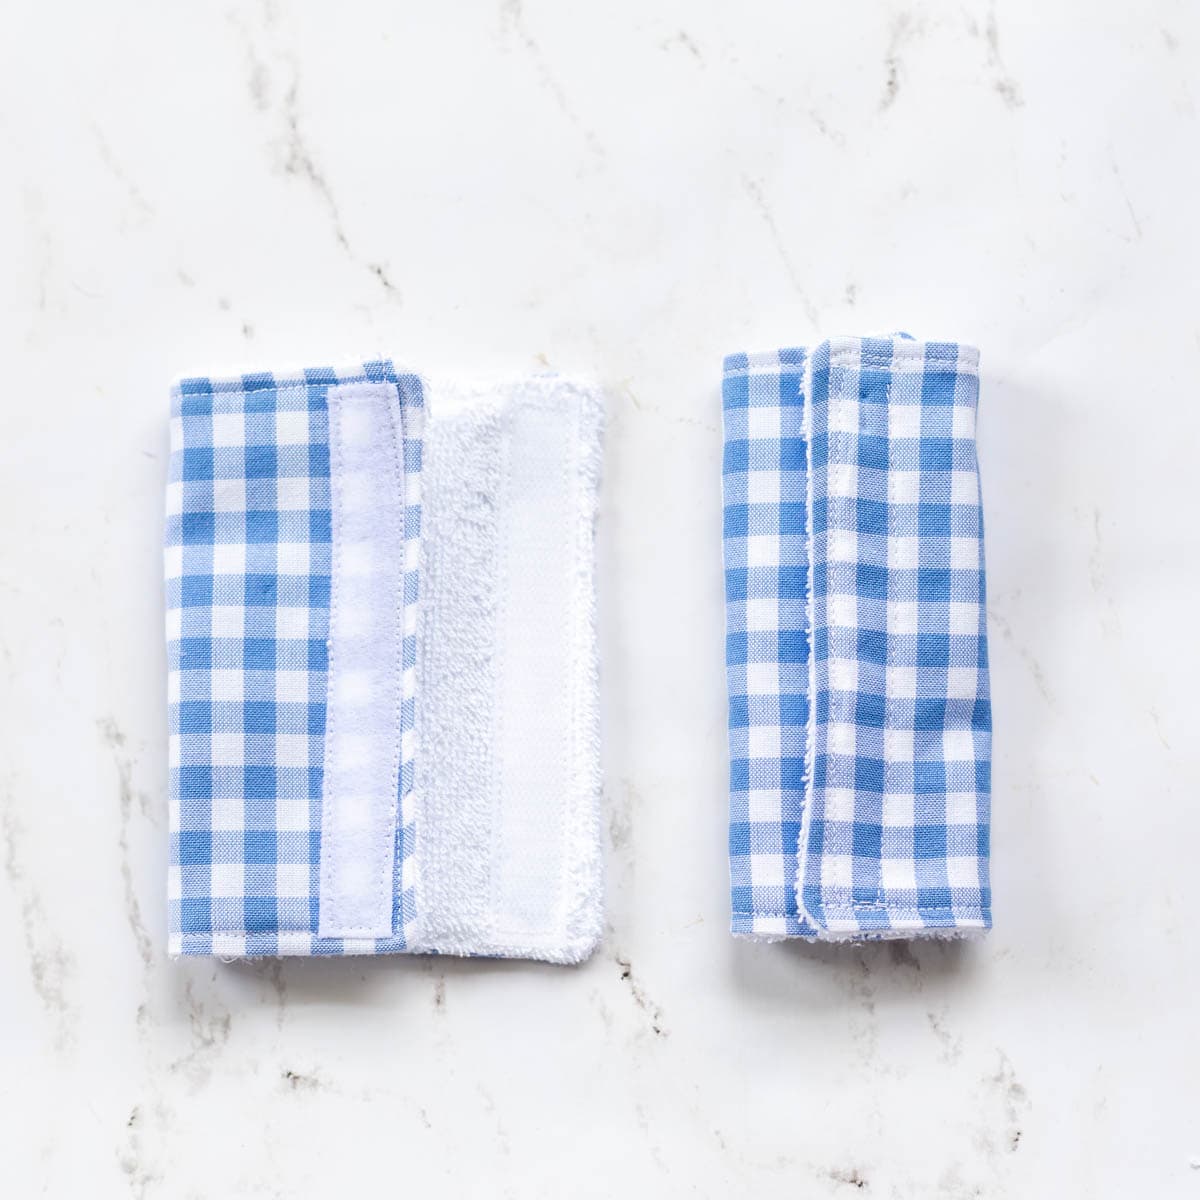
- FOLD THE CAR SEAT STRAP COVERS CLOSED
Simply fold the car seat strap covers over so the velcro pieces line up and you are finished.
***** YOU CAN FIND THE FREE BIB PATTERN IN THE RESOURCE LIBRARY. SIGN UP TO ACCESS.

DON'T HAVE TIME TO SEW NOW? SAVE THIS IMAGE TO PINTEREST TO MAKE LATER.
Thank you so much. Will be making some car seat strap covers for my new born great grandson.
Looks amazing!!!!