• Skip to primary navigation
  • Skip to main content
  • Skip to primary sidebar
  • Skip to footer
Coral + Co.
  • Sewing
  • Quilts
  • Crafts
  • Holiday
  • Resource Library
    • Sign Up To Access
    • Coral + Co. Resource Library
  • Contact
  • Shop
  • Navigation Menu: Social Icons

    • Bloglovin
    • Email
    • Facebook
    • Instagram
    • Pinterest
    • YouTube
go to homepage
Homepage link
  • Sewing
  • Quilts
  • Crafts
  • Holiday
  • Resource Library
    • Sign Up To Access
    • Coral + Co. Resource Library
  • Contact
  • Shop
  • ×

    Minky Toddler Pillowcase Tutorial

    September 30, 2014 by Shelly

    Sharing is caring!

    1624shares
    • Share
    Minky-toddler-pillow-case-tutorial-how-to-sew-a-toddler-pillowcase-coral-and-co

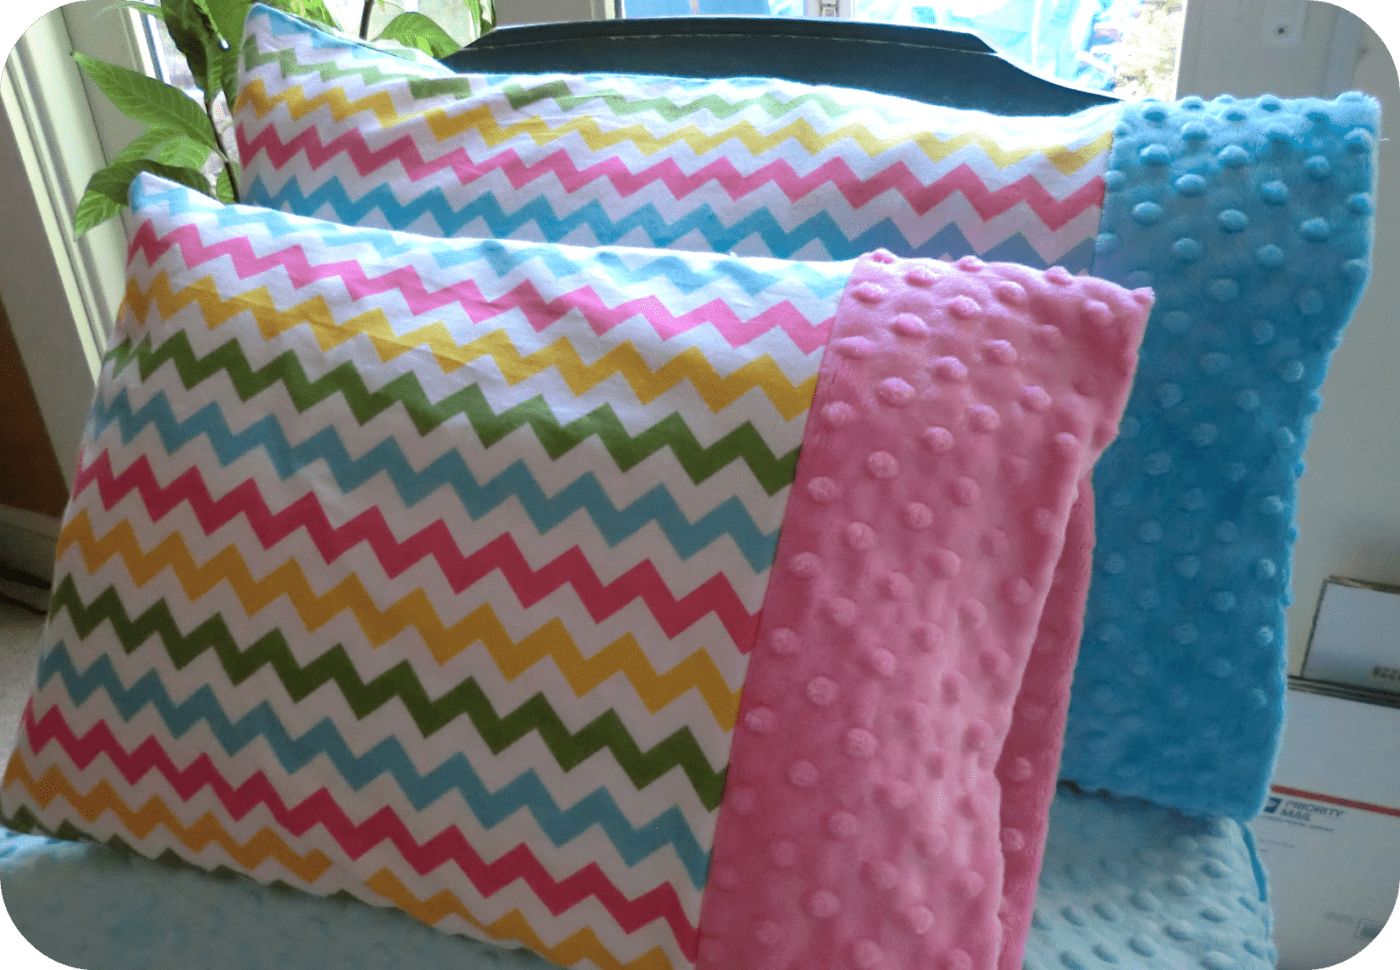
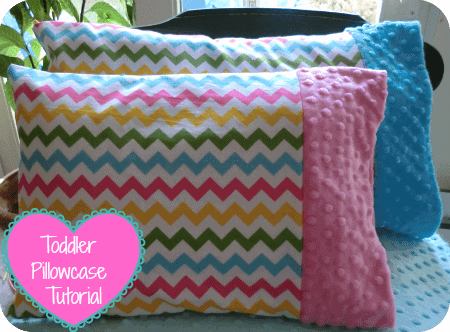
    With this easy peasy DIY Minky Toddler Pillowcase Tutorial, you can make your own super easy and adorable boutique style minky toddler pillowcase.

    We all love little tots and its a huge step going from a crib to a big toddler bed.  But their little heads aren't quite ready for a full size pillow and its hard to find toddler pillows, especially to match your bedding!  So why not make your own DIY Minky Toddler Pillowcase!

    Need:

    1/2 Yard of Cotton

    1/4 Yard of Dimple Dot Minky

    12" x 16" Pillow Form (my favorite brand here)

    Finished Toddler Pillow Size 12" x 16"

    ***If sewing a pillowcase with Flannel you may also find These MUST HAVE TIPS FOR SEWING WITH FLANNEL FABRIC helpful.

    Toddler Pillowcase Tutorial

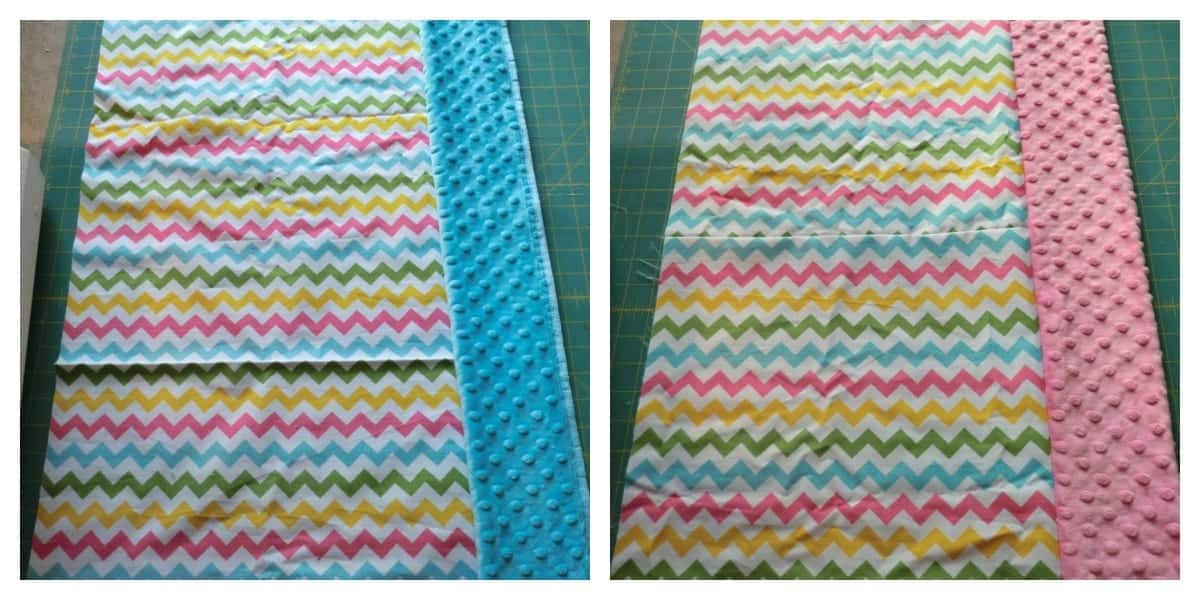
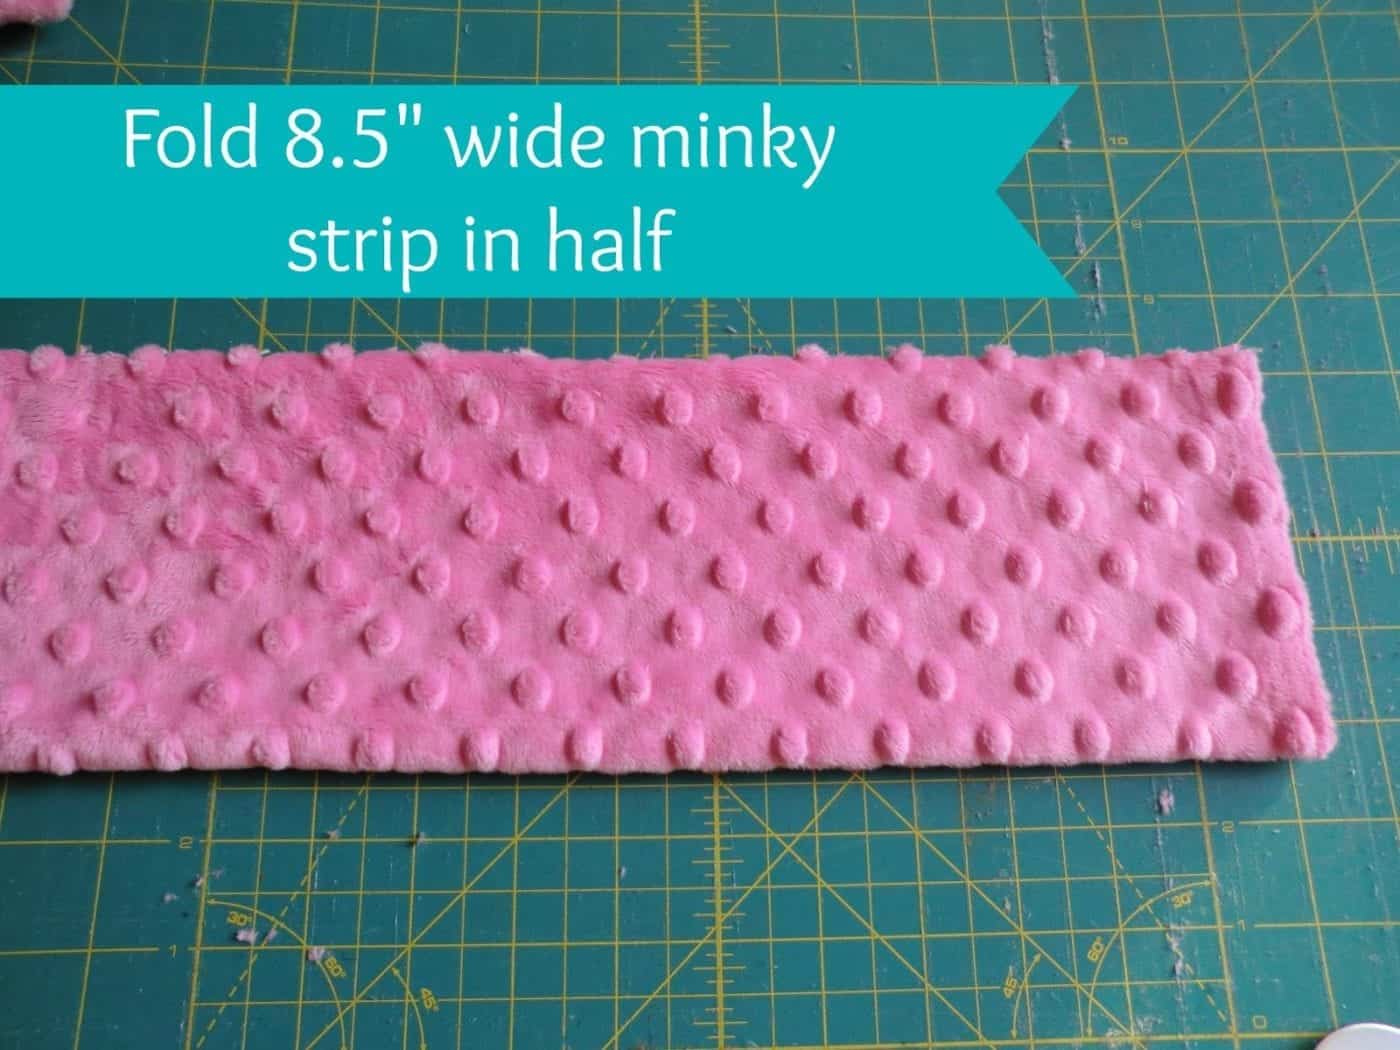
    • Cut Minky strip 33" x 8.5"
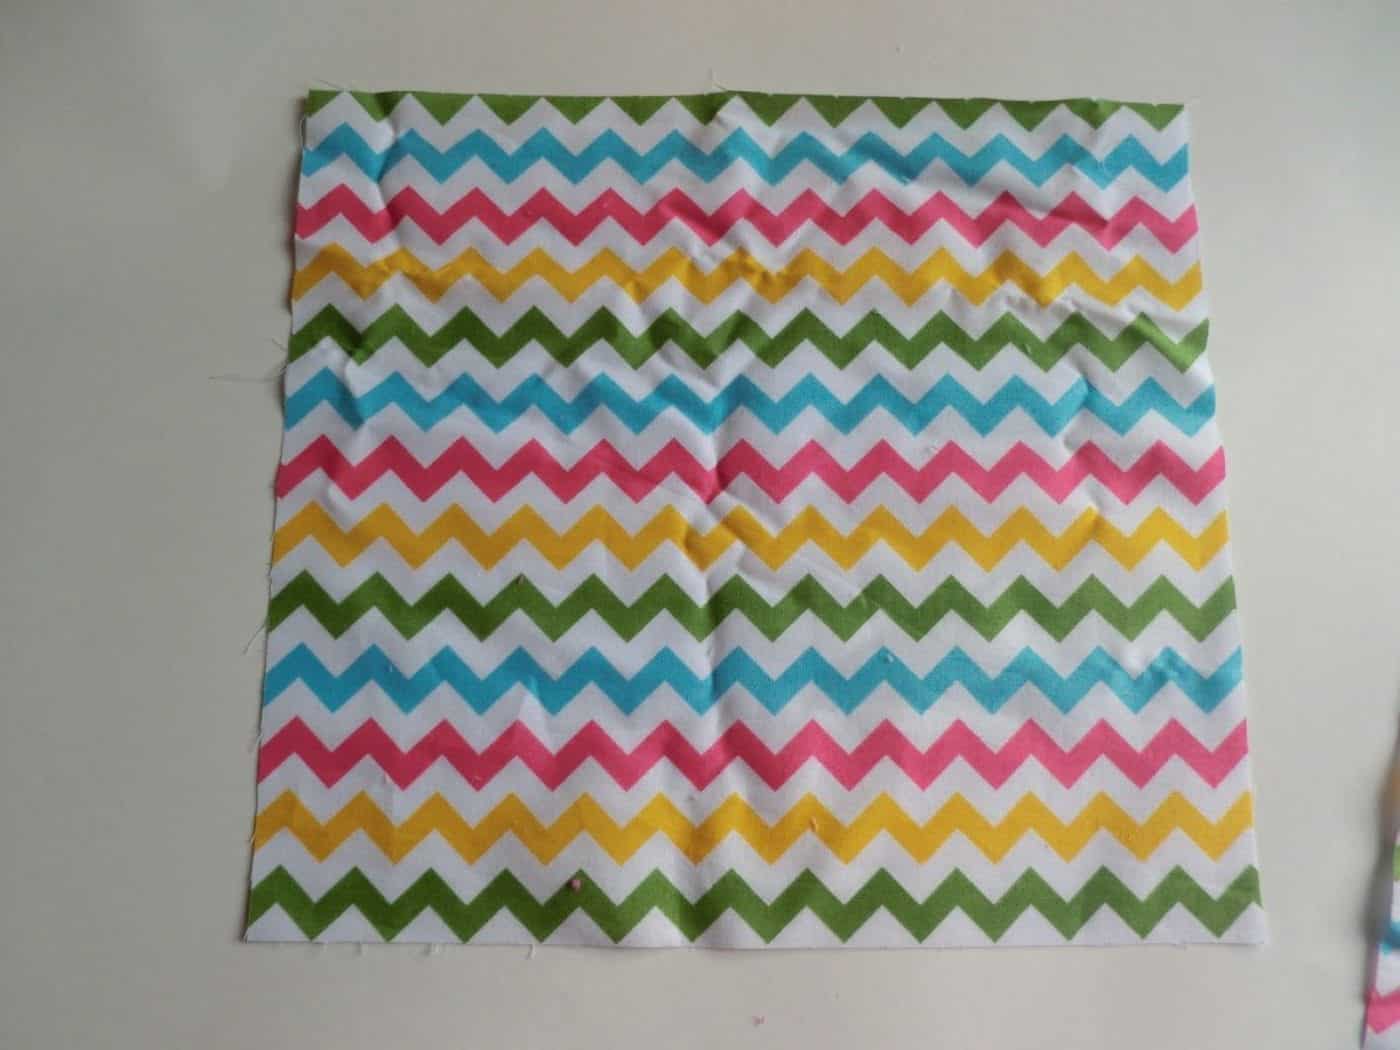
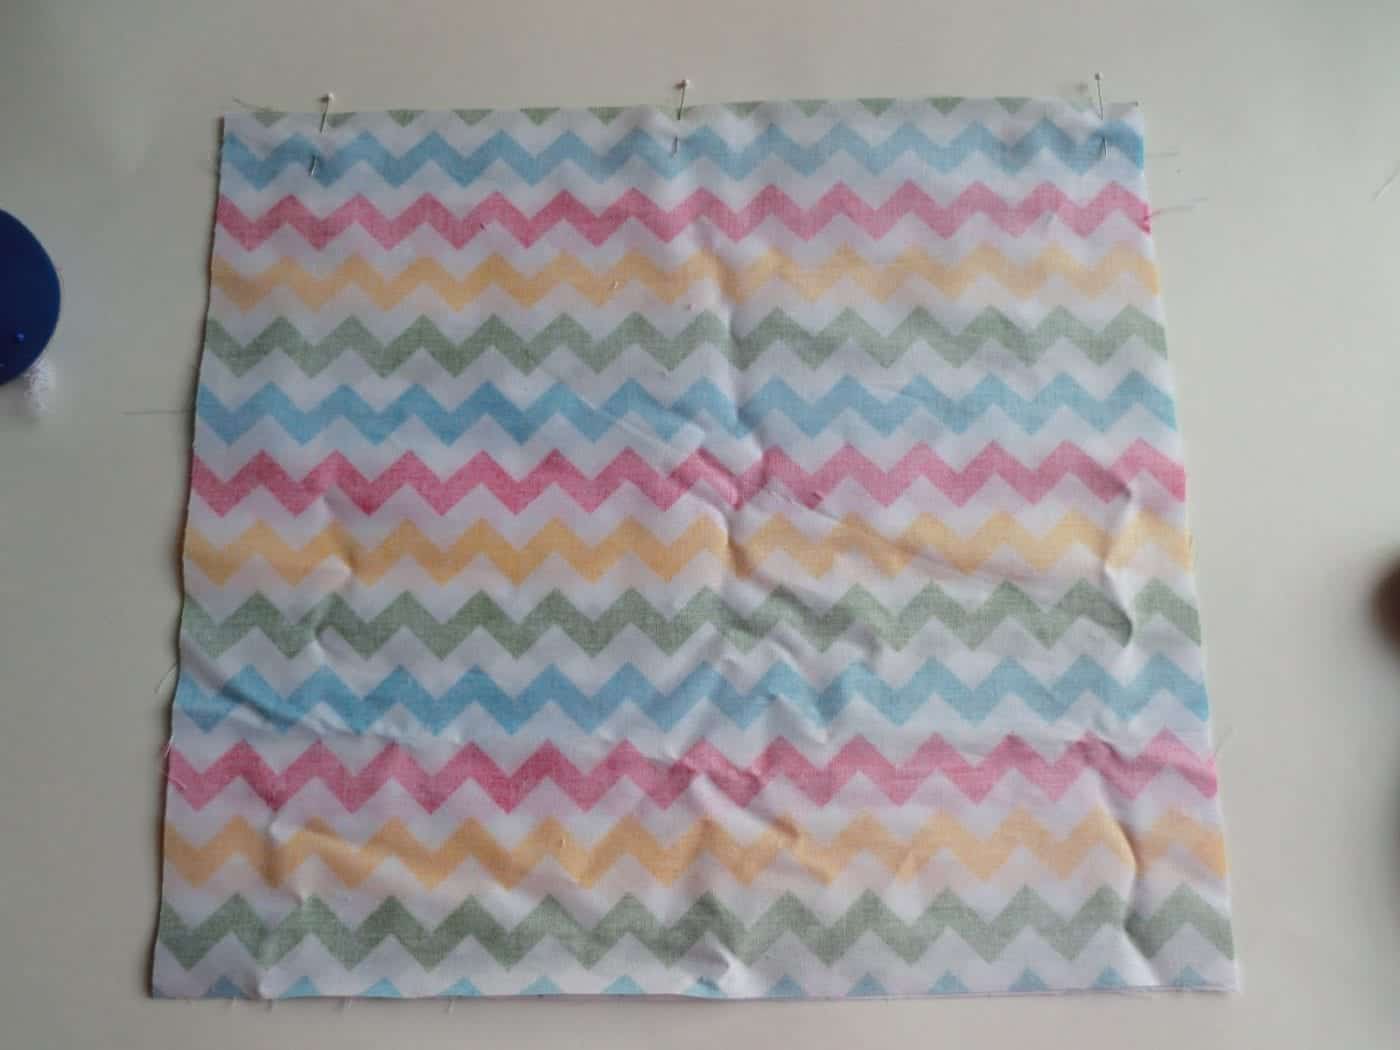
    • Cut rectangle 13.5 " x 33"

    Using your rotary blade or scissors cut 2 rectangles 13.5" tall by 33" wide

    Then pin the top edges together and sew 1/4" seam to make a piece that is now 33" tall by 13" wide.
    Next take your 8.5" strip of minky and fold in half.

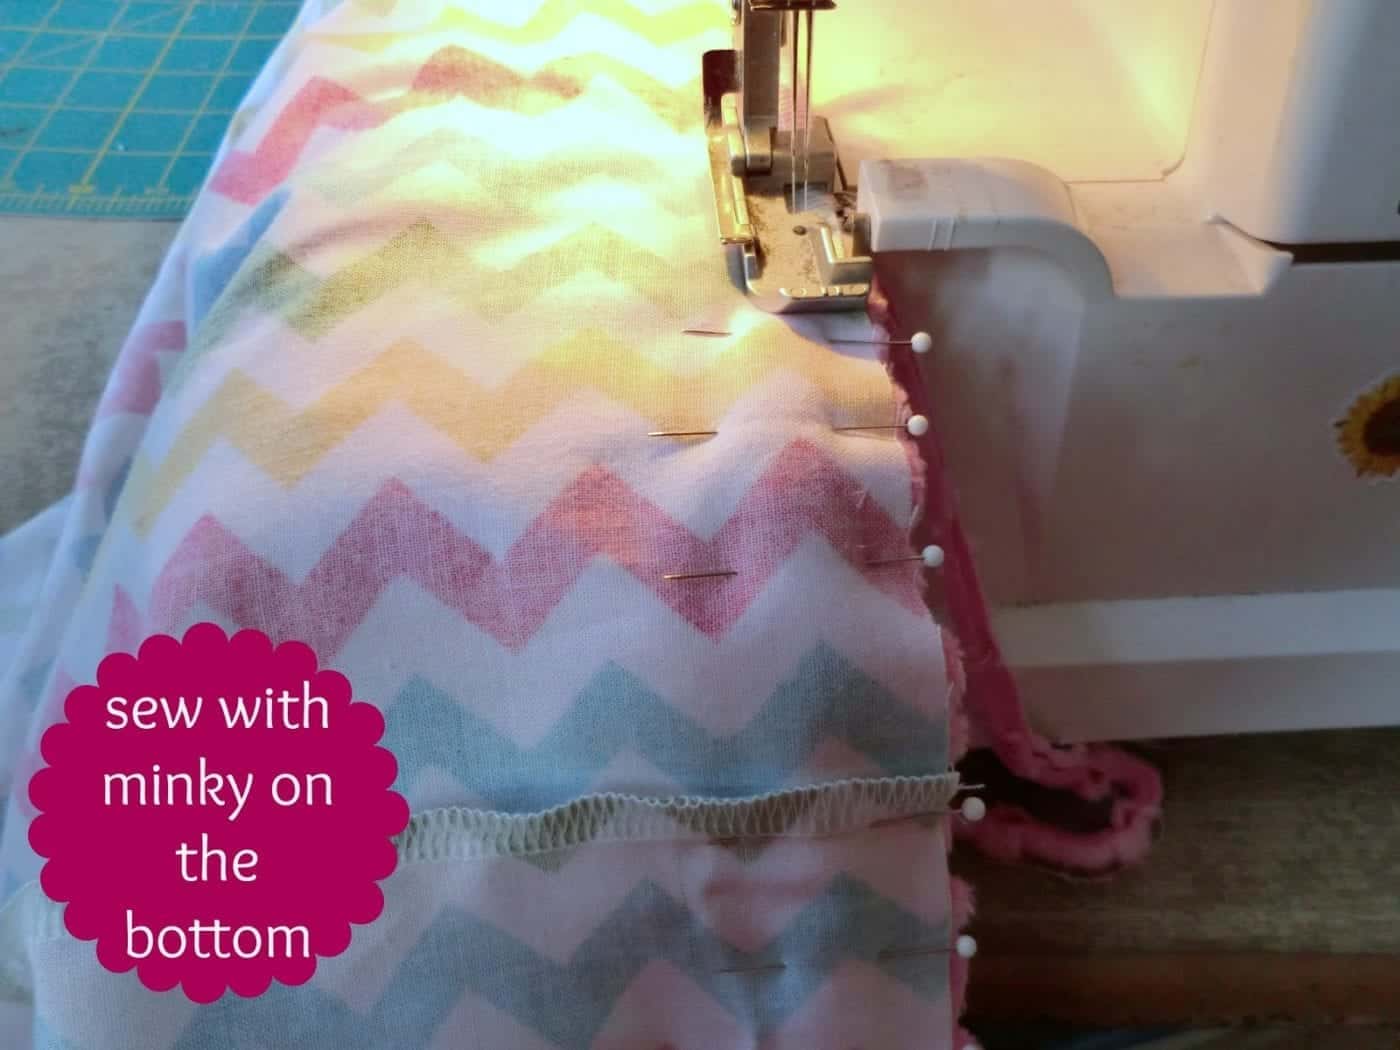
    Place the folded minky strip on the right edge of the vertical rectangle with the edges all of the minky and the cotton lined up and pin every 1/2" - 1" apart.

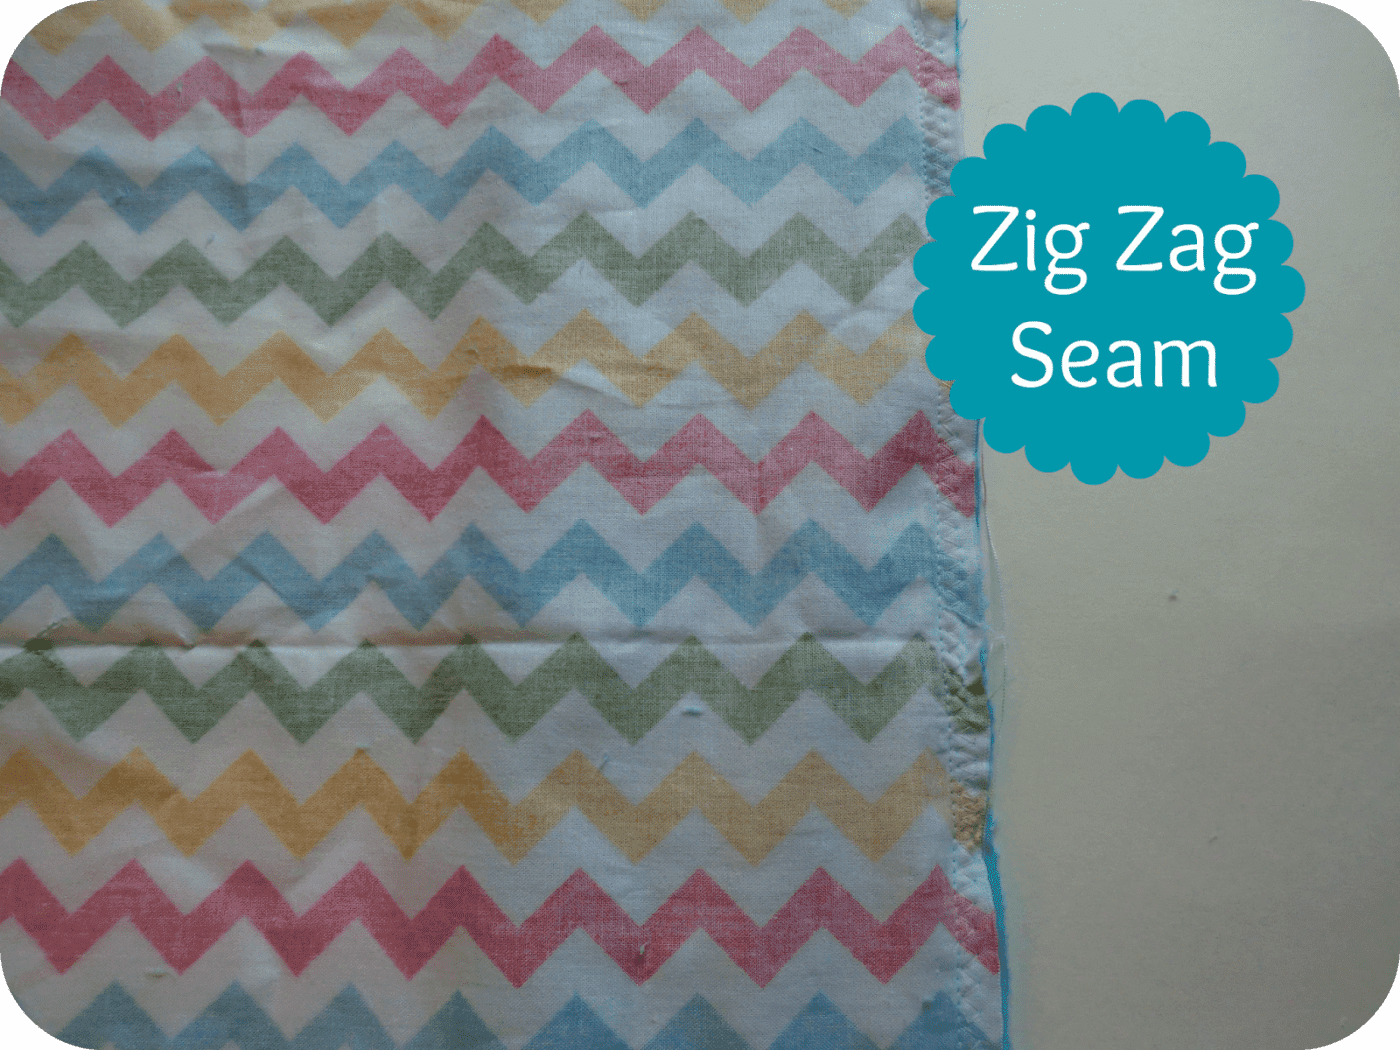
    Next sew a zig zag seam along the pinned minky and cotton edges making sure to sew with the minky on the bottom.  A walking foot is helpful, but not necessary for this short project.  Since minky is a stretchy fabric, sewing with it on the bottom will allow the feed dogs on the machine to feed it faster than the top cotton layer.  A zig zag seam will also help keep the minky from getting a bit wonky with its cotton counter part and reduce the bulk.

    If you've followed me this far you will then have a long minky edged rectangle!
    Fold the rectangle in half with the wrong side of the fabric facing each other and pin the side and bottom edges. Be sure to pin generously to keep the minky in place.  I like to pin every 1/2" to 1" since minky likes to slide.
    If using a serger you can find some tips here. And more tips on working with minky here.
    Turn right side out and TA DA!  You have some adorable boutique pillow cases!!!
    If you haven't sewn with minky before, I have some great tips here.
    Have fun making some great pillowcases for the kiddos.  Feel free to share your awesome color combos on our facebook page.

    Related

    Previous Post: « Free Baby Bib Pattern - The Rock-a-bye Bundle
    Next Post: A Valentines Geranium Dress »

    Primary Sidebar

    Hi! I'm Shelly! I love to sew modern geometric quilts. I am inspired by simple shapes and bold colors and want to help get your sew on!  Read More…

    Footer

    ^ back to top

    About

    • Privacy Policy
    • FAQ's
    • Sign Up for the Resource Library
    • Resource Library
    • Blog

    Newsletter

    • Sign Up! for emails and updates

    Contact

    • Contact
    • About
    • Featured Elsewhere

    As an Amazon Associate, I earn from qualifying purchases.

    Copyright © 2020 Foodie Pro on the Foodie Pro Theme