

This Christmas, make a mini Christmas Stocking Garland with a free sewing pattern! This project is easy and will take less than an hour to complete.

Stocking garlands are a must-have for your Christmas decor, and this one is especially cute and simple to make. All you need is felt, a a few sewing supplies, and a free sewing pattern. You can find the pattern on the website below.
More Christmas Sewing Projects
- 25+ Christmas Sewing Projects
- 25 Jolly Christmas Quilt Patterns
- 25+ Adorable Christmas Stocking Patterns
- Easy Sew Stuffed Christmas Ornaments
- Quilted Christmas Potholder Pattern
- DIY Christmas Fabric Banner
Once you have the pattern downloaded, follow the instructions to make this cute stocking garland. It only takes a few minutes to assemble, and it looks beautiful on your Christmas tree or fireplace. You won't be disappointed with this easy and fun project! You can also use the pattern to make your own DIY Felt Christmas ornament.
Table of contents

Supplies
- Felt Sheets - 5 to 6 colors, plus 1 - 2 white sheets for the tops. One colored sheet will make two stockings, and the white sheet will make 6 tops.
- Ribbon - I used 3/8" red dot ribbon
- Fiberfill for stuffing
- Cotton macrame cording or cotton twine
- Mini Clothes Pins
- White Thread
- Fabric Scissors
Download the PDF Pattern

Instructions
Step 1 - Download the pattern and save it to your computer. Print the pattern using the actual size option. DO NOT "scale to fit" Use the 1" test square to check for accurate sizing.
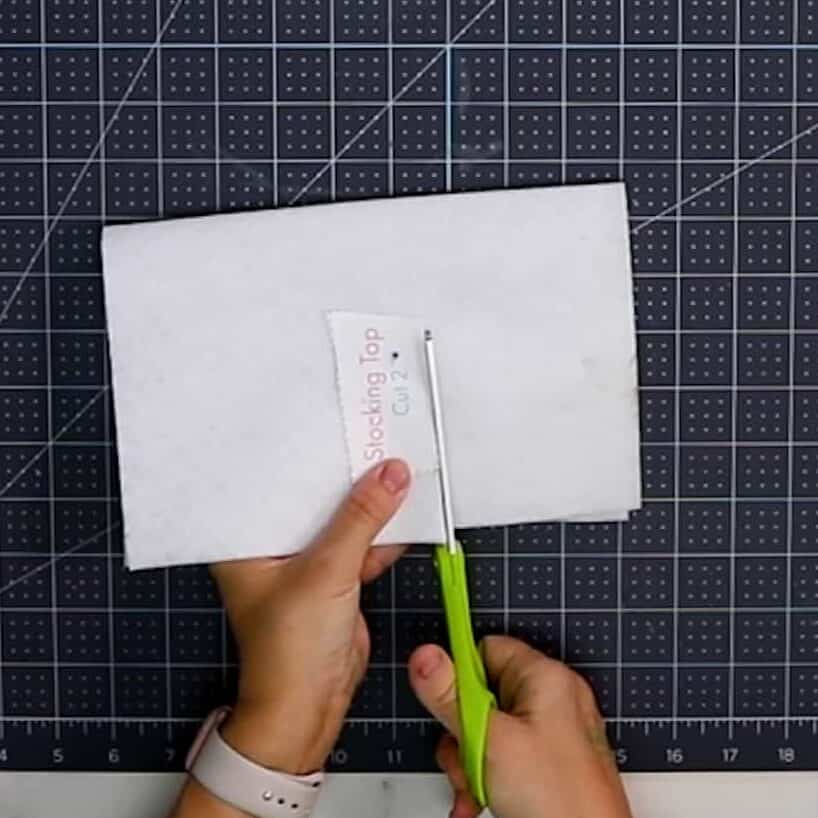
Step 2 - Fold the felt in half and place the pattern piece on it and pin to hold it in place.

Step 3 - Cut out two stocking bottom pieces and two stocking top pieces for each stocking from the felt. For this garland, I cut one stocking for five different colors.

Step 4 - Place the stocking top over the stocking bottom. You will want the stockings facing opposite directions so they join together correctly when sewn together. Be sure to place the more angled edge at the back of the stocking.
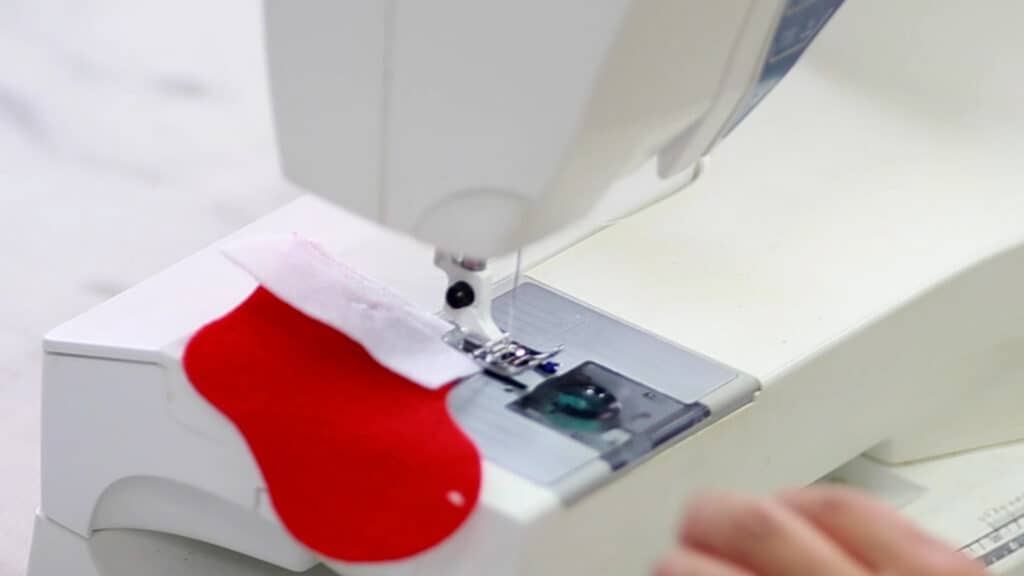
Step 5 - Sew across the top edge of the stocking using a 1/8" to 1/4" seam allowance.
Step 6 - Place the stockings wrong sides together. Nest the seams so the bottom layer seam is facing downward and the top layer seam is facing upward to reduce the bulk.

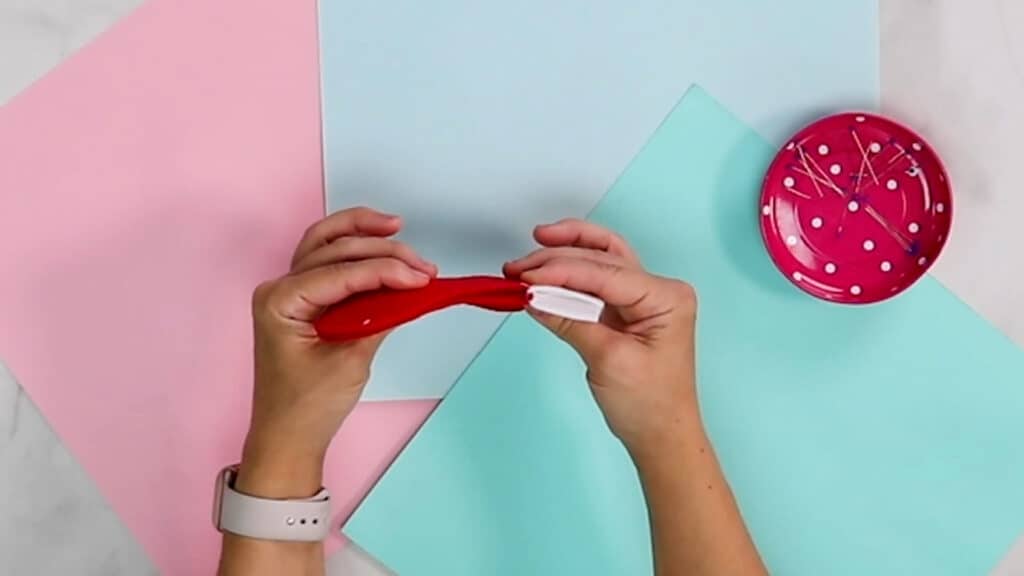
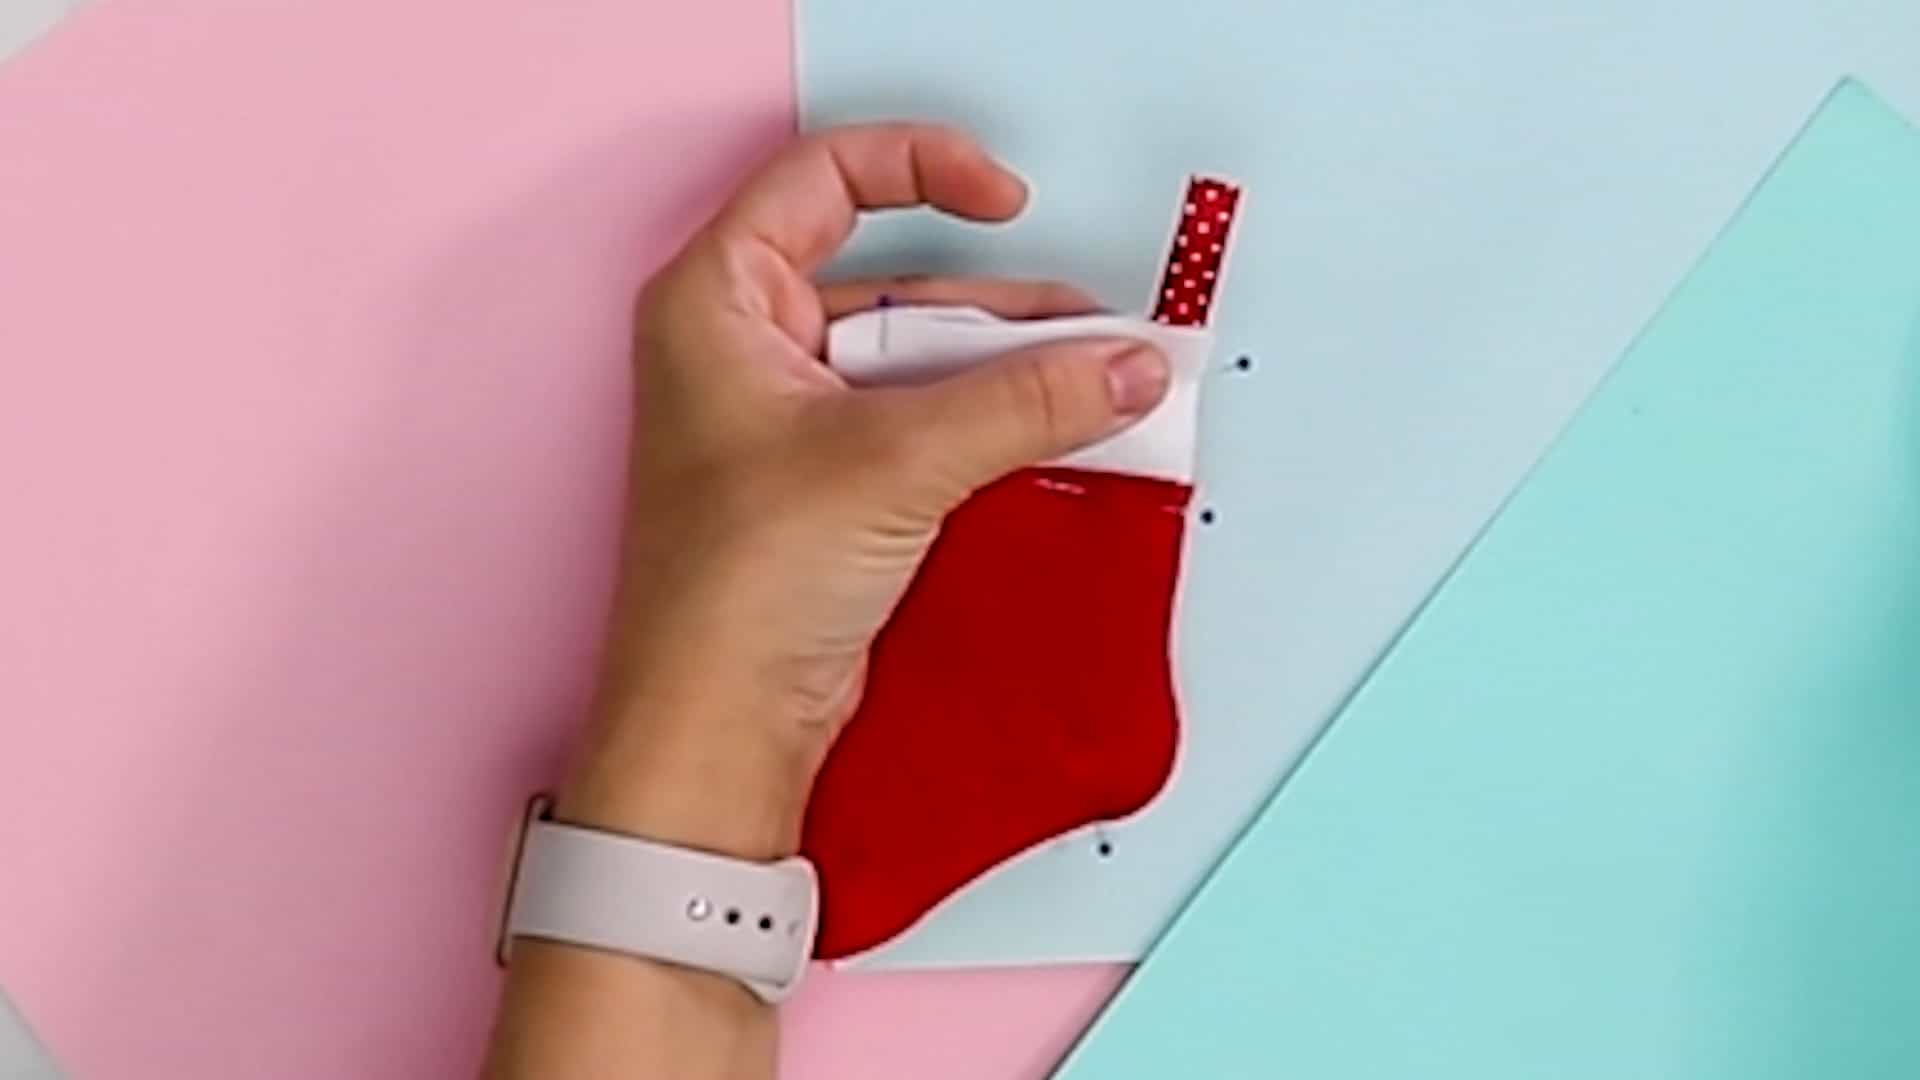
Step 7 - Pin the stockings in place to hold them together while sewing. Then cut a 3" piece of ribbon and fold it in half. Place it in the middle of the stocking along the back edge and pin it in place.
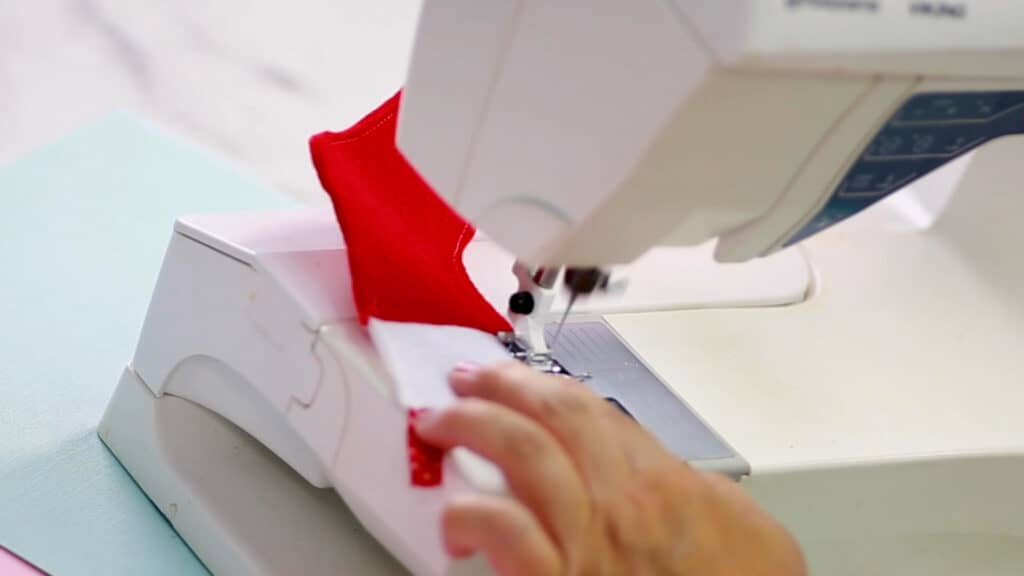
Step 8 - Sew along the perimeter of the stocking, starting at the top side and following around to the other top side using 1/8" to 1/4" seam allowance. Leave the top open to place the fiberfill in.
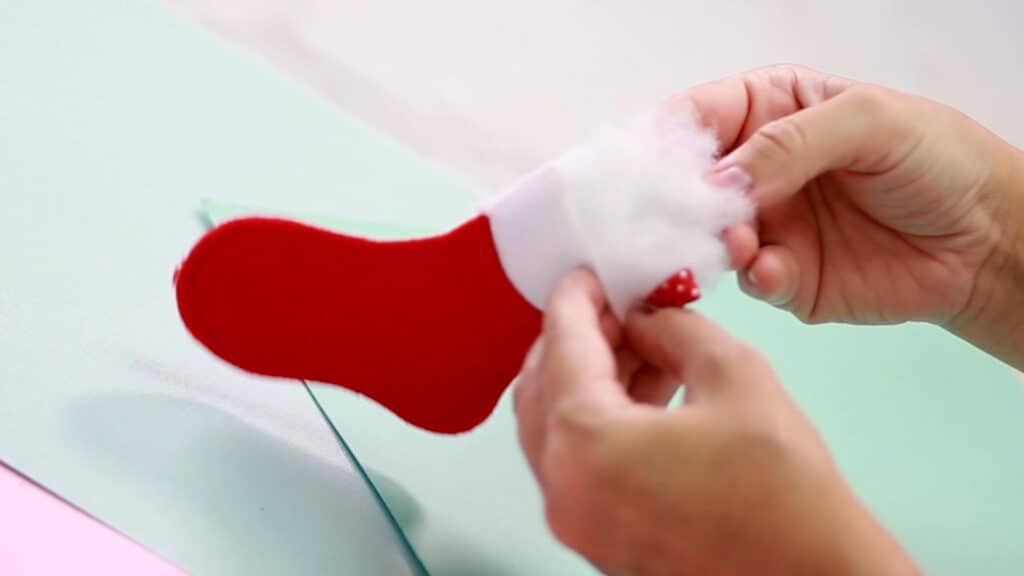
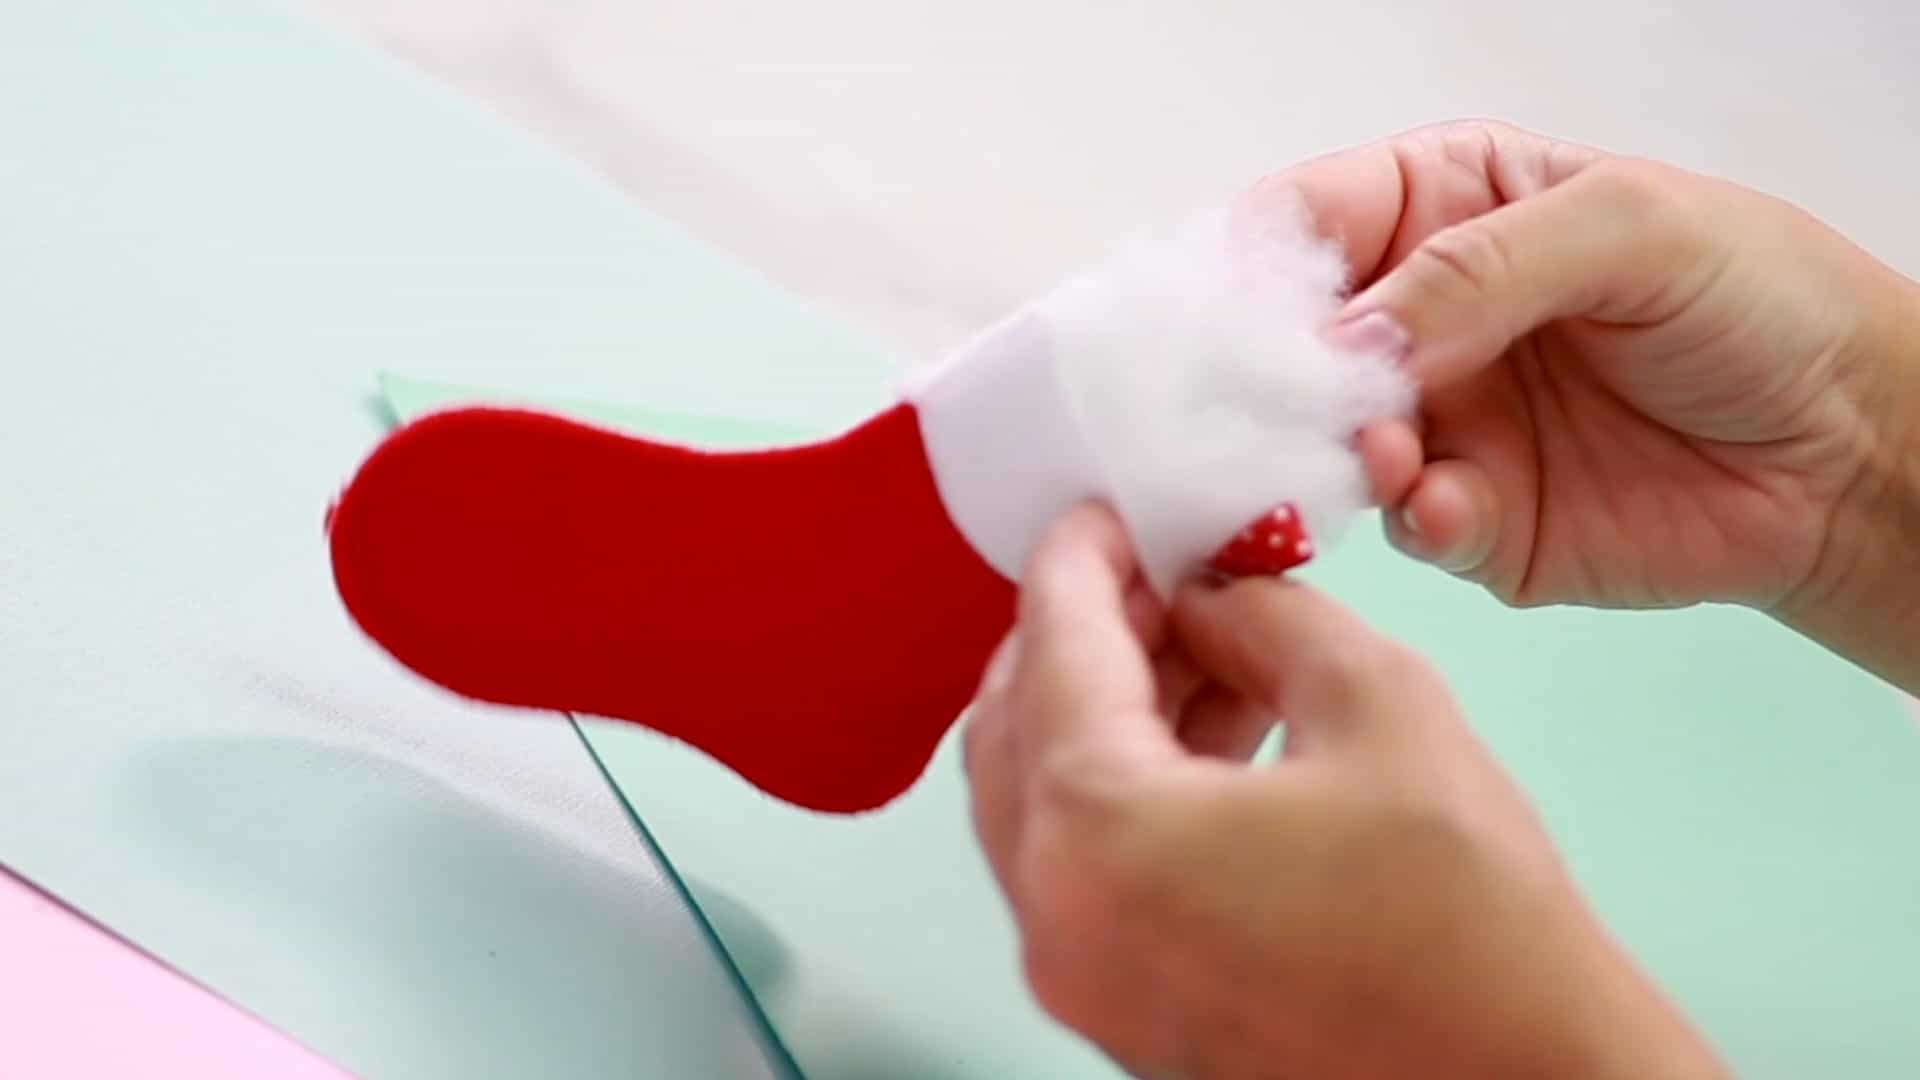
Step 9 - Fill the stocking top with the fiberfill according to preference. I did not overly stuff them because I preferred a flatter look.

Step 10 - Pin the top edge in place and sew the opening closed using a 1/8" to 1/4" seam allowance.

Step 11 - Pin the stockings to the cording or twine using the mini paper clips and add to your decor!
Watch the Video on Youtube
Download the Instructions to Make Later

Mini Felt Christmas Stocking Pattern + Make Adorable Holiday Garland
Materials
- Felt Sheets - 5 to 6 colors, plus 1 - 2 white sheets for the tops. One colored sheet will make two stockings, and the white sheet will make 6 tops.
- Ribbon - I used 3/8" red dot ribbon
- Fiberfill for stuffing
- Cotton macrame cording or cotton twine
- Mini Clothes Pins
Tools
- White Thread
- Fabric Scissors
- Sewing Machine
Instructions
- Download the pattern and save it to your computer. Print the pattern using the actual size option. DO NOT "scale to fit" Use the 1" test square to check for accurate sizing.

- Fold the felt in half and place the pattern piece on it and pin it to hold it in place.
- Cut out two stocking bottom pieces and two stocking top pieces for each stocking from the felt. For this garland, I cut one stocking for five different colors.

- Place the stocking top over the stocking bottom. You will want the stockings facing opposite directions so they join together correctly when sewn together. Be sure to place the more angled edge at the back of the stocking.

- Sew across the top edge of the stocking using a 1/8" to 1/4" seam allowance.

- Place the stockings wrong sides together. Nest the seams so the bottom layer seam is facing downward and the top layer seam is facing upward to reduce the bulk.

- Pin the stockings in place to hold them together while sewing. Then cut a 3" piece of ribbon and fold it in half. Place it in the middle of the stocking along the back edge and pin it in place.
 Sew along the perimeter of the stocking, starting at the top side and following around to the other top side using 1/8" to 1/4" seam allowance. Leave the top open to place the fiberfill in.
- Fill the stocking top with the fiberfill according to preference. I did not overly stuff them because I preferred a flatter look.
- Pin the top edge in place and sew the opening closed using a 1/8" to 1/4" seam allowance.

- Pin the stockings to the cording or twine using the mini paper clips and add to your decor!

Pin to Make Later

This is so cute!
When I tried to download the pattern, it kept giving me an error.
Thank you!
Charla