

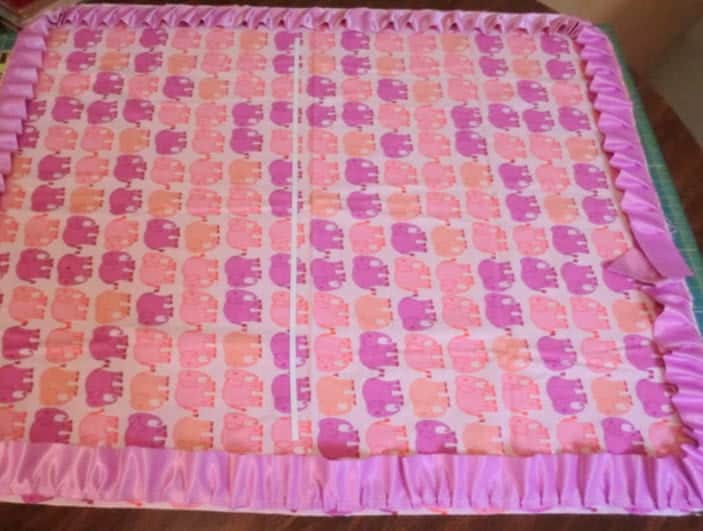
DIY Boutique Ruffle Baby Blanket Tutorial to make a beautiful blanket just like you see in the stores!
Over the years I have made tons of minky blankets and when I first started sewing with minky it made me want to scream. But I have some easy tips to make sewing with minky a breeze!
What you'll need:
1 yard cotton or flannel fabric
1 yard Minky fabric
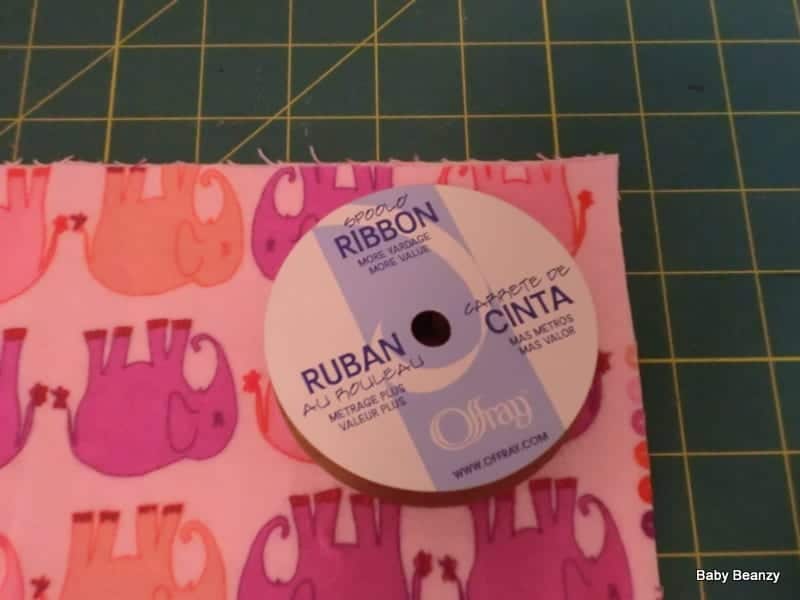
1 package Wrights Blanket Binding
1 package Dritz Wash Away Wonder Tape (Optional)
Tools Needed:
Ruffler Foot *(Can be done without)
***If sewing a Minky Blanket with Flannel you may also find These MUST HAVE TIPS FOR SEWING WITH FLANNEL FABRIC helpful.
More Baby Sewing Projects:
- 50+ Cutest Baby Sewing Projects
- Basic Baby Hat Sewing Pattern
- Top Knot Baby Hat Sewing Pattern
- Sherpa Fleece Baby Blanket Tutorial
- Minky Fitted Crib Sheet Tutorial
- DIY Baby Leggings
- Free Baby Bib Pattern
Ruffle Baby Blanket Tutorial Steps:
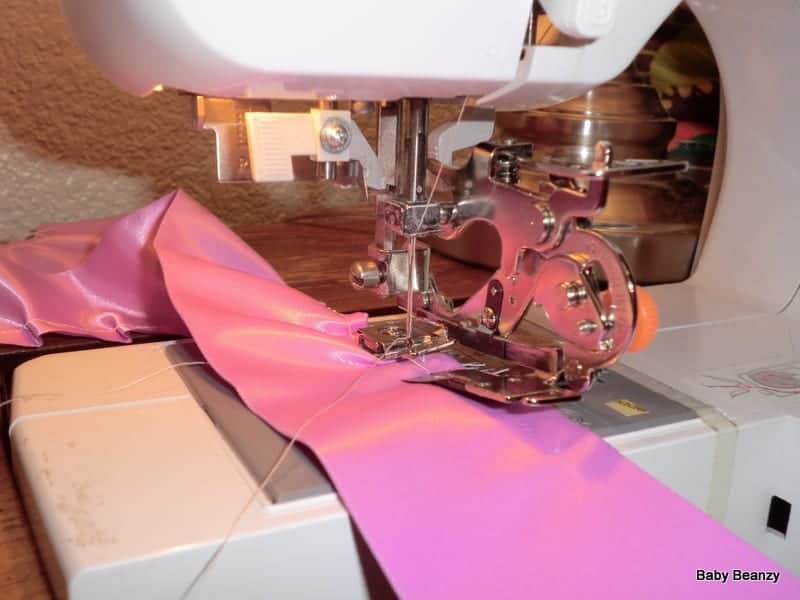
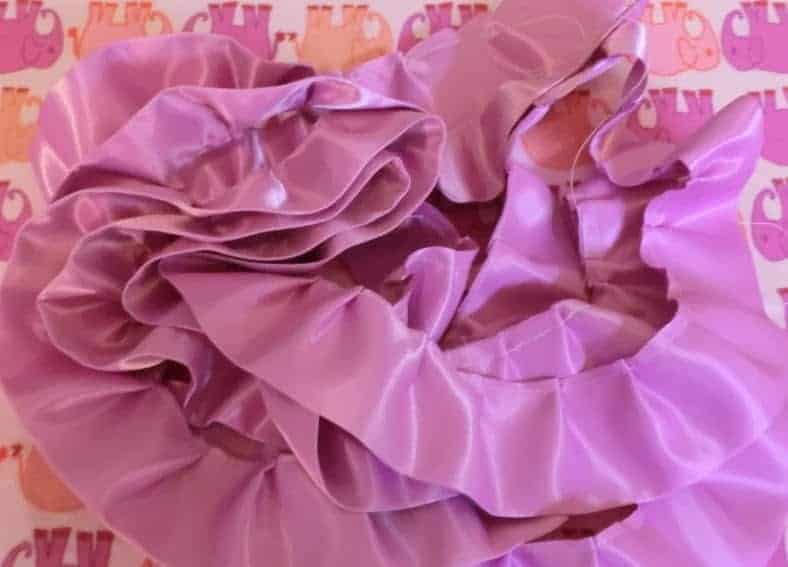
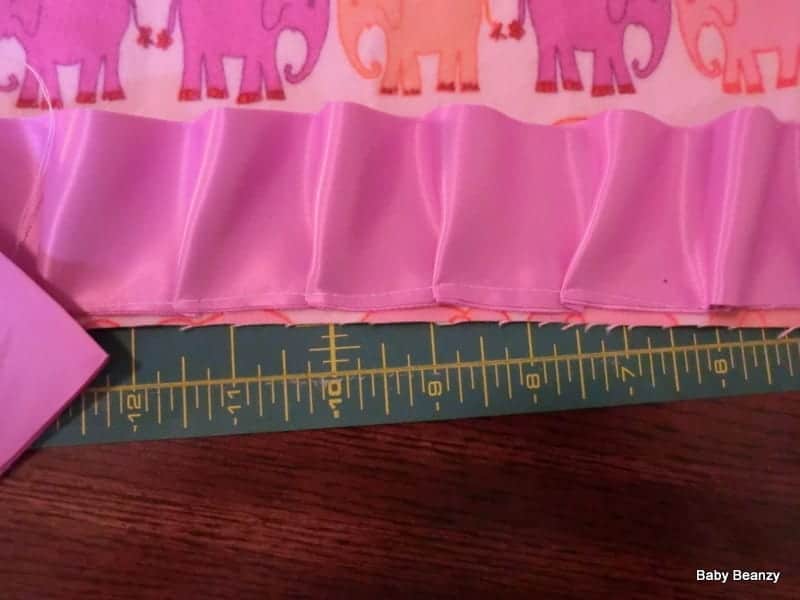
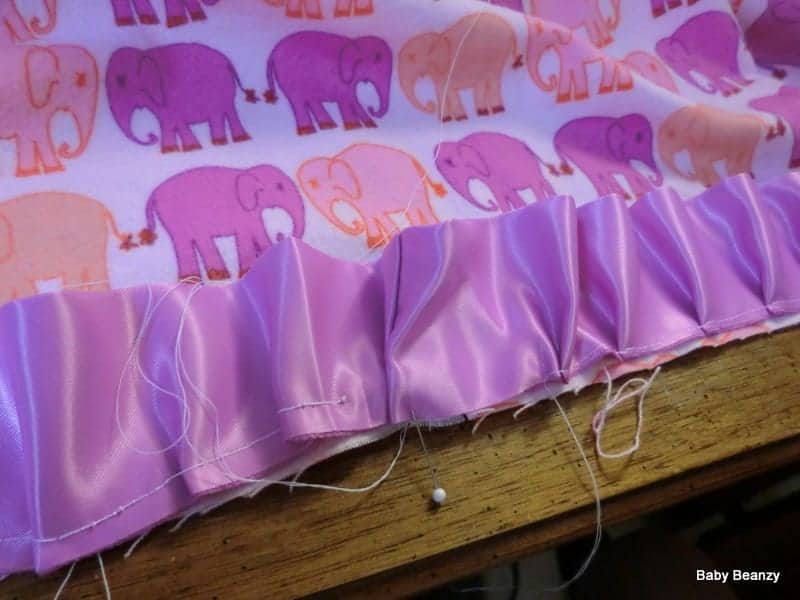
I like to start by ruffling my Blanket Binding first. The easiest way is to use a Ruffler Foot Attachment and simply feed the binding through. I set mine on the largest setting where it makes the deepest tucks every 12 stitches. I also set my stitch length to 4. If you don't have a Ruffler Foot that is ok, you can simply do the ruffles by hand and pin all the tucks.
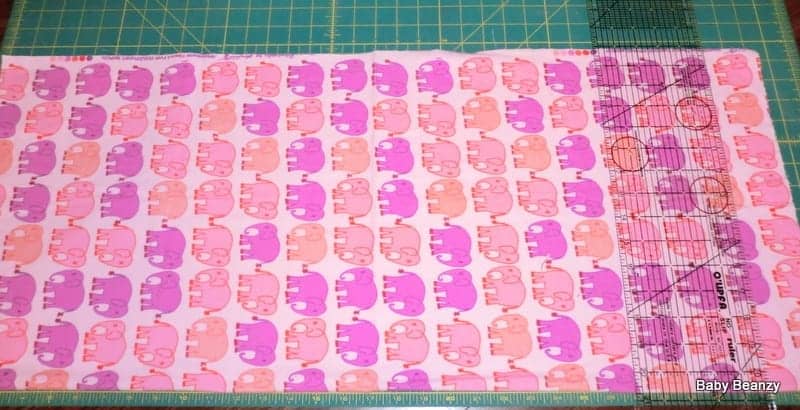
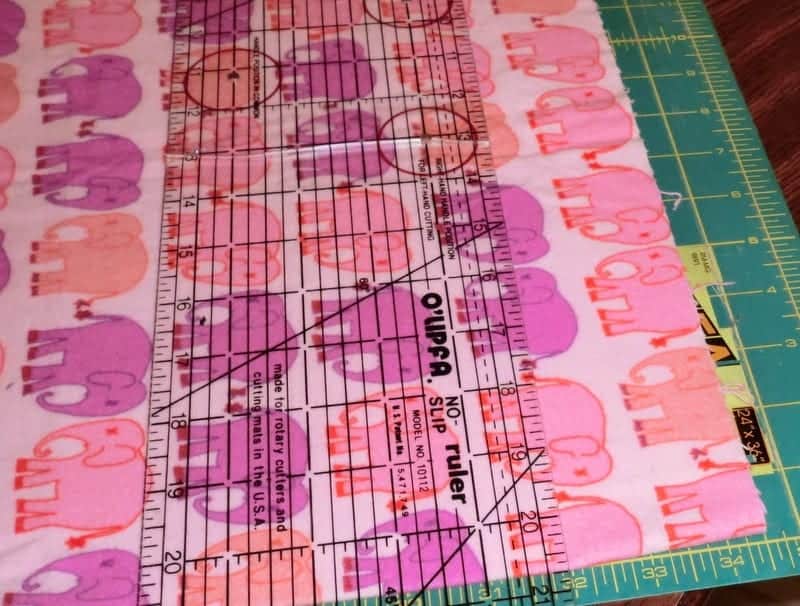
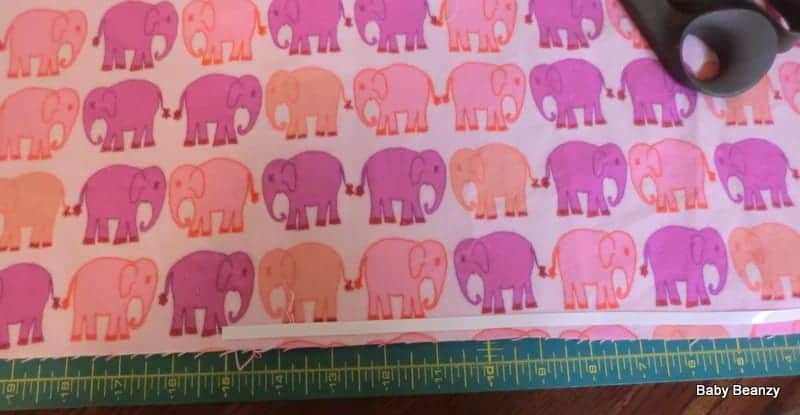
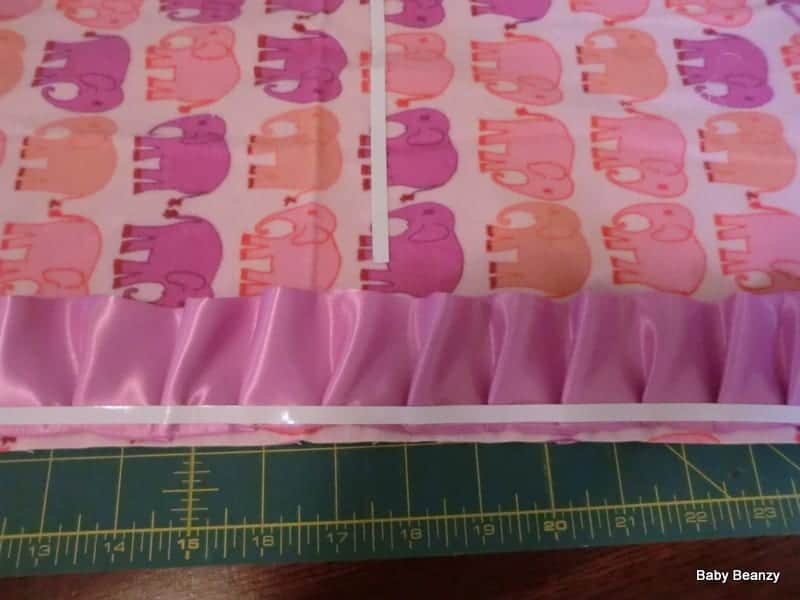
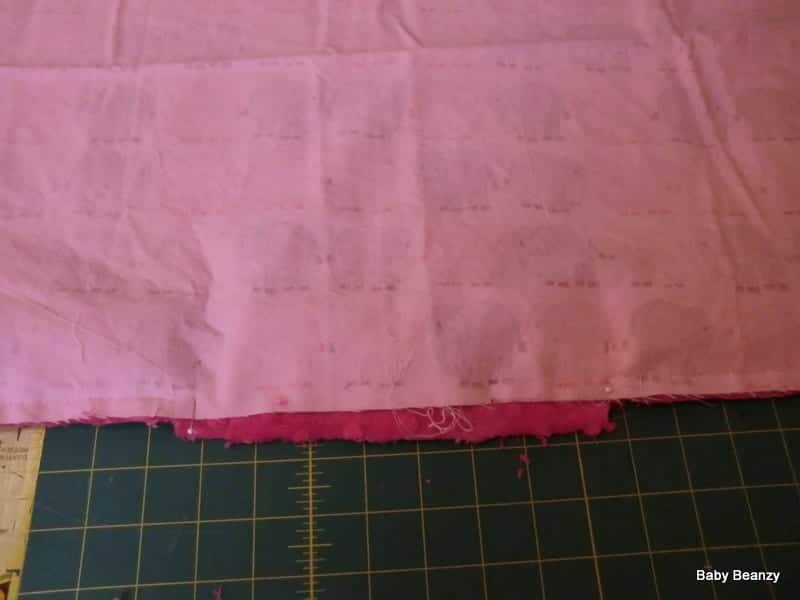
To start off cut the yard of Minky in half so it is approximately 29-30 inches wide and 36 inches long. Then I lay my yard of cotton or flannel fabric folded in half lengthwise with the selvage on top and the fold lined up on the bottom line of the cutting mat. Taking my see through ruler I cut the top of the blanket at 32 inches on the cutting mat and then cut the bottom of the blanket at the 0 mark, making the blanket 32 inches tall.Then fold the fabric in the opposite direction - so part that was just cut is now lining up together. Then lay the fabric back down on the cutting mat with the fold lined up on the bottom line and the just cut sides on top. Then cut so the blanket is 28 1/2 inches wide.
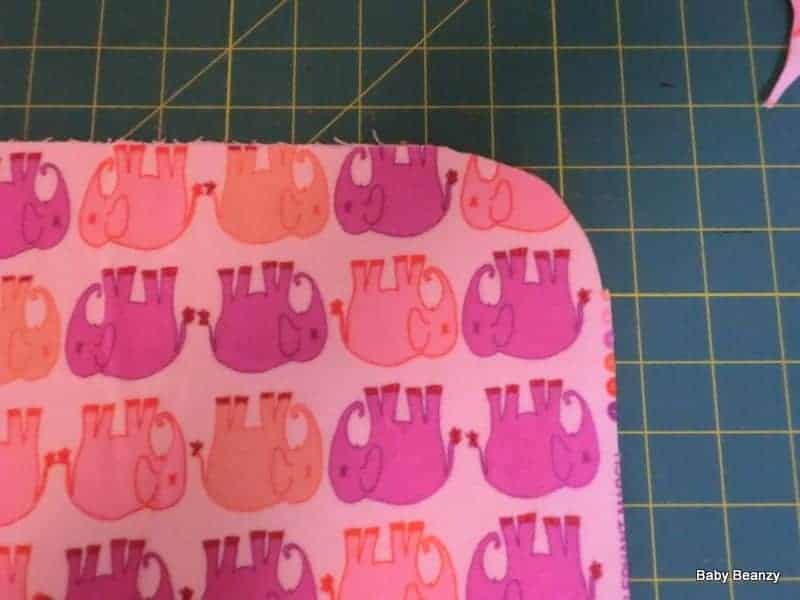
In the next step I take any round edge object and line it up on the corners (while still folded in half) and cut a round corner with my rotary blade.

I ABSOLUTELY LOVE Dritz Wash Away Wonder Tape - it makes working with Minky so much easier!
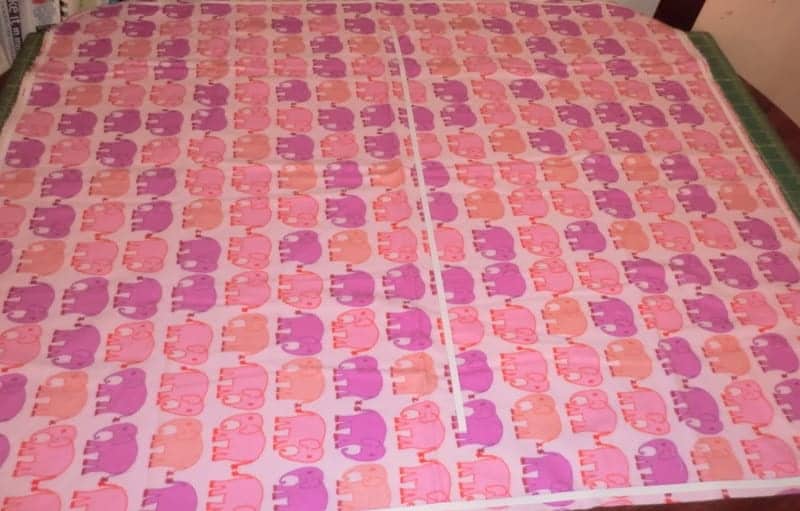
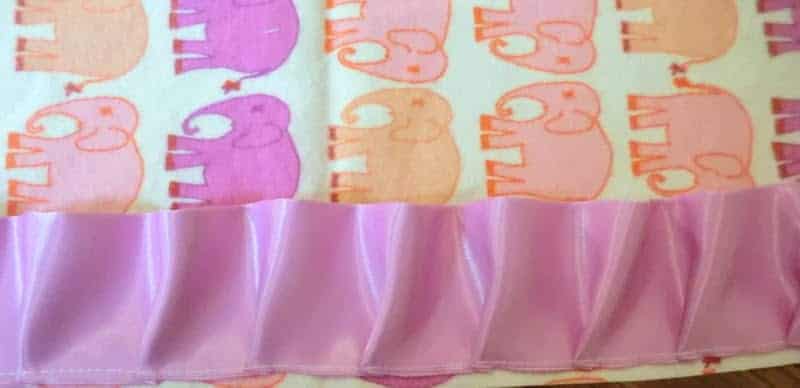
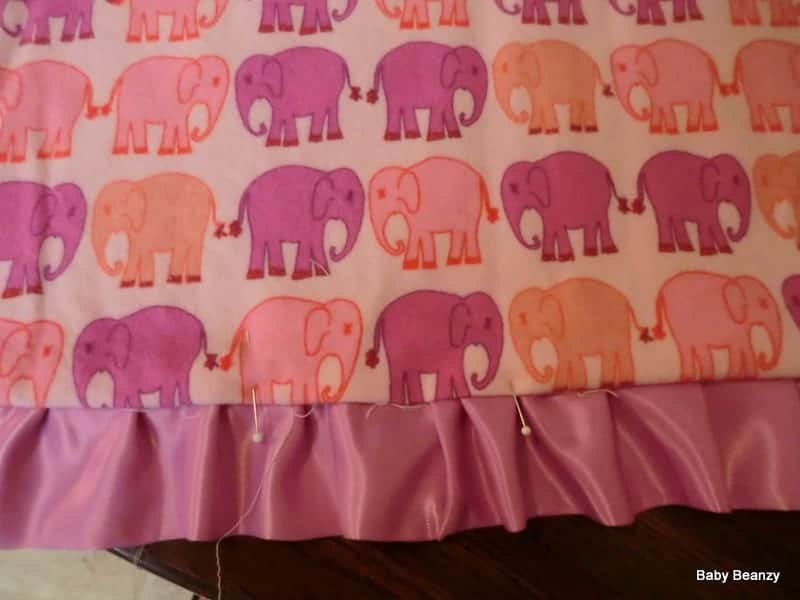
Then using my Dritz Wash Away Wonder Tape instead of pins because it is so much faster and helps with less slippage, I lay it around the border of the cotton or flannel fabric and one piece down the center.After Laying it down I peel off the top non stick coating on the tape and simply press the Ruffle Blanket Binding onto it going around the whole blanket.
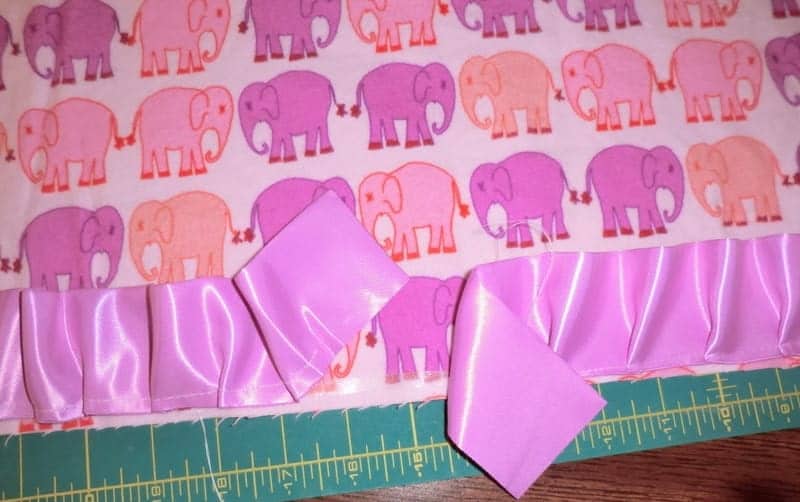

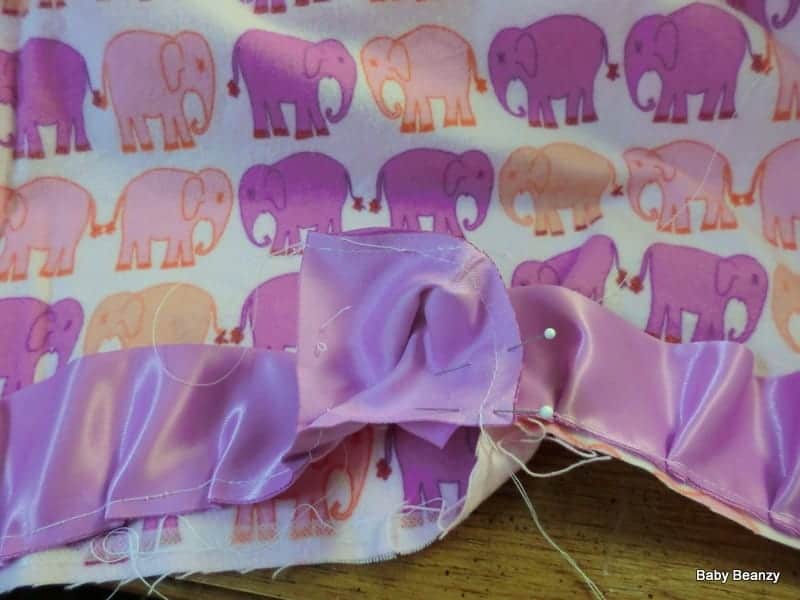

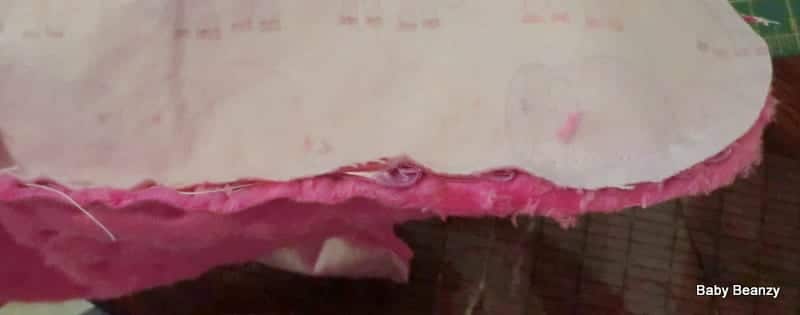
I leave the edges open without any stitching and not pressed onto the fabric so I can sew the binding togetherTurning the satin binding edges so the shiny side faces each other I pin and sew 1/4 inch seam
When I press the finished binding back down on the fabric I like to hide the seam in a *Ruffle Fold*.then I simply pin in place to hold.
Using the Wonder Tape again I once again go around the border of the blanket on top the Ruffle Edge (about 1/4 inch from the fabric edge) and peel of the top non stick layer when done.
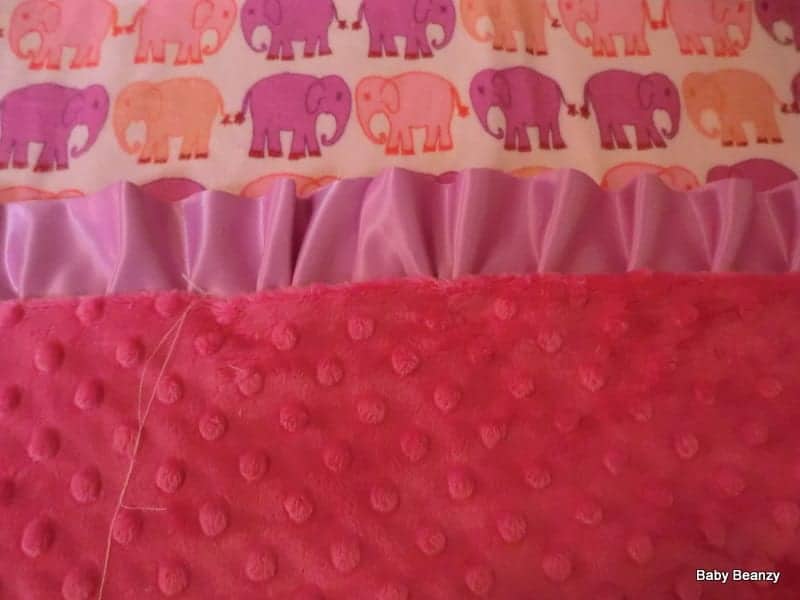
Almost there! Taking the minky fabric I lay it down face up and take the cotton panel with the ruffles and lay it face down on the minky and press down firmly along the borders where the wonder tape is to make sure it sticks firmly.
Then I pin about 6 inches apart on the bottom of the blanket to mark where I start and stop - so I can leave an opening to turn the blanket right side out when I'm done sewing the seam.
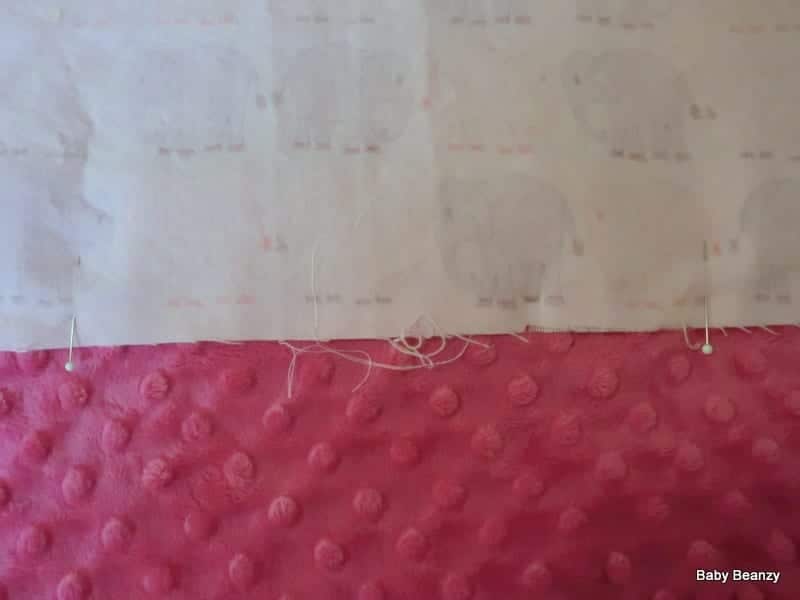
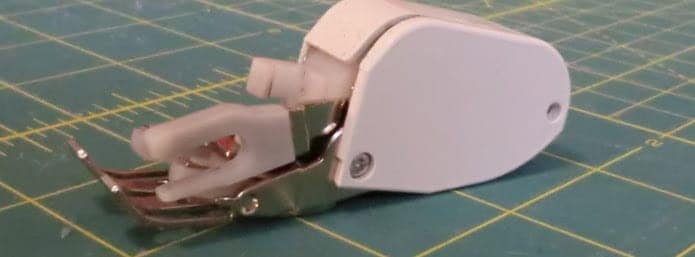
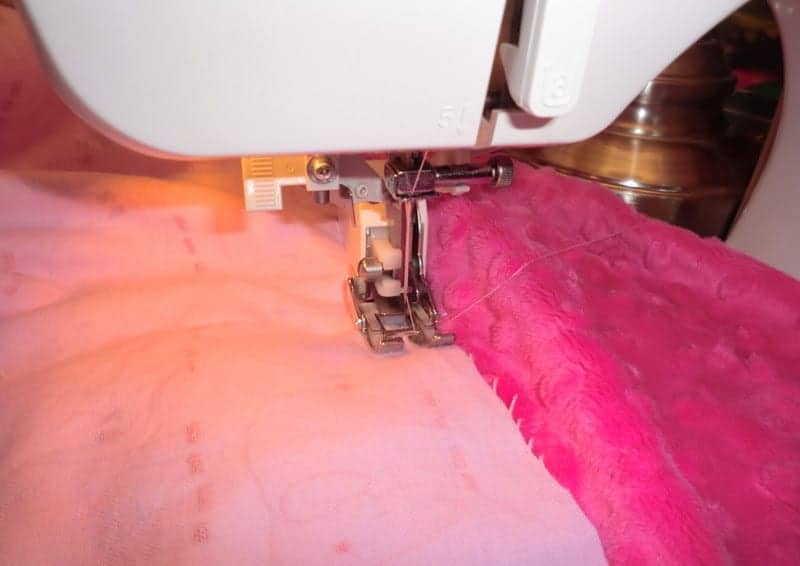
Using my WALKING FOOT (very import to use this, otherwise the fabric will slip) I stitch 1/4 inch seam. I start at the bottom pin and sew until I get all the way around the blanket to the top pin, so as to leave about a 6 inch opening.
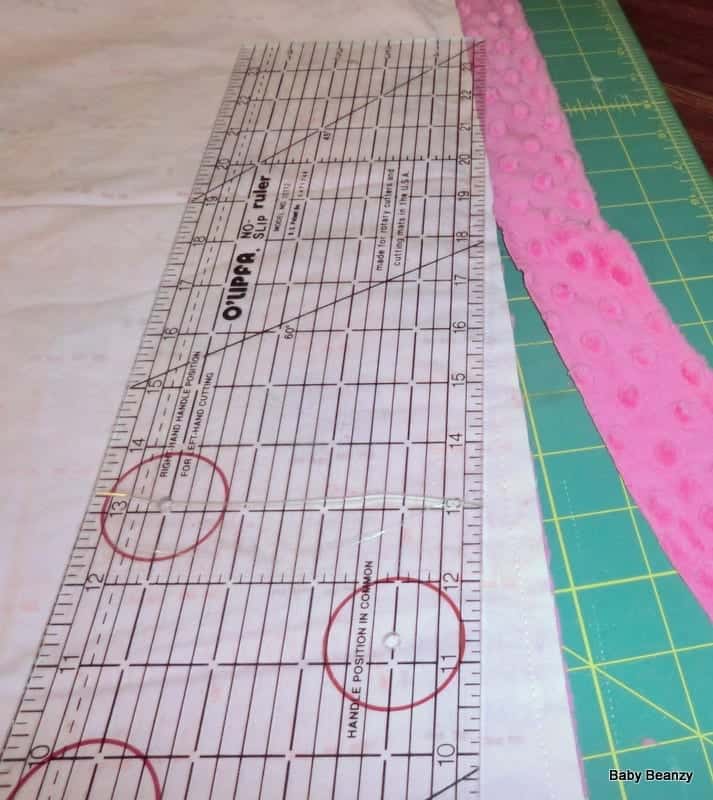
 Using my Grid Ruler I line it up with the edge and cut off all the excess minky. Except at the 6 inch opening where I leave an extra half inch.
I like to check the edges to make sure that all of the satin binding has been stitched into the seam. If you find that you have missed some grab the seam ripper and restitch:)
Turn the blanket right side out using the 6 inch unstitched space and tuck the unstitched edge under and pin.
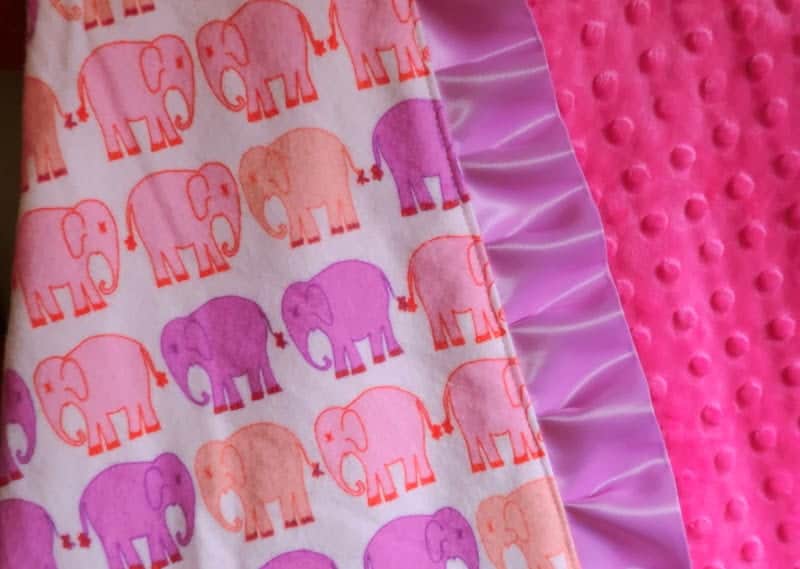
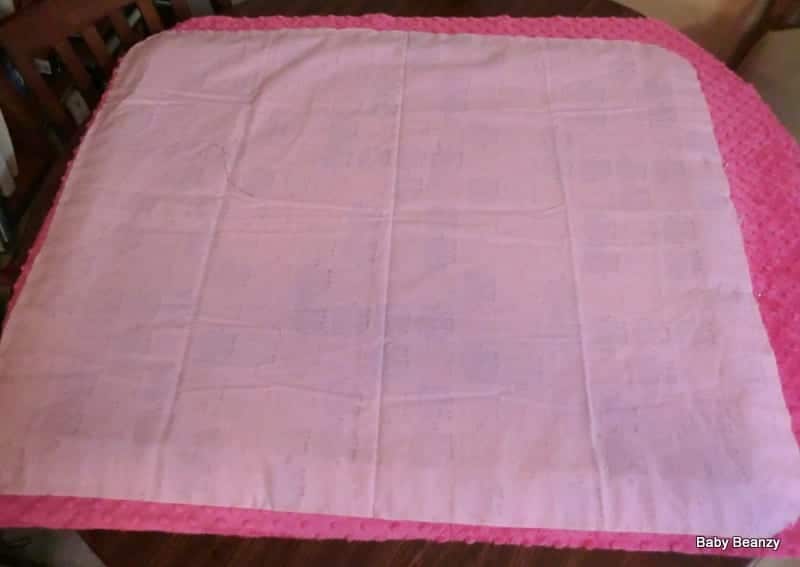
Finally, topstitch about 1/8 from the edge and your done! (Don't forget to throw it in the wash to remove the Wonder Tape) You now have a beautiful boutique style Ruffle Baby Blanket. Enjoy!