
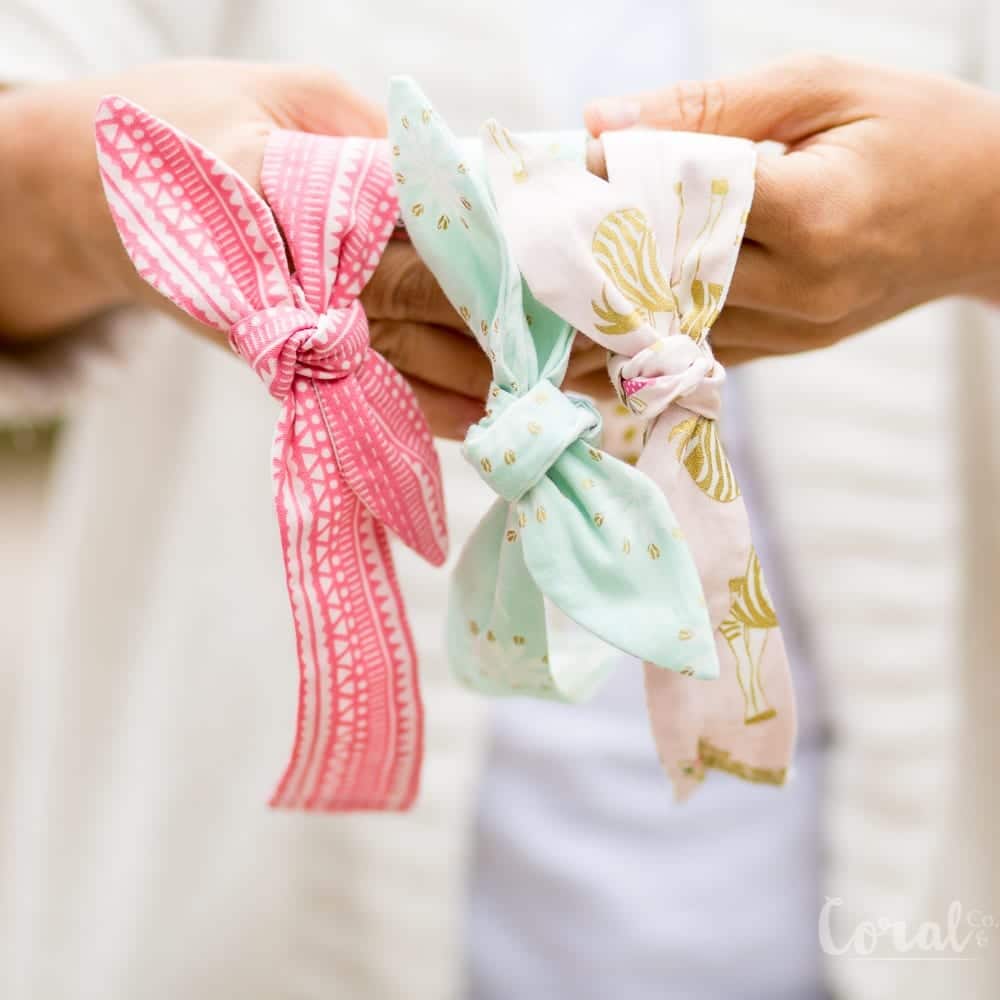
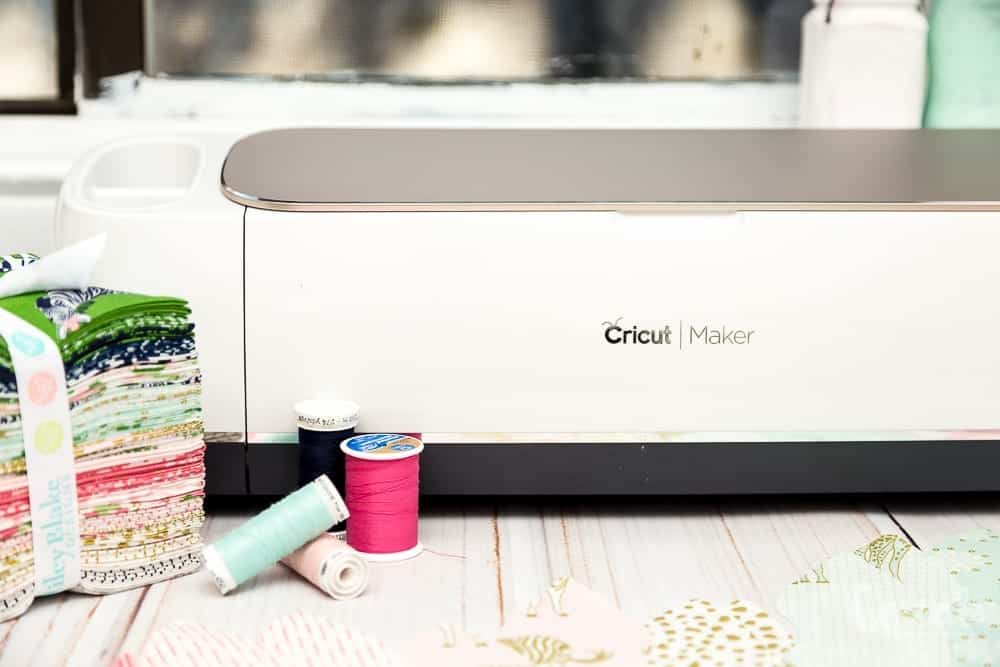
I don't know if you can tell, but I can't get enough of these knotted bow headbands so when Cricut came out with the new Cricut Maker, I KNEW that this would be the PERFECT pattern for it. So I sat down and designed a Woven Knotted Bow Headband Pattern with svg cut files for the Cricut Maker.

Ok, confession. I have had this post halfway done for several months. Actually it was pretty much all done except for the pictures showing the finished look. I really meant to have this fun little pattern out to you all but thanks to my friend #GoAwayIrma Hurricane Irma, which I wrote about here, we had a little bit of delay in just about everything blog related. But the good news is I'm soooo back and ready to pile on the patterns and tutorials for y'all!
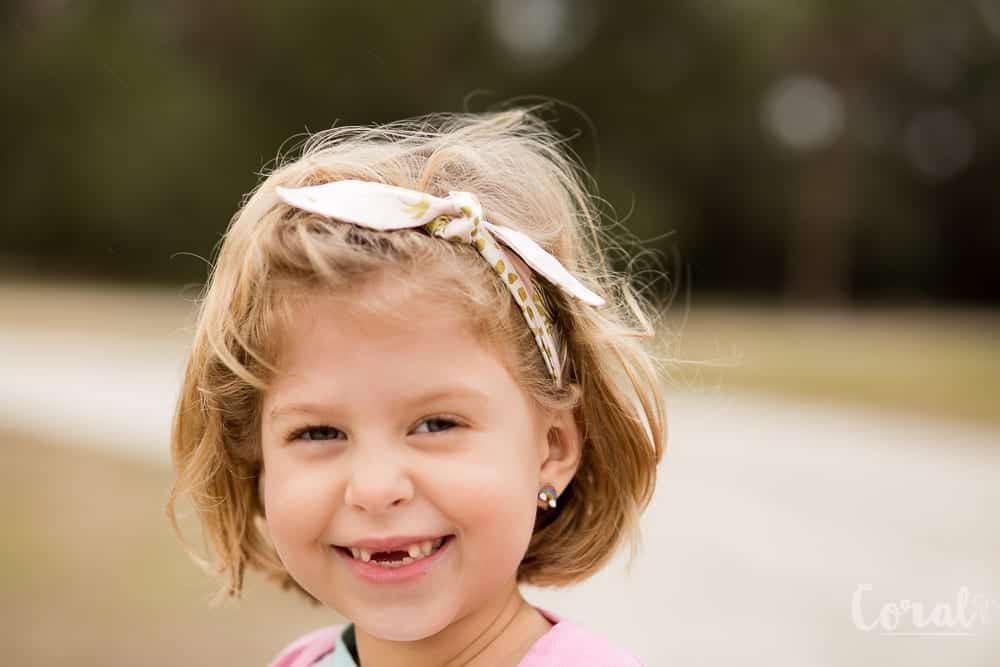
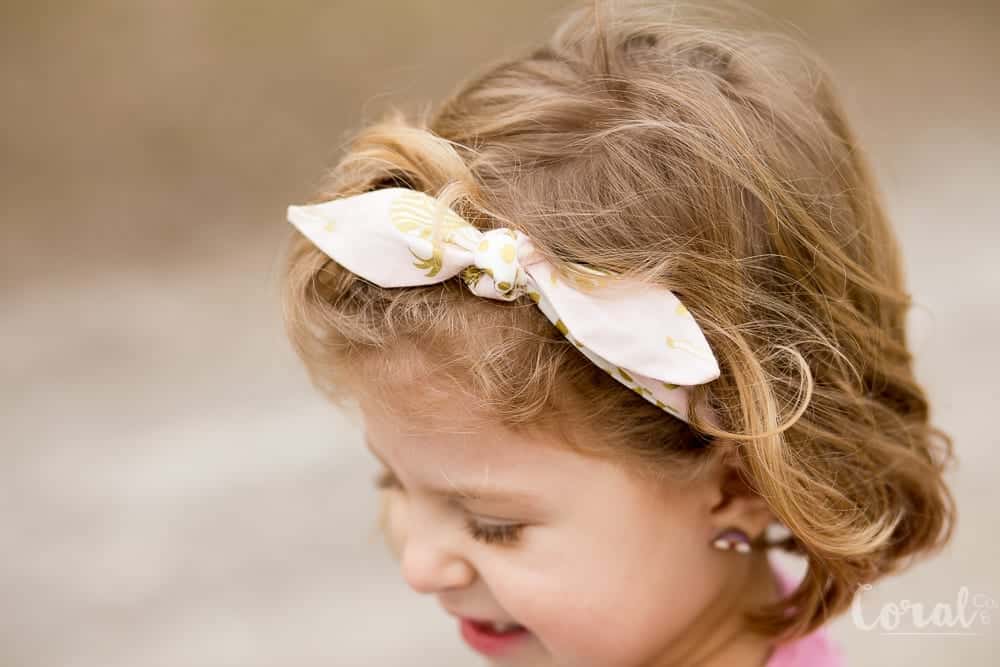
My previous Knot Bow Headband Pattern is made with knit fabric with is great, its super stretchy and comfy, but there are SO many more fabric options with woven fabric. So I decided that a Woven Knotted Bow Headband Pattern would be a great addition, because who doesn't need options??? Amiright?! I also decided that this was the perfect occasion to snap some picks of my toothless girl. Love that smile!
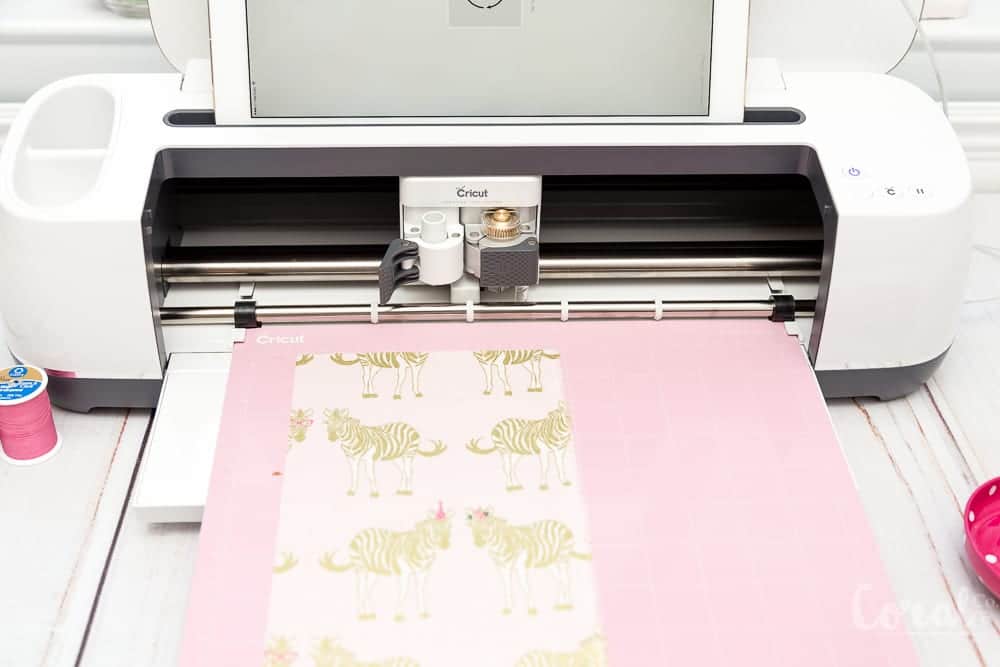
I had a fat quarter bundle of this gorgeous Safari Party Fabric line designed by Melissa Mortenson from The Polkadot Chair for Riley Blake Designs (you can see my Charm Square Quilt Tutorial made with this fabric as well) that I was just itching to make more things with. I'm totally a sucker for all the pinks, blues, and golds, plus who doesn't love zebras? My kiddos most definitely do!
Since there were so many pretty fabrics to choose from I decided to make these Knotted Bow Headbands reversible, but that is optional. You can make them all from one fat quarter if you like. These are pretty much the quickest and greatest sewing project because they are super fast (always my kind of project) and hardly take any fabric at all. Cricut also has these fun coordinating fat quarter bundles that would be perfect for this project. Here are a couple that I like below:
What you will need for the Knotted Bow Headband Pattern
- 1-2 fat quarters Safari Party Fabric depending if you want it to be reversible or not. You can find the full fat quarter bundle here.
- 3 - 4 inches (3 inches for smaller sizes 4 inches for larger sizes) 1/4 inch elastic
- coordinating thread (I like gutterman for sewing anything apparel or that will be washed and shrunk)
- pins (here are my favorite heart head pins)
- Cricut Maker (*optional - you can make this pattern by using my Free Knot Bow Headband Pattern and adding enough elastic to fit head size)
- 12" x 24" Fabric Grip Mat
- Knotted Bow Headband Pattern SVG Cut Files (See the bottom of the post)
***Check out these posts for some great Tips to Use The Cricut Maker and Cricut Hacks Every Crafter Needs to Know

Knotted Bow Headband Pattern Cricut Maker Instructions
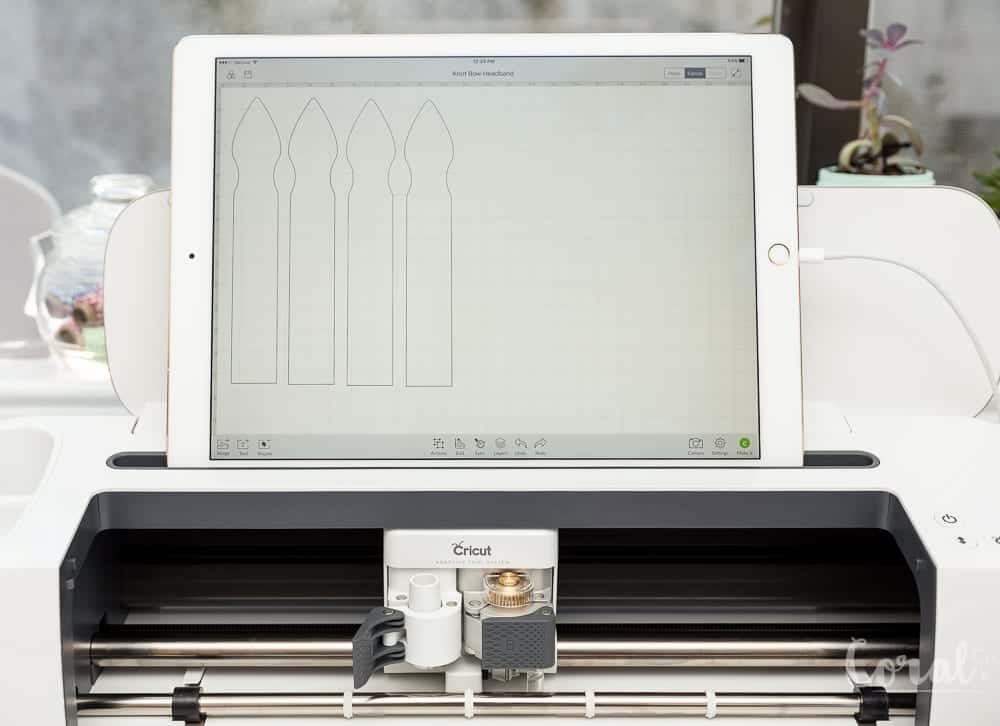
Step 1. Load the Knotted Bow Headband Pattern SVG File into the Cricut Design Space Software. You can see more detailed instructions in this tutorial.
Step 2. Duplicate either the Knotted Bow Headband either 1 time or 3 times depending on how many you are going to cut from each fabric piece.
***For example - if the headband is going to be all the same fabric you will need to duplicate it 3 time so you have a total of 4 headbands showing like below.
If you are going to make it reversible you will need to only duplicate it 1 time and repeat the whole process a second time with your second cut of fabric.
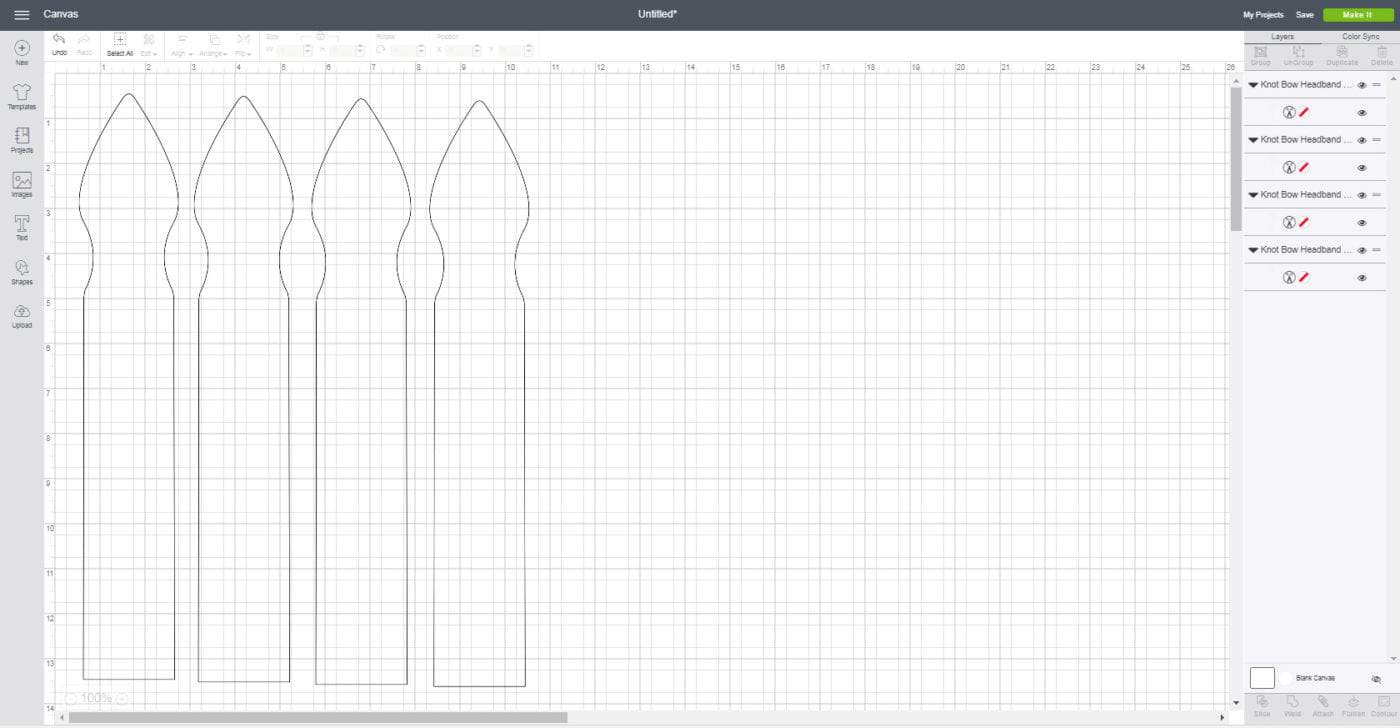
Step 3. Once you have either 2 or 4 headbands lined up in design space you will click MAKE IT in the lower right hand corner.
*** Tip - I used my ipad to connect to the Cricut Maker using the Cricut Ipad App. I was far easier than lugging the Maker to my computer is probably one of my favorite features (besides cutting fabric - duh!) of the Cricut Maker.
Step 4. Place your cutting mat with you piece of fabric pressed firmly on it into the cutting mat tray.
Step 5. This step will tell you it is sorting the projects int mats by color (or cuts for the same fabric). When it says *At least one of your images is larger than 11.5" in height or width. Please click Ok to continue with a larger mat or click Cancel to go back to the canvas to reduce the size. Click Continue. This is okay because you are using a longer mat.
You will need a larger mat (12x24 inch mat) for the larger sizes of the knot bow pattern.
Step 6. Choose the correct fabric type. For this project you will choose medium weight cotton.
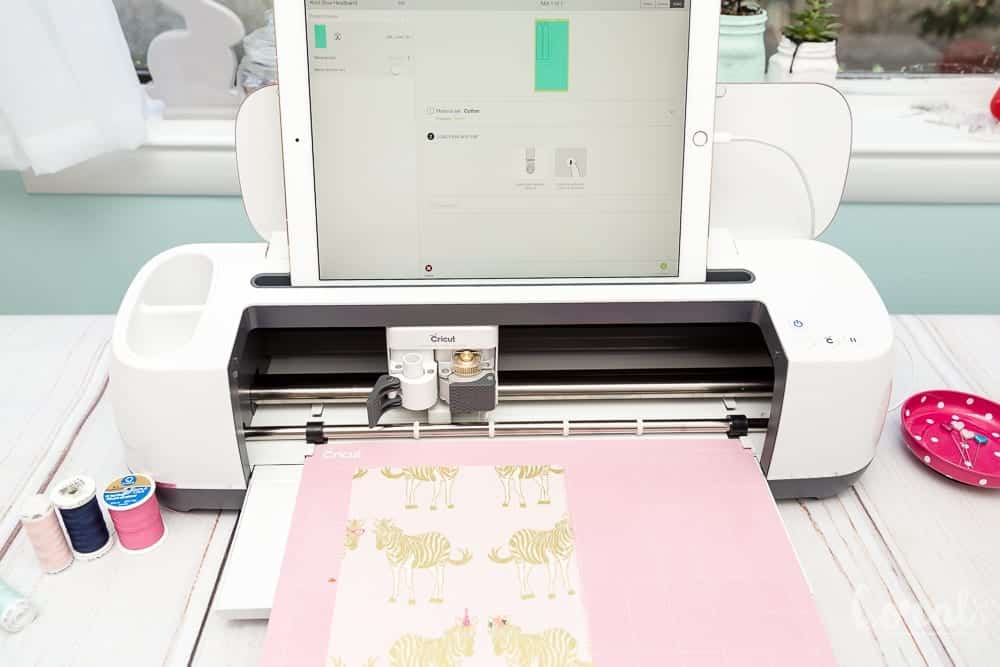
Step 7. Cricut Design Space will check for and confirm that you have the rotary blade installed in order to cut the fabric.
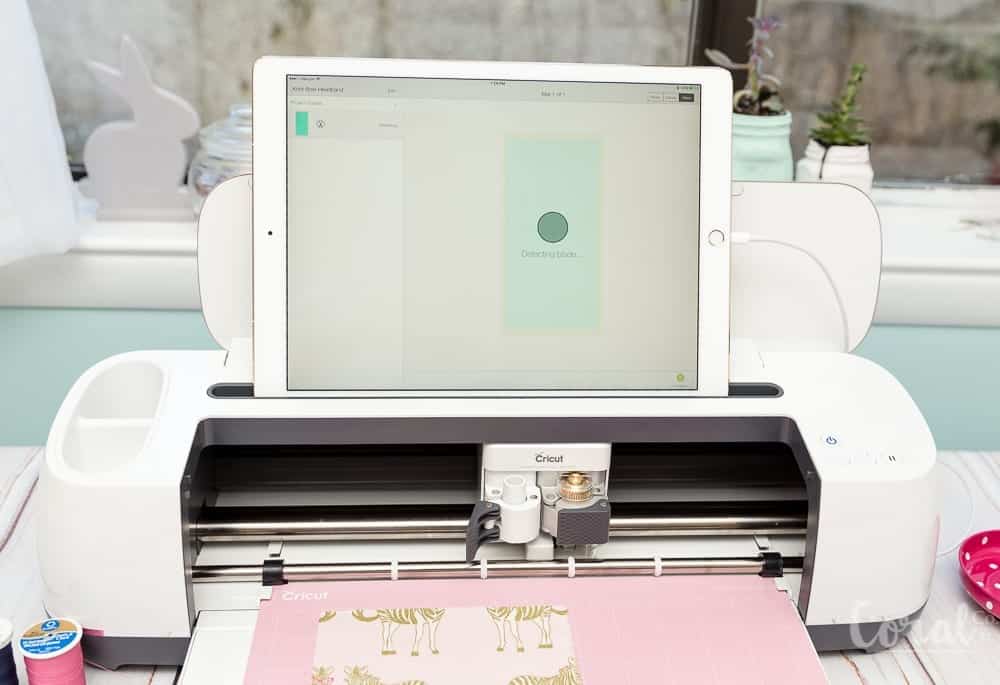
Step 8. Cut the Knotted Bow Headband Pattern with Cricut Maker. Peel off surrounding fabric. Then carefully remove the knotted bow headband pattern piece.
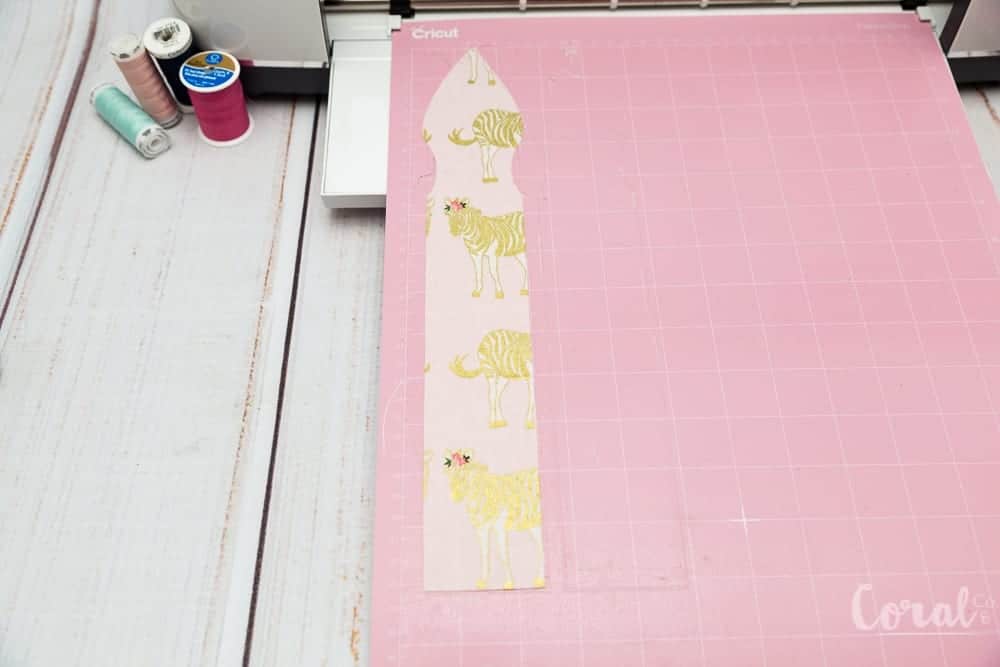
You will now have 4 Knotted Bow Headband Pattern pieces to make one knotted bow headband.

Step 9. Cut a 3 - 4 inch strip of 1/4 inch elastic.

Knotted Bow Headband Pattern Sewing Instructions
 Step 1. Place both Knot Bow Headband Pattern pieces right sides together (RST). Pin to hold together.
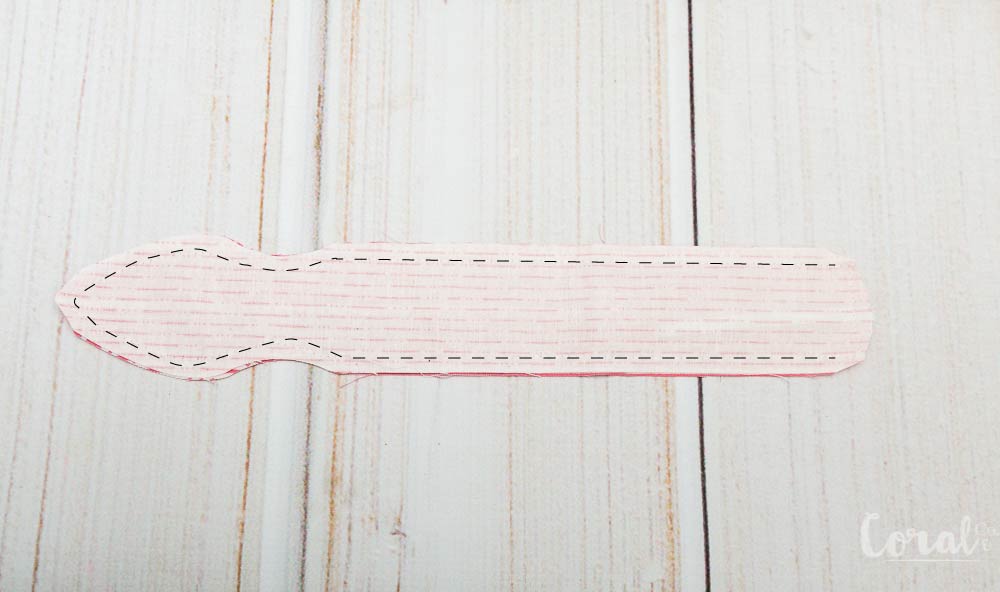
Step 2. Starting at one side of the short end of the Knot Bow Headband Pattern piece sew a straight stitch 1/4in from the raw edge, going all the way around the headband, stopping at the opposite side. Trim the point at the top to reduce bulk when turned.

Step 3. Turn Knotted Bow Headband pattern pieces right sides out.
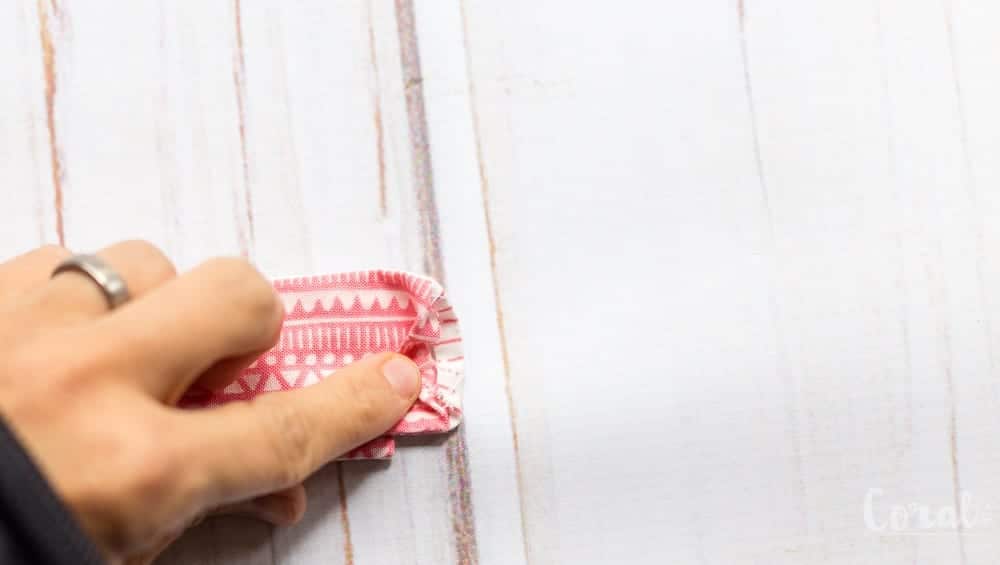
Tip - *If you are having trouble you can use a pencil to help push it through.
Step 4. Fold raw fabric edges under 1/4in and press.
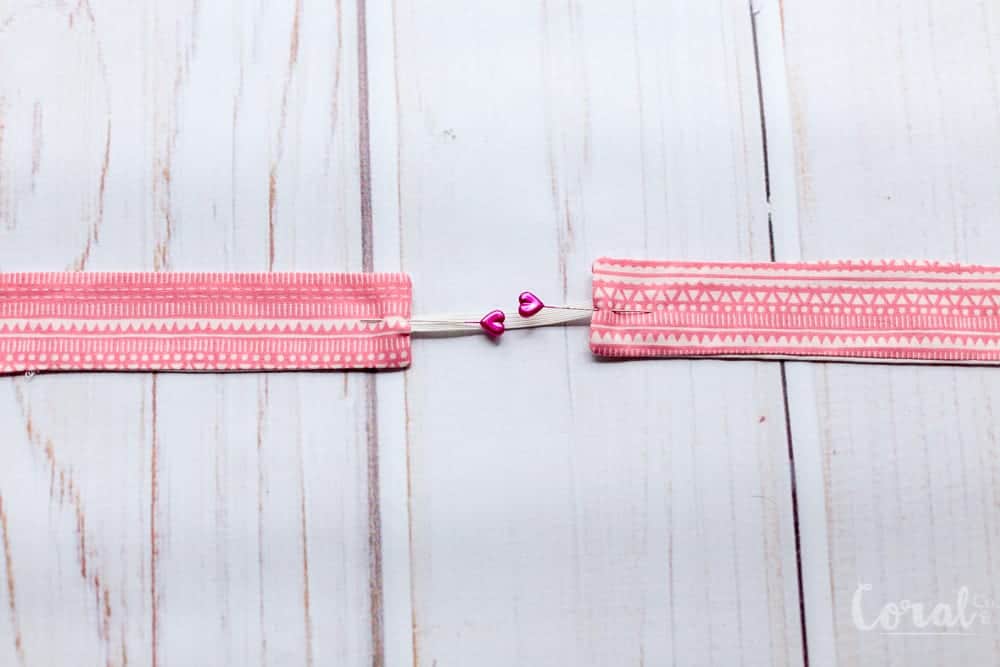
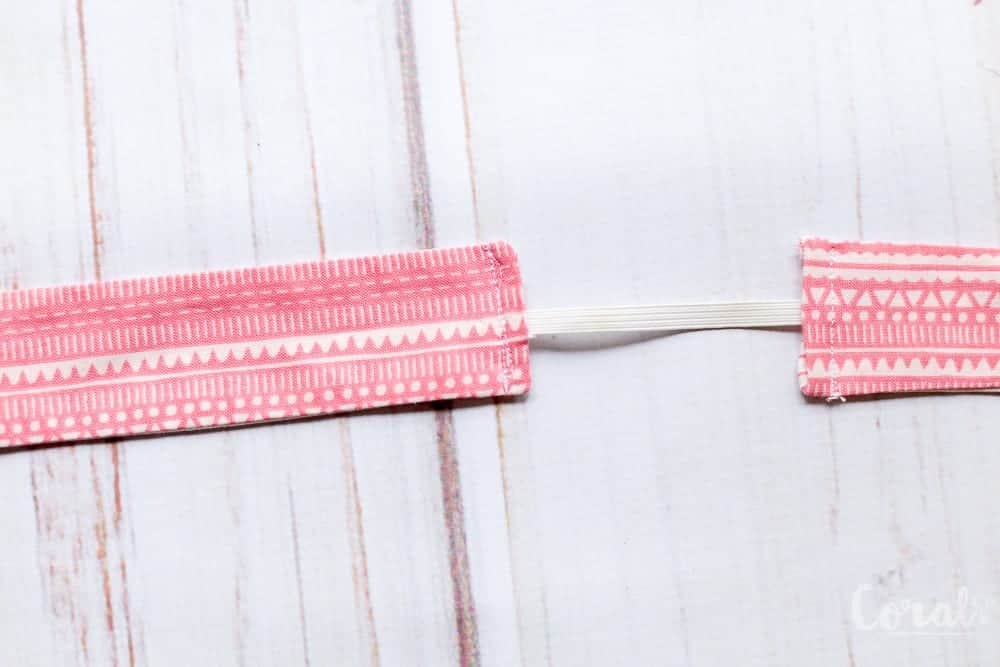
Step 5. Sandwich 1/4in ends of elastic into the folded under raw edges of the knotted bow headband pattern pieces.

Step 6. Sew a straight stitch 1/4 - 1/8in from the folded under edge down the short side of the Knotted Bow Headband.
You are all done! And now have some adorable headbands for your cutest girl!
You can find all the Knotted Bow Headband Patterns by size below.
Here are all the instructions listed together so you can find them easily -
Knotted Bow Headband Pattern Cricut Maker Instructions
Step 1. Load the Knotted Bow Headband Pattern SVG File into the Cricut Design Software. You can see more detailed instructions in this tutorial.
Step 2. Duplicate either the Knotted Bow Headband either 1 time or 3 times depending on how many you are going to cut from each fabric piece.
***For example - if the headband is going to be all the same fabric you will need to duplicate it 3 time so you have a total of 4 headbands showing like below.
If you are going to make it reversible you will need to only duplicate it 1 time and repeat the whole process a second time with your second cut of fabric.
Step 3. Once you have either 2 or 4 headbands lined up in design space you will click MAKE IT in the lower right-hand corner.
*** Tip - I used my ipad to connect to the Cricut Maker. I was far easier than lugging the Maker to my computer is probably one of my favorite features (besides cutting fabric - duh!) of the Cricut Maker.
Step 4. Place your cutting mat with your piece of fabric pressed firmly on it into the cutting mat tray.
Step 5. This step will tell you it is sorting the projects int mats by color (or cuts for the same fabric). When it says *At least one of your images is larger than 11.5" in height or width. Please click Ok to continue with a larger mat or click Cancel to go back to the canvas to reduce the size. Click Continue. This is okay because you are using a longer mat.
You will need a larger mat (12x24 inch mat) for the larger sizes of the knot bow pattern.
Step 6. Choose the correct fabric type. For this project, you will choose medium weight cotton.
Step 7. Cricut Design Space will check for and confirm that you have the rotary blade installed in order to cut the fabric.
Step 8. Cut the Knotted Bow Headband Pattern with Cricut Maker. Peel off the surrounding fabric. Then carefully remove the knotted bow headband pattern piece.
Step 9 Cut a 3 to 4-inch strip of 1/4in elastic (3 inches for smaller sizes 4 inches for larger sizes).
Knotted Bow Headband Sewing Instructions -
Step 1. Place both Knot Bow Headband Pattern pieces right sides together (RST). Pin to hold together.
Step 2. Starting at one side of the short end of the Knot Bow Headband Pattern piece sew a straight stitch 1/4in from the raw edge, going all the way around the headband, stopping at the opposite side. Trim the point at the top to reduce bulk when turned.
Step 3. Turn Knotted Bow Headband pattern pieces right sides out.
Tip - *If you are having trouble you can use a pencil to help push it through.
Step 4. Fold raw fabric edges under 1/4in and press.
Step 5. Sandwich 1/4in ends of elastic into the folded under raw edges of the knotted bow headband pattern pieces.
Step 6. Sew a straight stitch 1/4 - 1/8in from the folded under edge down the short side of the Knotted Bow Headband.
You can find the Knotted Bow Headband SVG File in the Resource Library.
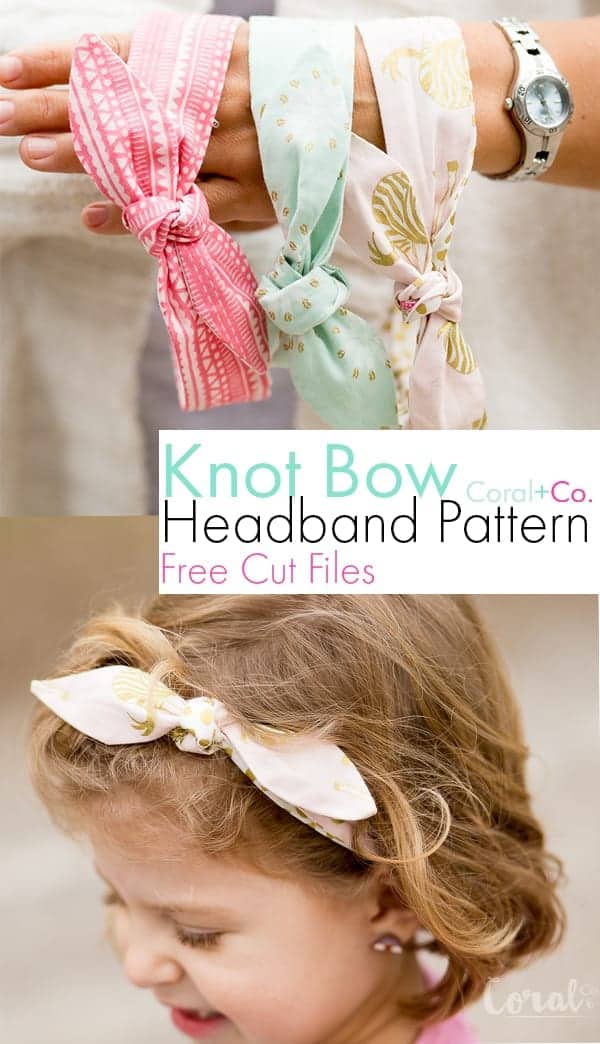
Pin the Knotted Bow Headband Pattern with Free Cut Files for later!
This is a sponsored conversation written by me on behalf of Cricut. The opinions and text are all mine.
Hi I tried to make this but when I put it in design space from the pattern you gave us it just cut the dashes because that’s how it downloaded. Am I missing something. Would love to make these with the maker. Thank you
These are adorable my little girl is going to look so cute in them! Thank you for sharing!
Please give cutting dimensions for those of us who want to make this project without using a Cricut product. It’s quite hard to measure the pieces on the cutting file you’ve supplied because of how the page displays on my tablet. Thank you, Zoe
You can use these pattern pieces - https://www.coralandco.com/blog/2017/1/mini-heart-block-quilt-tutorial.html
You can find all dimensions and instructions for the pattern here https://www.coralandco.com/blog/2015/12/knot-bow-headband-pattern-and-tutorial-easy-diy-headband-for-baby-and-toddler-2.html
Hi Shelly,
Thank you so much for the Knotted head band and svg files. Do you know if there is another way to download the files without having to sign up for the free trial of droplets?
Thanks for your help.
i downloaded droplets and it still won't download! 🙁
You don't need to download droplr, just hit the download button in the upper right corner. Sorry, there is no other way for me to host SVG files on my site.
sorry silly question but im not seeing the download button and i would love to down load this pattern could some one help me, i am new to this.
Hi! They are located in the resource library 🙂
Thank you so much. I'll give that a try.
love your patterns for easy to read so making anything easier...thank you so much...
I find the answer to my question ! Thanks !
Good afternoon!
I can't wait to make this pattern for my girl, but she's older. I found the pattern for the babies-2T size but I'd like to make the bigger sizes. Where can I find the pattern pieces for bigger sizes if I don't have a Cricut Maker?
Thanks!
I want to make some for sorority sisters, can this pattern be used for adults as well?
sure, just use a longer strip of elastic.
Thanks so much for this and having the different sizes. It was exactly what I was looking for. I used to cut them out but now that I have a Cricut it will save some time!