
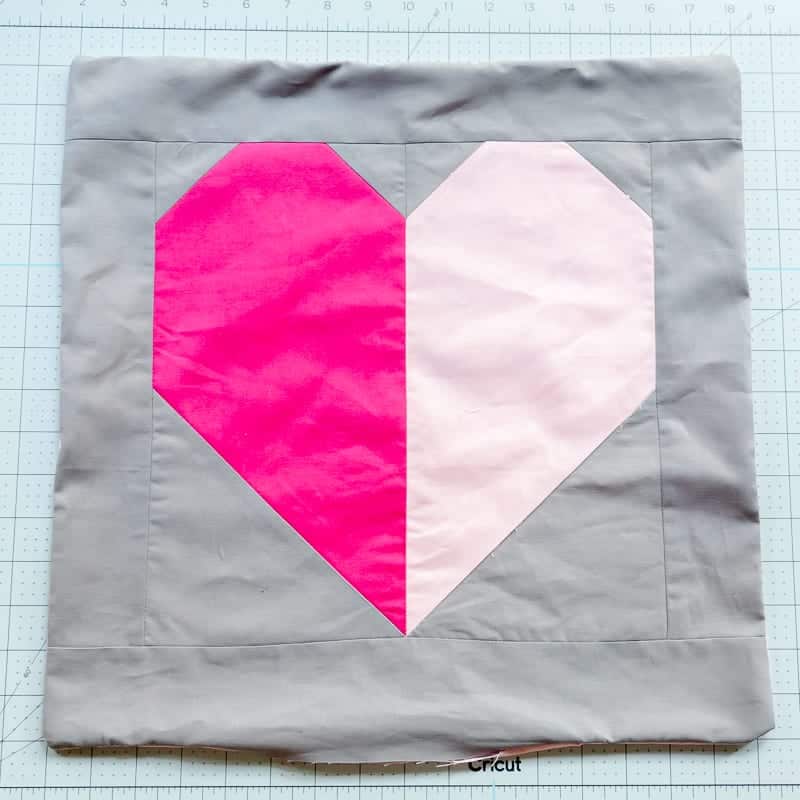
It's almost Valentine's Day once again and here I am sewing up some more hearts! This time I have a Big Heart Block Pillow Pattern to share with you for your favorite day of love. This easy pillow pattern will fit an 18" x 18" pillow. I used my fluffy down feather ones for it and it turned out perfect.

You could easily size it down to a 16" x 16" pillow by taking away 2" from the borders. This pillow pattern is quite easy to sew and can be put together in less than an hour and such an easy way to add a punch of color to your decor. My kids saw it and immediately ran to put it on their beds. Cause, hearts right?! If you love sewing hearts as much as they do, you might like this scrappy mini heart quilt tutorial and if you have a Cricut, you can even have it cut the fabric for you with these free mini heart quilt svg files.

Pattern Notes
Before starting, be sure to read through the pattern and tutorial completely.
Seam allowances are 1/4in unless otherwise noted.
Press seams open unless otherwise instructed.
RST = right sides together.
WST = wrong sides together
WOF = width of fabric.
Width of Fabric assumes 42” wide fabric
Heart Block Pillow Pattern Instructions
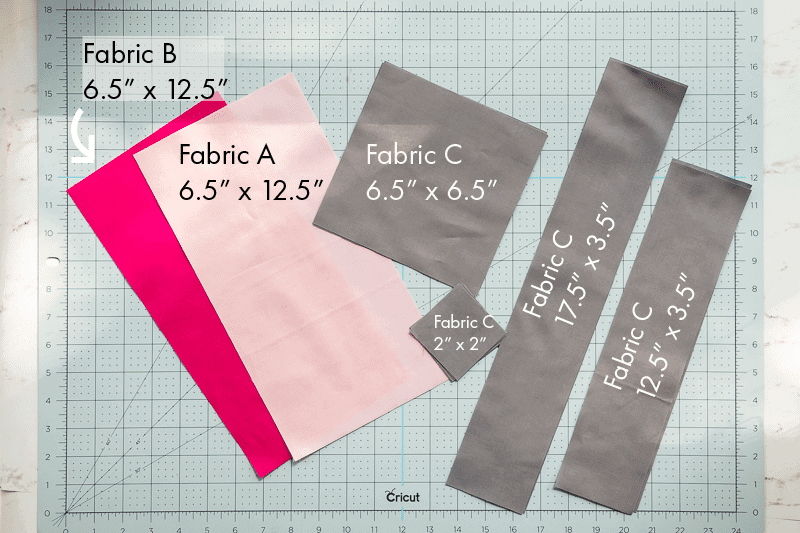
- Fabric A - One (1) 6.5" x 12.5" rectangle (Kona Bright Pink)
- Fabric B - One (1) 6.5" x 12.5" rectangle (Kona Pink)
- Fabric C - Four (4) 2" squares (Kona Titanium)
- Fabric C - Two (2) 6.5" squares (Kona Titanium)
- Fabric C - Two (2) 3.5" x 12.5" rectangles (Kona Titanium)
- Fabric C - Two (2) 3.5" x 18.5" rectangle (Kona Titanium)
- Pillow Back - 18.5" Square. (If you choose to insert a zipper, you will need to add 1" for the zipper seam allowance. You can find a tutorial on how to insert a zipper in a pillow here. And my favorite zipper hack here.
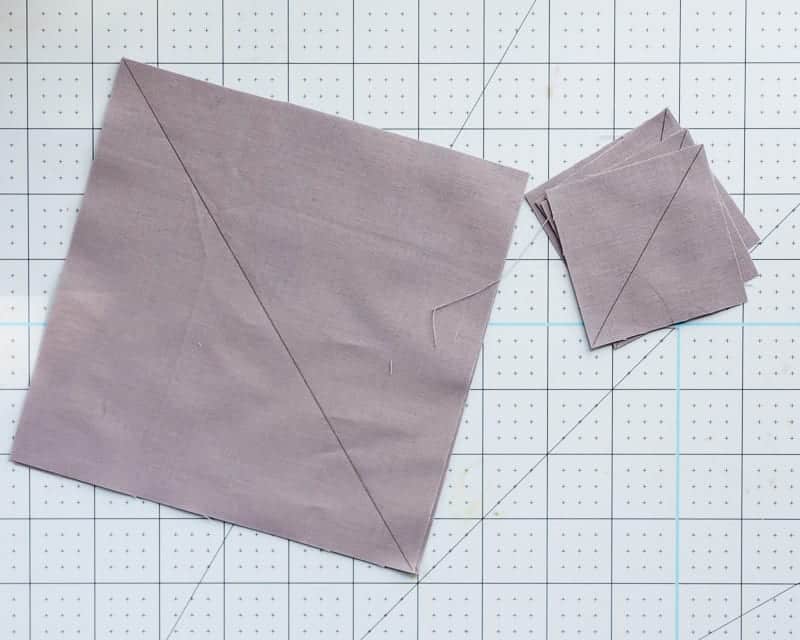
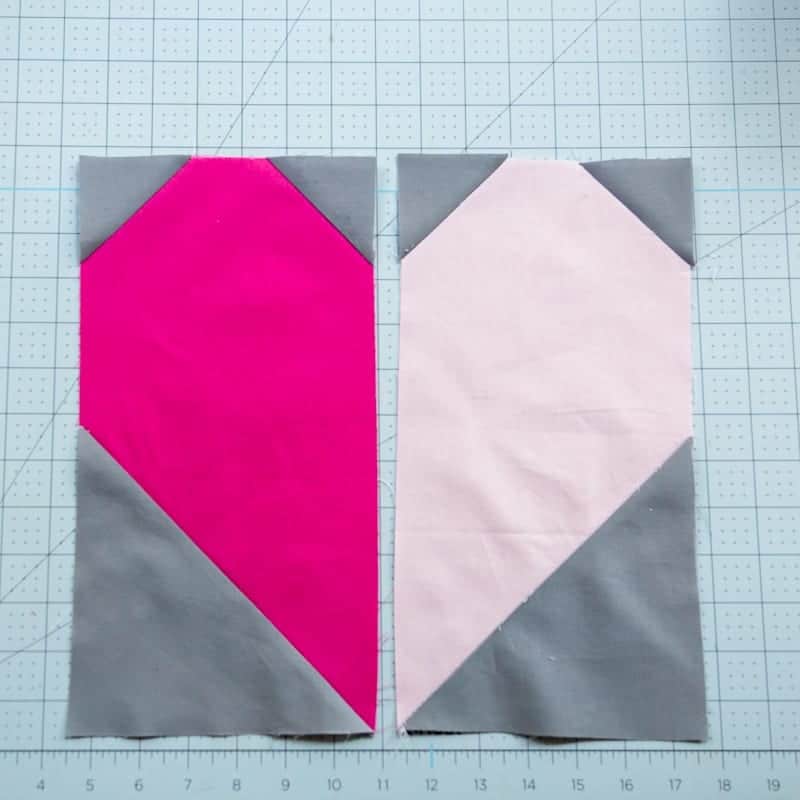
Step 1. Draw a diagonal line across both the 2” and 6.5” squares.
Step 2. Place two 2" squares and the 6.5” square over the 6.5” x 12.5” Fabric A rectangle with fabrics facing RST as shown. Repeat for the Fabric B 6.5 ” x 12.5” rectangle.
Stitch 1/4” away down the diagonally drawn line.
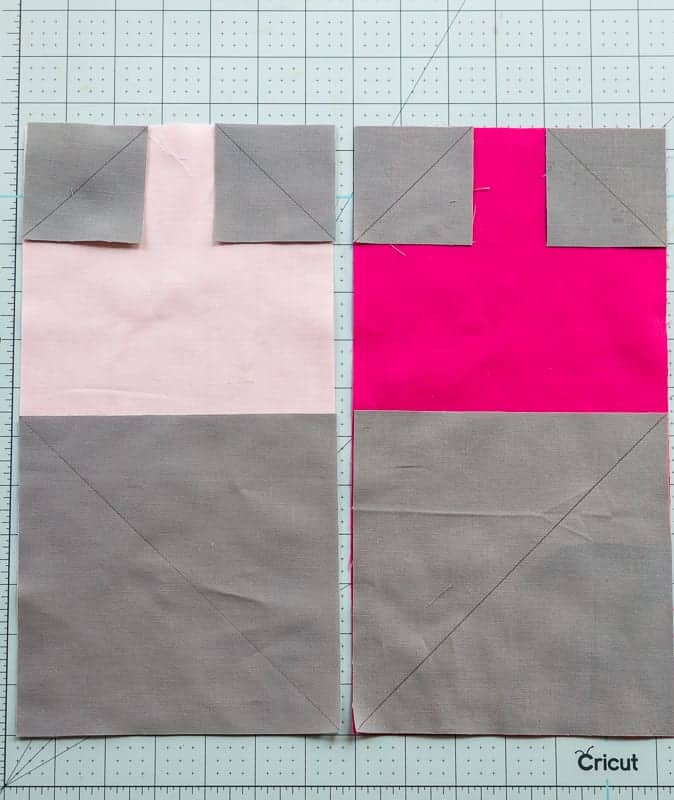
Step 3. Trim Corners. Press open.
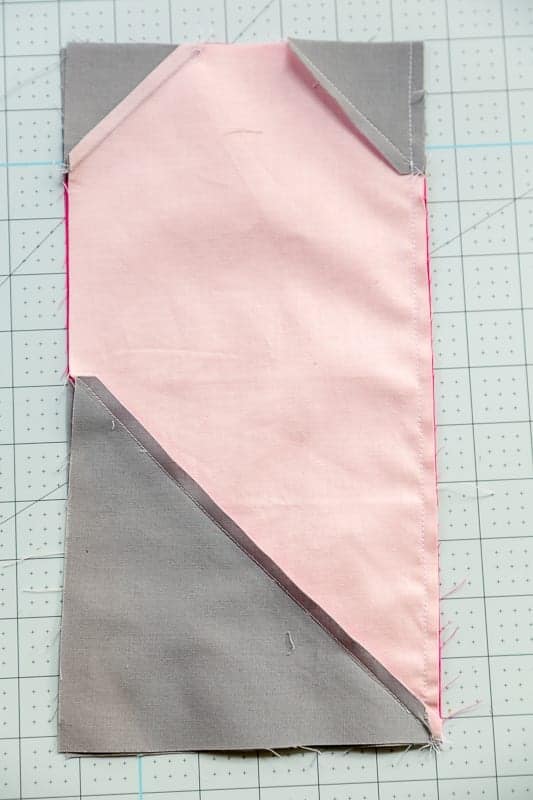
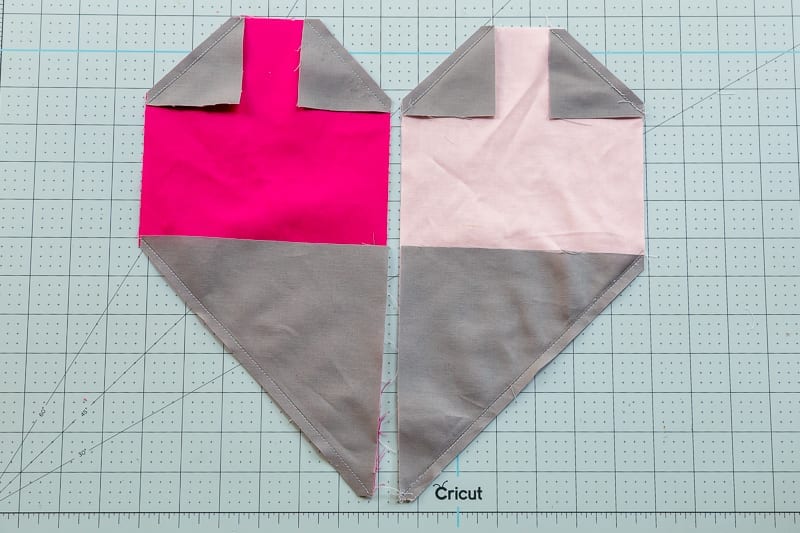
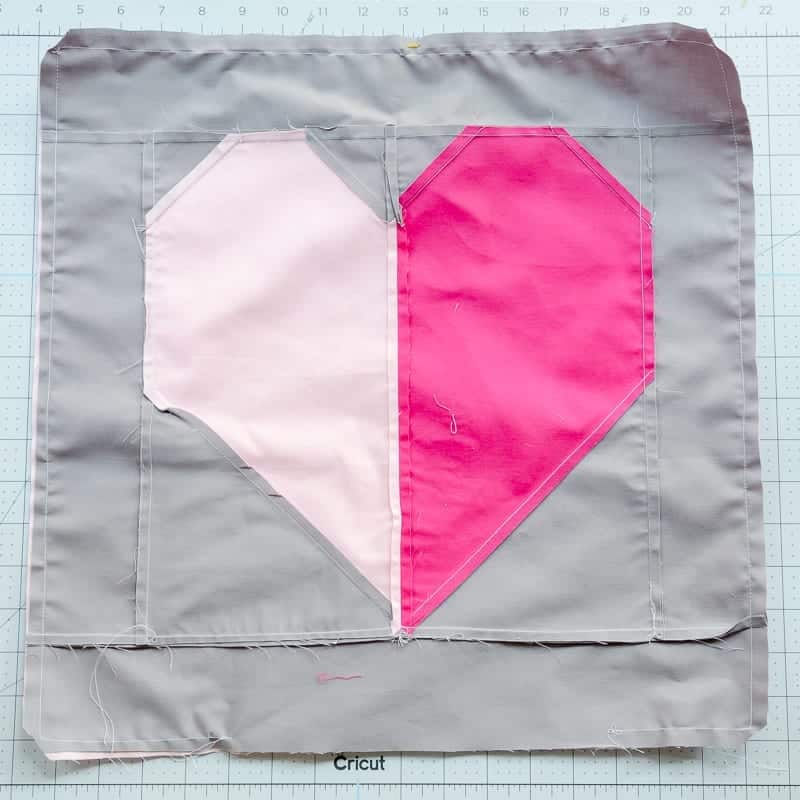
Step 4. Place Fabric A and Fabric B heart block together RST. Stitch using 1/4” from top of the block to the bottom as shown below.
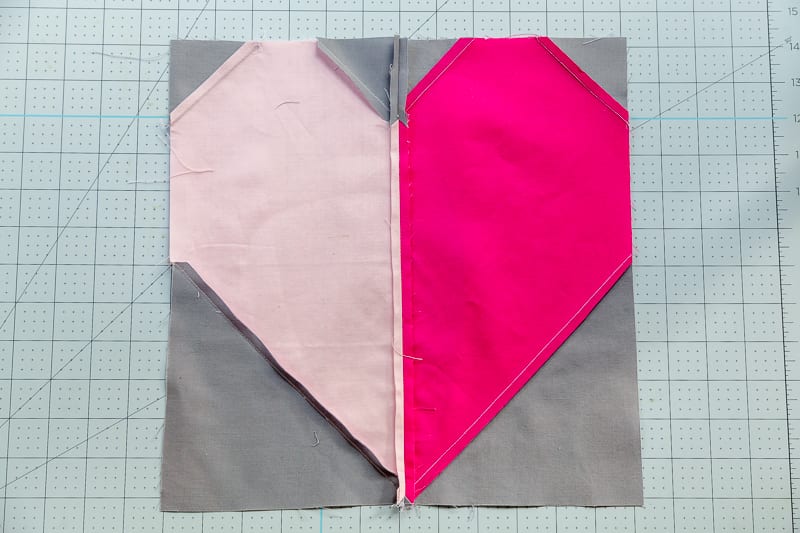
Step 5. Open the heart block unit and press seams open.
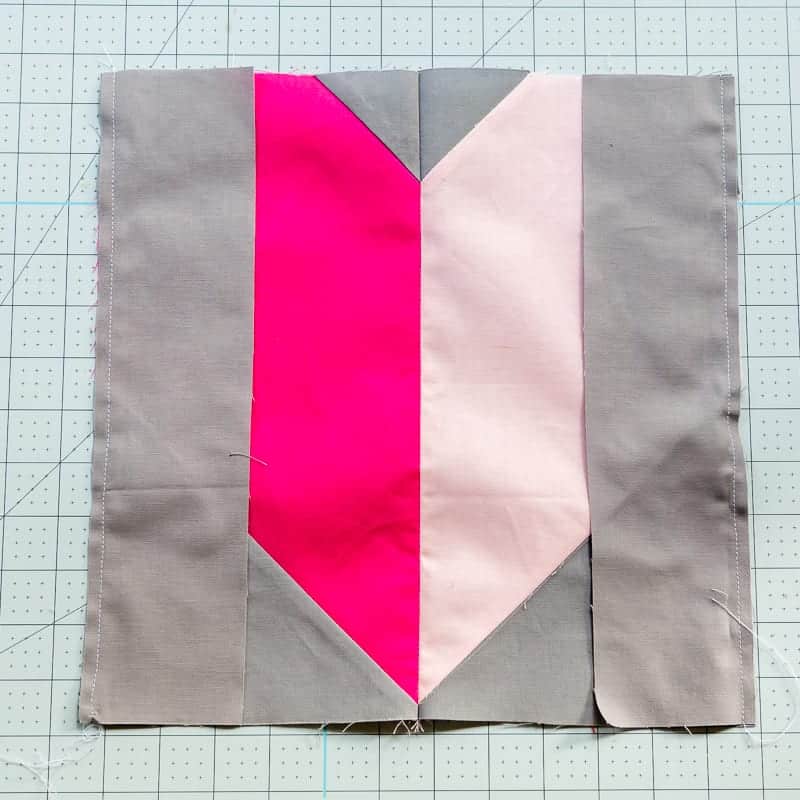
Step 6. Place the Fabric C 2.5" x 12.5" rectangles on the side edges of the Heart Block unit formed above RST and stitch 1/4" seam down the sides as shown. Open and press.
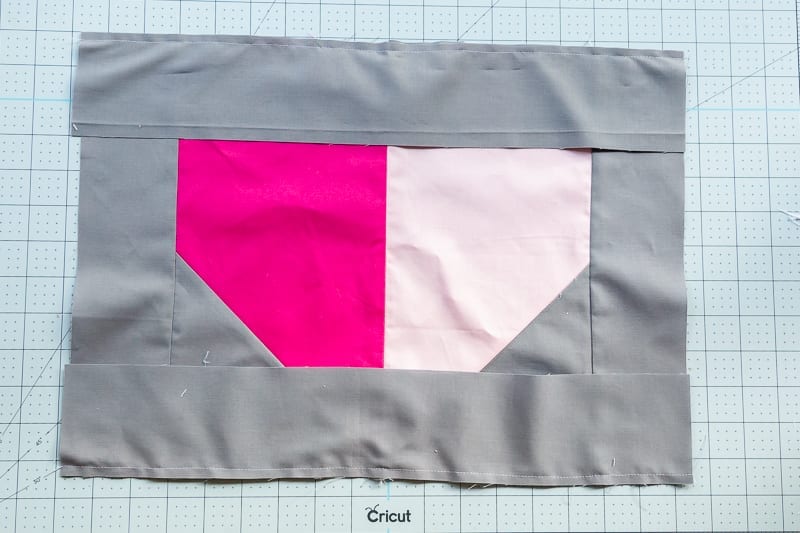
Step 7. Place the Fabric C 17.5" x 2.5" rectangles on the top and bottom edges of the unit formed above RST and stitch 1/4" seam across the top and bottom edges as shown.
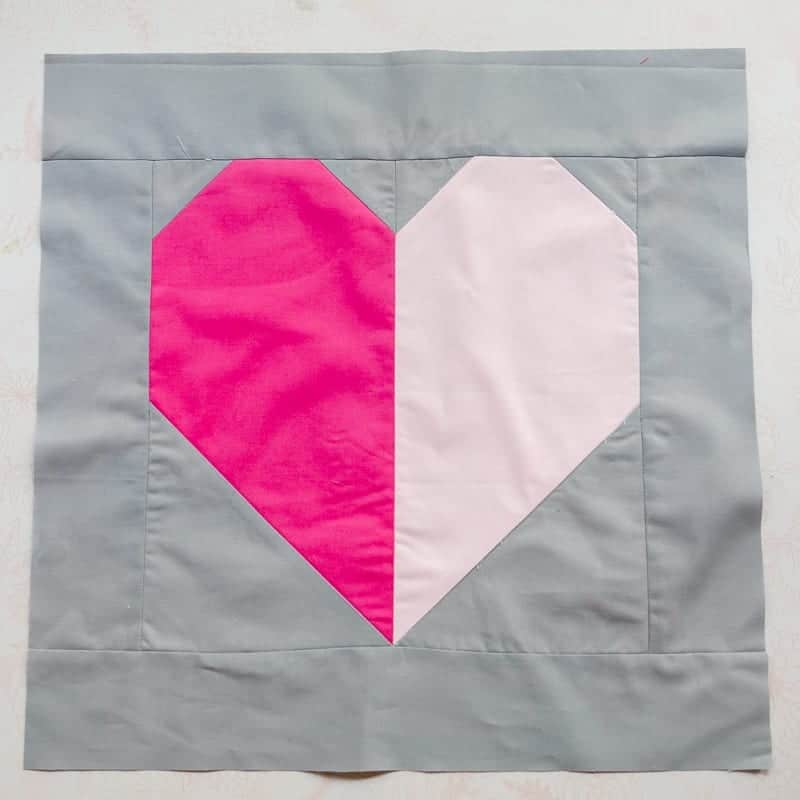
Step 8. Open and press the heart block pillow front.
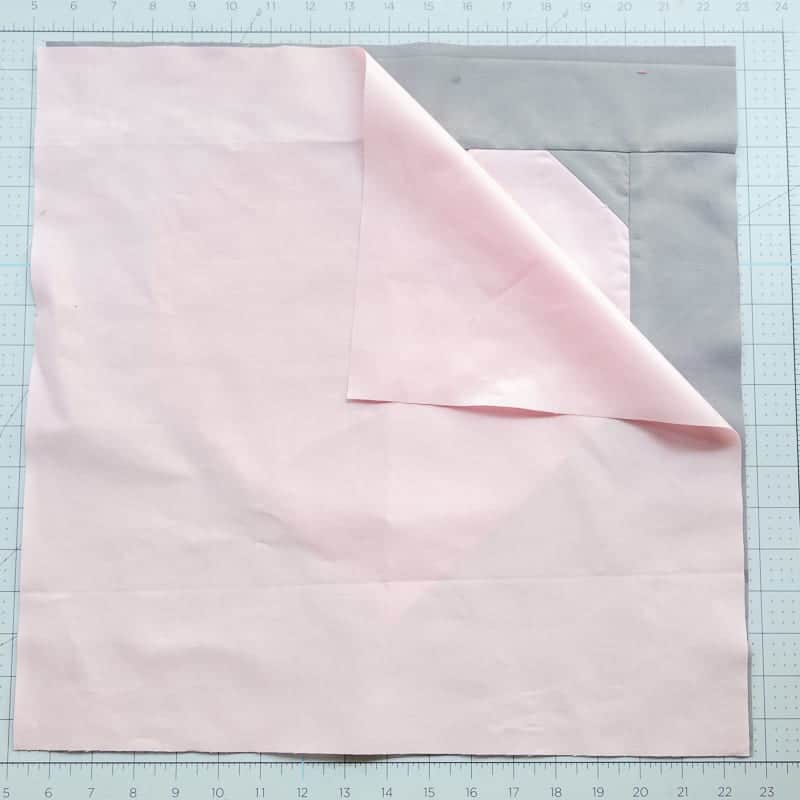
Step 9. Place the pillow back fabric RST over the heart block pillow front.
Step 10. Using 1/2" seam, sew around the perimeter of the pillow being sure to leave an opening wide enough to insert stuffing. Alternatively, you can sew a zipper on the backside by adding 1" to the length of the pillow back and following this tutorial.
Step 11. Stuff the pillow or add an insert. Slipstitch to close the opening of the pillow.
Pin the Heart Pillow Pattern for Later!

This is so cute! I love how you shaped the heart and I can't wait to try that method.
You make it look so easy! As a non quilter I am sure I could have go, thanks for the tutorial
I love how this is like a quilt block. And I love the bright pink colors you chose.
seriously in love with this!! I think i could do it in so many different colors!!
What a sweet pillow! I love it! I think this is the kind of piecing a beginner like me could do!
Hi,
I'm trying to make this project but I'm confused.
Do I stitch down the diagonal line or 1/4 away from the line?
"Stitch 1/4” away down the diagonally drawn line."
Thanks for your help 🙂
You stitch 1/4" away from the line.