
Is there anything cuter than Pom Pom Pillows?! You can learn how to make a Pom Pom Pillow with this easy tutorial including a video! The video breaks down all the steps you need for the Pom Pom Pillow Tutorial. It is so easy you will want to make tons of them!
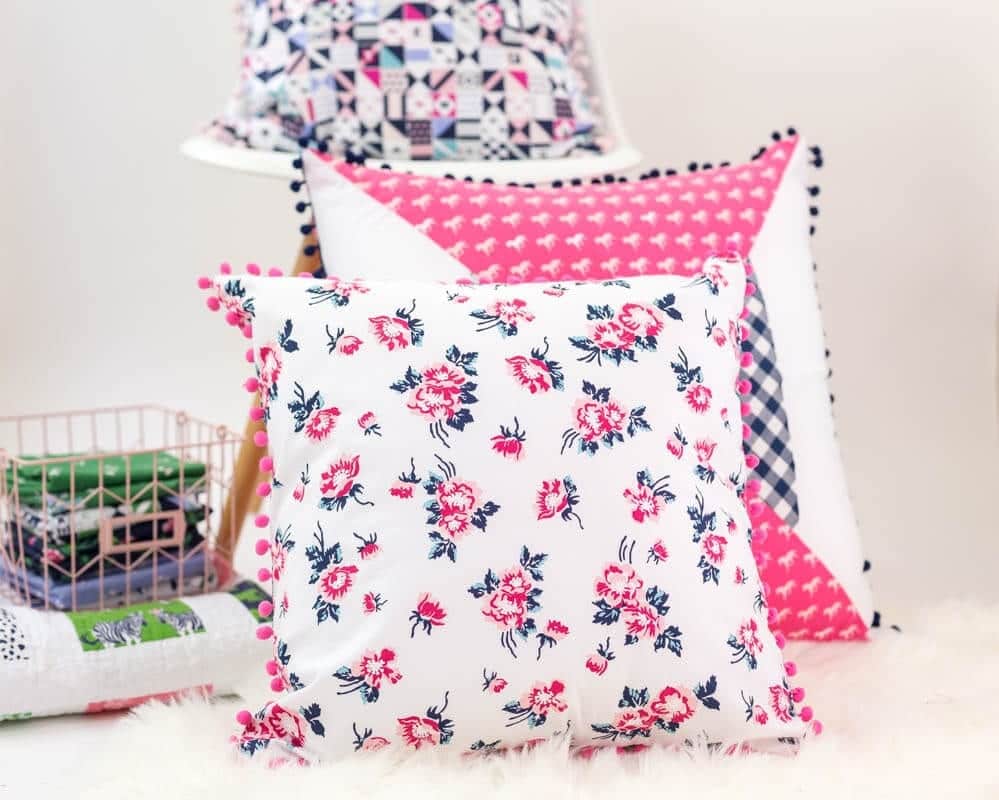 Pom poms are super trendy right now and seriously they look cute on just about everything from Jumbo Quilted Pillows to pom pom napkins, and even tiny pom pom coasters. After learning how to make a pom pillow you will be ready to add them to everything around you! My friend Kim made the most awesome pom pom blouse!
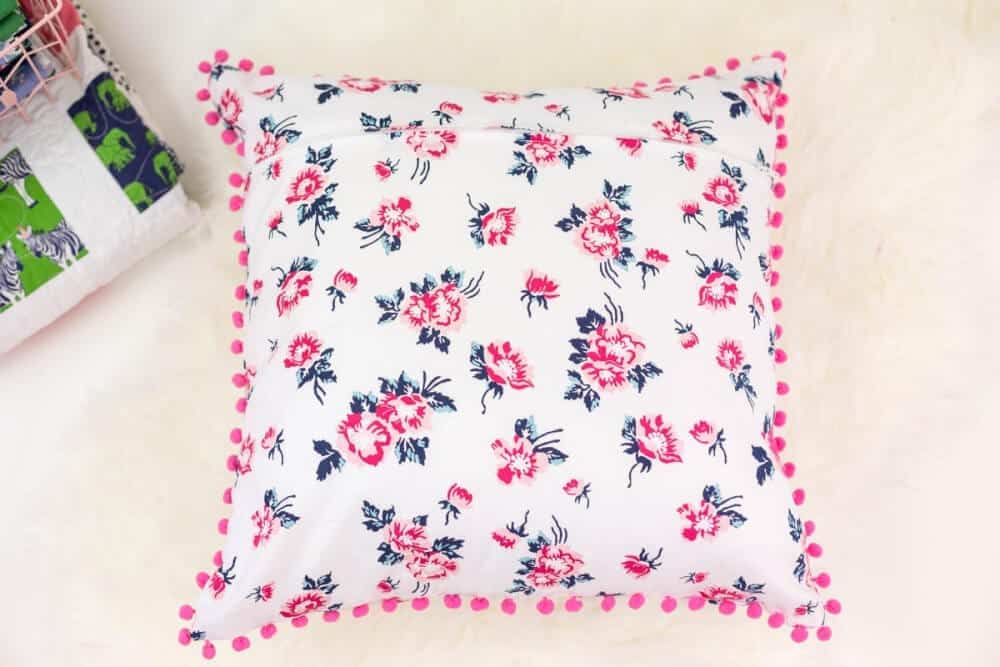 On a side note, how gorgeous is this fabric?! The florals are simply stunning! You will want to sew all the things with this fabric line from the Polka Dot Chair.
Pom Pom Pillow Tutorial Supplies:
- 1 Yard of fabric (Derby Day Floral Fabric is shown here)
- (1) 18" pillow insert
- 2 yards of pom pom trim
- (1) 18" zipper
How to Make a Pom Pom Pillow:
-
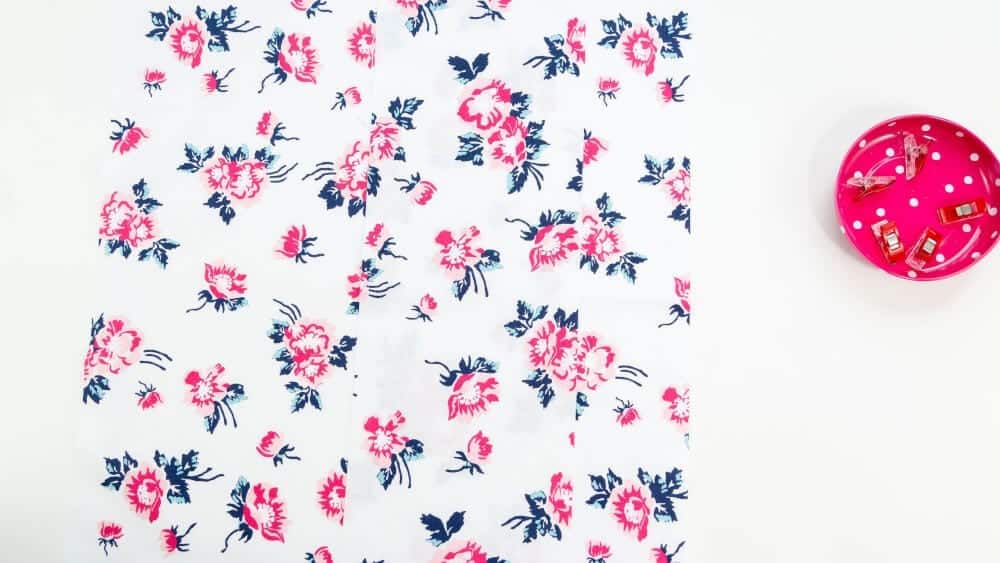
- Cut fabric for front and back pillow pieces. You will need a 19" x 19" square for the front and a 6.5" x 19" and 13.5" x 19" pieces for the back.
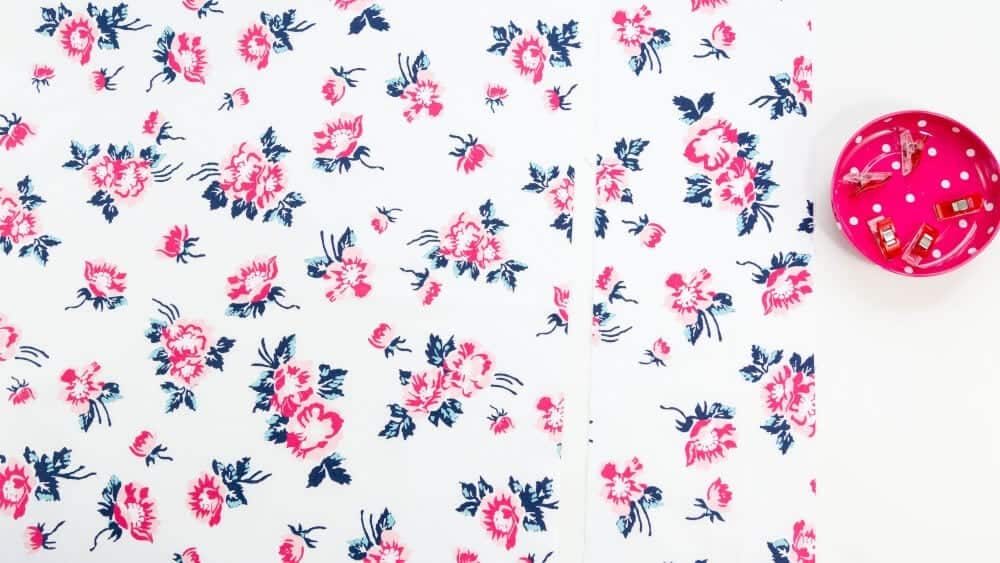 You will be making a zipper in this pillow. If you prefer not to make a zipper simply cut 2 19" x 19" pillow squares.
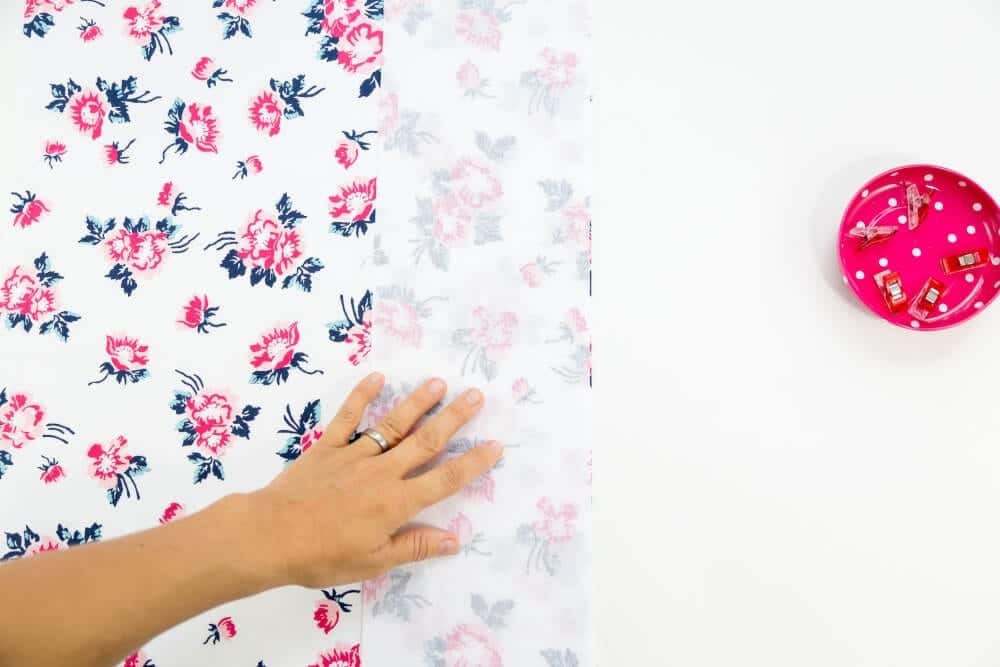
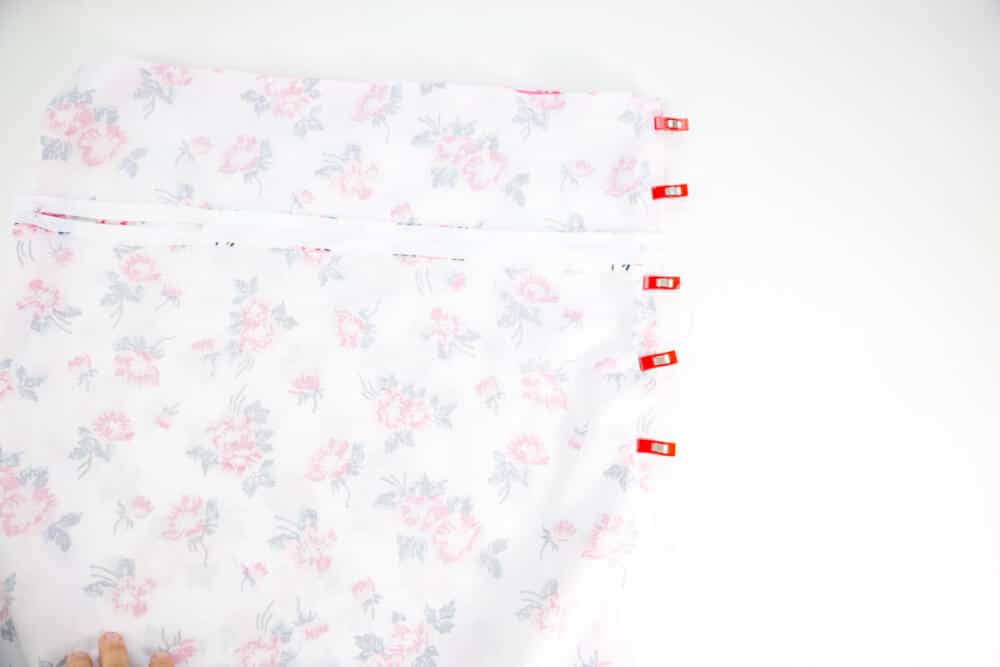
- Starting with the back piece, lay the smaller rectangle over the larger rectangle right sides together (RST).

- Cut fabric for front and back pillow pieces. You will need a 19" x 19" square for the front and a 6.5" x 19" and 13.5" x 19" pieces for the back.
- Clip down the right side edge.
- Sew a 1/2" seam using a long basting stitch. You do not need to backstitch because you will be removing this seam later on. If you have the Viking Husqvarna Sapphire 965Q simply select the basting stitch on the screen and the fabric type.
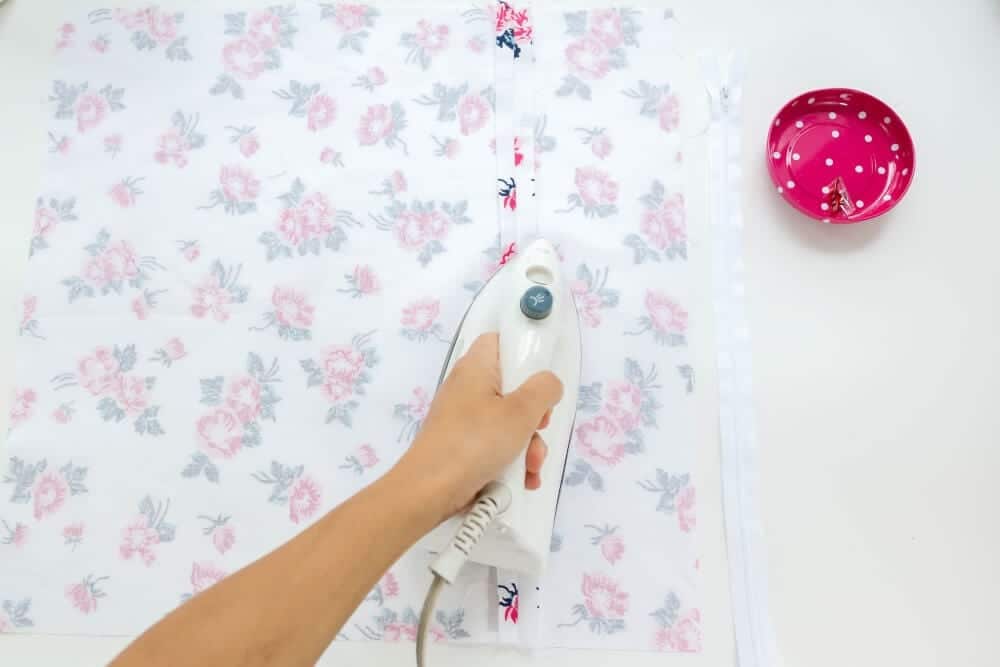
- Press seam open.
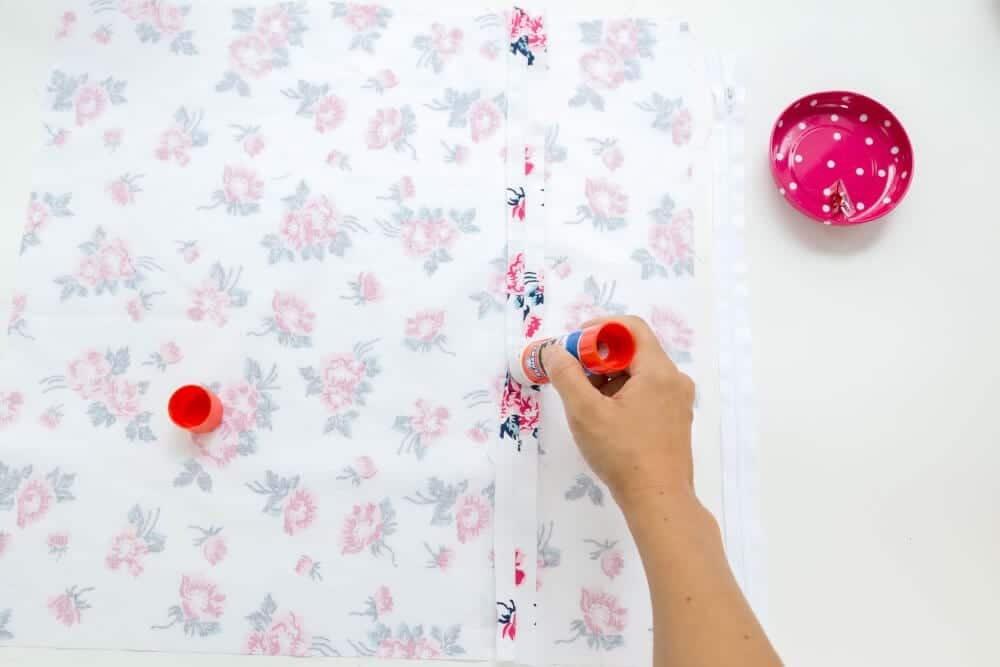
- Use glue or another method to secure zipper (this wonder tape zipper hack is another easy way to sew a zipper).
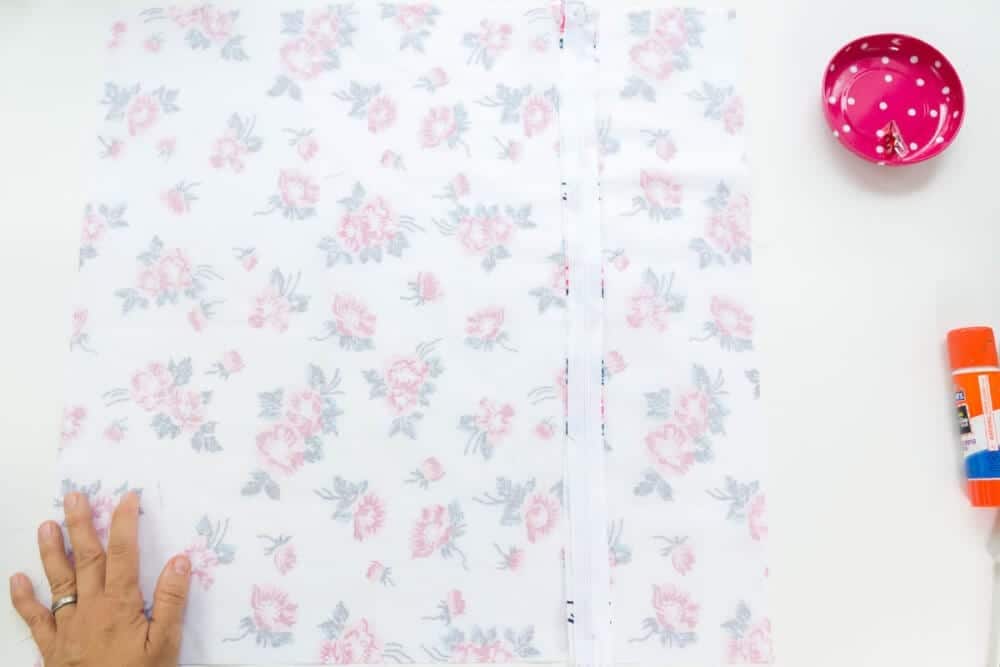
- After placing glue on the seam, line the zipper up on the center of the seam and iron in place to secure glue. You can also safety pin the top of the zipper so it does not wiggle while sewing.
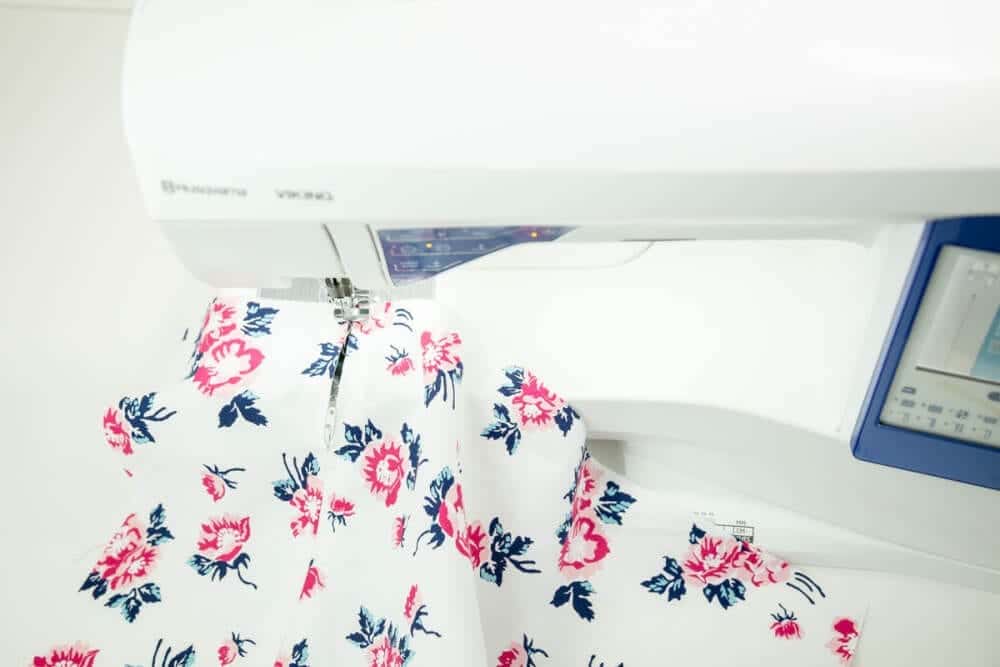
- Using your zipper foot, sew zipper into place. Remove a few of the basting stitches before sewing so you can unzip the zipper later.
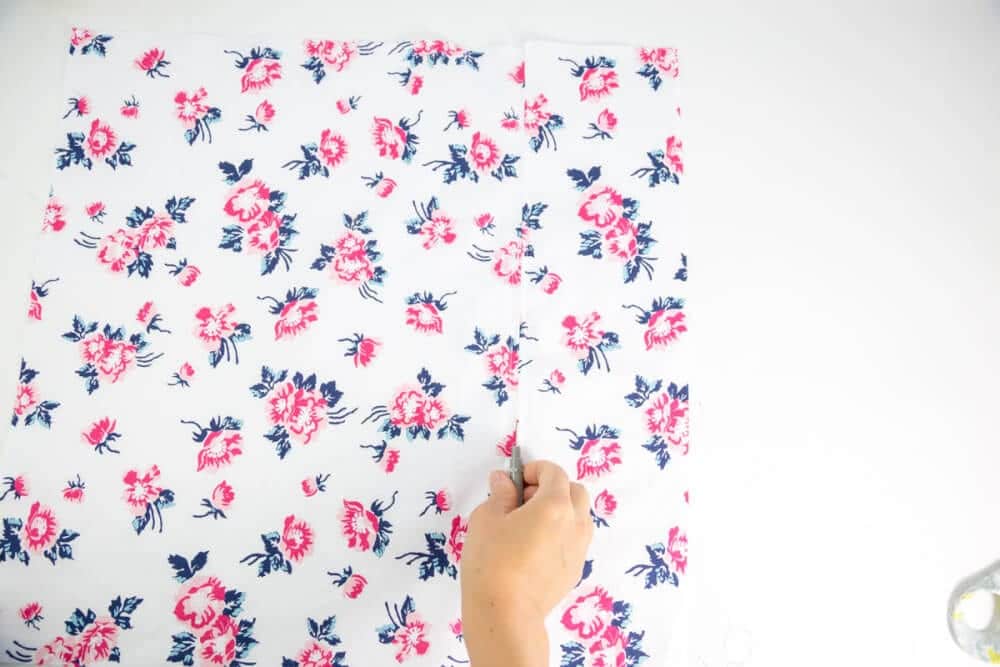
- Remove all the basting stitches with your seam ripper.
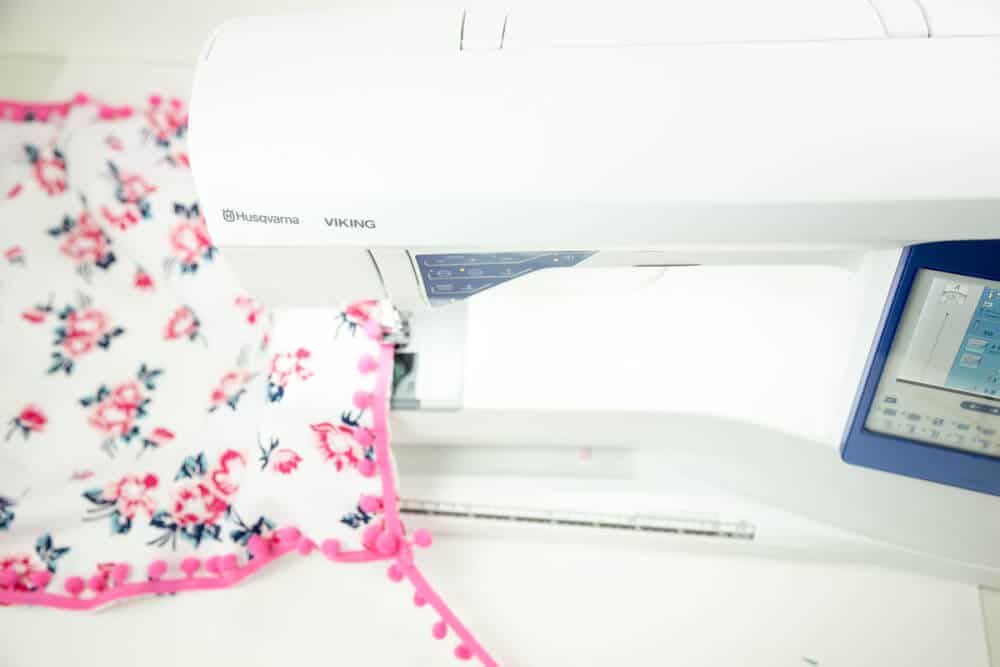
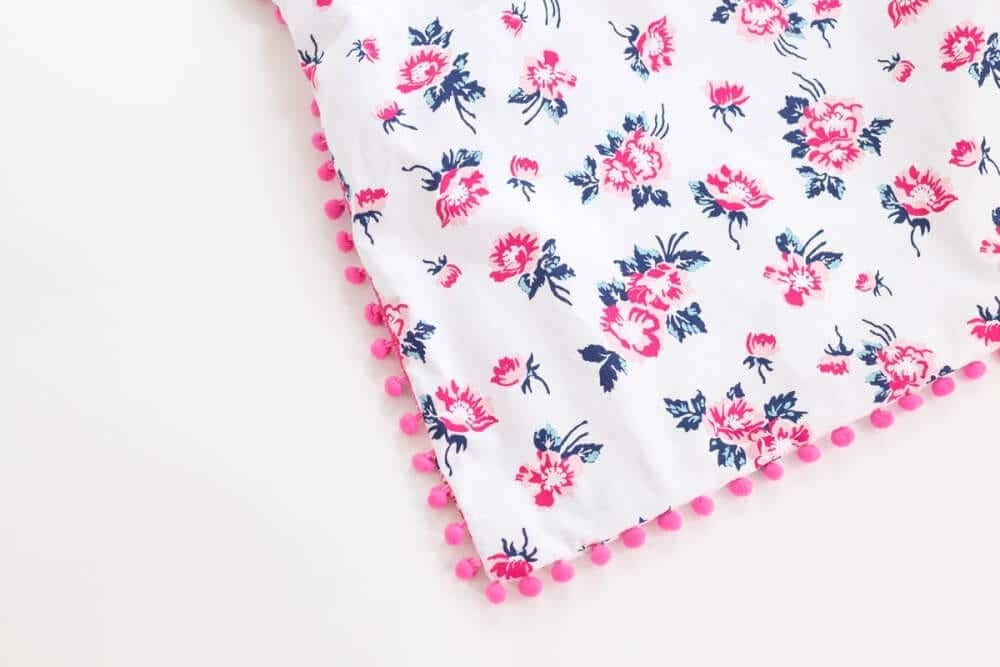
- With front pillow square clip the pom pom trim along the edge of the pillow and sew using a 3/8" seam.
- Do not pull pom pom trim as you sew or it will scrunch the pillow. Gently feed it as you sew. Clip the end of pom pom trim when you reach the last corner.
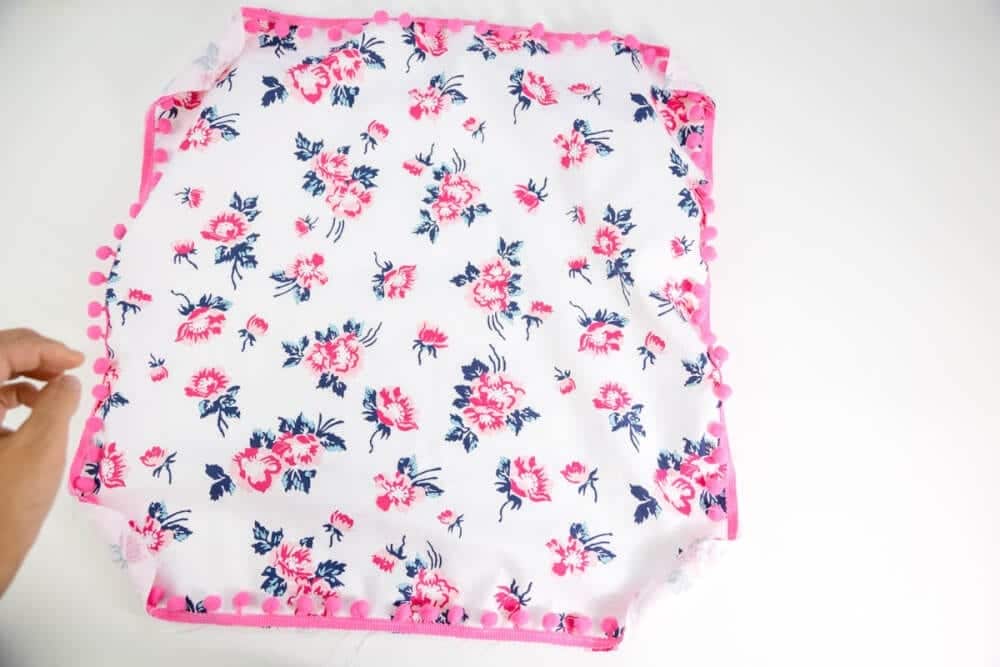
- Place the pillow front facing right side up and then place the pillow back on top so that the fabric pieces are right sides together. Unzip a few inches so you will be able to turn the pillow right side out when finished.
- Sew around the perimeter of the pillow using a 1/2" seam. Backstitch when finishes to secure seams. Clip corners to remove excess fabric bulk.
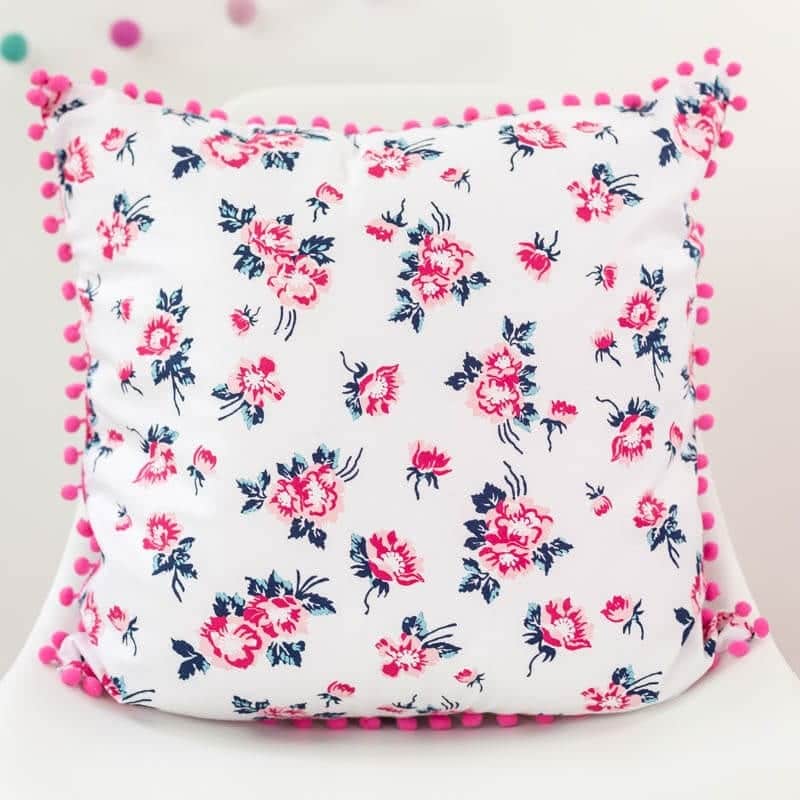
- Turn pom pom pillowcase right side out.
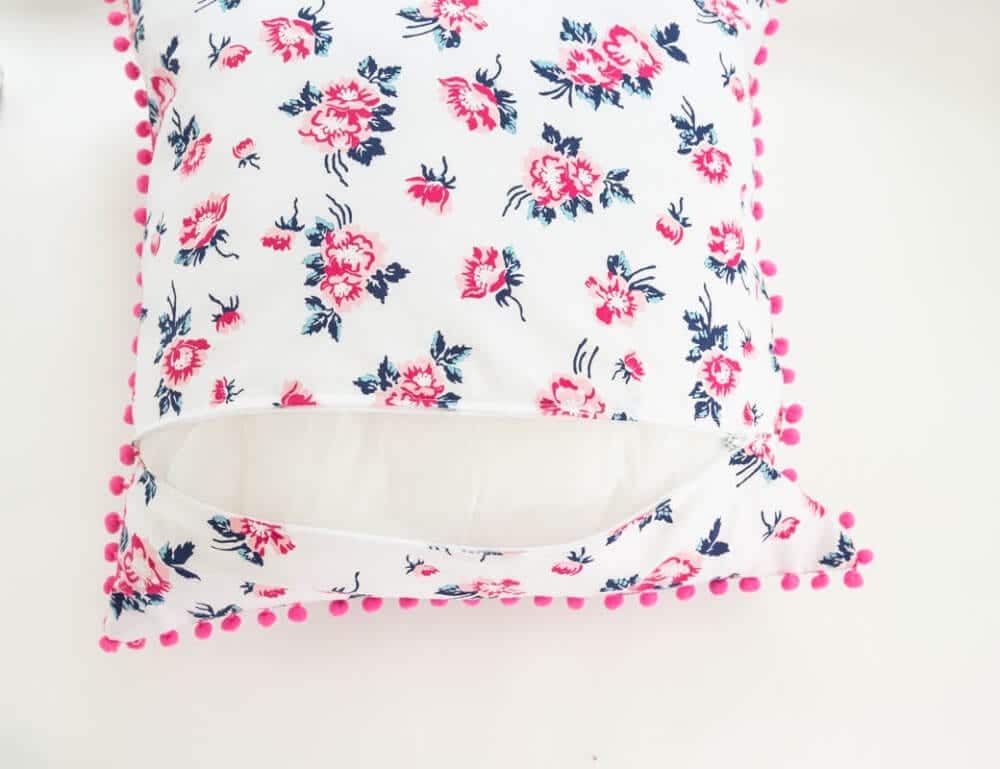
- Insert pillow form and you are done, you have learned how to make a pom pom pillow!
Watch How to Sew a Pom Pom Pillow Tutorial
Pin How to Make a Pom Pom Pillow for Later!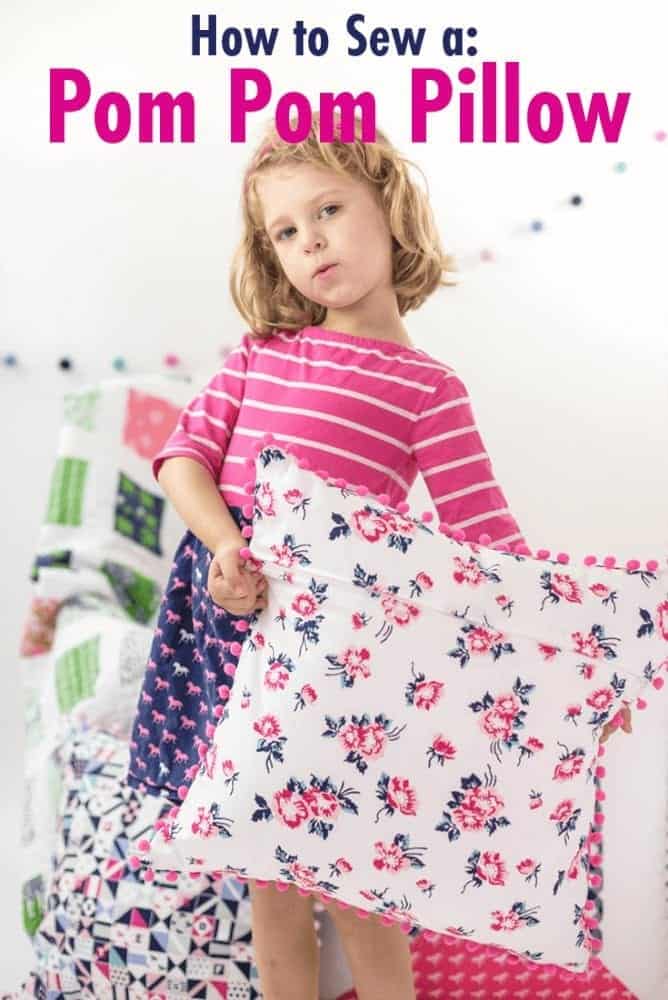
***This post is sponsored by Viking Husqvarna. All Opinions are my own.
What do you think?