
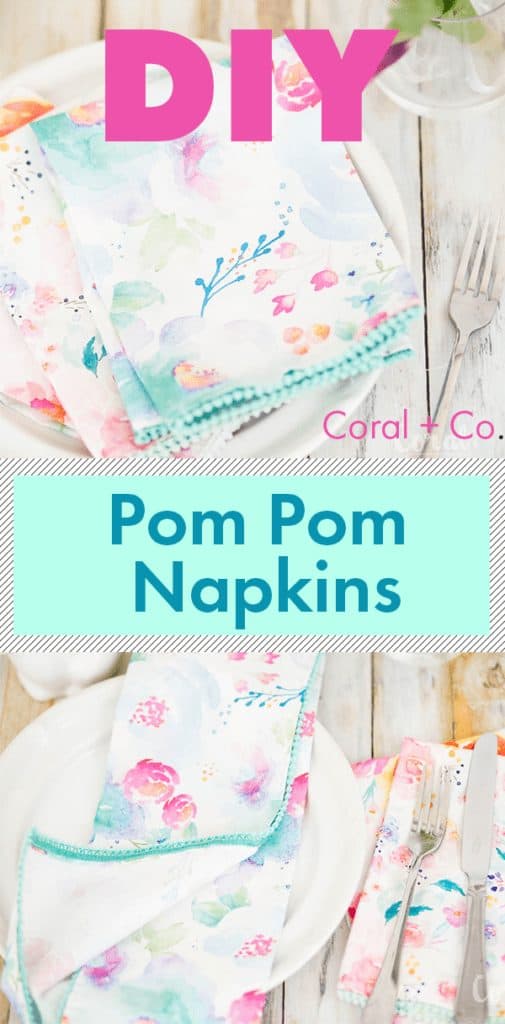
Sew Your Own DIY Pom Pom Napkins with No Sew Mitered Corners
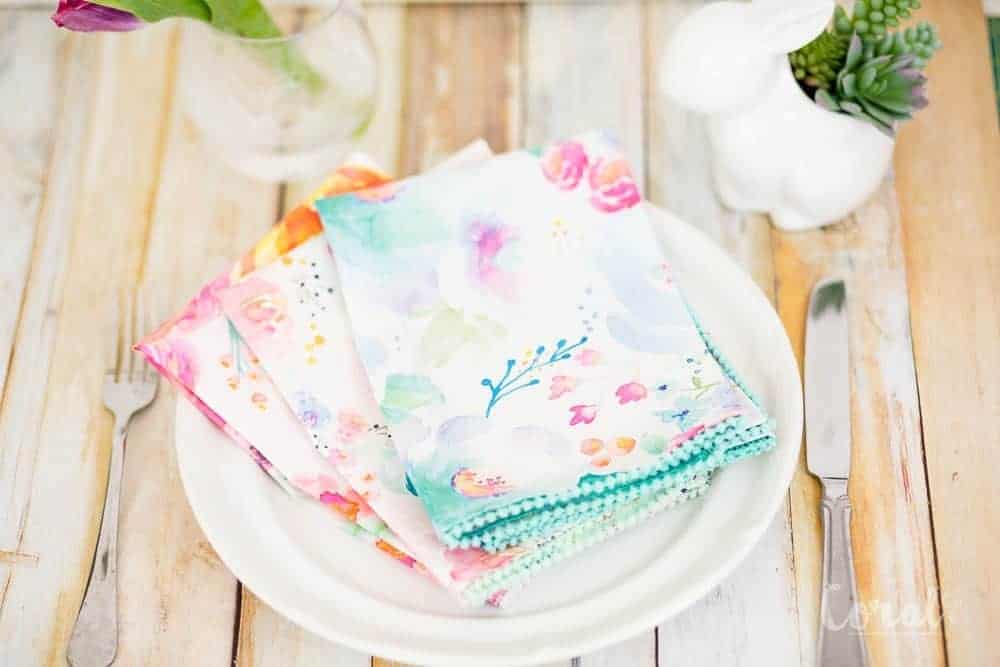
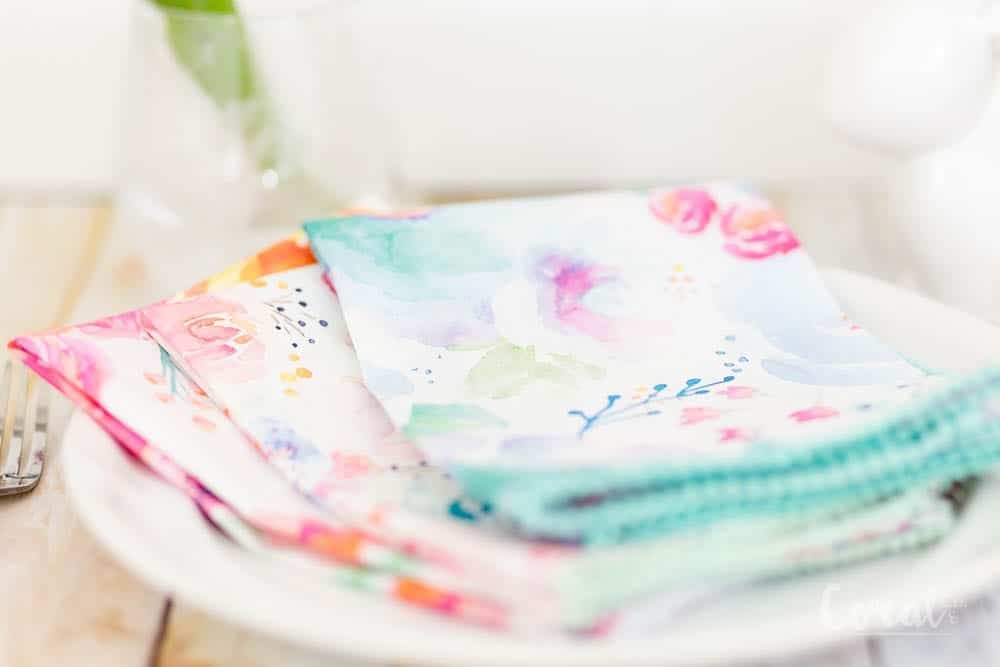
Make your own DIY Pom Pom Trimmed fabric napkins. These fantastic fabric napkins have a crisp no sew mitered corner, giving them a professional finish without a lot of bulk. They are super simple to sew and you can make no-sew napkins with mitered corners in 15 minutes! They are the perfect addition to any spring or holiday decor!

Table of Contents
The sun is shining and I am ready for all things that scream spring! Hello, pastels and florals <3. I think spring decor is among everyone's favorite because who isn't ready to see flowers grow after the doldrums of winter. So I'm partnering up with Viking Husqvarna and to get the Easter party started and show you how to make these cute DIY Pom Pom Dinner Napkins with a video tutorial (skip to the bottom to watch the video). Pom poms always seem to have the right feminine touch for all things Easter and Springtime too. Maybe, I could drape myself in them and call it my Easter dress! Ha! Okay but for real, I could totally drape myself in these gorgeous floral prints from Hawthorne Threads. The collection is Watercolor Florals from Indy Bloom. They are all totally swoon-worthy. I think my favorite is the Daydream Floral in Tropical. I love the purple hue! It totally screams spring!
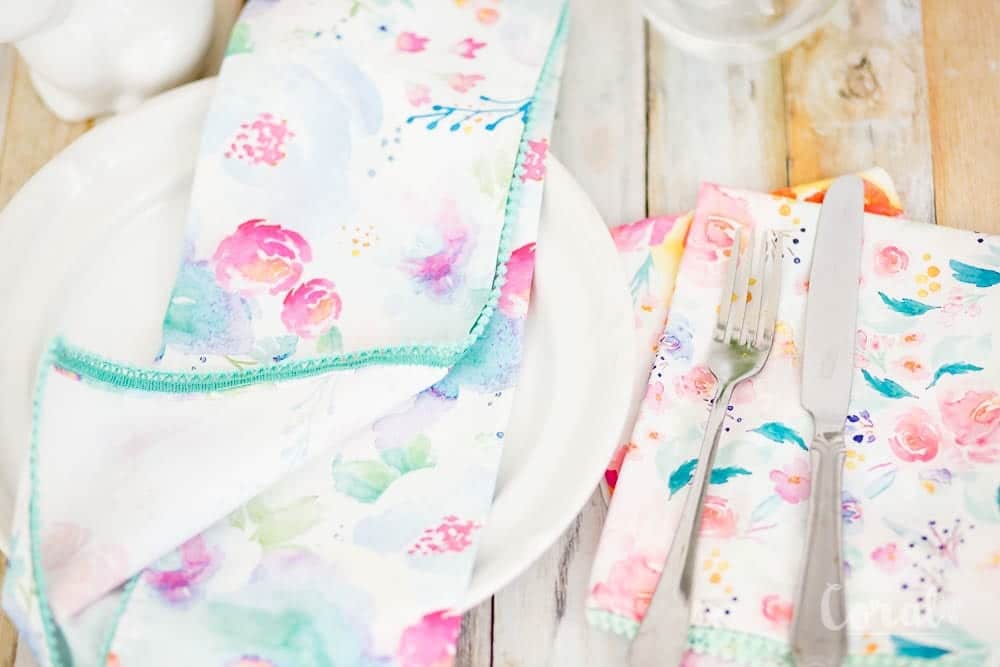
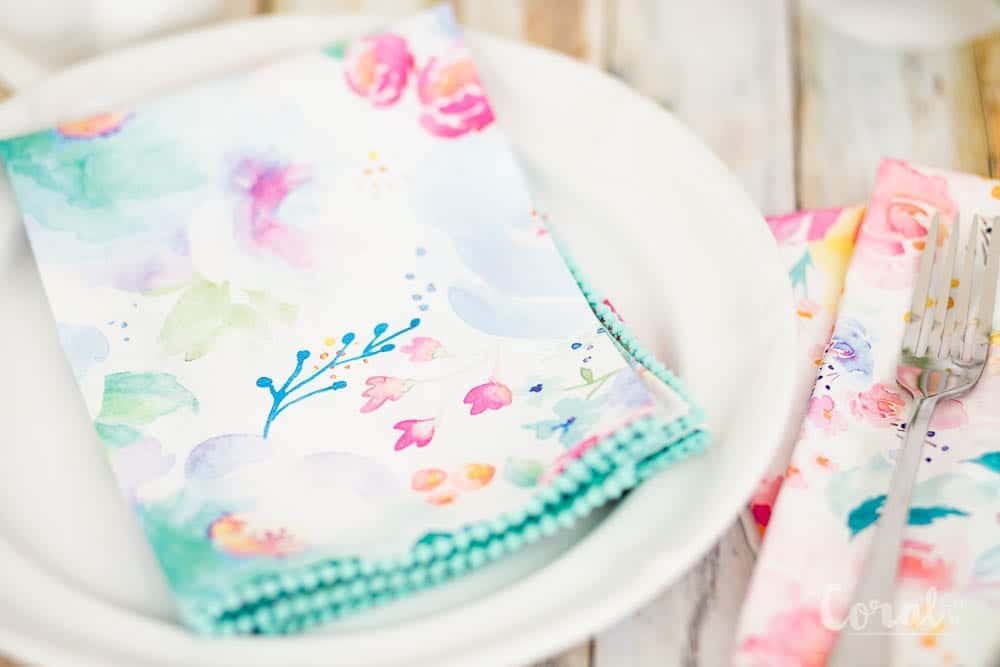
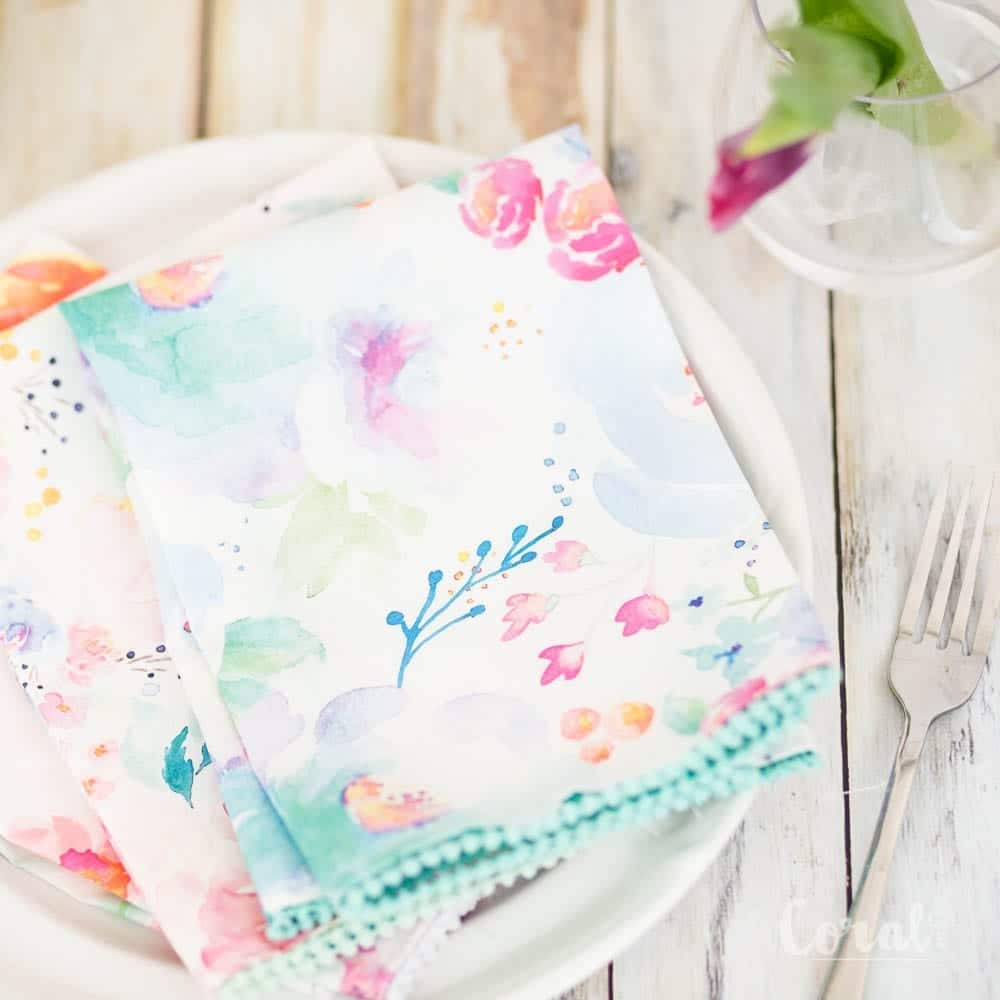
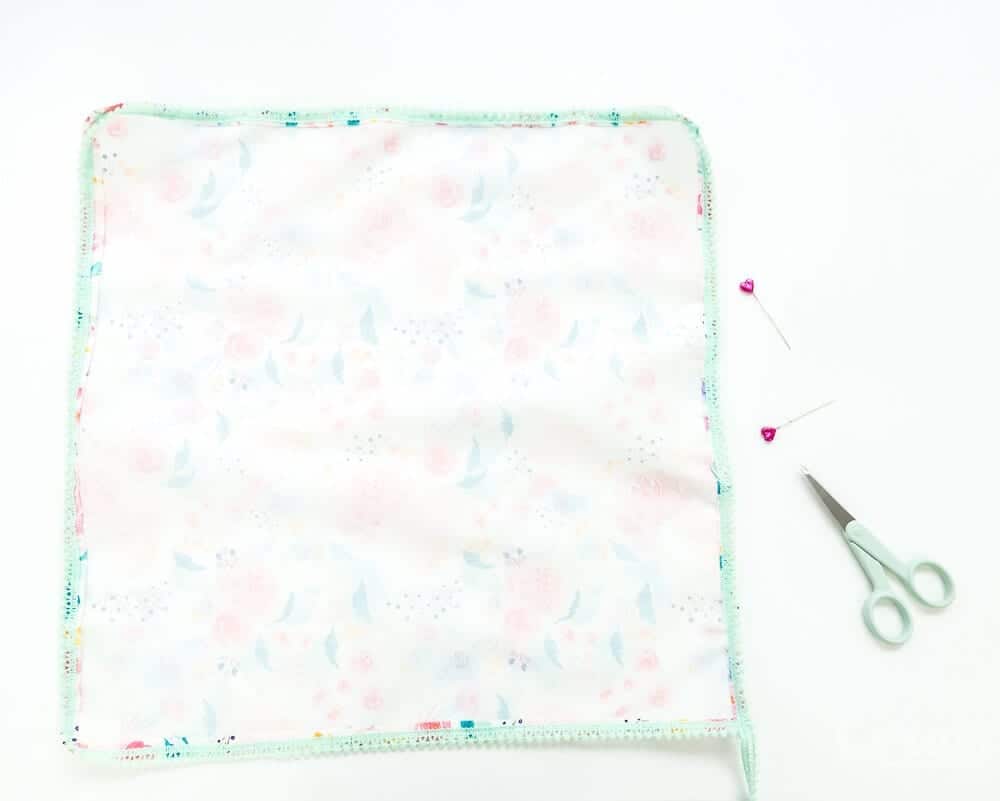
I think my favorite thing about these super easy and capital Q for quick DIY pom pom dinner napkins is that I used a faux no-sew mitered corner. Anything thing that I can make with one less step is A-OK by me! Instead of sewing the mitered corner, you simply trim the corner edge and fold into the napkin, so the corner isn't all bulky. The faux mitered corner edges fit snugly and look beautiful.Plus it makes it super easy to add the pom pom trim without having to topstitch around the napkin first to keep the seams in place.This is totally a sew it one time around kind of project! And they come out looking truly beautiful! All your guests will be jealous and want these diy pom pom dinner napkins for themselves!
Watch the Video on Youtube
What you will need to make DIY Pom Pom Napkins
- 1 Fat Quarter for One napkin or 1 Full yard for Four Napkins
- 72 inches or 3 yards or Pom Pom Trim (I bought mini pom pom trim on Etsy)
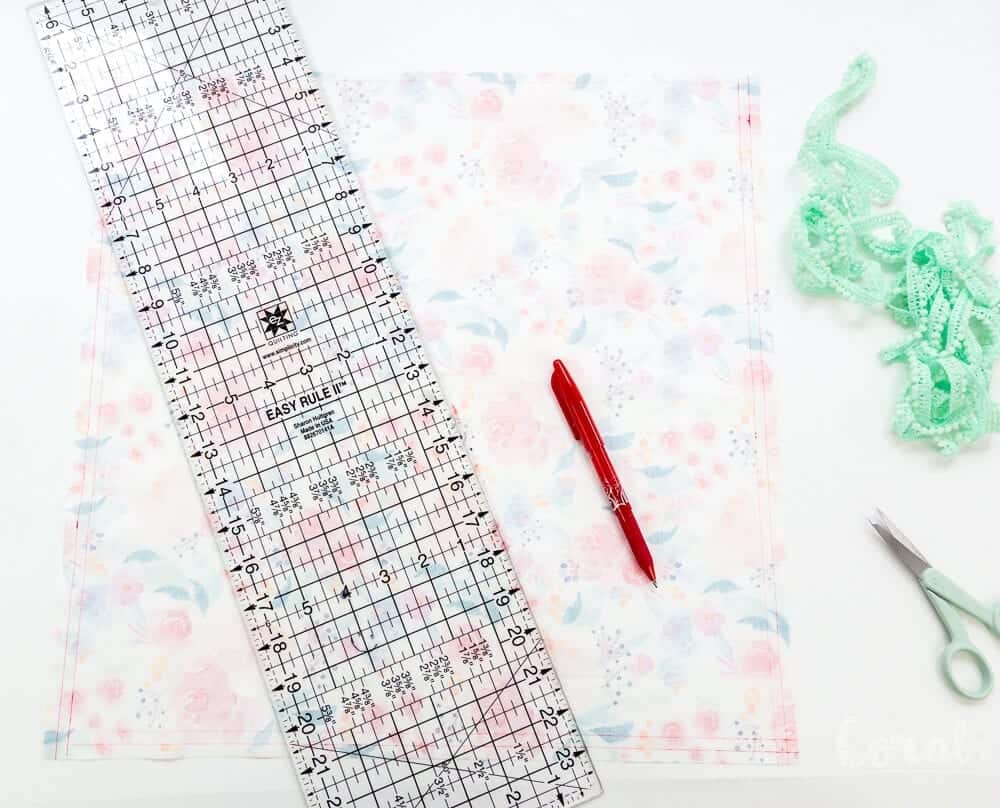
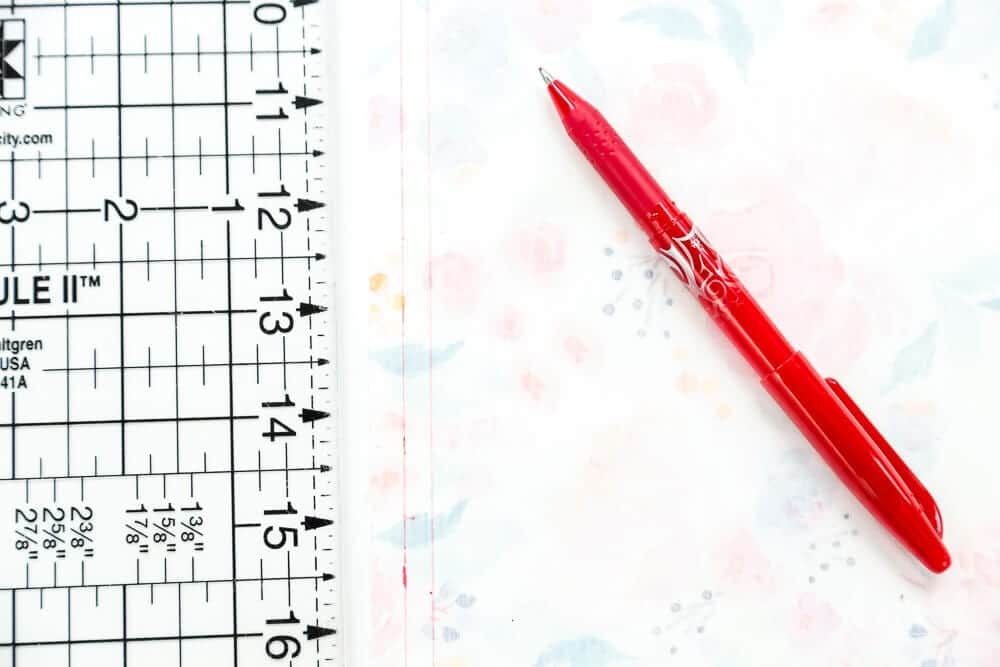
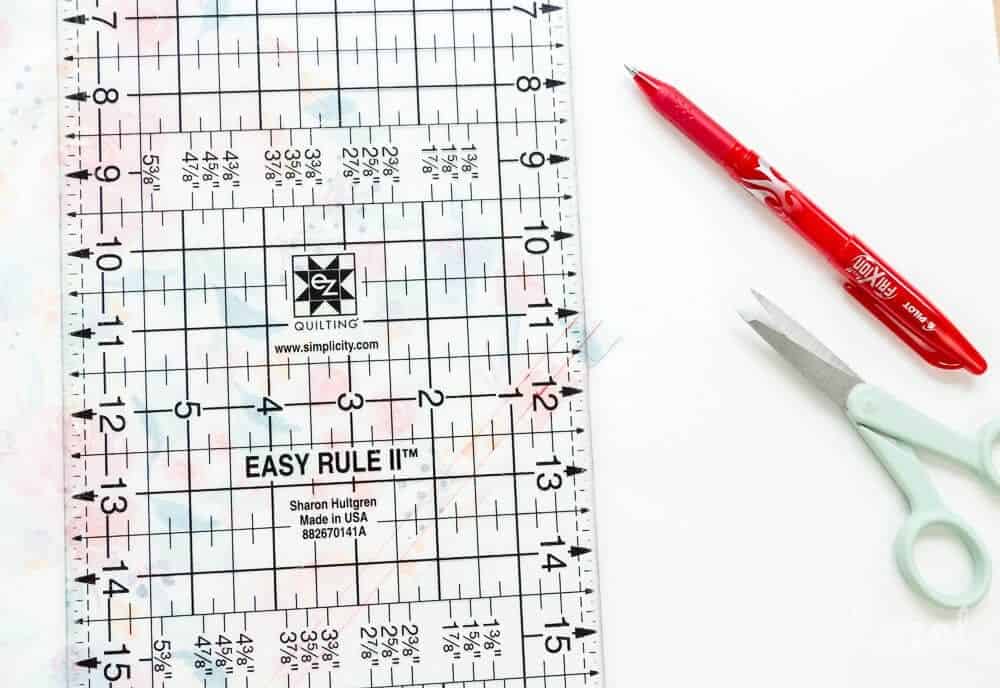
- Clear Plastic Ruler, Rotary Blade, and Cutting Mat
- Frixon (my favorite brand) or another erasable marking pen.
How to Sew DIY Pom Pom Dinner Napkins with a No-sew Mitered Corner
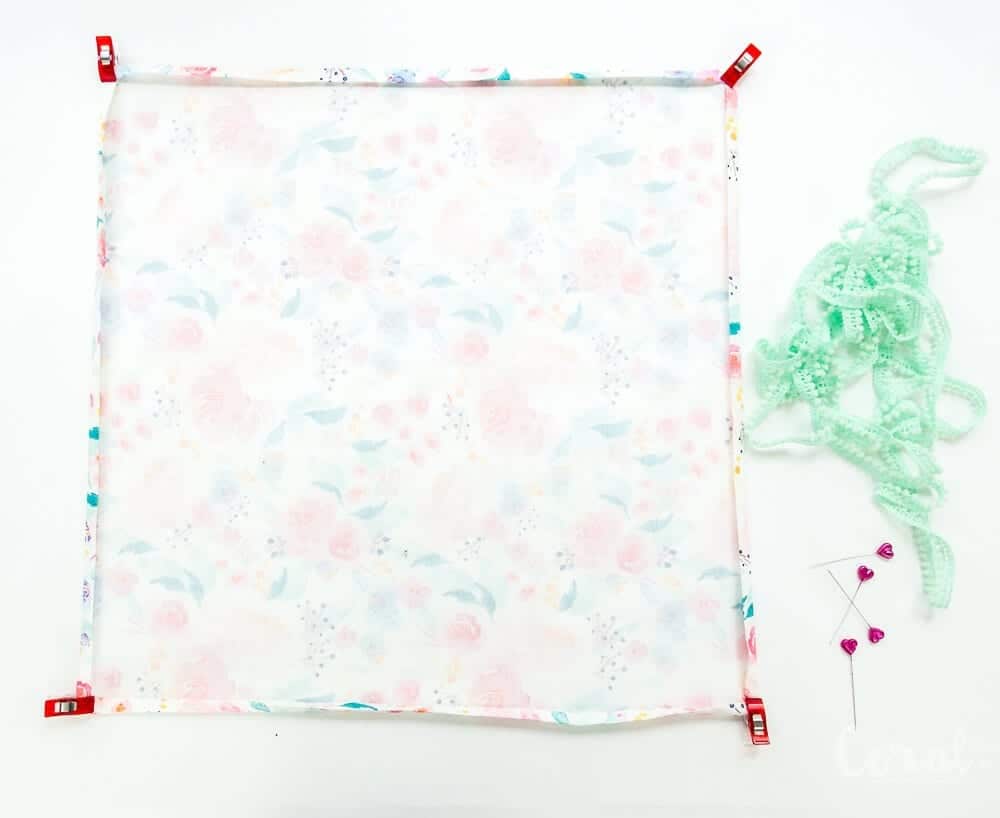
- Step 1 - Cut an 18in by 18in square of your favorite fabric.
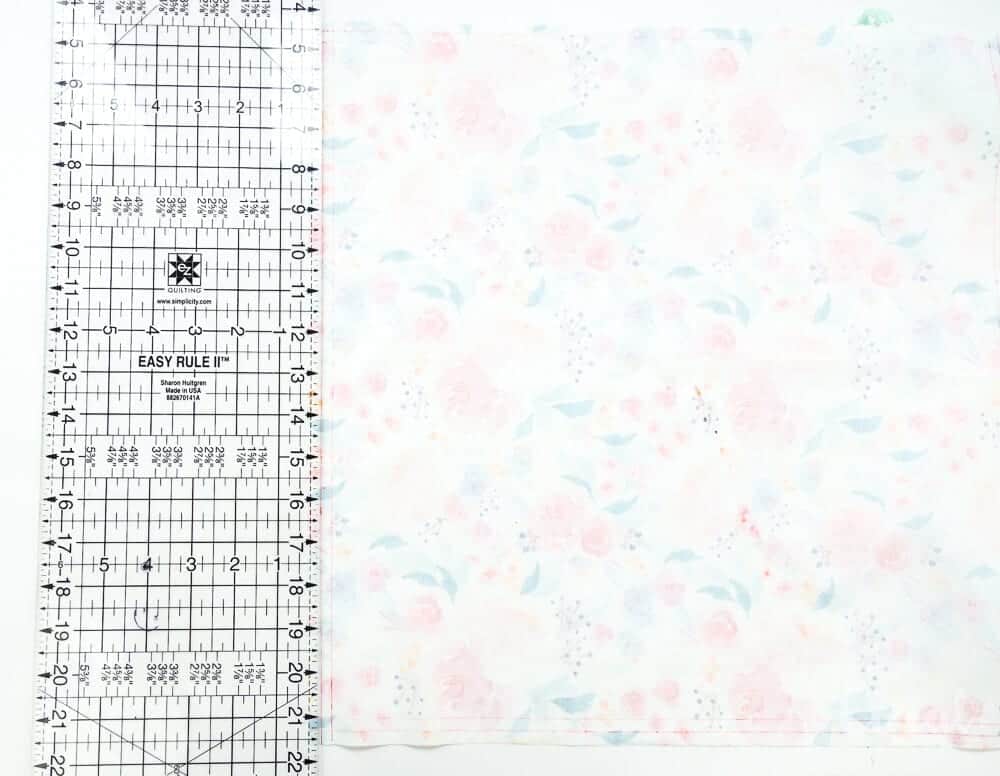
- Step 2 - Draw a line down the side of the fabric 1/4in from the raw edge.
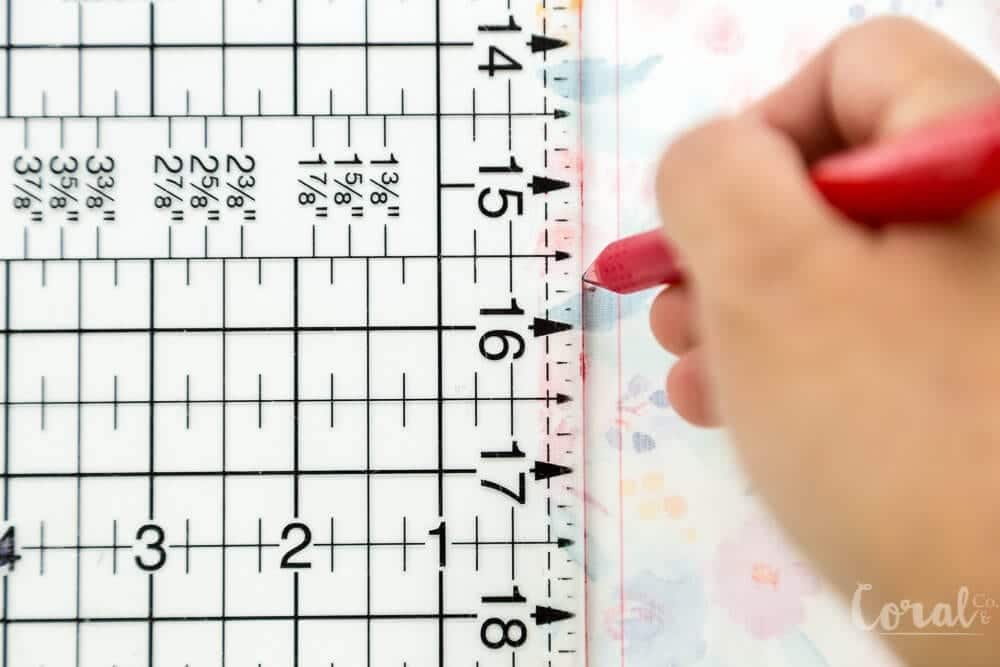

- Step 3 - Draw a second line 1/2in from the raw edge of the fabric. So you will have two lines 1/4in apart from each other.
- Step 4 - Repeat for all four sides
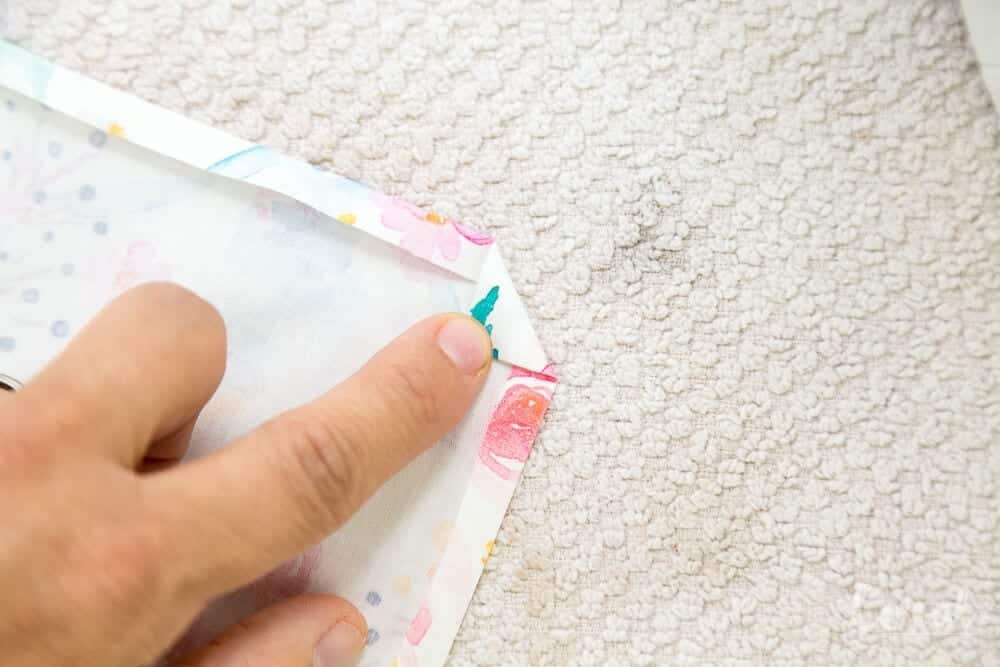
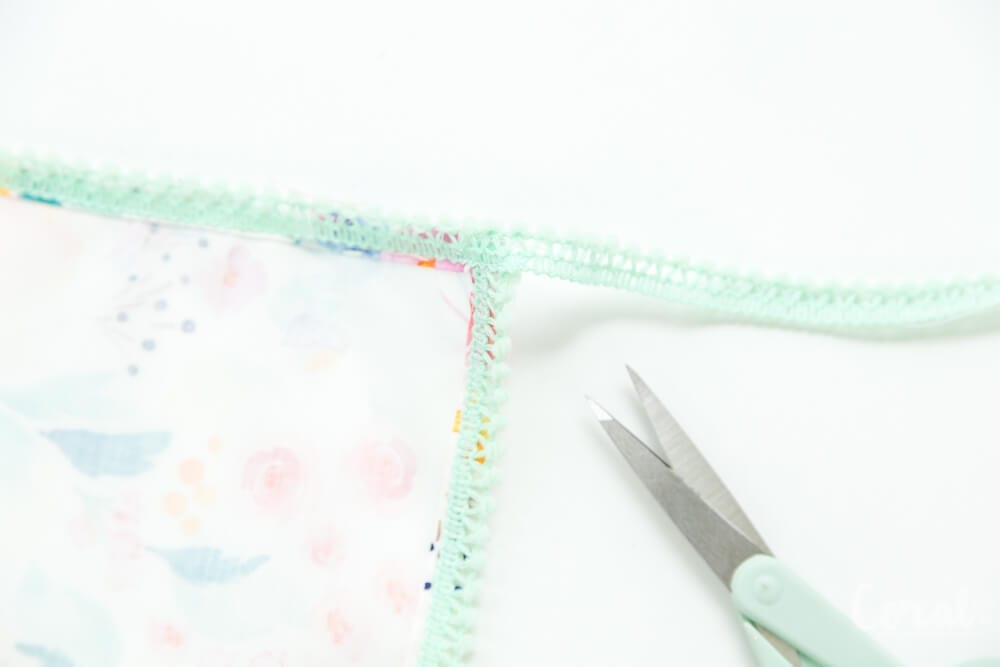
- Step 5 - Draw a diagonal line where the corner lines intersect, this is for making the faux mitered corner.

- Step 6 - Trim corners on the line.

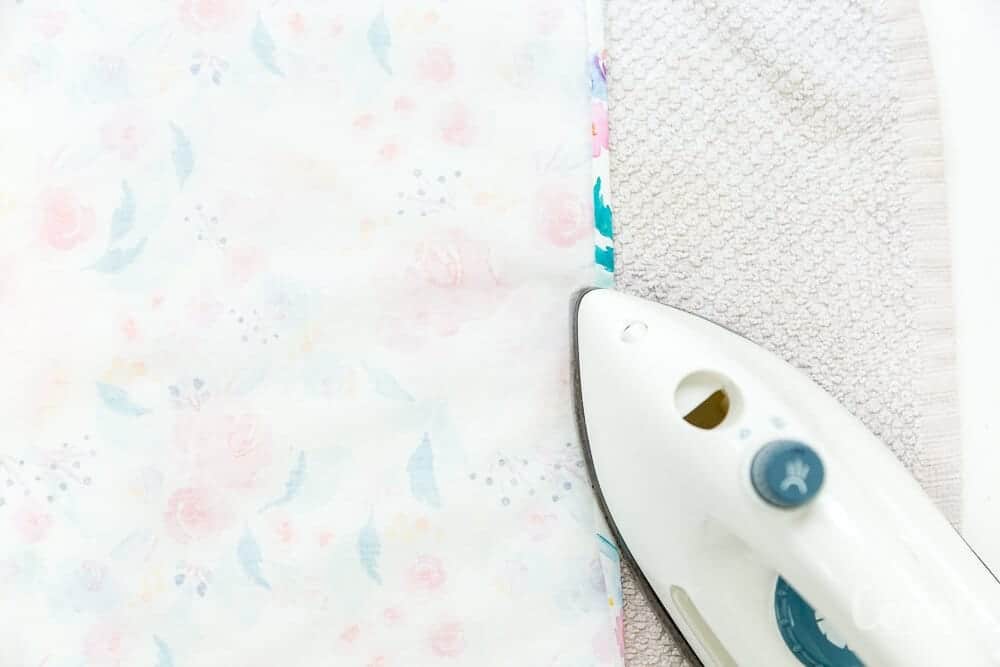
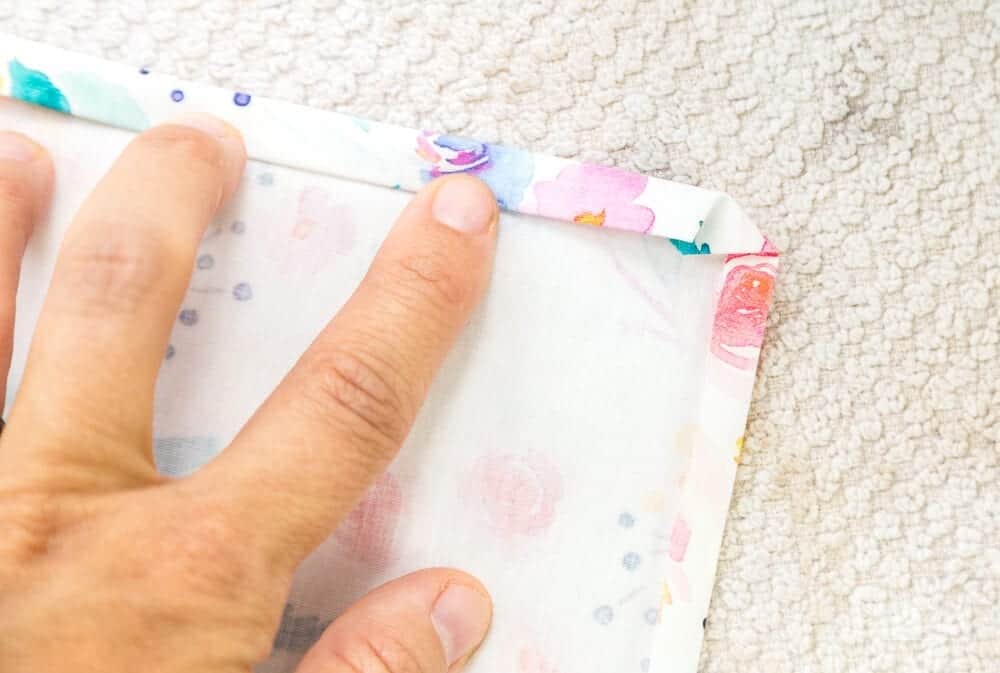
- Step 7 - Fold raw edge inward on the first line so there a 1/4in fold on the napkin edge for all four sides and press
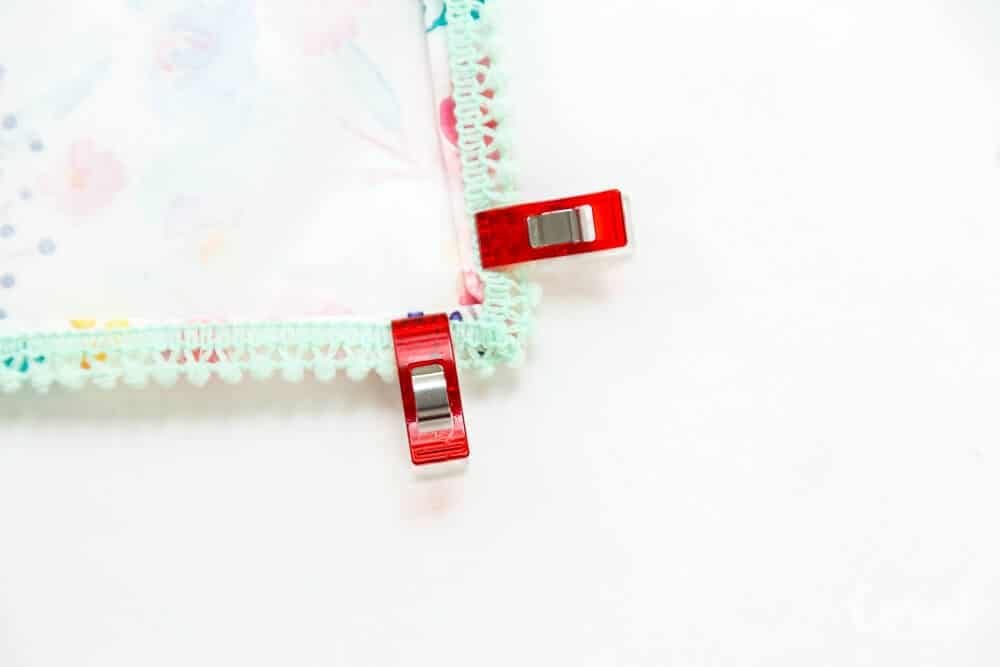
- Your corner will line up neatly like this.

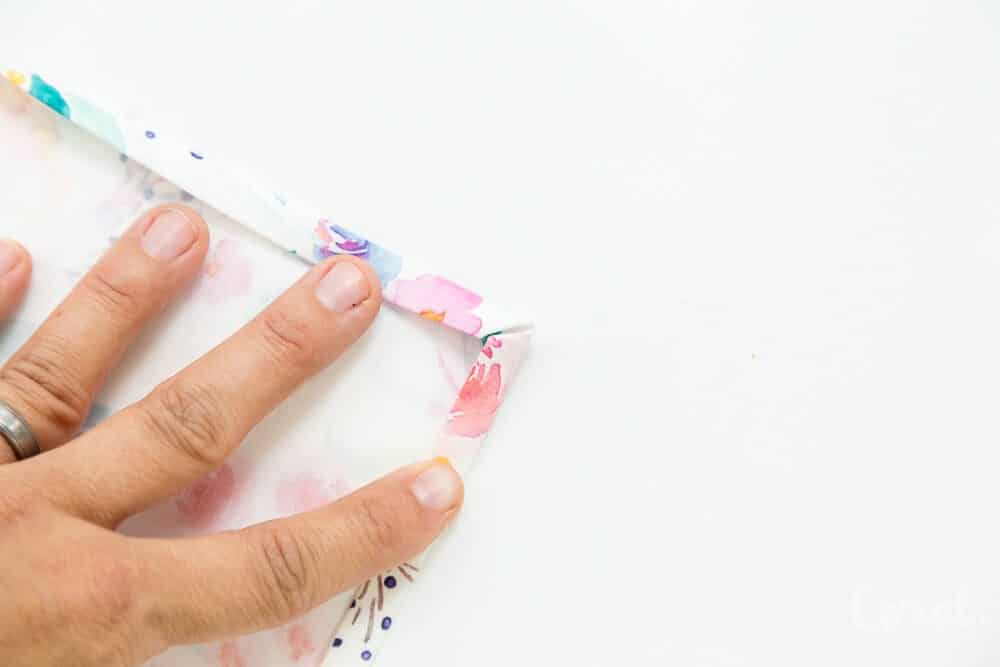
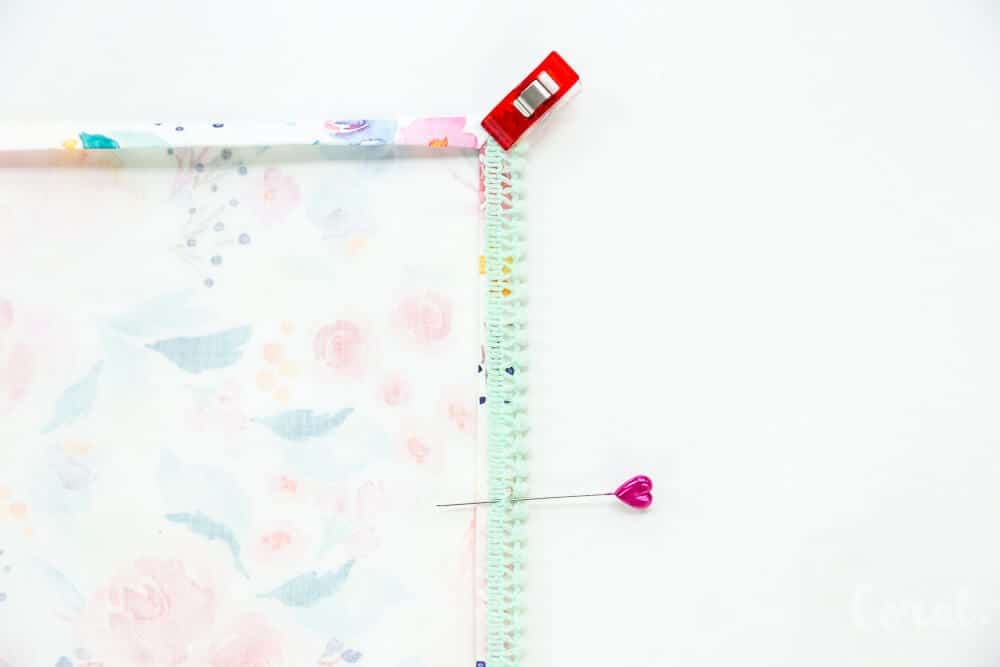
- Step 8 - Fold corner inward 1/2in so it corner edge is 1/4in from the second line and press.
- Step 9 - Fold edges over again 1/4in at the second line and press.
- Repeat this for all four sides. This is how you make a mitered corner or in this case a no-sew faux mitered corner.
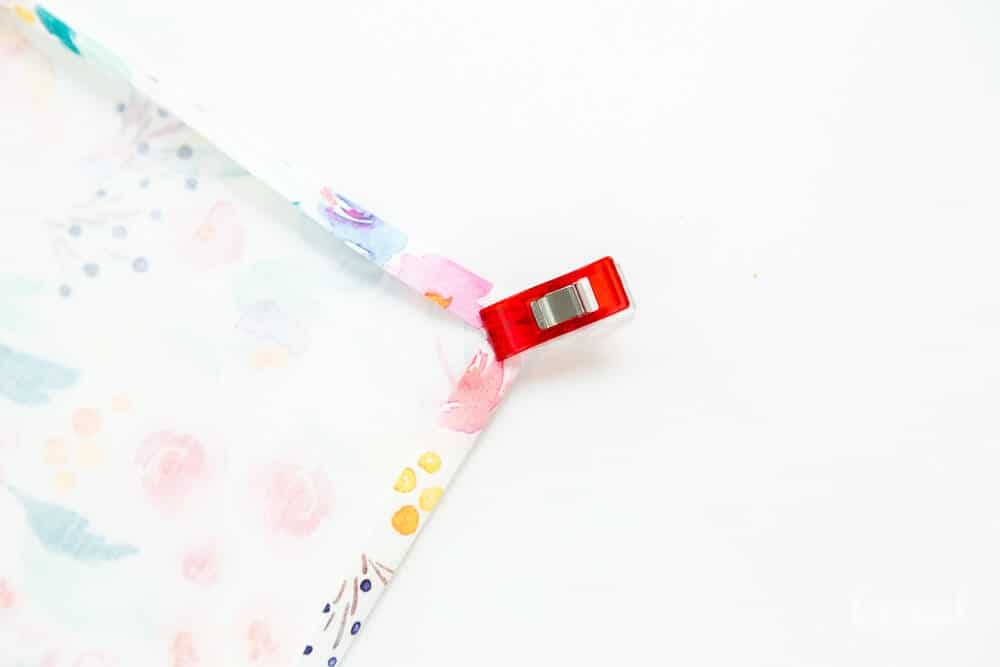
- Step 10 - Pin or clip corners in place.
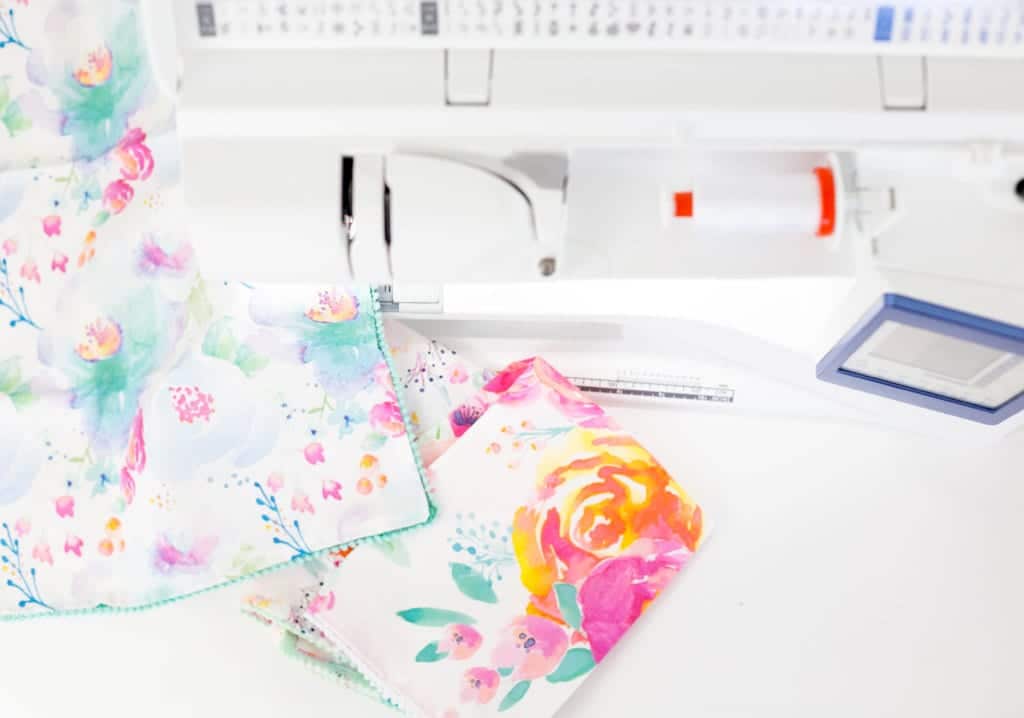
- Step 11 - Starting at the top corner pin or clip the pom pom trim on the bottom side of the napkin so the pom poms are facing outward.
- Step 12 - Be sure to give a little extra wiggle room on the corners so the trim does not pull too tight. You can watch the video for how I did this.
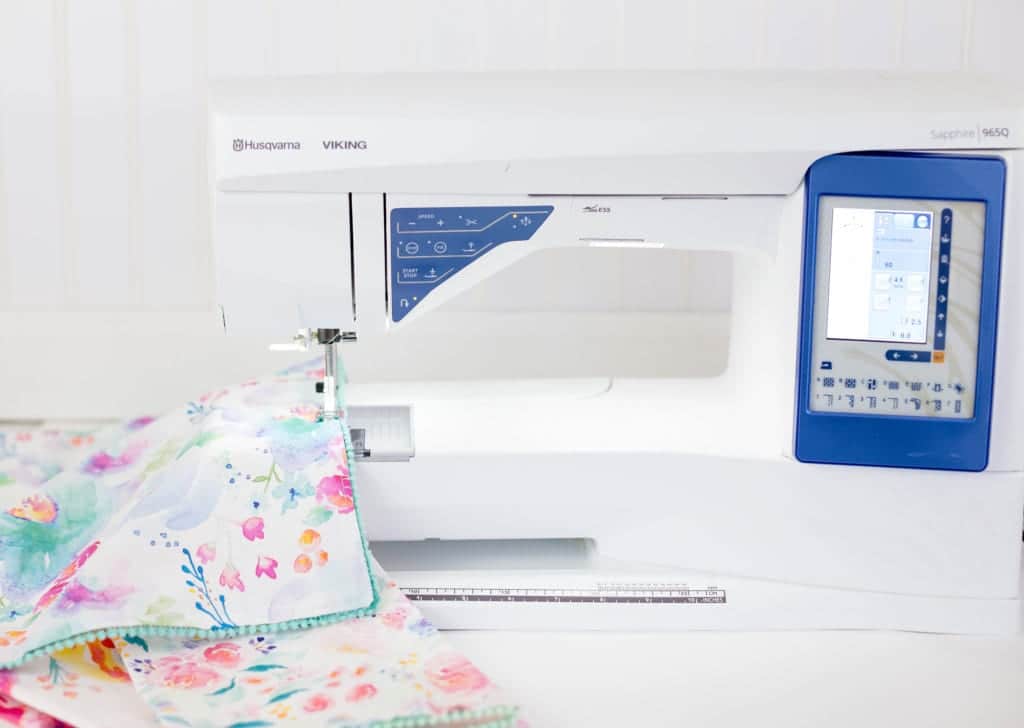
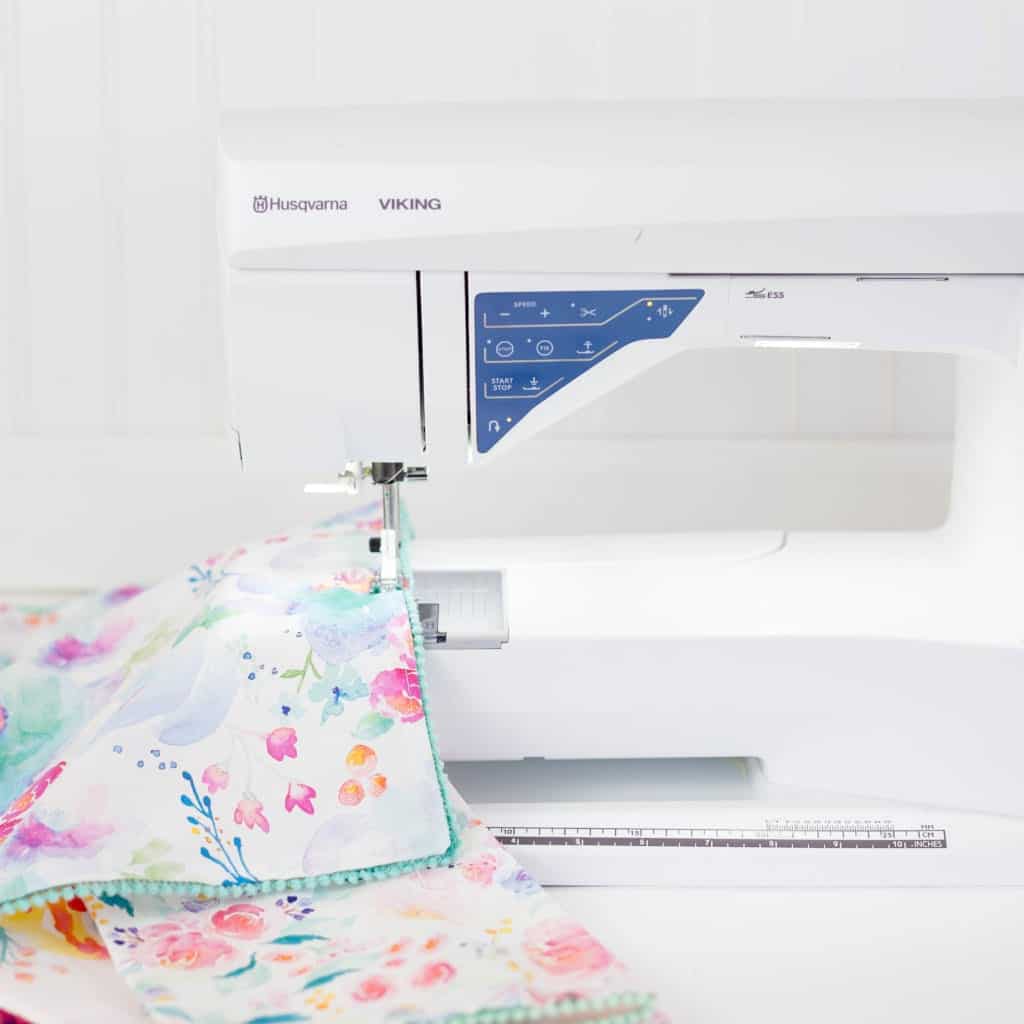
- Step 13 - Sew all the way around the edge of the napkin about 1/8in to 1/4in from the edge. You can see in my video how I was able to select the Exclusive Sewing Advisor to automatically tell me what settings my machine should be on based on the fabric and stitch type. For this project, I choose a straight stitch on medium weight fabric. You can read more about this features and all my other favorites of the Sapphire 965Q here.
- Step 14 - Trim the remaining pom pom trim from the last corner.
- ****Tip - I prefer to sew with the pom pom trim side on the bottom of my Husqvarna Viking Sapphire 965Q sewing machine because the feed dogs (those funny things that move the fabric while you sew) tend to gather more of whichever fabric is next to them. Which in this case works better with the slightly stretchy pom pom trim. And having the top of the napkin on the presser foot side makes it is easier to sew nice even topstitching lines.
Pin the DIY Pom Pom Napkins with No Sew Mitered Corners for Later
Love these napkins! They're so cute! Mini pompoms are the best.
Thank you so much! They are so fun!!!
These napkins are so pretty! I love the prints too.
Thank you so much! The florals are my favorite!
These are really beautiful. I love the fabrics you chose. Pinning
Thank you so much!!!! I appreciate it ❤️
I love your Pom Pom Napkins! They are sooo pretty. I love the fabric you used and the pom poms are just right bit of added fun!
Those are so lovely! I saw this trim at the store and bought a couple of rolls. Didn’t know what I was going to do with them until now!
Can you tell me the names of the prints?
Thank you for sharing your talents and tutorial.
Yes they are by Indybloom and there is a link to them in the post 🙂
Thank you!
Is quilting cotton the best material? There are many types of material, and I’m not sure which to purchase. Thank you!
You could use any type of cotton or cotton mix. I just wouldn’t use anything that stretches.