
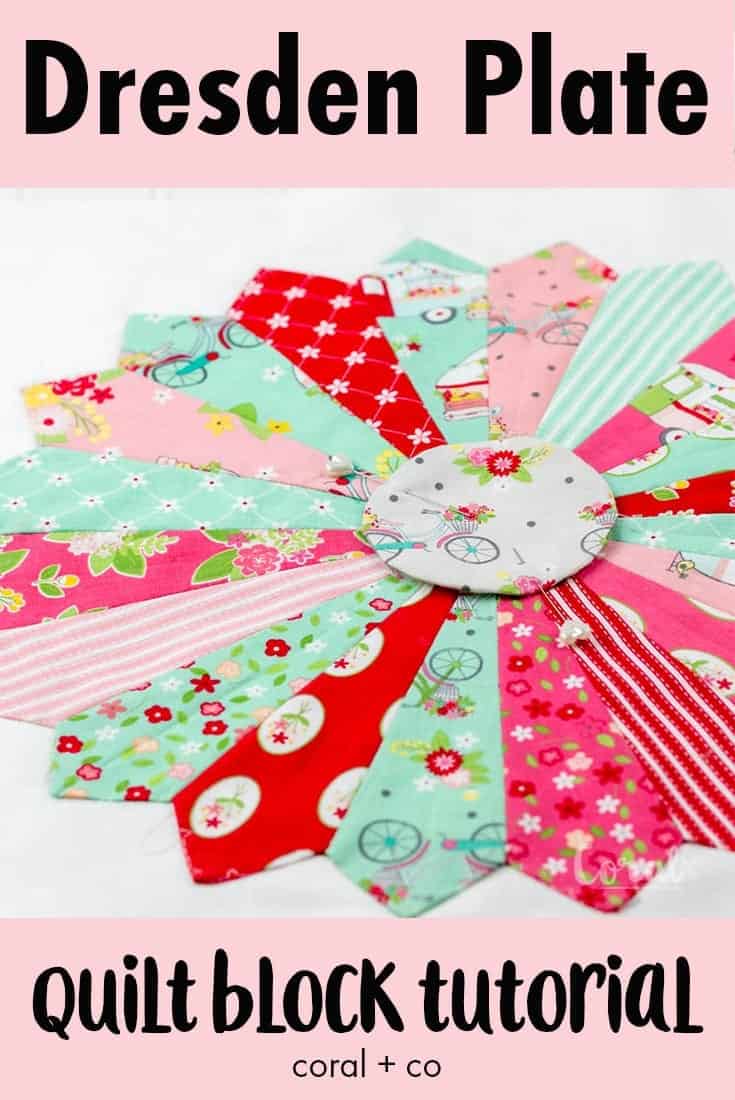
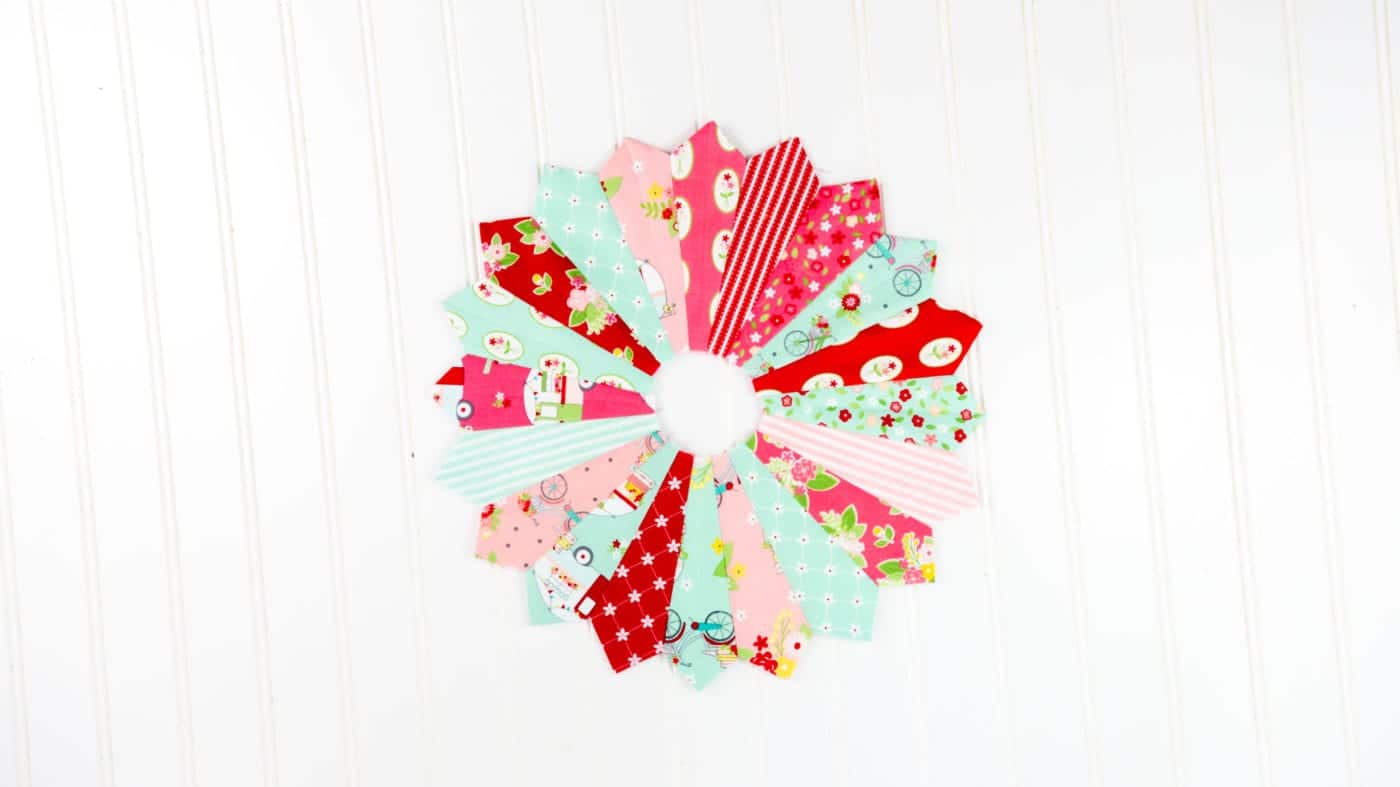
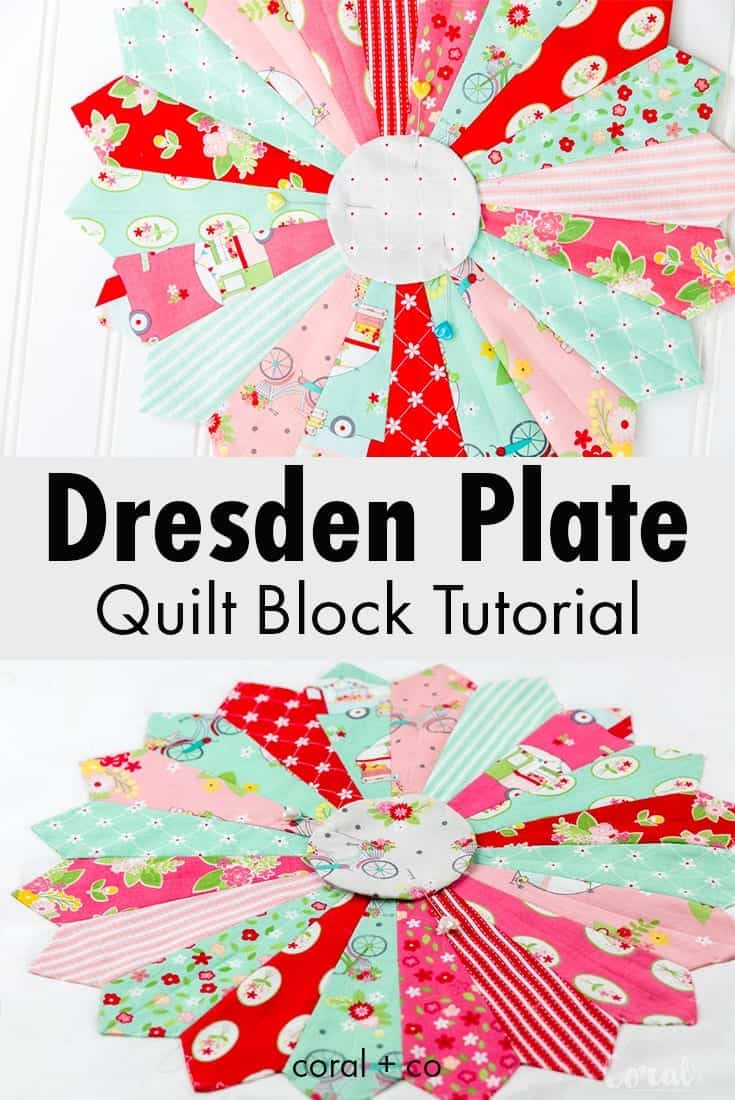
How to make a Dresden Plate Quilt Block Tutorial. Dresden plates are so good for using your scraps up and can be added to pillows, quilts, and lots of other cute sewing projects.
Dresden Plate Quilt Block Tutorial Supplies
- (20) Twenty 6" x 3" pieces of fabric or scraps. For this project, I used the Vintage Adventure line.
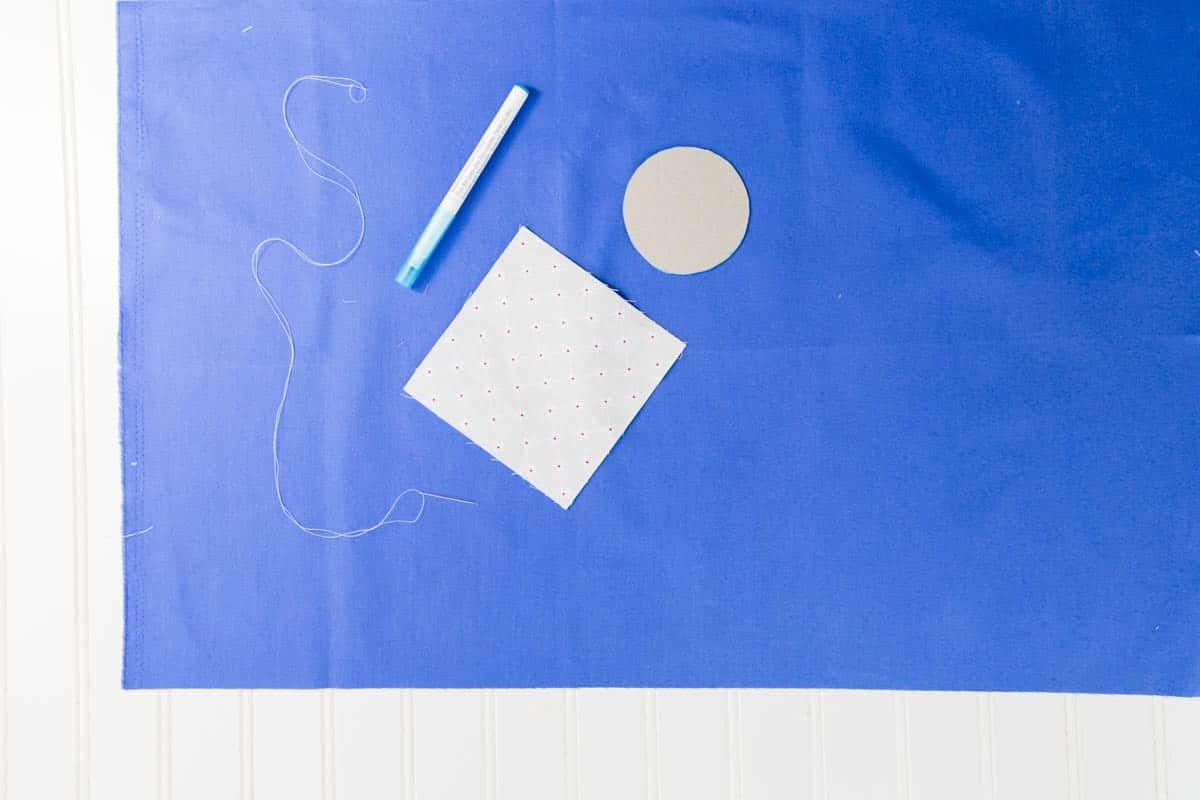
- (1) One 5" x 5" square of fabric for the centerpiece.
- Dresden plate ruler and a bamboo pointer
- Dresden plate quilt block circle template
- Fabric marking pen
- Hand sewing needle and thread

Dresden Plate Quilt Block Tutorial Instructions
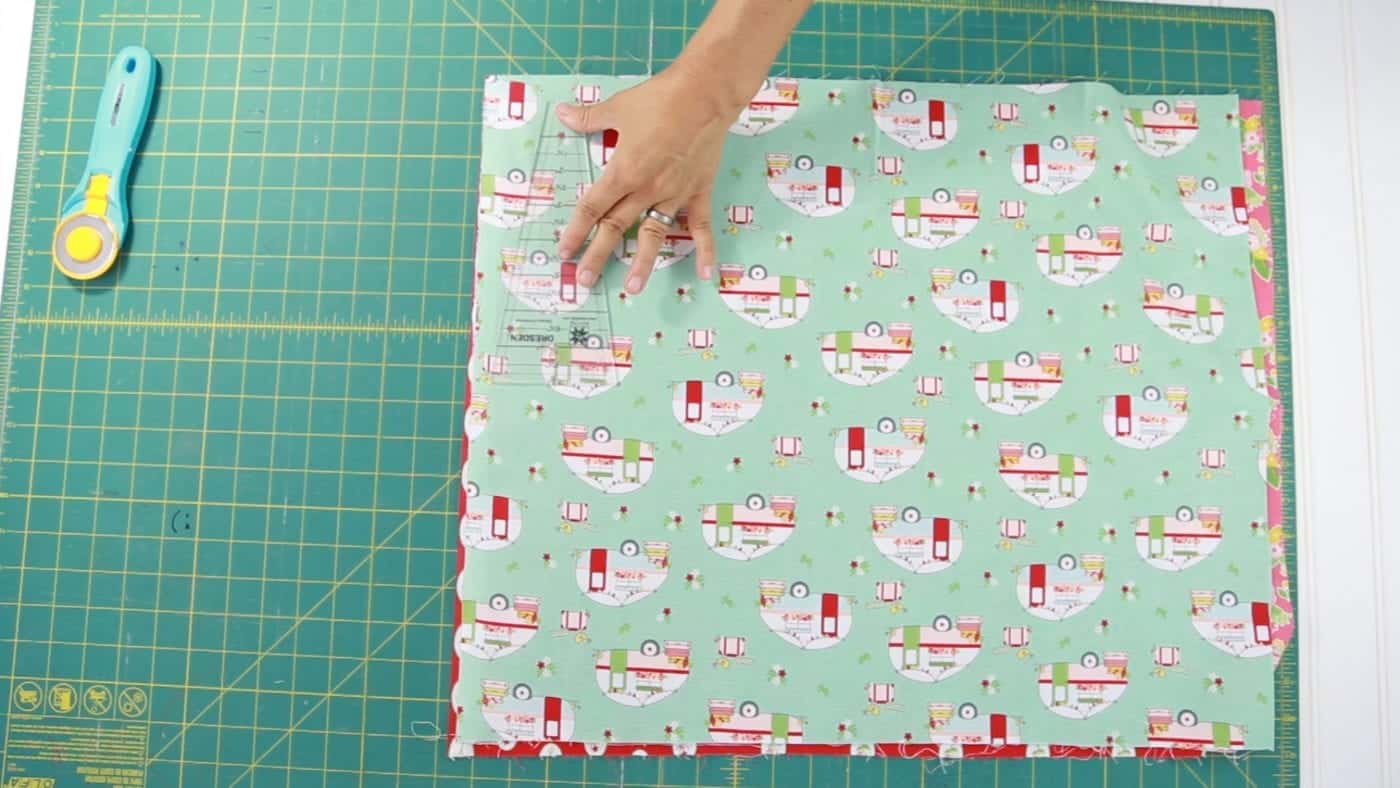
- Stack 3 - 4 fabrics on top of each other and using your Dresden plate ruler or template cut out (20) twenty 5.5" Dresden quilt blocks.
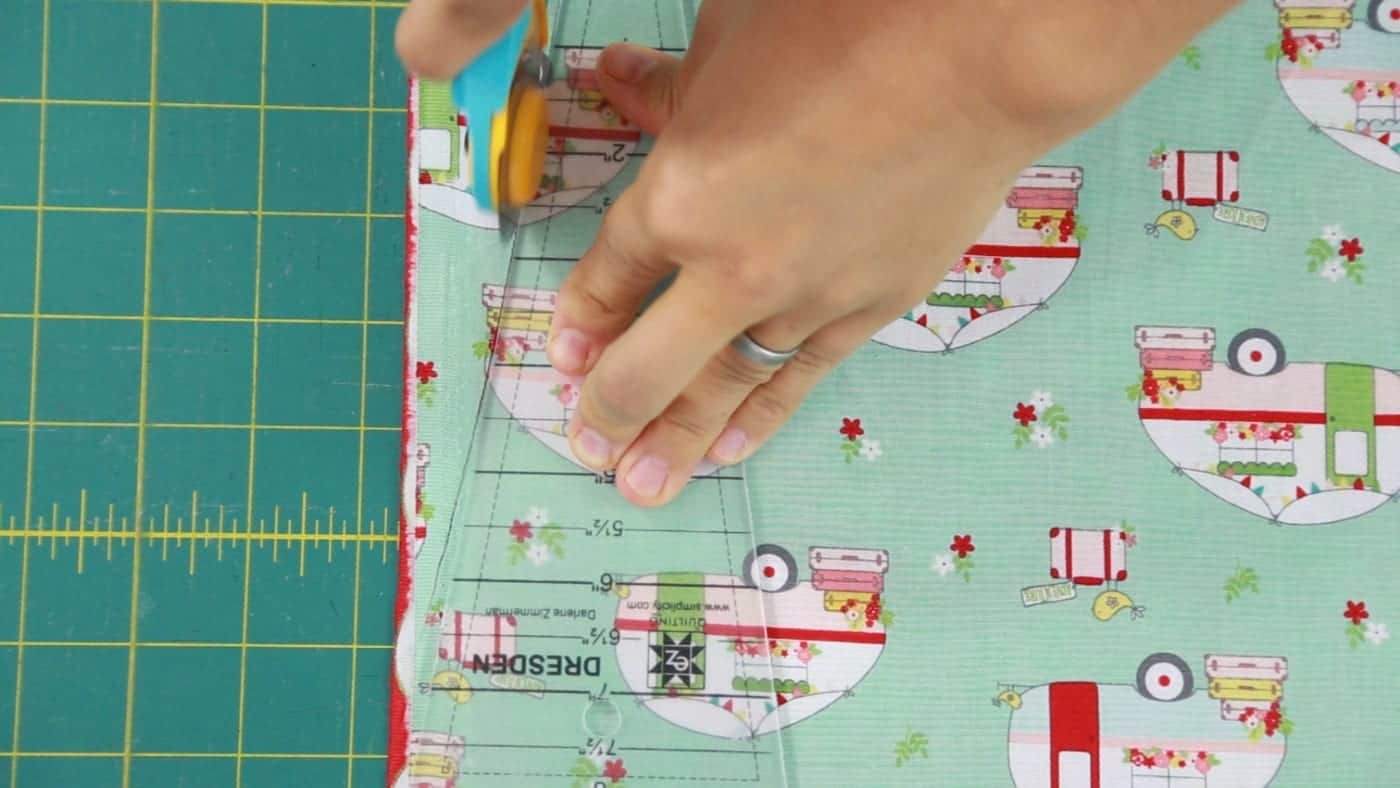
- The finished Dresden plate quilt block is 5", but you will need to cut an extra 1/2" for seam allowance.
- Fold the Dresden plate in half vertically and finger press crease down the center to mark the center line.
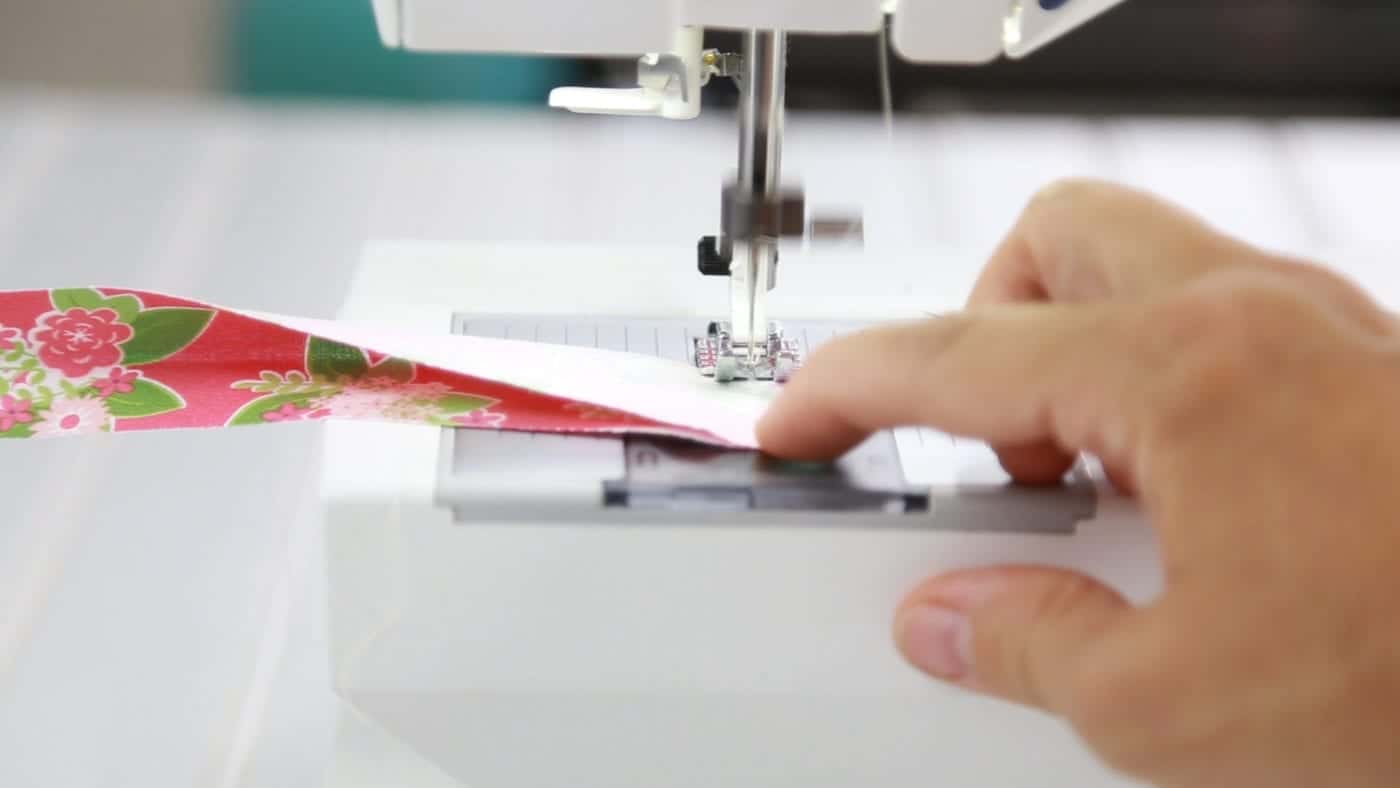
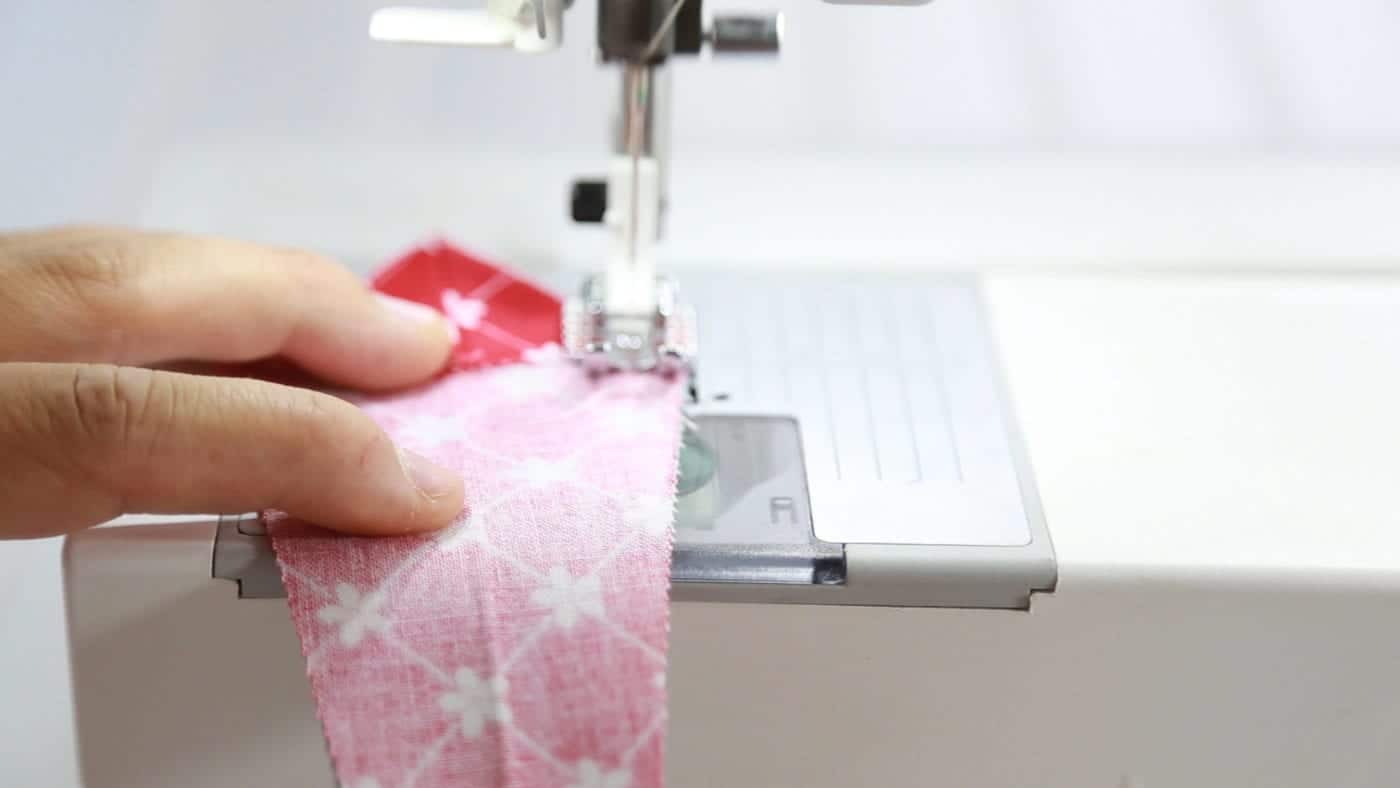
- Sew a 1/4" seam across the top edge of the Dresden plate, backstitching at the beginning and end to secure the stitch.
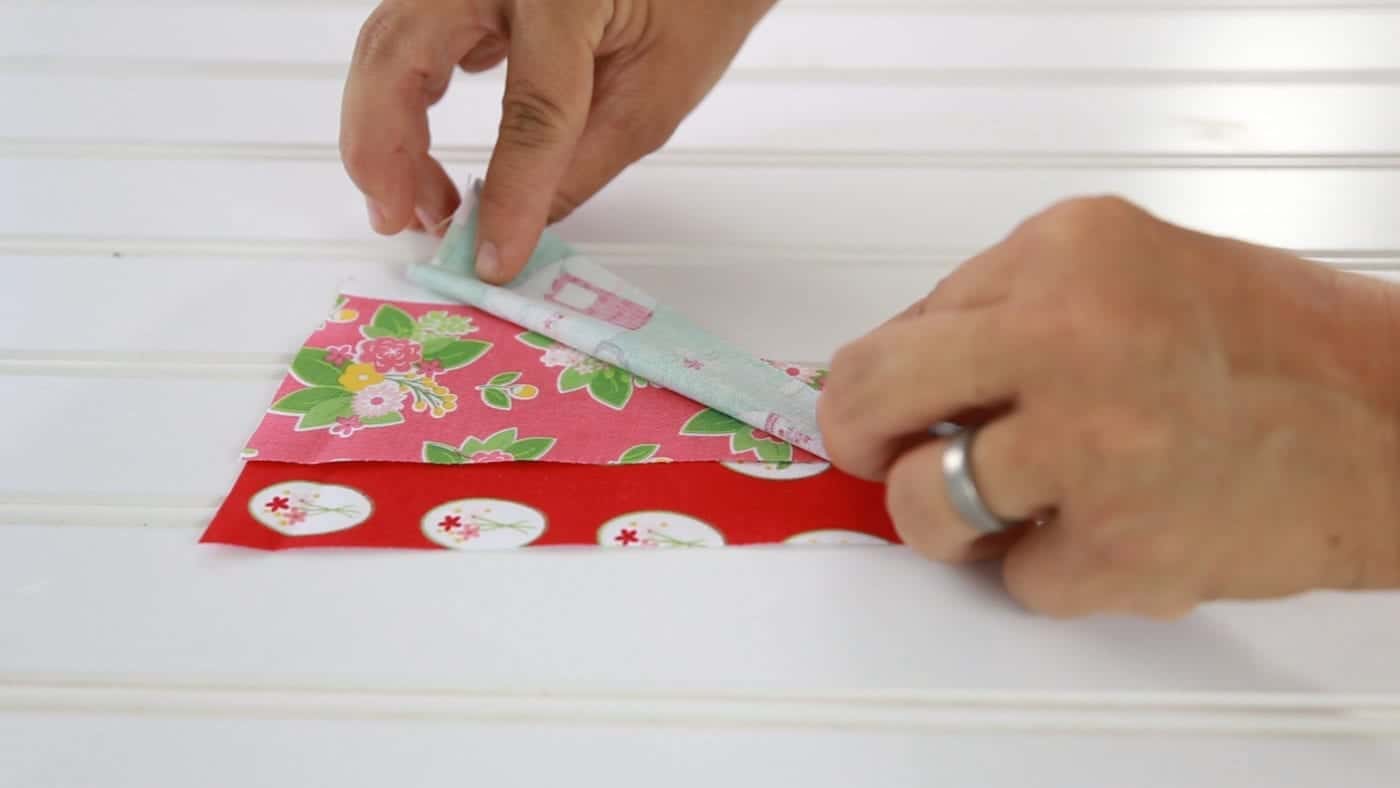
- Turn the top of the Dresden plate under to form a triangle point. Clip the part of the seam that will be the triangle point to 1/8" to reduce bulk. Use the bamboo pointer tool to press into a sharp point.
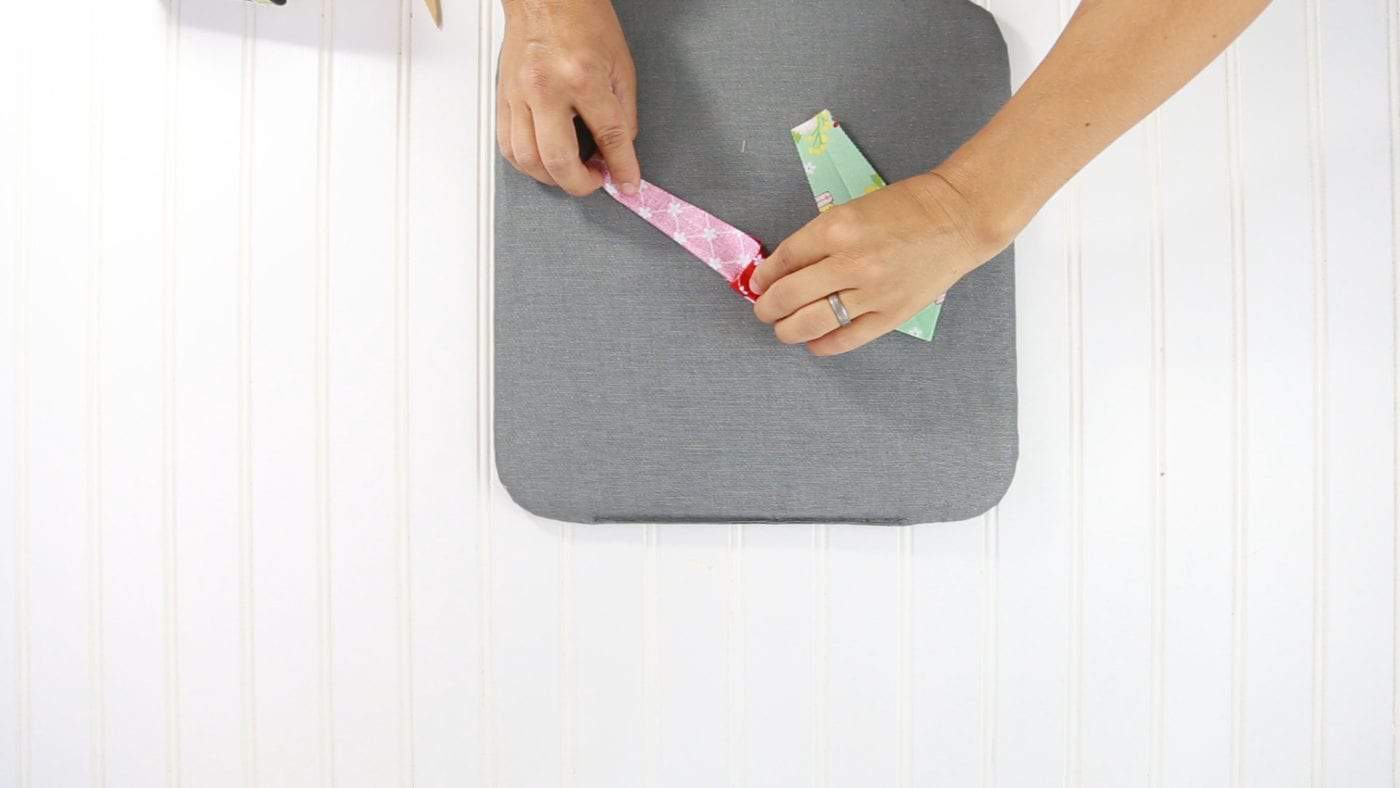
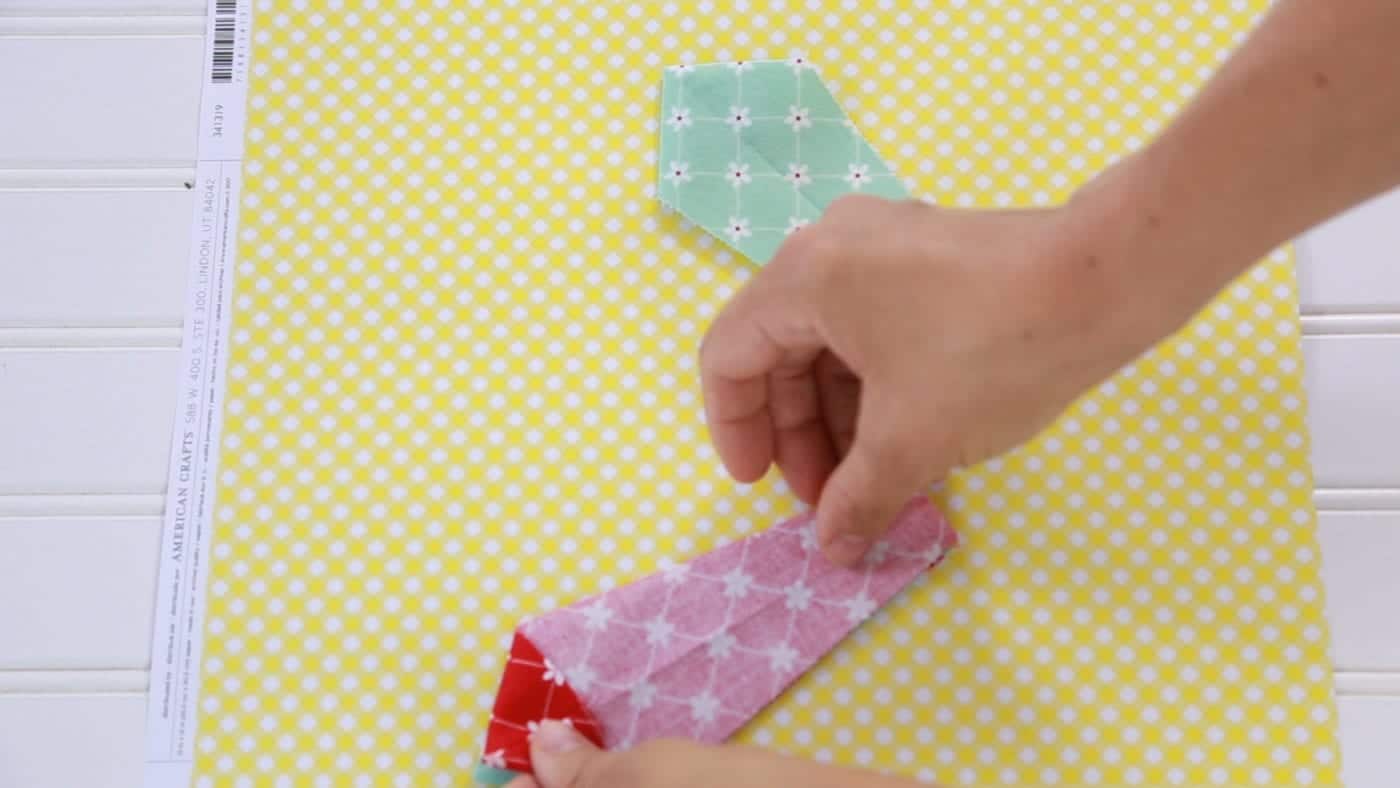
- Fold Dresden point in half RST and press being sure to line up the triangle point with the center crease down the Dresden block.
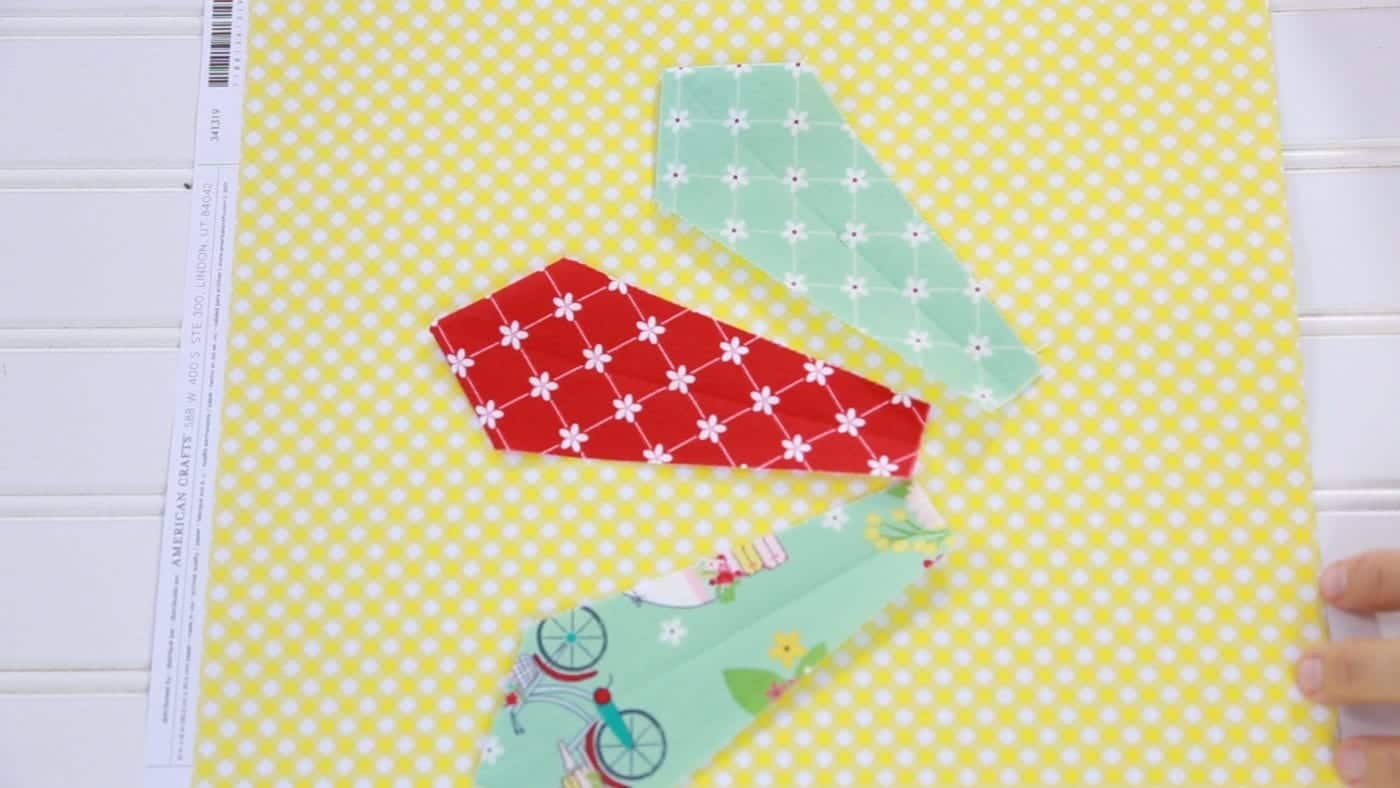
- Open block up and press flat.
- Place two Dresden plates right sides together (RST) and sew a 1/4" line from the top of the plate to the bottom, backstitching at the top for added security.
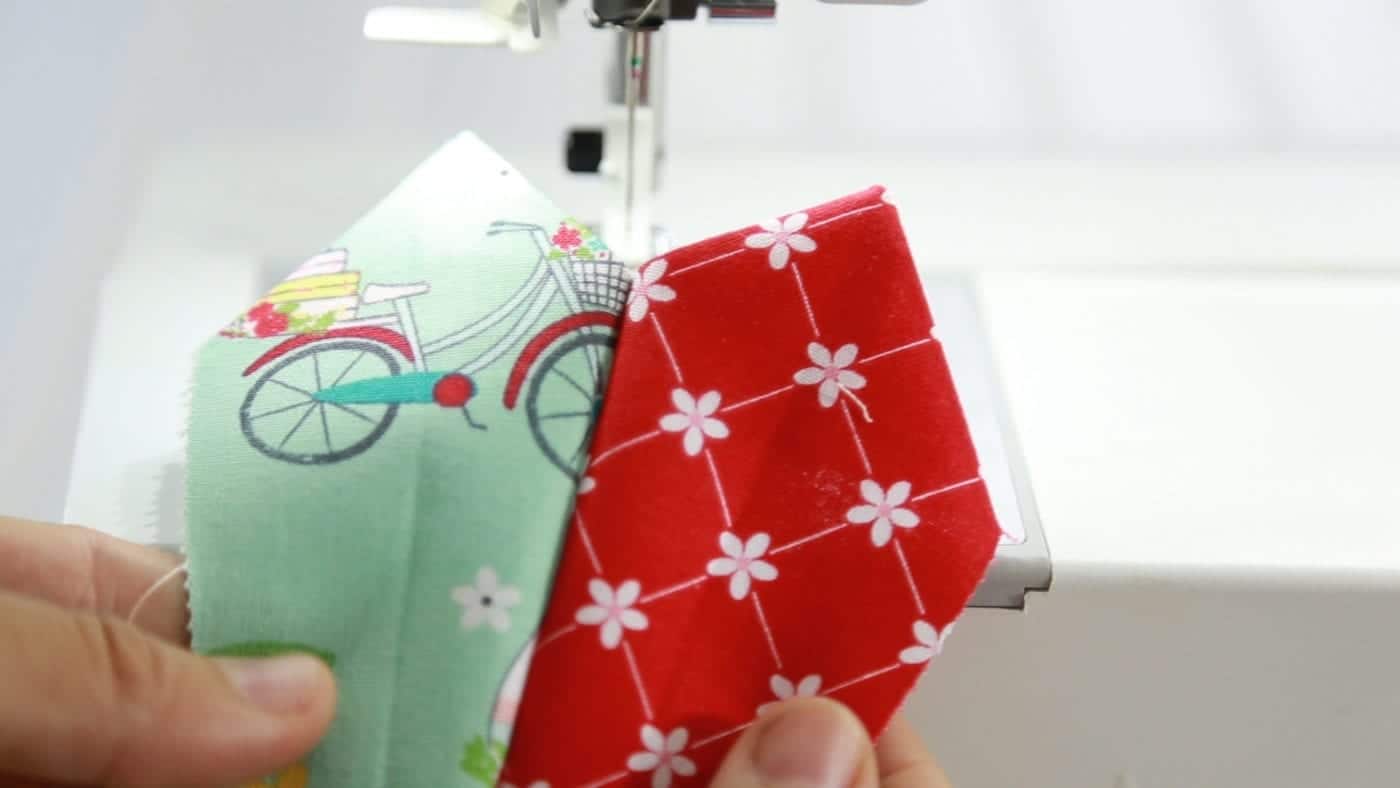
- You will now have attached two Dresden plate blocks together.
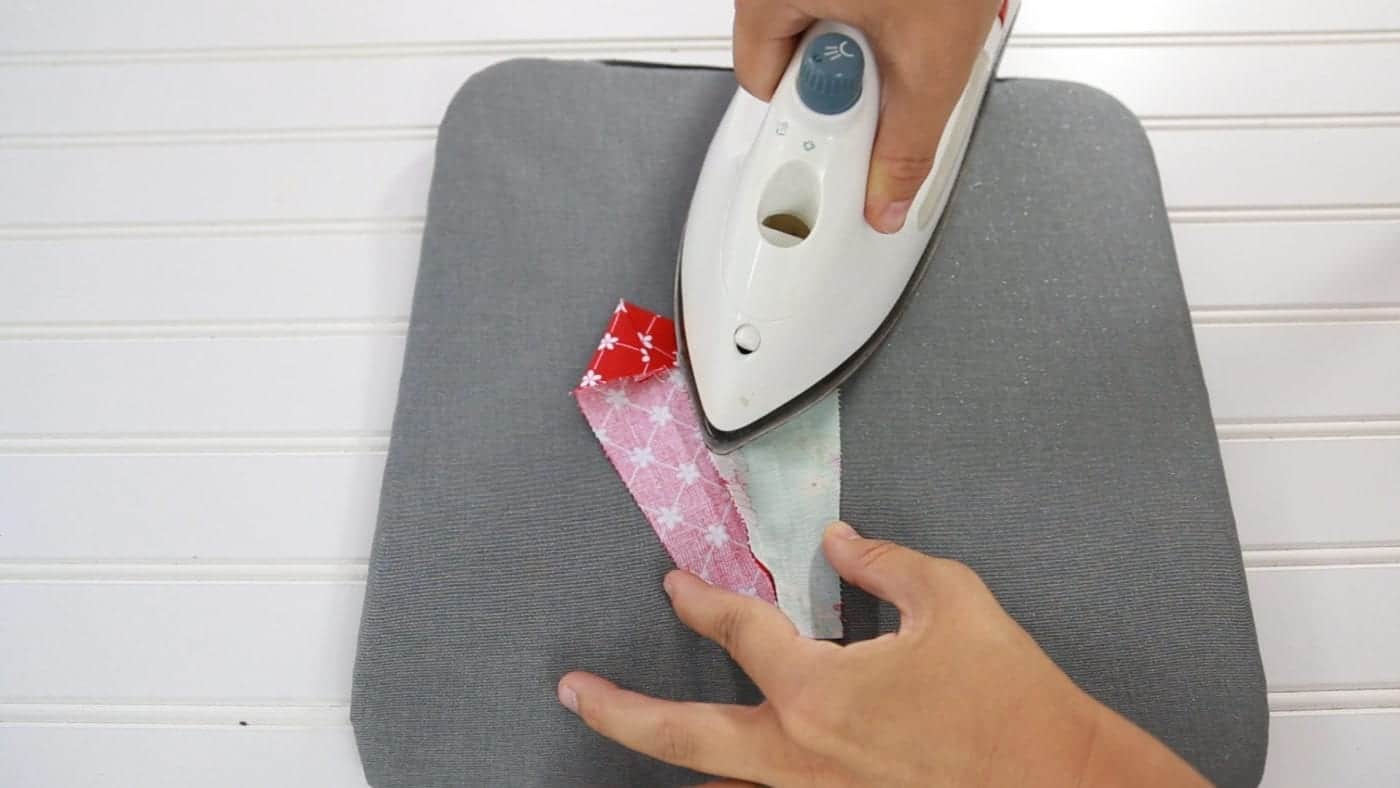
- Press the seams flat to one side.
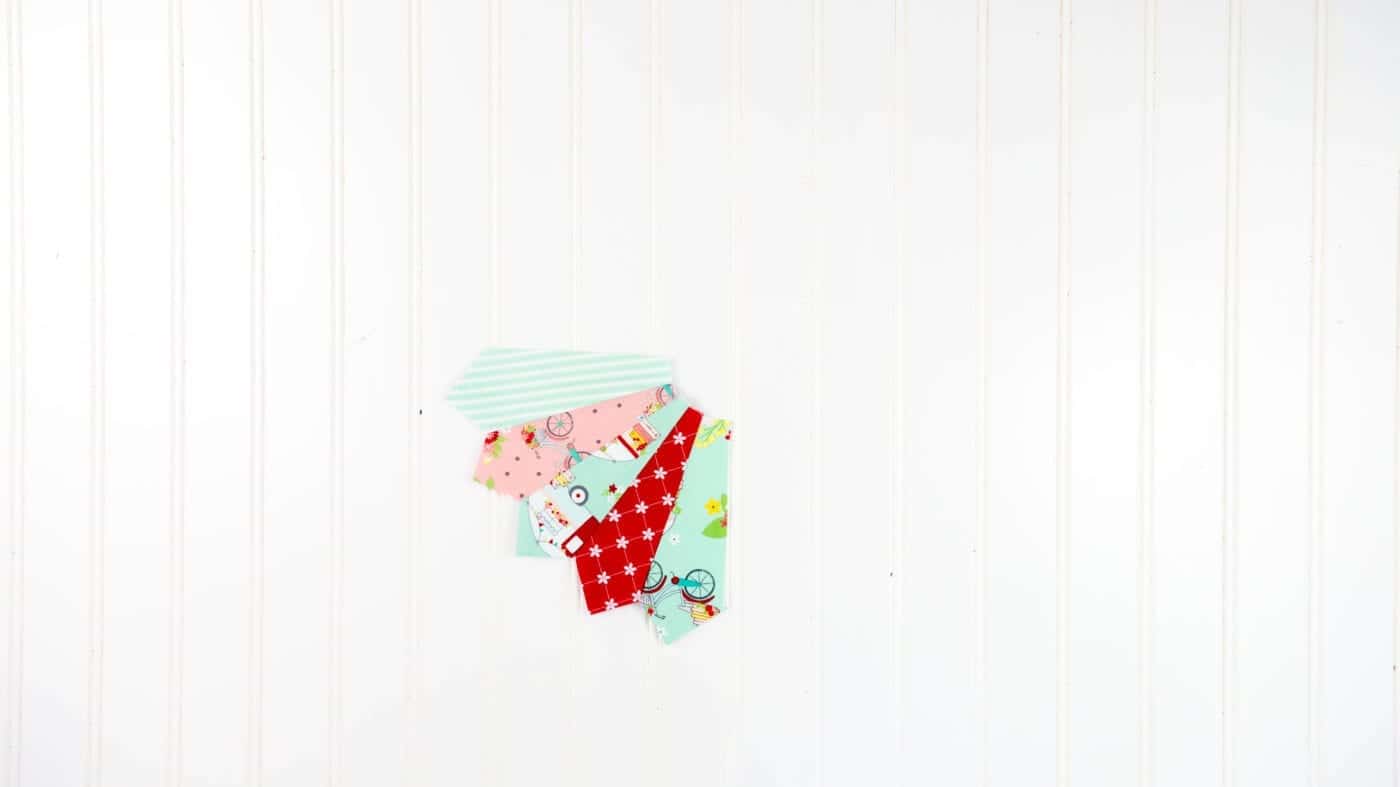
- Continue adding plates until you have 5 Dresden plate blocks attached. Using your ruler square the edges to make sure it is an even 90 degrees on from the right to the left forming 1/4 of the entire Dresden plate. Do this for the other 3 quarters of the Dresden plate.
- Then attach all 4 quarters of the Dresden plate to form a whole Dresden plate quilt block.
- Place the circle template on the back of the 5" fabric square. Using your fabric pen, trace a circle 1/4" away from the template edge.
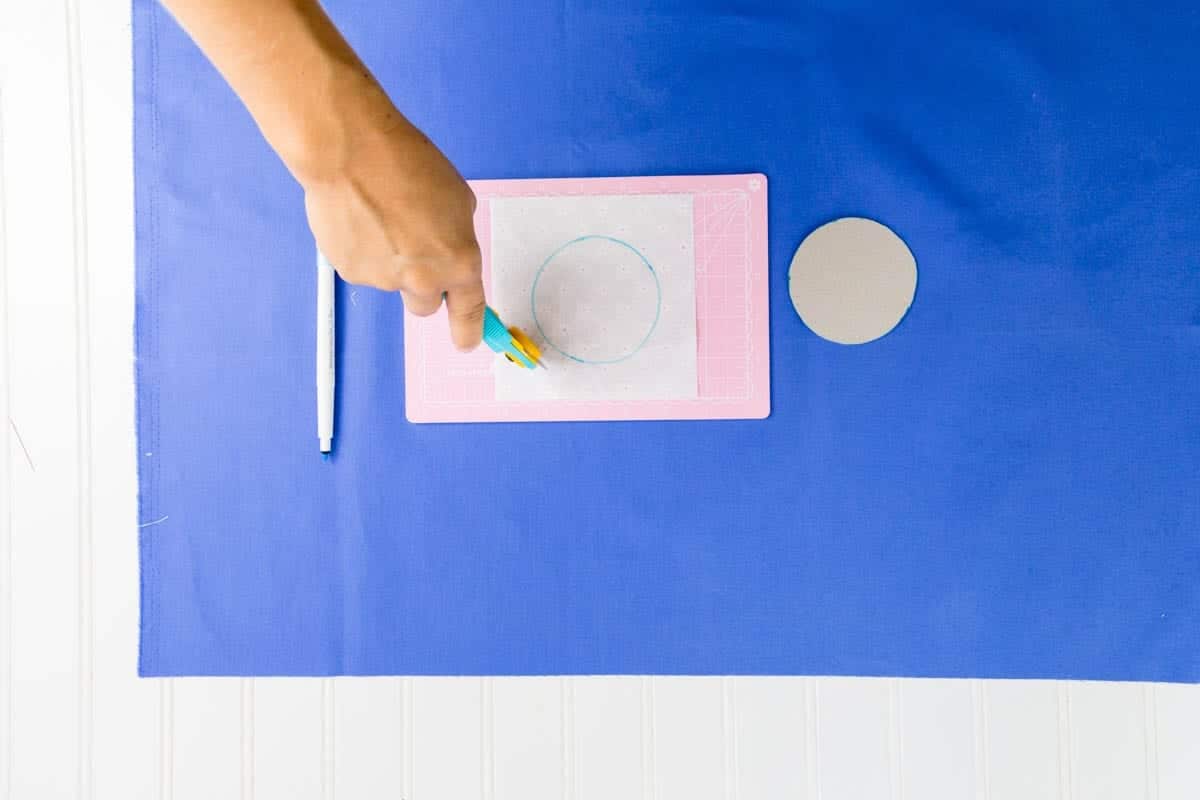
- Cut out along the drawn line.
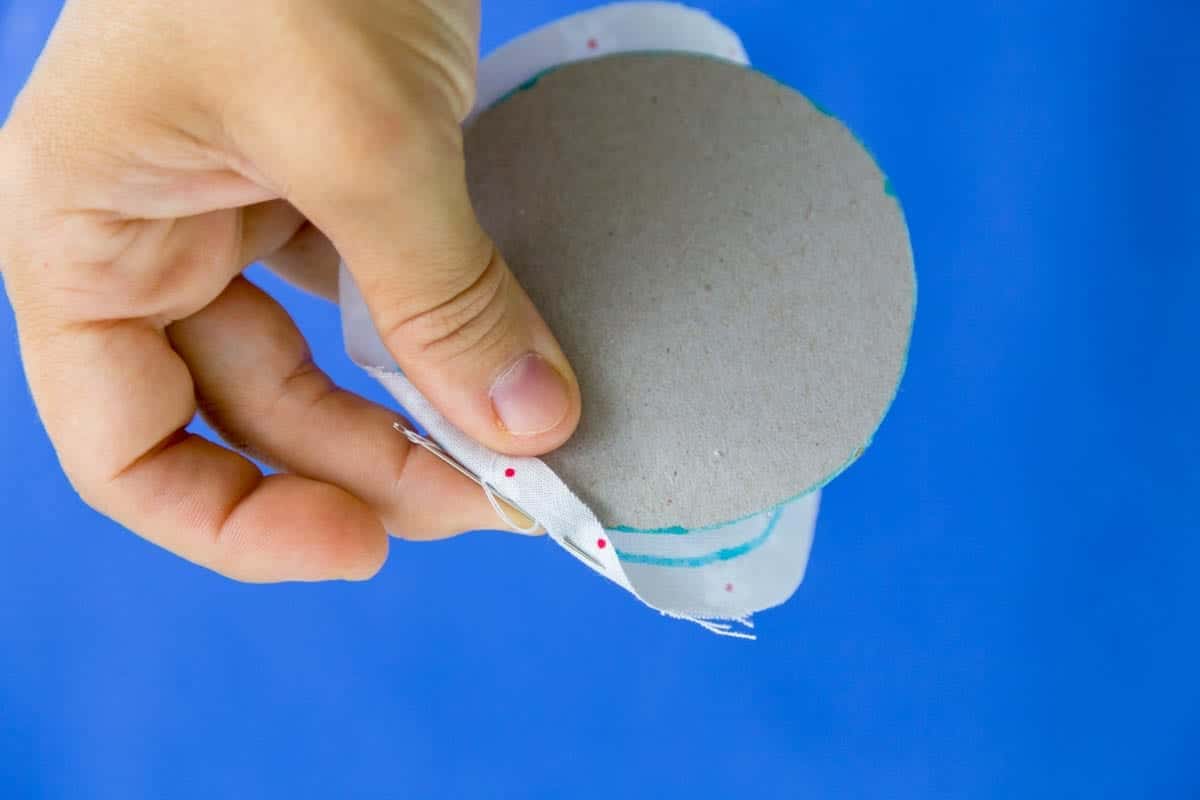
- Fold the fabric around the back of the template.
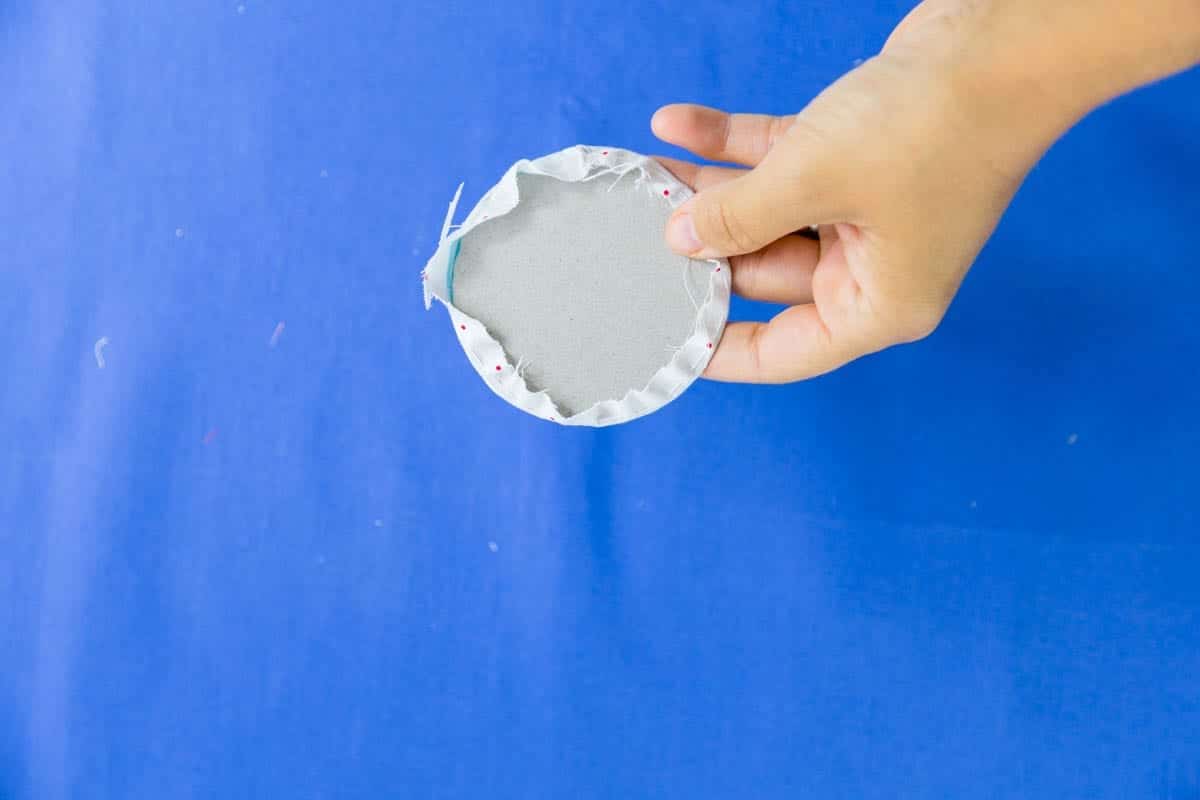
- With your hand sewing needle and thread, sew basting stitches on the folded fabric on the back of the template so the fabric forms a circle.
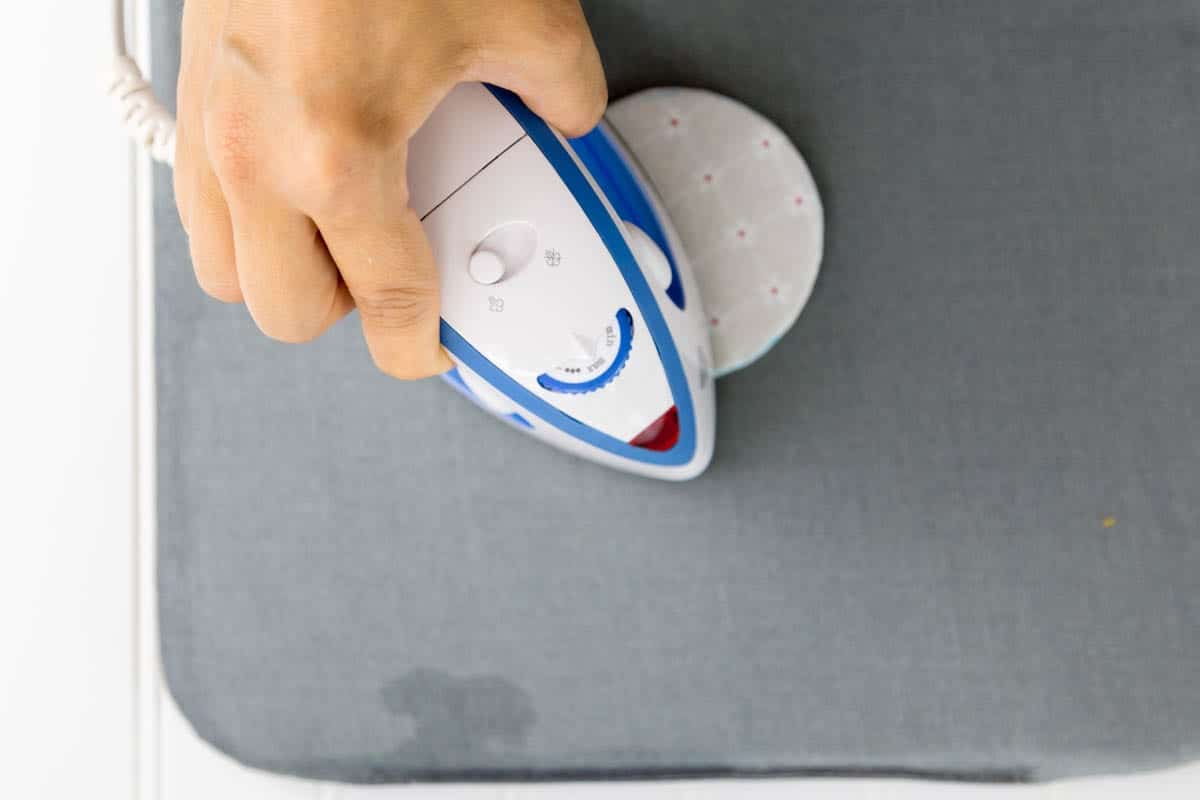
- Remove circle template and press circle flat.
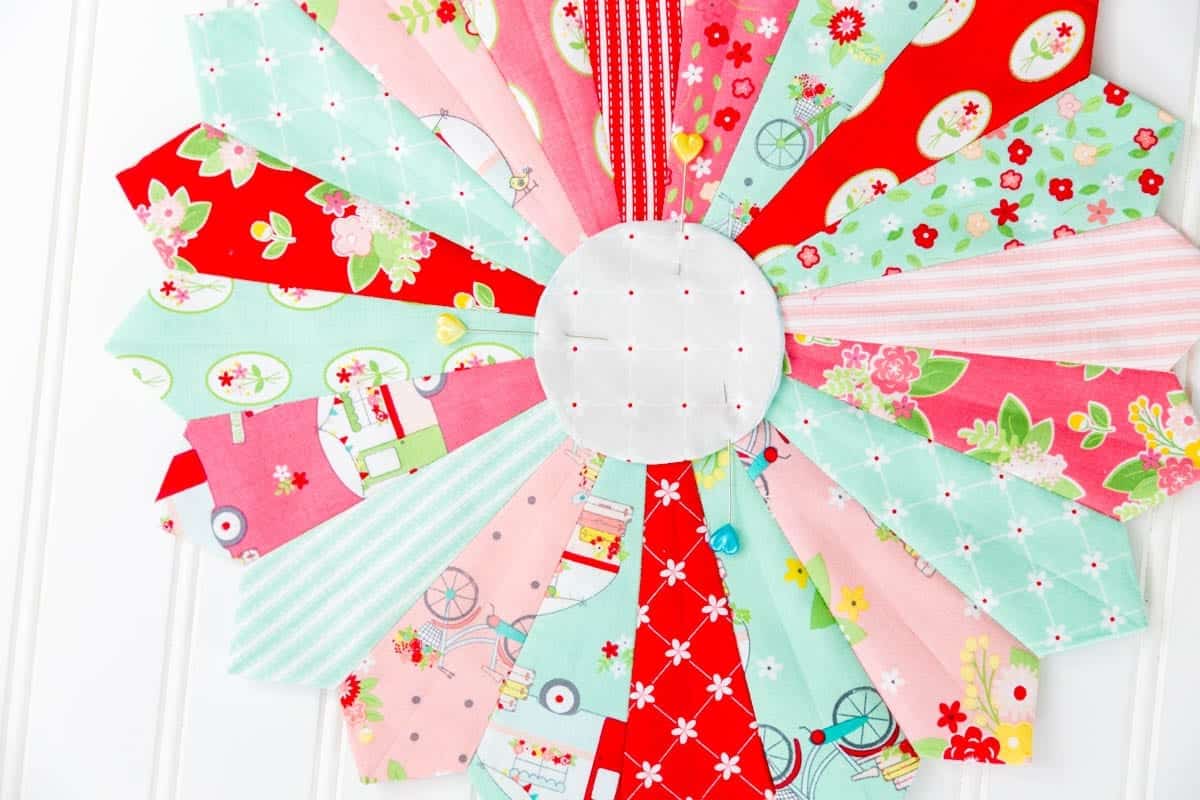
- Pin the fabric circle to Dresden plate and then attach the Dresden plate to a pillow or quilt.
I don't understand the need to press the blade in half in Step #6.
I press it in step two simply to line up the triangle so that the tip aligns with the center of the block. Otherwise, the triangle could get wonky and slope more to one side or another.
I love your tutorials. I think quilts are beautiful but they seem a little intimidating. You make me want to make one.
I love the way you make your center spot! All the other tutorials say to sew 2 circles together RST and then cut a hole and turn inside out. Much easier this way! And much rounder circle!