

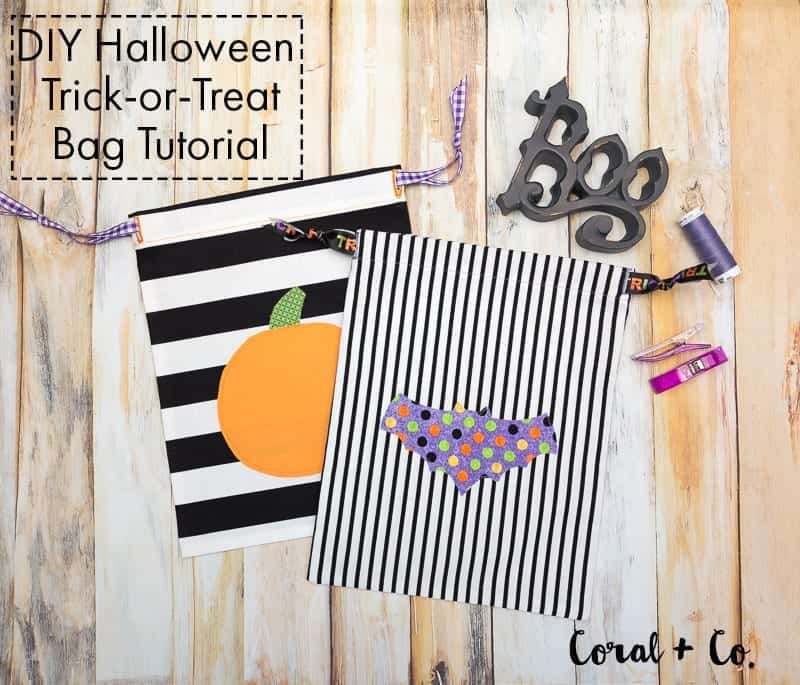
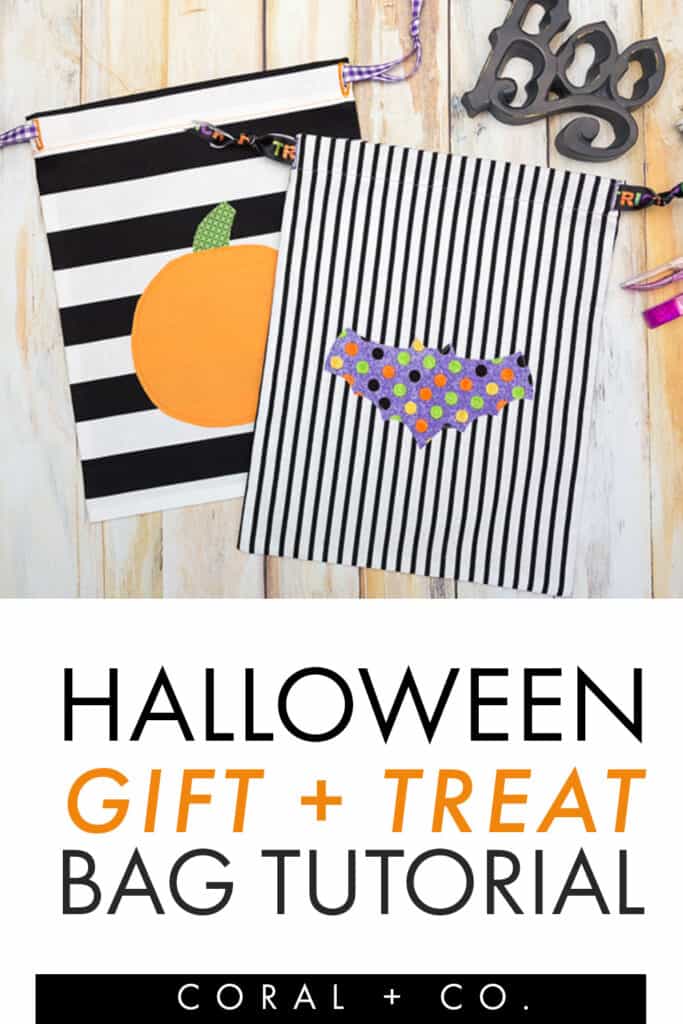
Easy Halloween Treat Bag Tutorial. This Halloween inspired drawstring bag is perfect for a Halloween party or gift bag for sharing treats. Using pretty ribbon easy applique you can make tons of fun Halloween themed combinations.
More Halloween Projects
- FREE Pumpkin Applique Pattern
- Cutest Halloween Treat Bag Tutorial
- Trick or Treat Bag Pattern - Tote Bag in 2 Sizes
- 25 + Halloween Trick or Treat Bags
- 25+ Halloween Quilt Patterns to Sew!
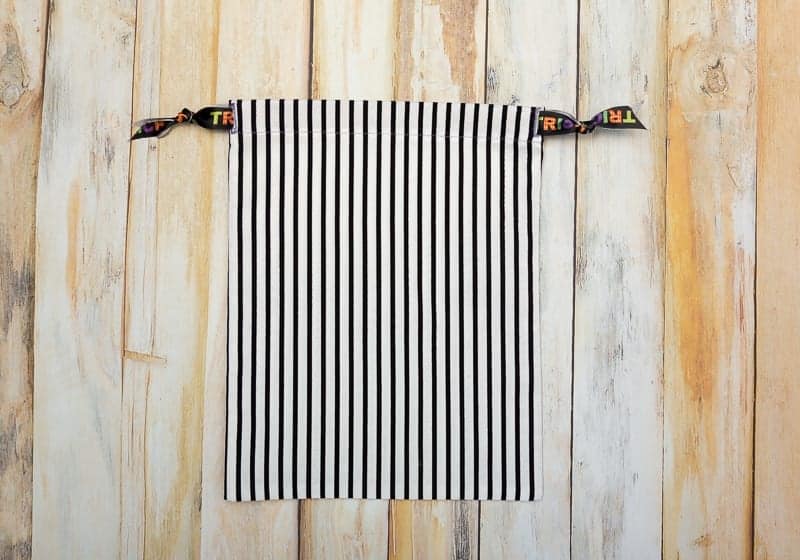
Halloween Treat Bag Tutorial - An Easy Drawstring Gift Bag
Table of contents
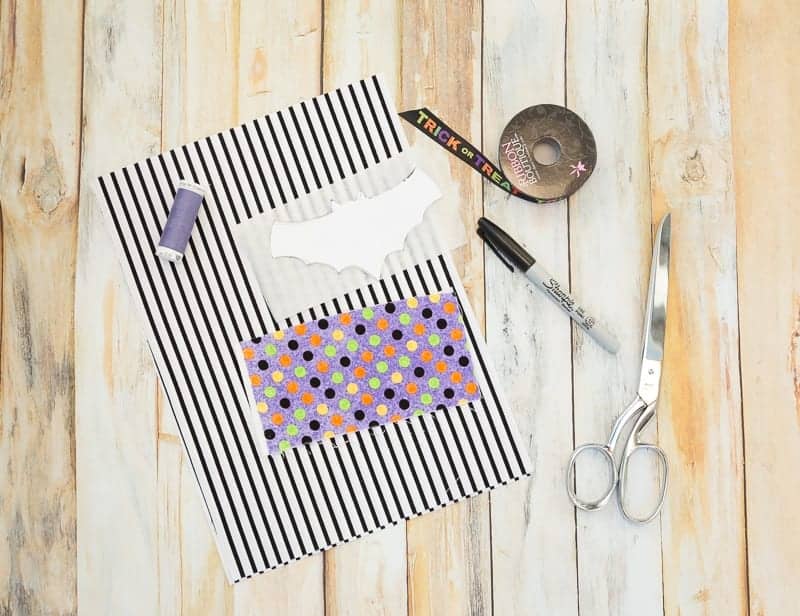
Supplies Needed
- 1 Fat quarter of fabric (Black and White Stripe and Halloween Fabric).
- 3 Feet of ribbon
- 1 Scrap or small size coordinating fabric
- Steam-A-Seam 2
- A few small squares of light fusible interfacing
Halloween Treat Bag Tutorial Instructions
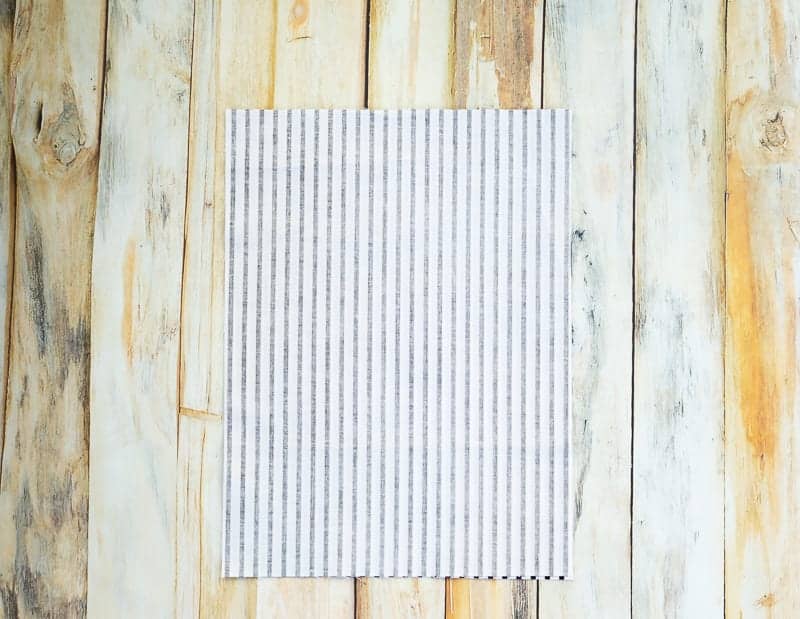
Step 1 - Cut 2 rectangles of fabric 10" wide by 13" tall. Lay fabric right sides together (RST).
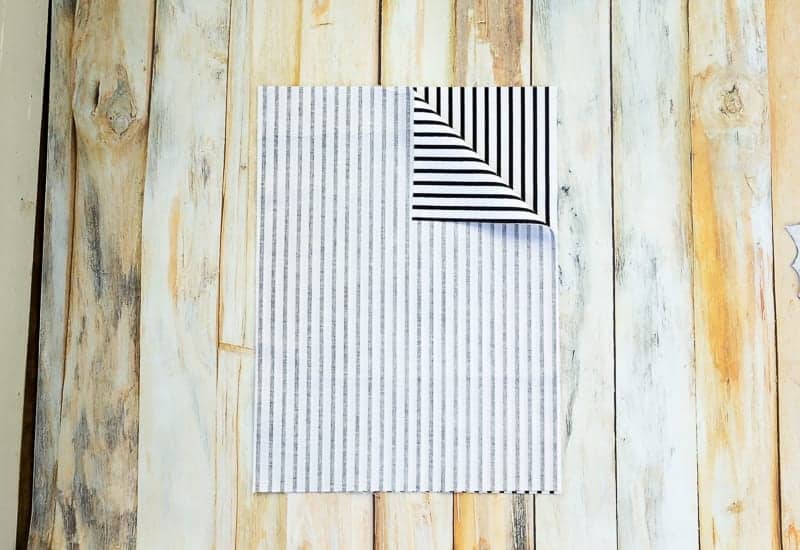
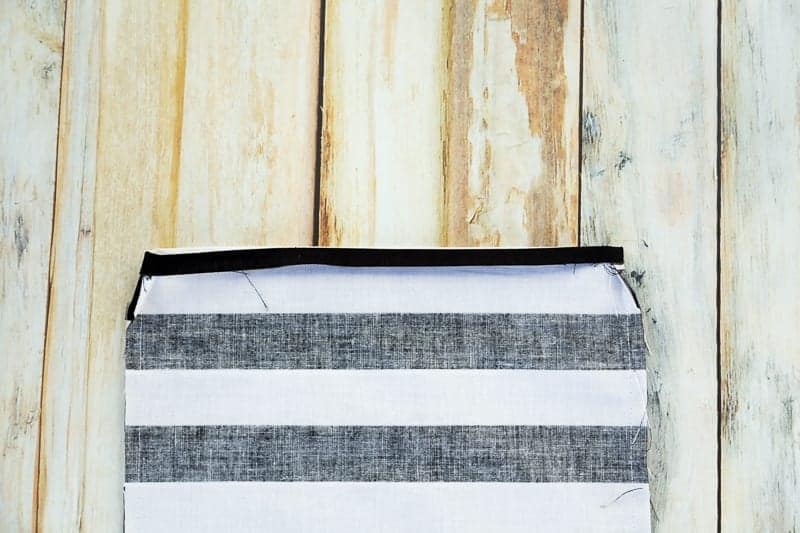
Step 2 - Starting at the top edge, sew down one long side, across the bottom edge, and up the other long side using a 1/4" seam. Backstitch at the beginning and end to secure seams. Zig zag or serge seams allowance if desired.
Step 3 - Fold top edge 1/4" over and iron.
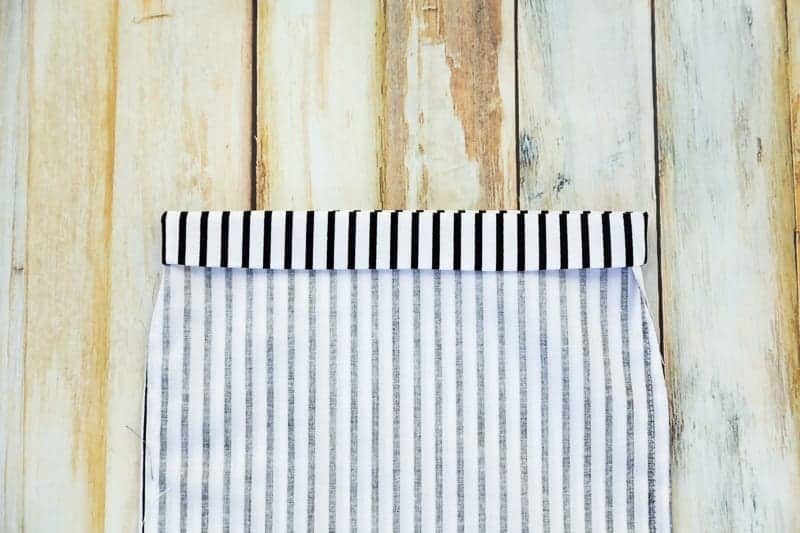
Step 4 - Then fold top edge 1" over and iron. This will provide guides for the button holes.
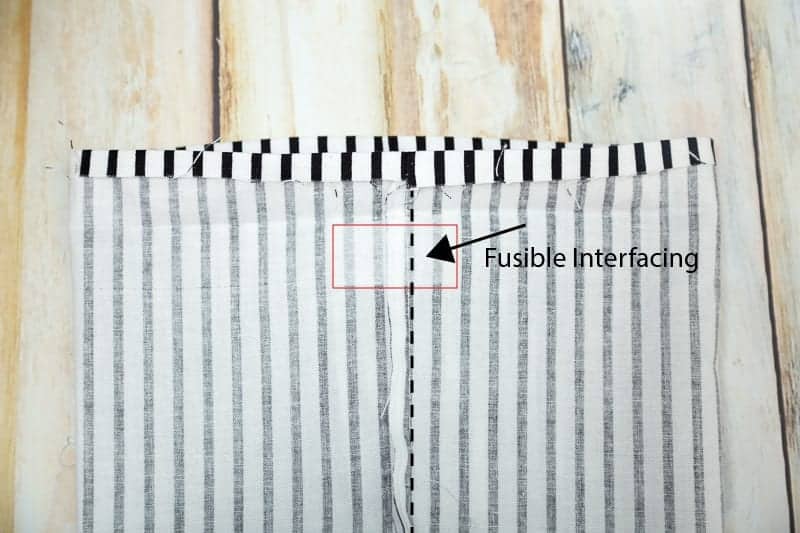
Step 5 - Cut 2 rectangles of fusible interfacing approx. 2" wide by 1.5" tall. Iron on just under the bottom fold line. Center on the seam allowance, making sure that it does not cross the second ironed fold line. Do this for both sides.
Step 6 -Mark 2 button holes on each side of the seam. Do this on both sides of the bag. Your button hole length will be the size of your ribbon that you are using.

Step 7 - Stitch button holes. I used a contrasting thread for a fun pop.
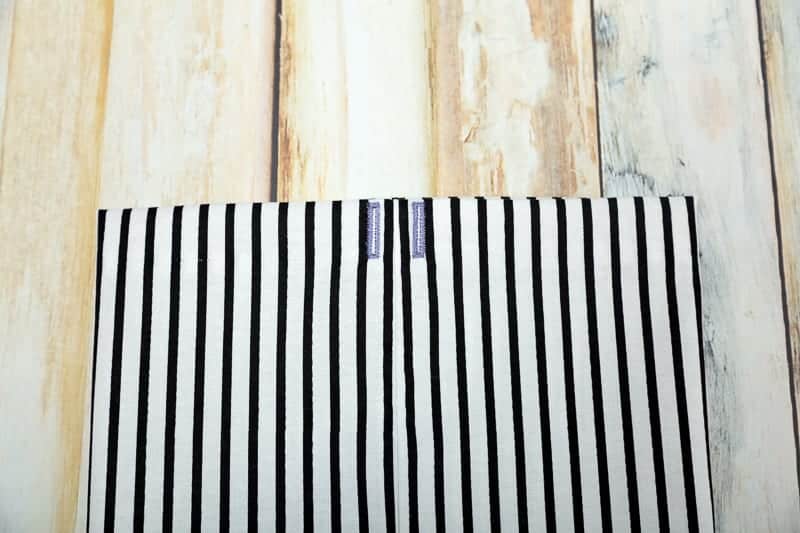
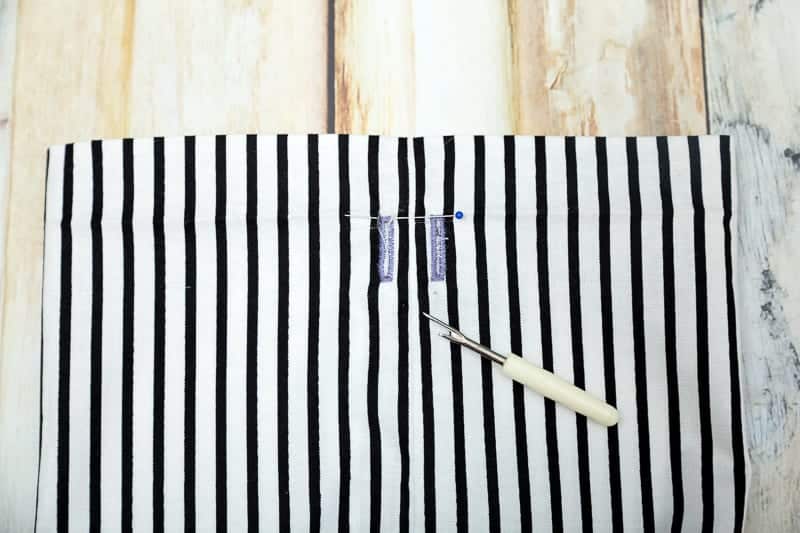
Step 8 - Place a pin at the top of the button hole so you do not rip the stitching and using your seam ripper cut the slit in the button holes.
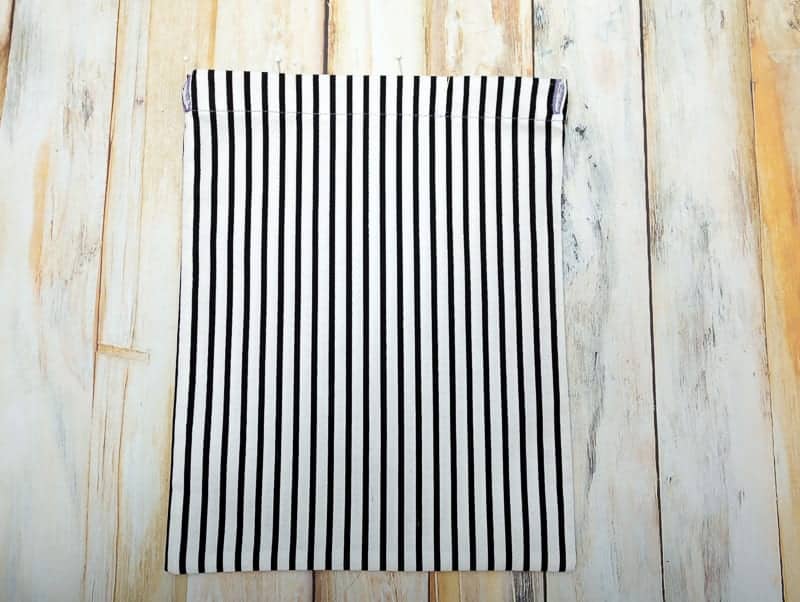
Step 9 - Your bag will now look like this. Iron bag flat if desired.
Step 10 - Using a safety pin pull your ribbon through the front side of the bag. Repeat for the back side of the bag. So you will have 2 different ribbons on each side.
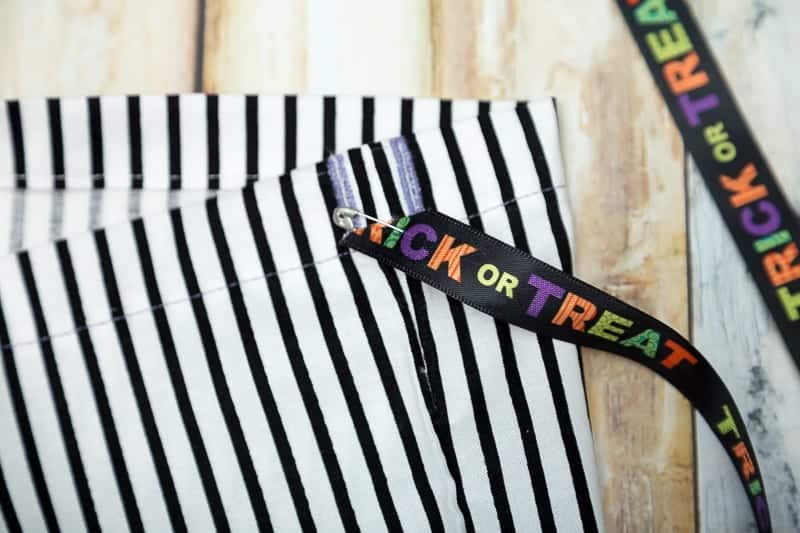
Step 11 - Tie ends of the ribbon together on both sides.
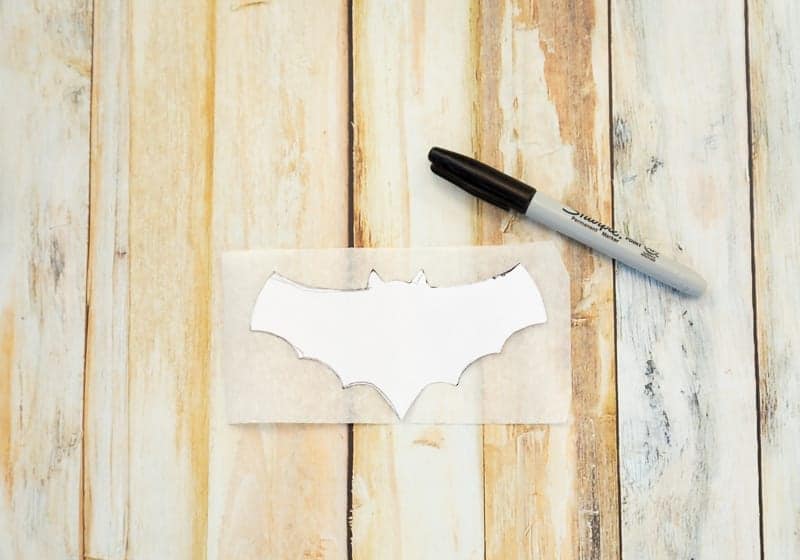
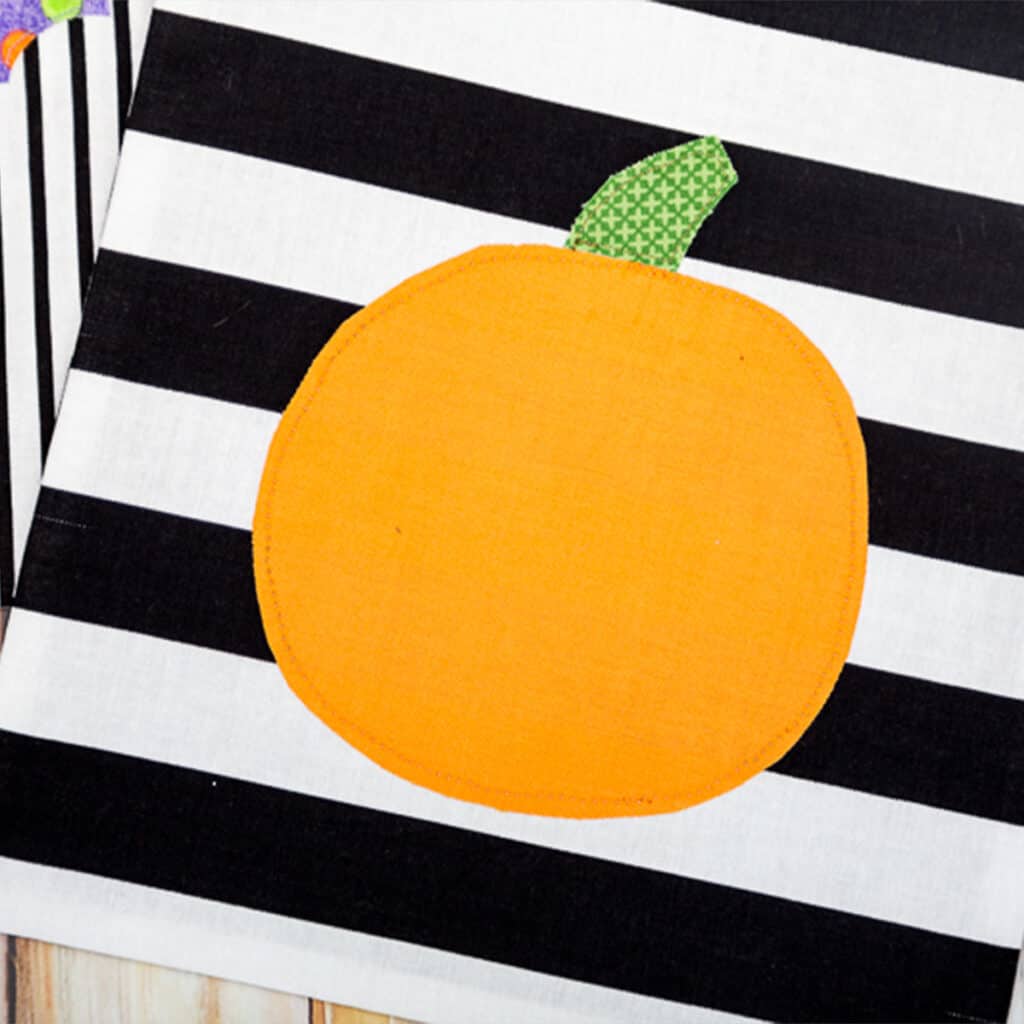
Step 12 - Draw your favorite Halloween motif on a piece of paper. I have a bat pictured below. Then place it upside down and trace it onto a piece of Steam-A-Seam 2 double stick fusible web.
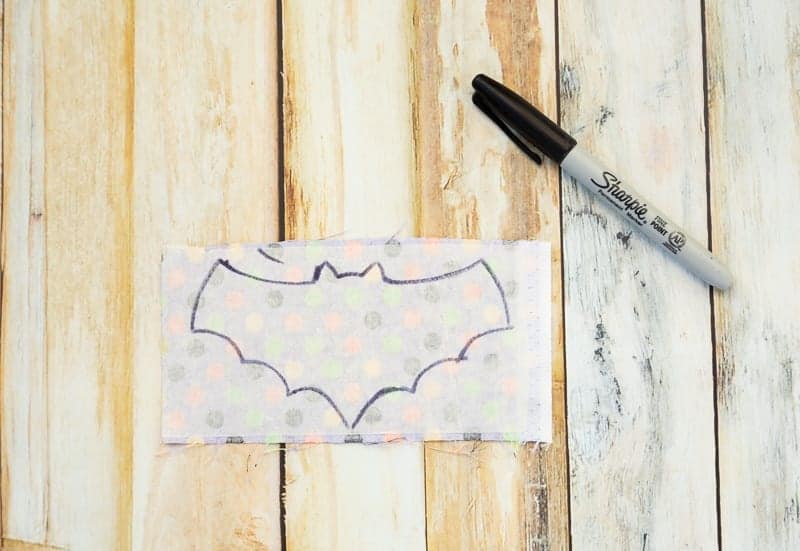
Step 13 - Cut the fusible into a large piece around the traced motif and then peel of one side of the Steam-A-Seam and stick onto contrasting scrap fabric.
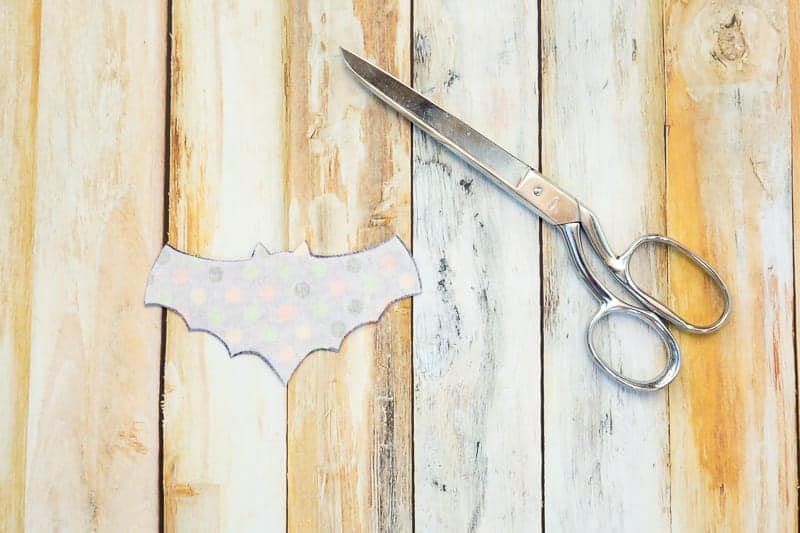
Step 14 - Cut applique piece out and stick onto the center of the bag front.
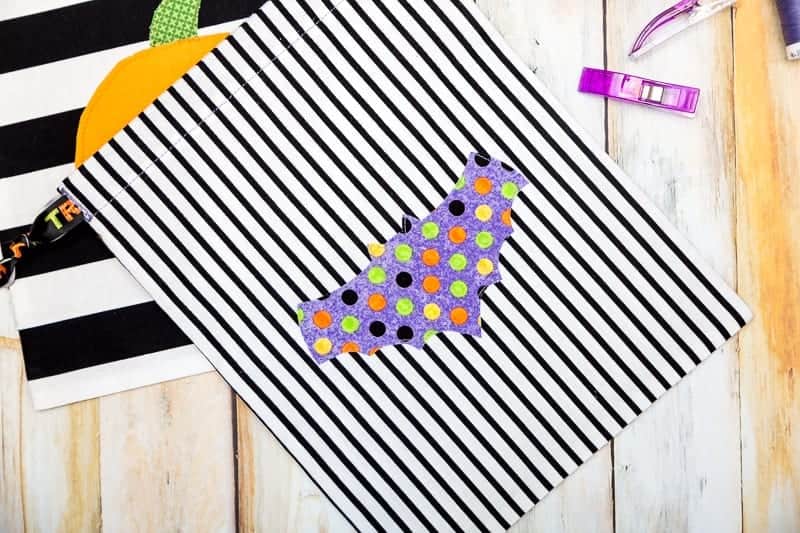
Step 15 - Iron in place according to instructions. Then straight stitch 1/8" on the inside of the raw edge of the applique piece.
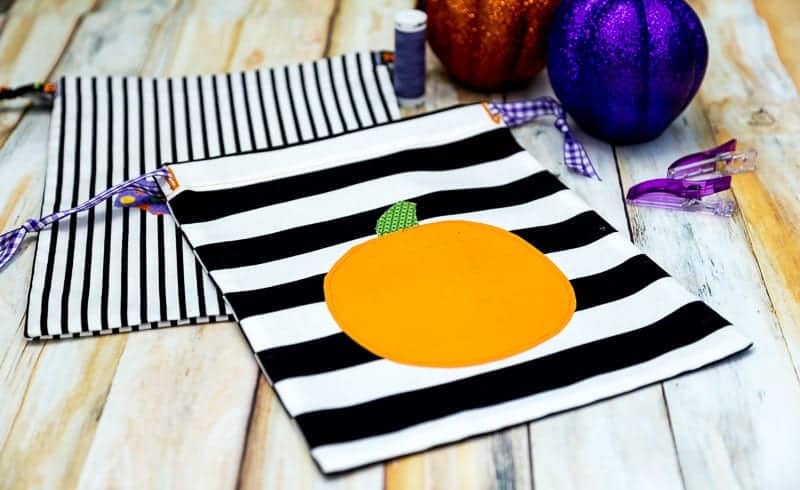
I also made a cute little pumpkin bag! You can do this to make tons of Halloween Trick or Treat Bags.
Pin To Make Later
What do you think?