

DIY Fairy costume Tutorial with Flowy Chiffon
Today I have the cutest DIY Fairy Costume Tutorial made with a lovely flowy chiffon! I am so excited to share this one!!!! The idea came to me when I was scouting photography pictures on Pinterest. I loved the etherial soft backlit look with sweet pink tones. I wanted something that was light weight and would drape kinda flowy when the girls flitted about.

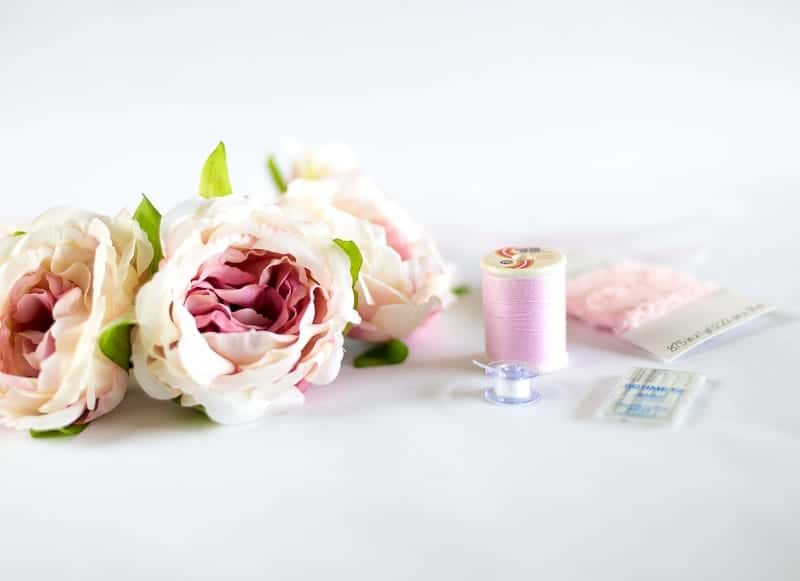
And I was kind of going through a flower crown obsession, so that had to be included. Like seriously, I was pinerest-aholic flower crown stalker! I finally decided on faux flower crowns because they cost serious dollazzz for just one real one. I also thought about making some from this cute flower crown tutorial and this one too. But since I was already making the dresses I decided to skip the DIY and buy them.

I had some left over Fairy Wings from the girls dance recital earlier this year, but I was seriously obsessing over these Rainbow Glitter Wings. I also these really cool wings on pinterest. If your thinking about doing your own DIY Fairy Photoshoot, Clickin Moms has some fun inspiration.
Fabric Needed:
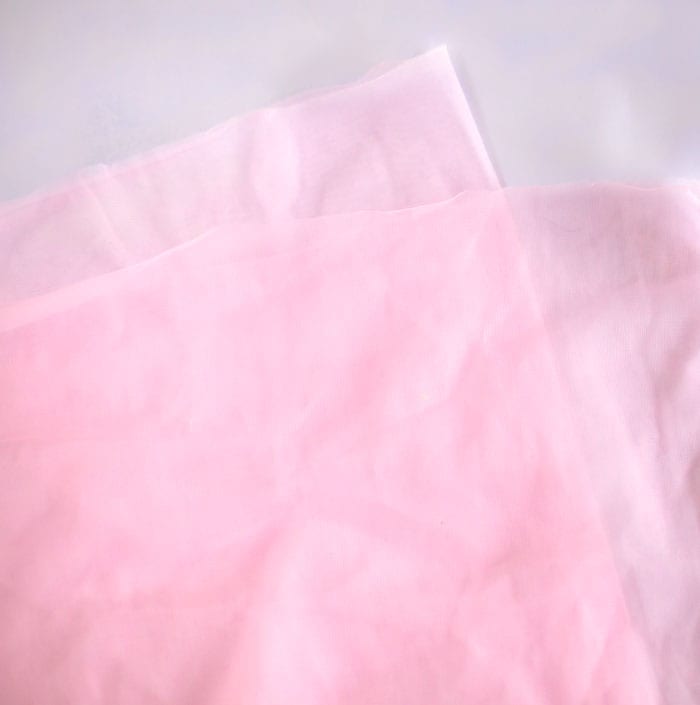
1 yard Chiffon Fabric 60" width
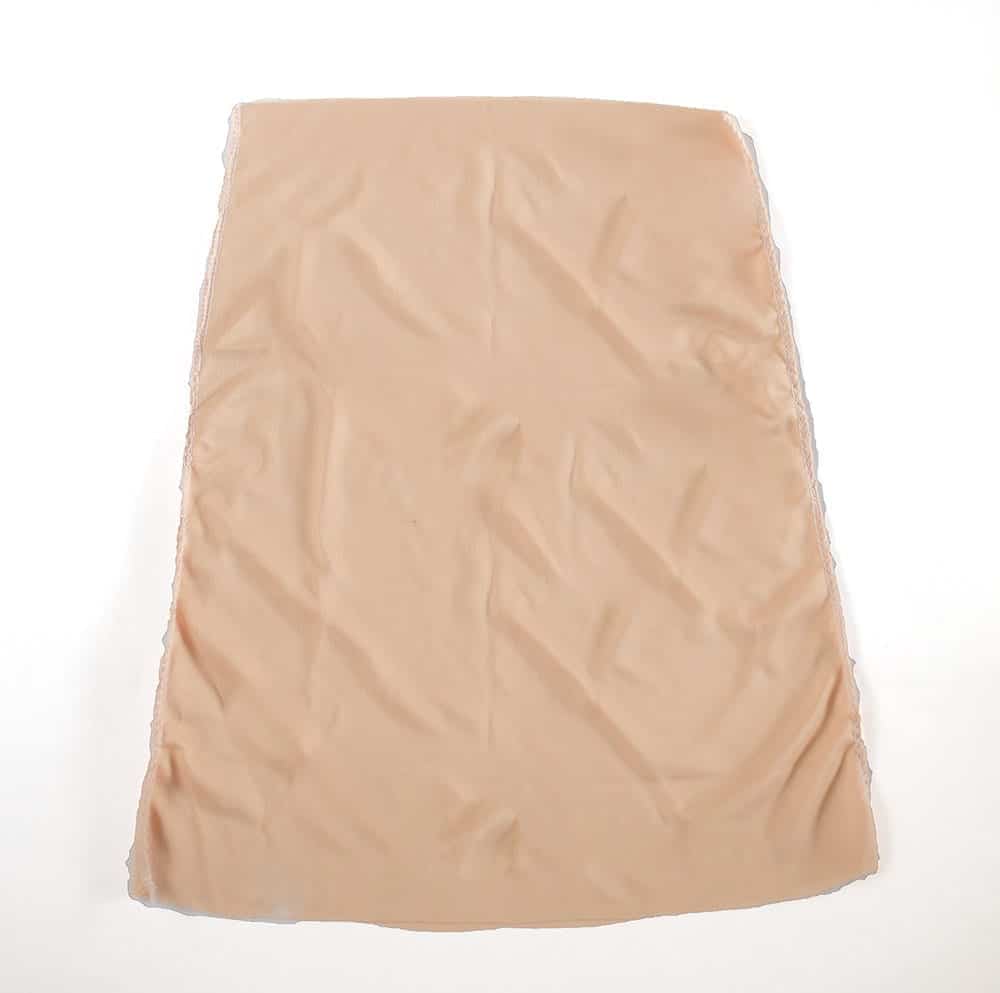
1 yard jersey knit fabric or knit lining fabric for lining
1 package elastic ruffle trim
Fabric from from Fabric.com. Affiliate links above.
DIY Fairy Costume Tutorial Steps
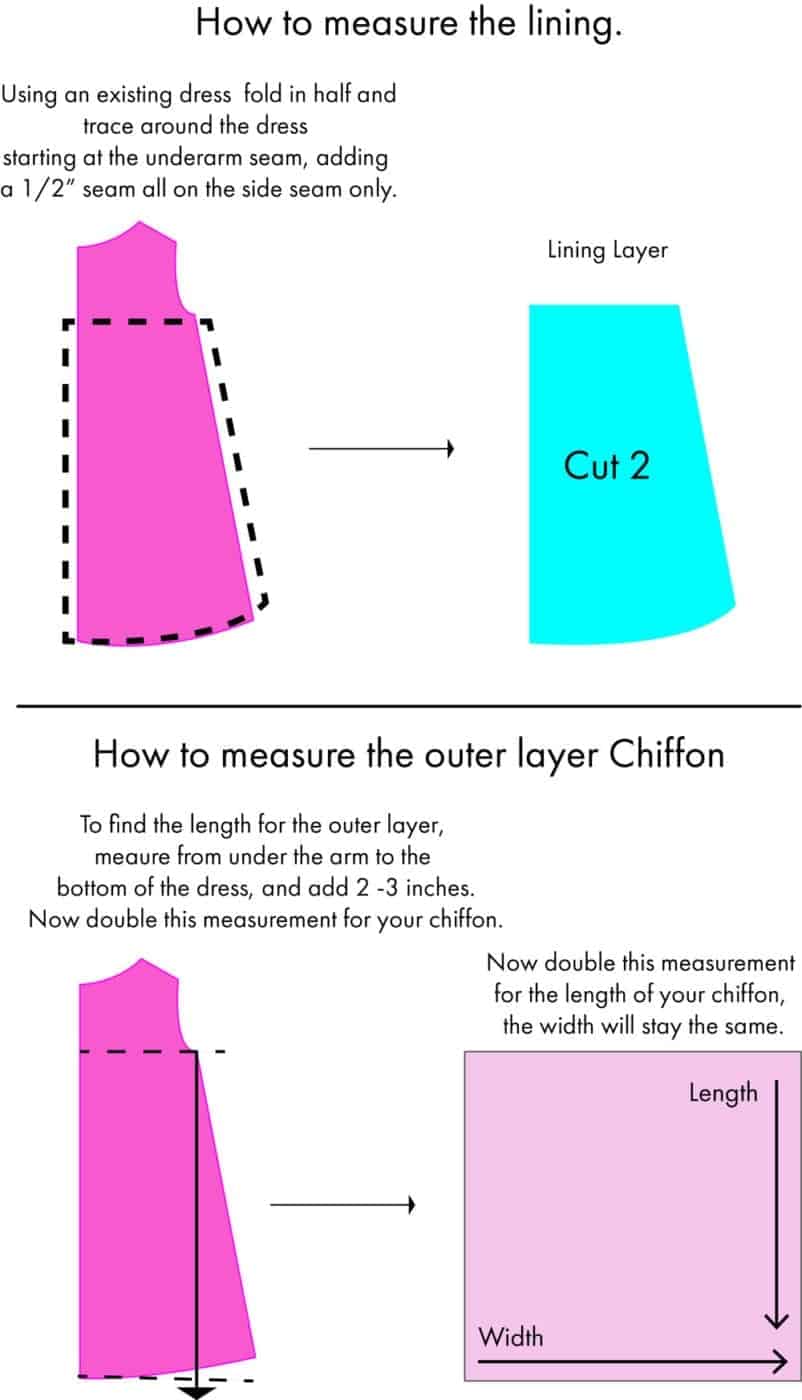
For the lining, place both pieces RST and sew using 1/2" seam down both of the long sides.
Fold the fabric in half width wise (the long side), pin and sew from the top to bottom using a 1/2" seam.
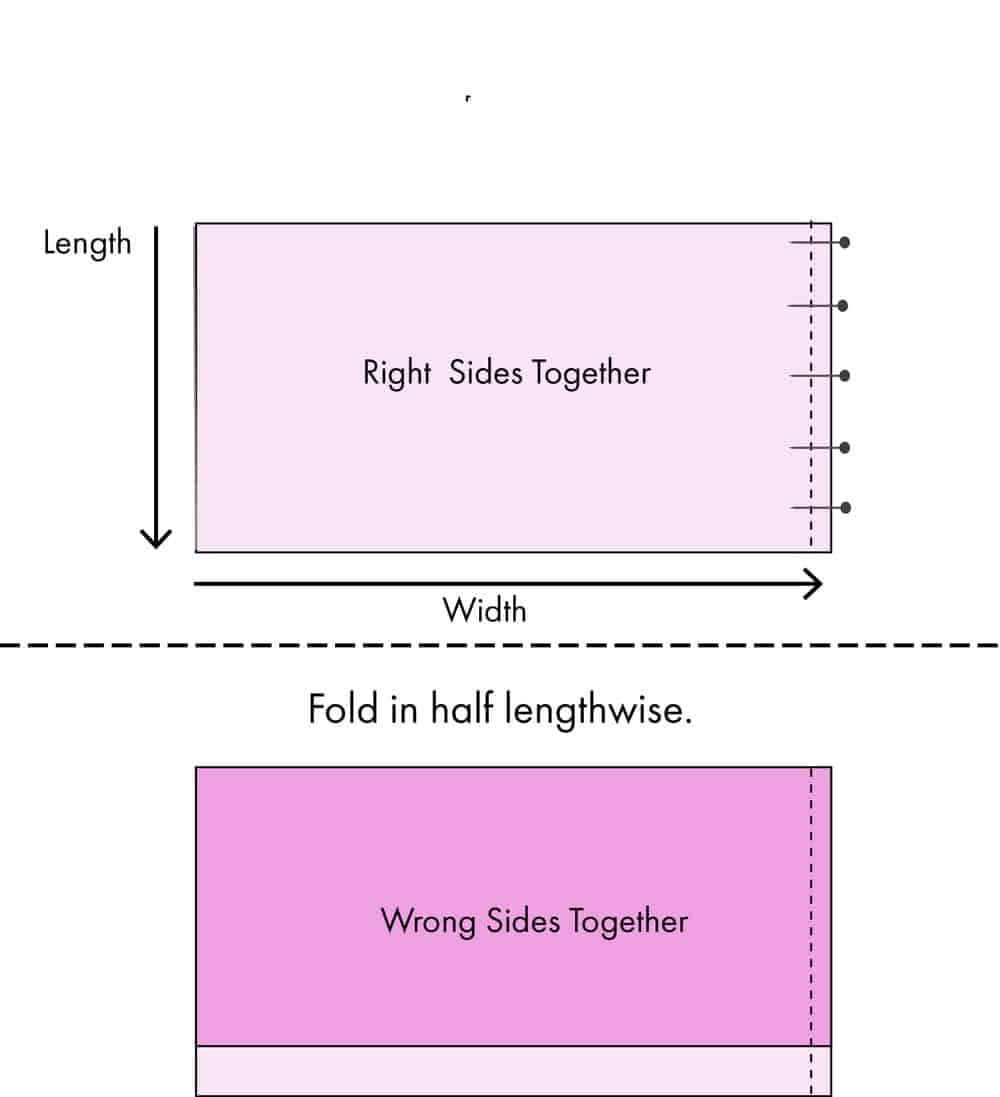
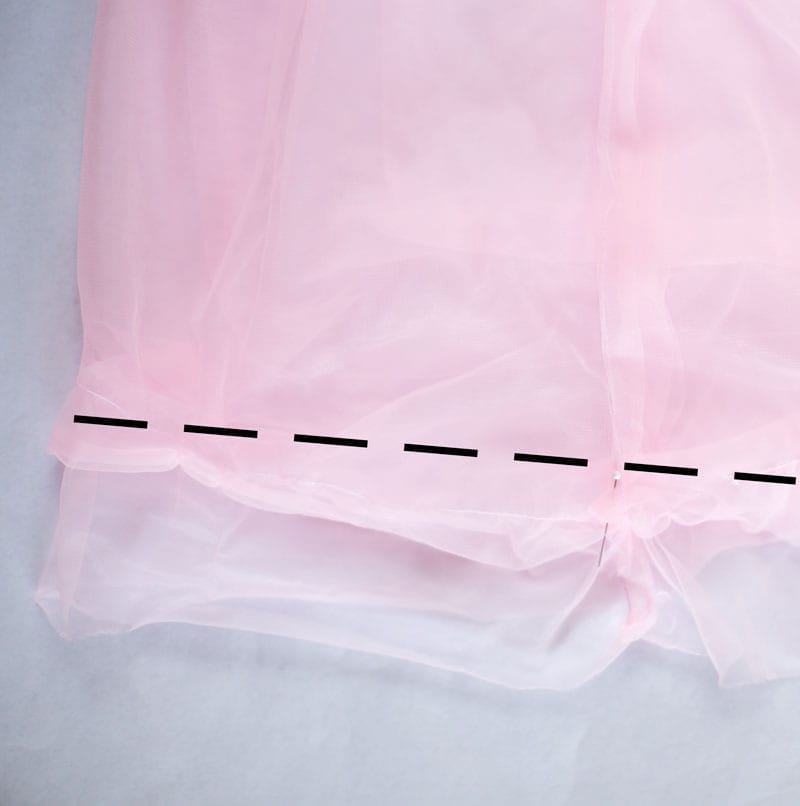
Then fold the short side of the fabric in half, so the wrong side of the fabric is facing each other. Leave one edge 2 - 3 inches longer than the other like the picture below.
On the bottom raw edges pin to hold in place and baste both layers together along the bottom edge to hold fabric together.
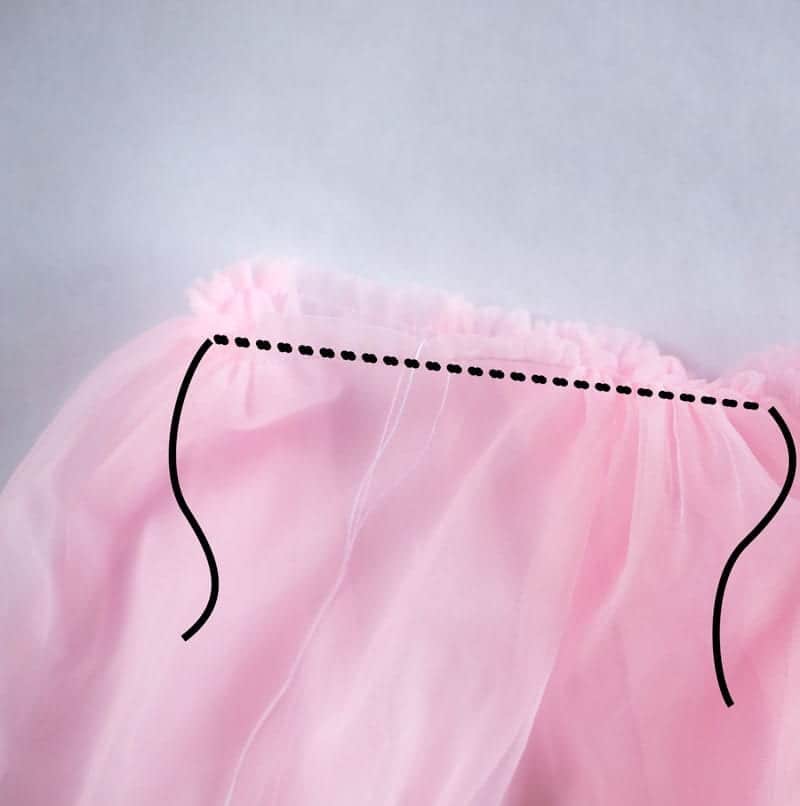
On the folded side on the top, gather the entire length using your favorite method.
Insert the lining inside the chiffon, lining up the gathered edge with the lining top. Baste both layers together to hold in place.
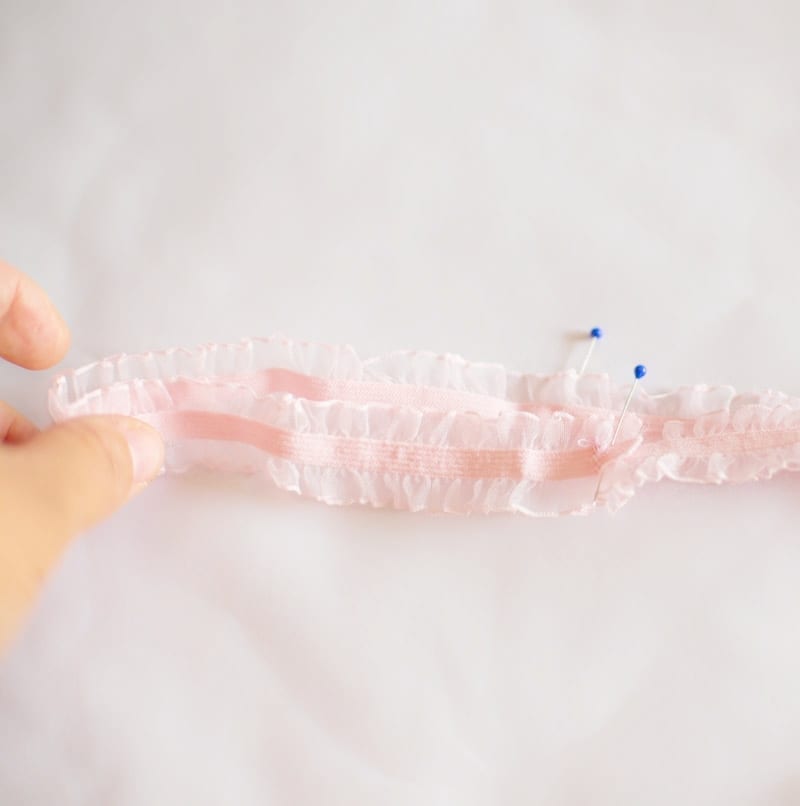
Overlap the ends of the elastic by 1" and sew together. Then fold elastic in half and mark or pin at 1/4 intervals (in 4 places) all the way around.
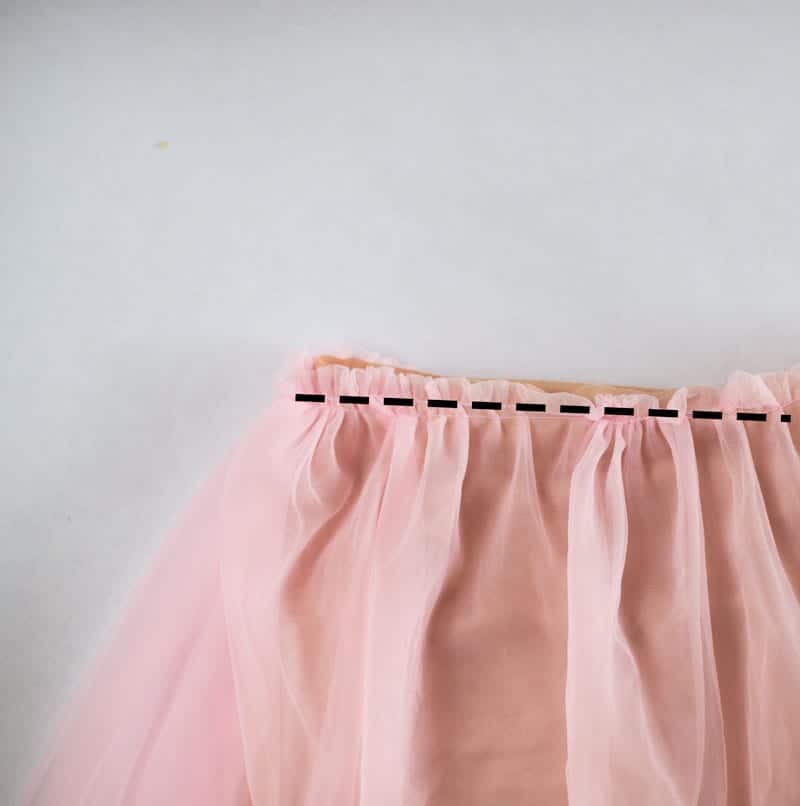
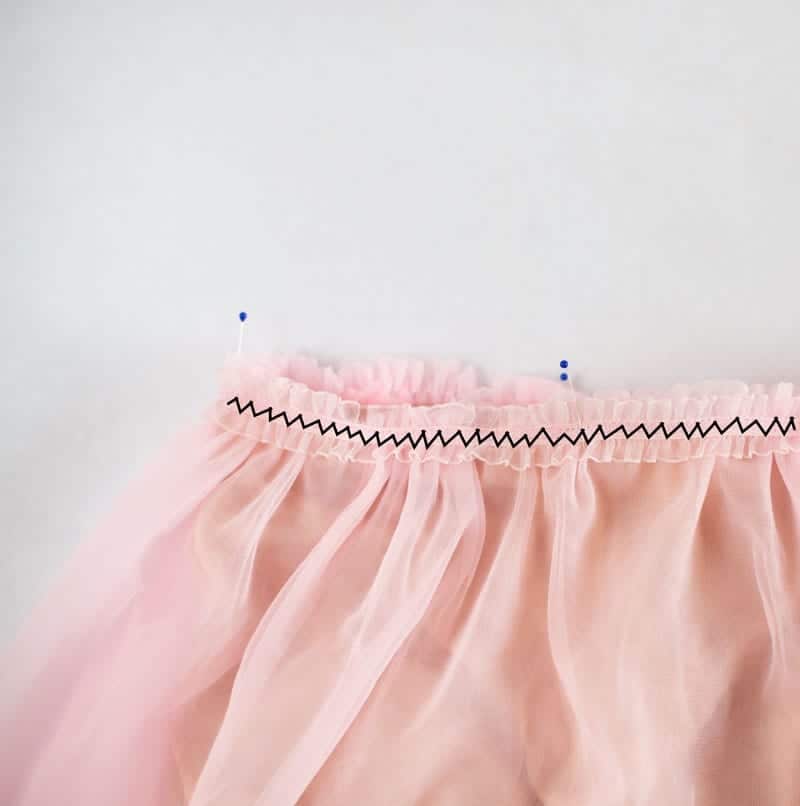
Stretch elastic out around the dress lining up marked places on the elastic with the dress sides and front middle and back middle. Zigzag stitch the elastic to the dress stretching elastic gently as you go.
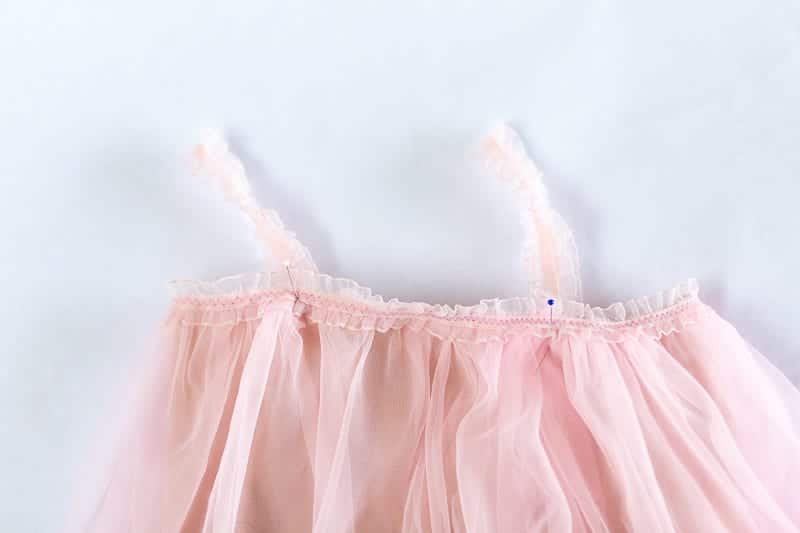
To find the length of the elastic shoulder straps, measure from under the front underarm, over the shoulder to the back underarm. Subtract and inch and this is your length. Cut 2 of these. Then pin elastic in place to the front and back sides of the inside of the dress overlapping chest elastic by 1/2". Zigzag stitch in place, being sure to do a straight back stitch at the beginning and end.
You are all done! Go fly and be merry!
