Knot Bow Headband Instructions
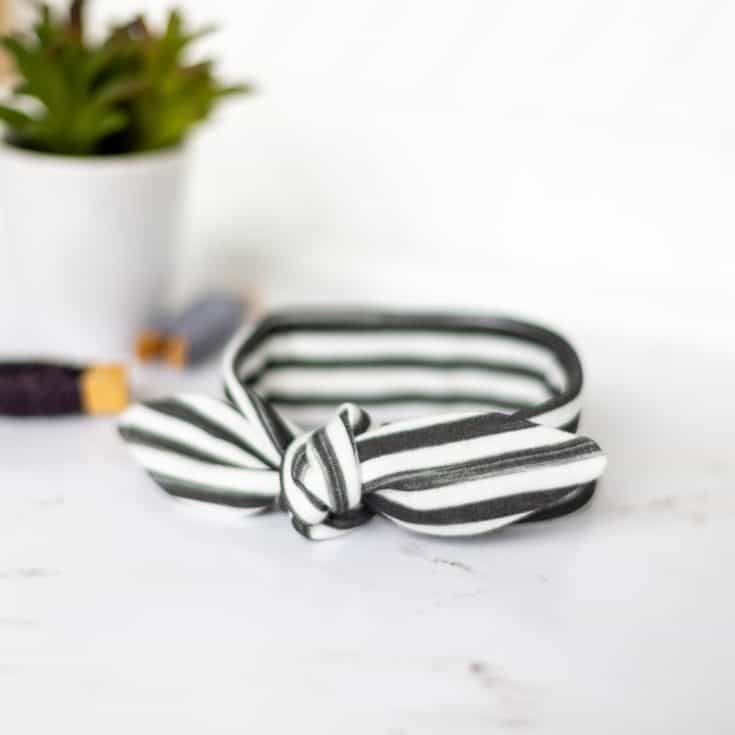
Learn to make your own DIY Headband with these easy instructions and the video for sewing the Knot Bow Headband Pattern. You will need to download the Knot Bow Headband Sewing Pattern (available in sizes baby - Adult) located in the resource library. You can click on the graphic leading to it in the post or find it in the navigation menu located at the top of the site.
Materials
- Stretch Thread
- 1/4 Yard Knit Fabric (Jersey or Interlock)
- Starch (Optional)
Tools
- Walking Foot
- Ballpoint/Microtex Needle
- Scissors or Rotary Cutter
Instructions
- Step 1 - Fold the fabric in half Right Sides Together (RST) and place Knot Bow Headband Pattern piece on it with the short end on the fold.
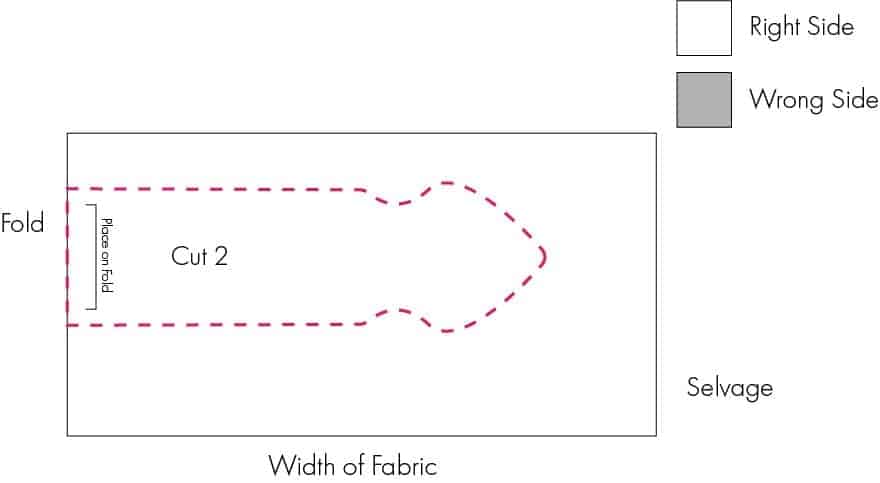
- Step 2 - Place Knot Bow Headband Pattern Pieces RST.
- Step 3 - Pin in place.
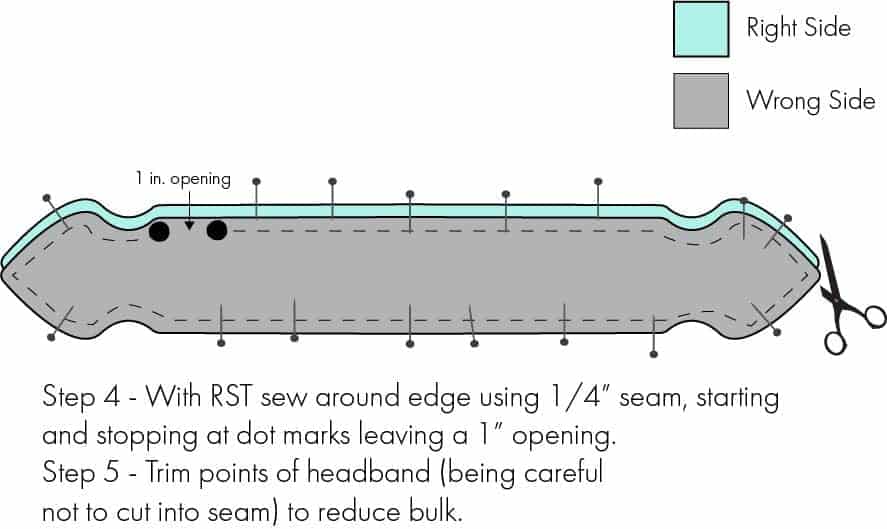
- Step 4 - Sew around raw edges of the Headband using a 1/4" seam leaving a 1" opening.
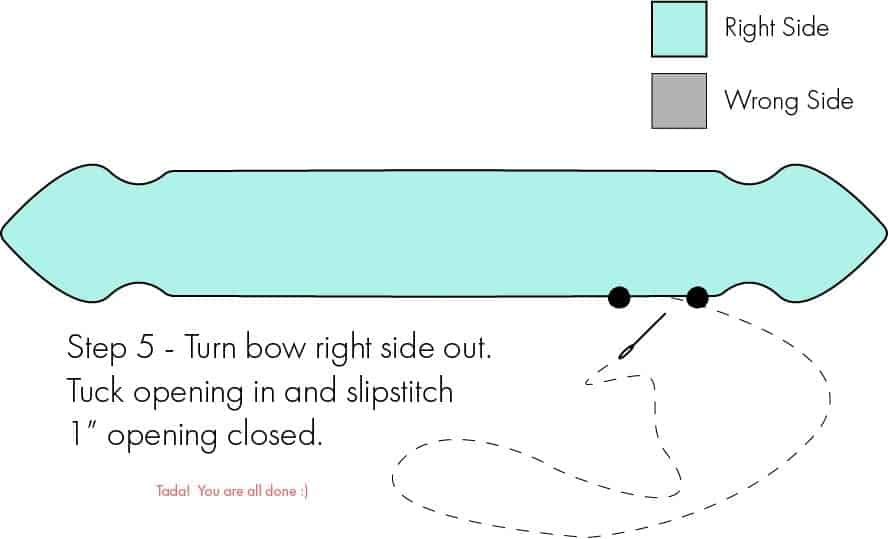
- Step 5 - Trim ends to reduce bulk and turn right side out. Step 6 -Slipstitch 1" opening closed.
Notes
Tips on using different types of Knit Fabrics:
Jersey Knit is a stretchier type of knit fabric but tends to roll when the edges are cut, making it more difficult to sew. To remedy this it is helpful to spray the fabric with starch and iron before cutting.
Interlock Knit is a more stable knit and while it doesn't stretch as much it tends to be more stable when sewing, does not roll when cut and does not require starching and ironing before cutting the fabric.